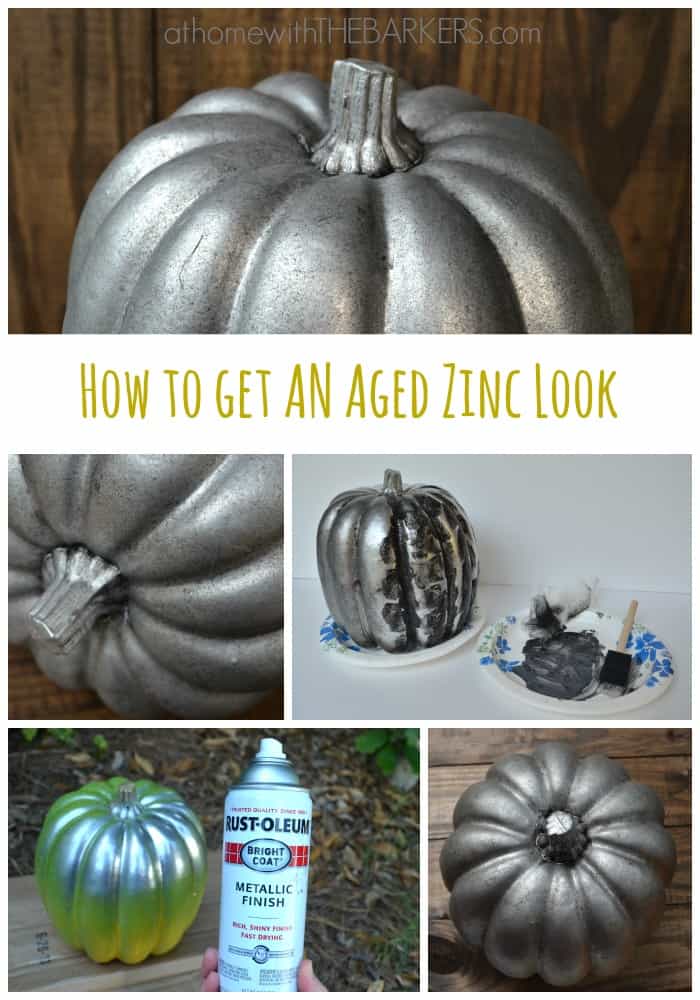
How to get an Aged Zinc Look
Have you ever wondered how to get an aged zinc look in your home decor without spending a fortune for it? Try this faux paint technique to get that high end aged zinc look on plastic pumpkins.
(affiliate links included in this post)
This year I wanted to do something a little different in my Fall Decorating. I still love all the colors of fall…red, orange, and brown but I wanted to add a touch of metal.
So, I figured out how to get an aged zinc look on my plastic pumpkins.
How to get an aged zinc look using paint
Supplies I used for this Project
- Pumpkins
- Metallic Silver Spray Paint or acrylic paint
- Black Paint
- Glaze (the one I used is no longer sold, linked a different)
- Foam Brush
- Cheese Cloth
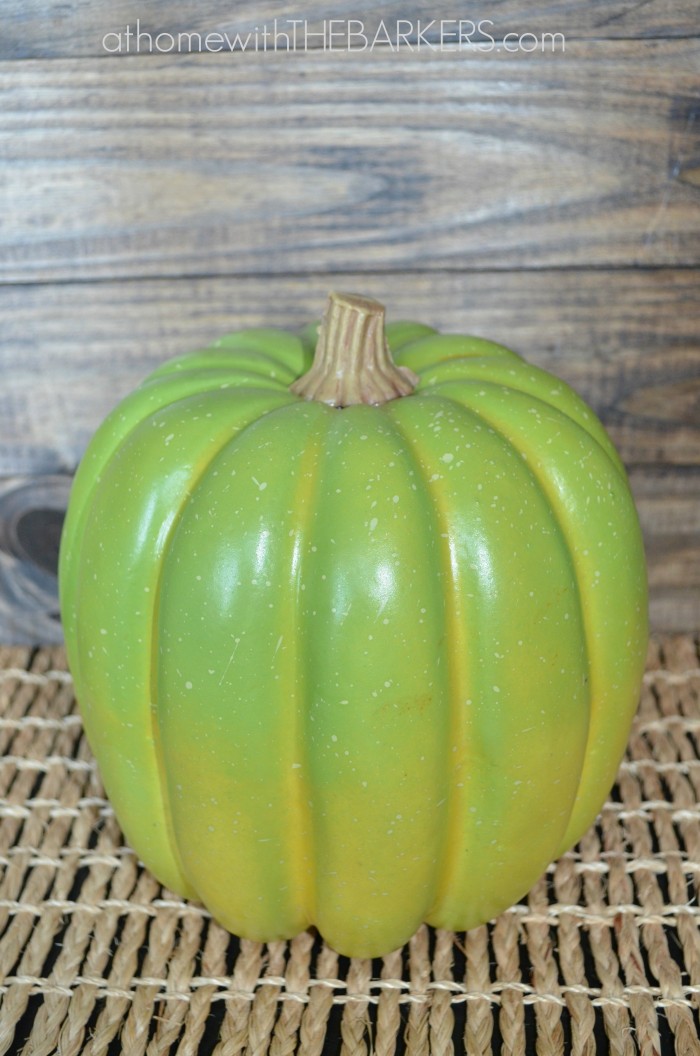
You may already have some plastic pumpkins stuffed in your attic.
They have a great shape to them but they aren’t anything special.
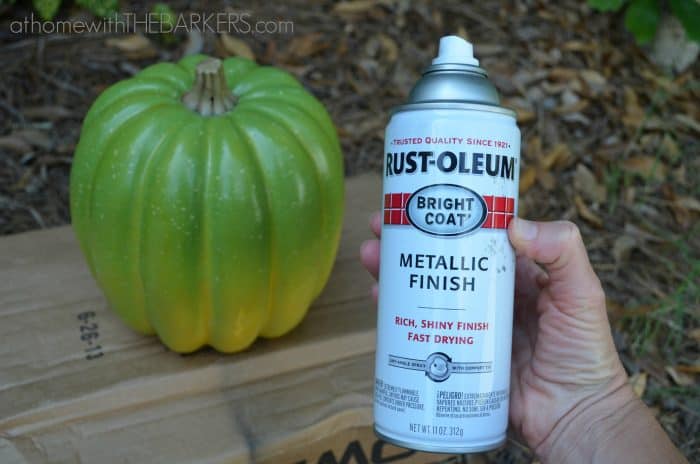
Always important to spray paint in a well ventilated space. Spray painting items that need to be coated all over is a bit of a challenge but can be done.
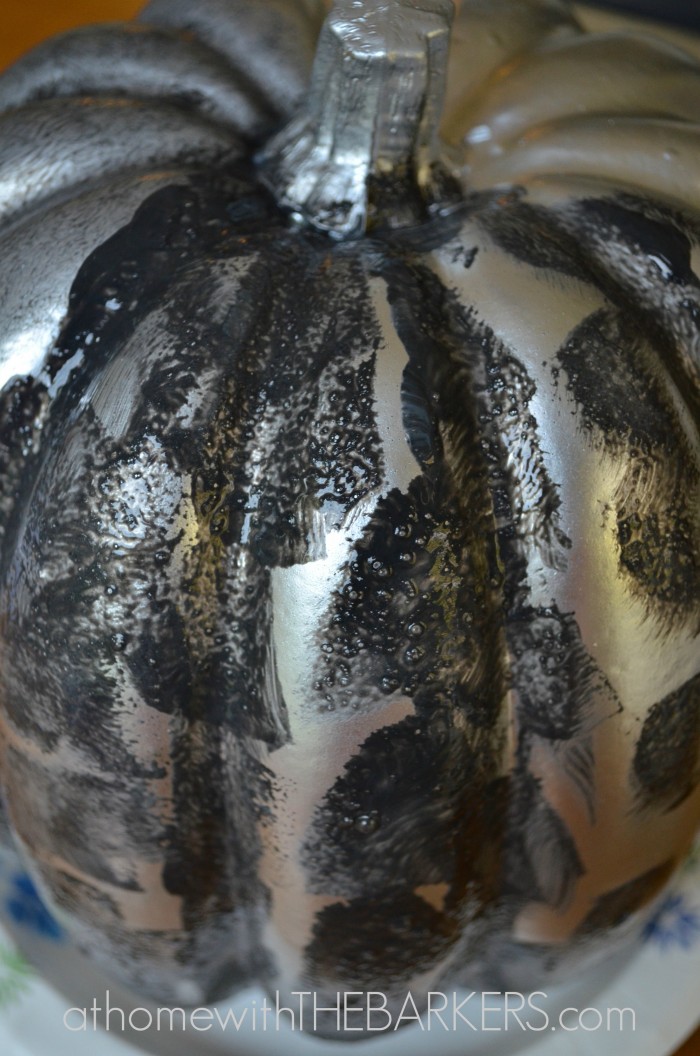
Using Rust-oleum spray paint in Silver Metallic Finish each pumpkin was coated. I will say, it is easier to paint and glaze over a non glossy surface but I was going for this dimpled look on the faux finish.
If I had used a paint brush on the base coat the surface would have been a little different with possible brush strokes.
Be sure to do light even coats of spray paint. It helps keep the finish consistency as well as speeds up the dry time. This paint is already fast drying which is a plus.
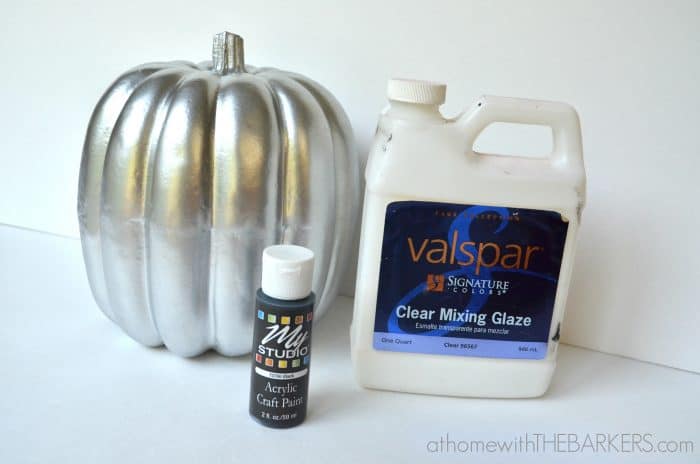
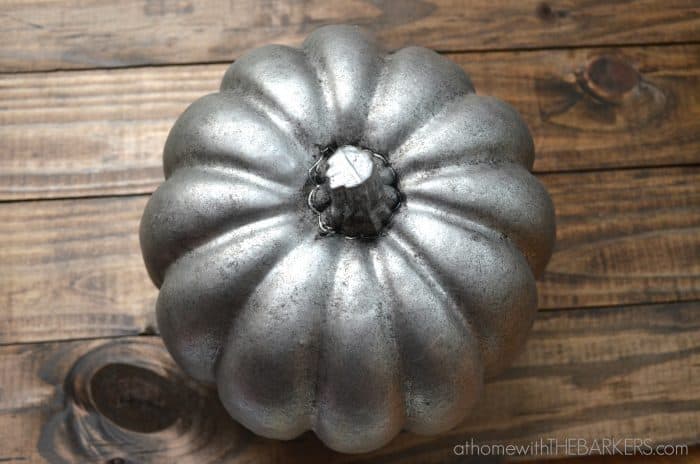
Once the paint was dry the faux paint layer is added by mixing equal parts clear glaze with black acrylic paint.
By adding the glazing mixture to paint it makes the paint thinner and gives you longer working time before it starts to dry.
Update: In my photo I used Valspar glaze but it is no longer made. Any clear glaze, like this one here, will work just the same.
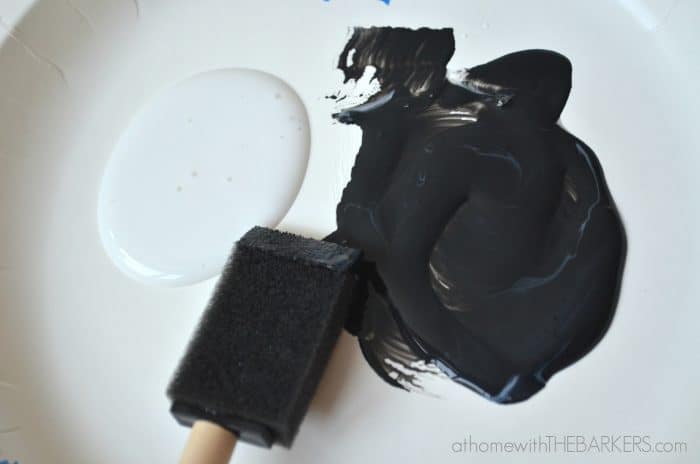
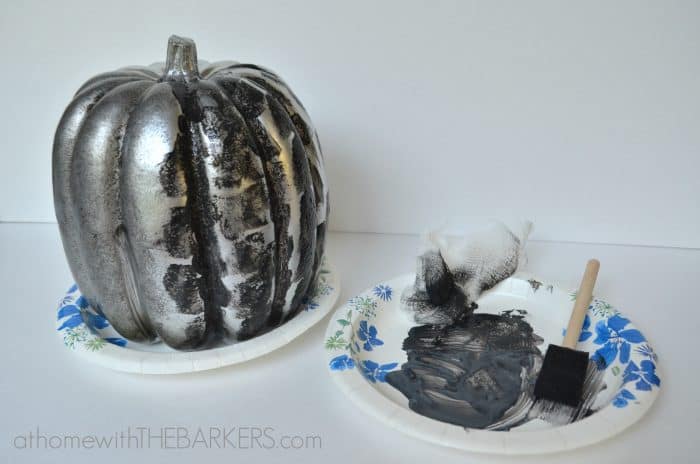
Apply the glaze and acrylic mixture with a foam brush.
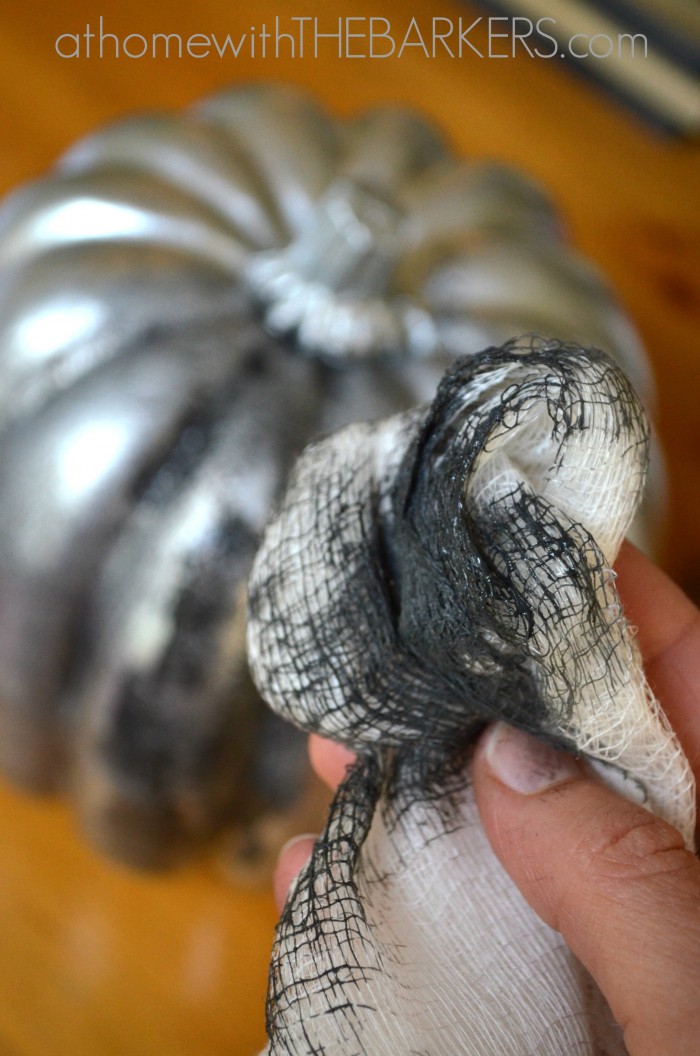
I found that using a piece of cheesecloth worked best for this technique.
I used a dabbing motion to spread the glazed paint mixture onto the pumpkin with the foam brush. Then going back over with the cheesecloth to soften the edges of the glazing mixture.
You can add and remove paint easily once it is mixed with the glaze. The glaze medium allows your paint to have a longer dry time so it’s easier to work with for projects like this. It’s what I always used to glaze kitchen cabinets.
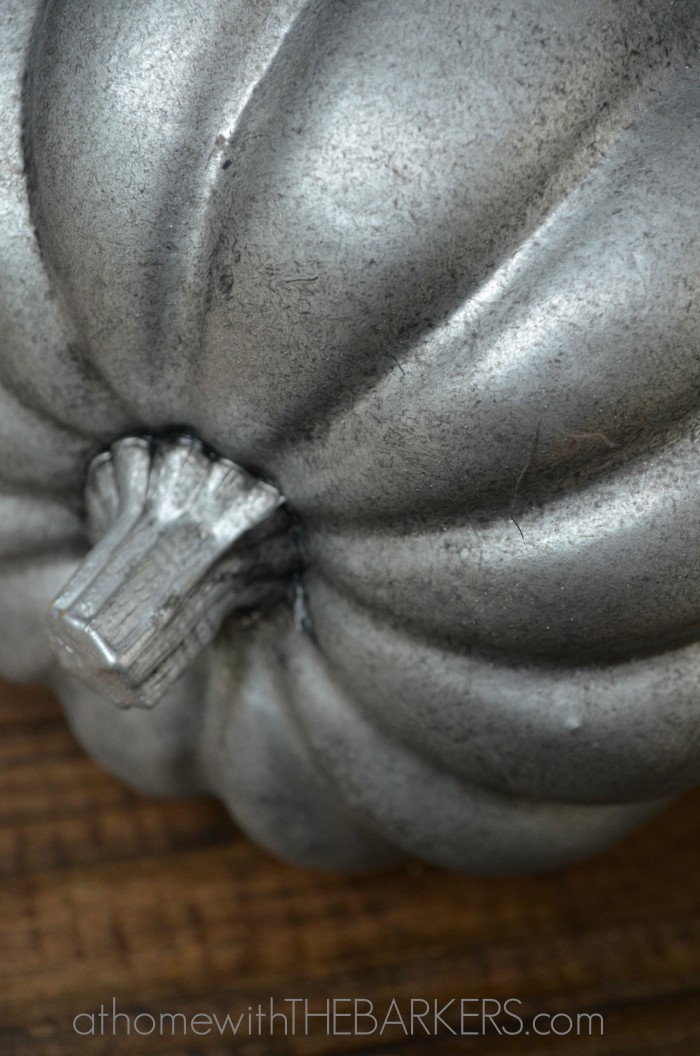
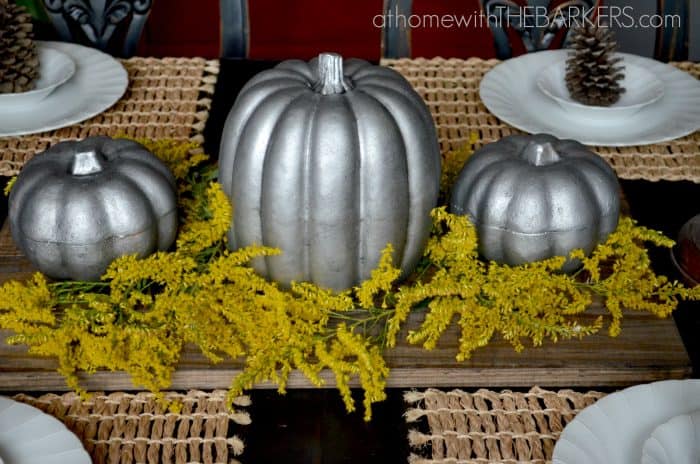
This pumpkin (and the 3 other one’s I painted) turned out beautifully!
So much better than I ever expected.
This is a great paint technique to use on any surface, so if you are looking to add some metal touches to your decor you may want to try this on candle sticks, clock, or even a side table. The options are endless.
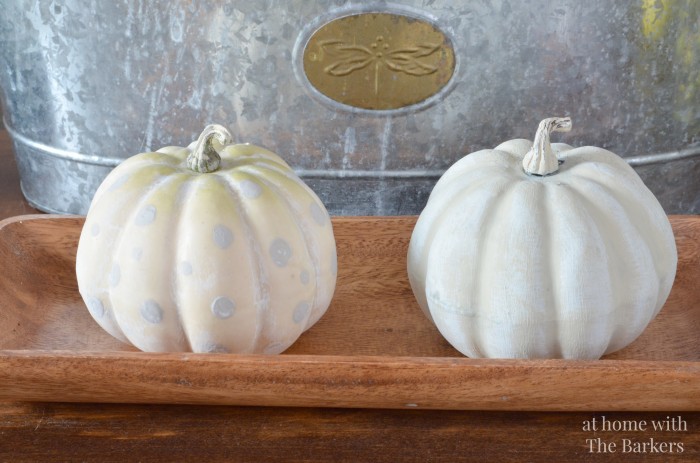
If you like a different look on for your painted pumpkins considered a color palette to coordinate with your home decor.


I personally prefer satin. I don’t like super shiny. I would seal with spray poly.
Hi:
If you had to seal this, what would you use? I have a bunch of ugly powder coated cheap racks that I’m in the process of spray painting; I’ve used Rustoleum Dark Steel, but the finish is waaaay too shiny and “painted.” I’m going to use them in the kitchen, tho (not direct contact with food per se, but still will get heavy use).
Need a spray since these are wire: do you think a satin finish would be ok? Any specific product suggestions?
Thank you!
Thank you so much! I appreciate that. Good Luck with yours.
Thanks for this tutorial. I’m seeing this post 4 years after you first shared it, and it is still such a great idea. I’m definitely going to try this technique soon.
These look amazing. The wheels are turning as to how to incorporate some of this look into my Christmas décor!
Thank you so much Jamie!
I love these pumpkins! I’m sharing them on my FB page today 😉
Hugs,
Jamie @ somuchbetterwithage.com
Oh, I love this! Thank you so much for sharing this with me. It’s always great to know others can learn from my DIY projects! ~Sonya
Hello, Love your faux zinc pumpkins. I tried your idea on my dollar pumpkin, it turned out great. Then I went to my “What was I thinking” bag, and pulled out my very inexpensive, loud color Pilgrims that looked liked “disco fever”. Now they look like fine pewter. They were so proud to know thqt they could say “goodbye” to the “What was I thinking” bag. They now have a grand place on my greqt room mantel. Thank you for sharingyour idea. PS My Santa is excited that he has a better than a great chance of coming out of that “bag”, and will get a new home at “cheap, but sweet and faux classy” shelf. Thank you.
Thanks so much! It turned out really cute!
Love this so much! Has a great textured look to it.
Stopped by from Think Pink Sunday.
Thanks Tricia for stopping by! It was so easy with a great outcome!
Thanks Friend!
Love the zany zinc look on your new PB-esque pumpkin, Sonya! So pinning this pretty thing!
Cheers to you and yours,
Therese
Your pumpkin turned out amazing! I’ll have to give this a try. Thanks for sharing!
Great idea Kelli! These will look very elegant for the wedding!
Love how these turned out! I have a Wedding on Halloween and I think these will be just the perfect touch,… elegant but, still Halloweenie…ish? =)
Thanks bunches,
Kelli
Floral Occasions by Kelli
Custom Floral Design
Thanks Krista!
This is a great idea! I saw the same pumpkins at Walmart and now know a classy way to dress them for the season.
Love the way these turned out!!!
Blessings,
Cindy
That is a super cool finish Sonya – thanks for the tutorial!! Pinning!
It is still hot here too but I needed to get started on some projects! I have to space everything out between all of the kids activities. 🙂
Thanks! I also bought 3 pumpkins from Dollar Tree, they were styrofoam and they look great too.
That did turn out great! I haven’t started on pumpkins yet, it’s just so hot here and I am having a hard time getting motivated.
Loving how your pumpkin looks, great technique. I have some zinc paint but might put it on then dab some watered down black with cheese cloth, see how that works. I don’t have any glaze so will have to improvise. Who knows You are so clever and talented, love your blog.
. Love that we can make our pumpkins look so great. I like a little metal in there also. Got a $1 pumpkin at $tree this week, so will try it on that. Hopefully Walmart will still have some pumpkins when we get paid. Can hardly wait to see how it turns out. Glad you shared this project. Happy weekend
They look fabulous! Love them….now I want to go get some ugly plastic pumpkins and make them beautiful! 😉
Nancy
Thanks Christy! Getting ready for our Fall Tour!
Looks great! Neat idea!!!