DIY Wooden Holiday Sign
I’m excited about today’s project! This DIY wooden holiday sign will be a fun addition to your holiday decor. I have made one of each, with and without words…I love them both.

This post may contain affiliate links. Please read the disclosure policy.
Wood art pieces are so popular right now and I see this trend holding for a while.
The supplies for this project are:
- 1- 24 inch x 24 inch piece of birch plywood. (Approx. $5 each and comes this size at home improvement store)
- 1- 1 x 3
- Wood Glue
- Stain
- Paint (whatever you have on hand or if you need to purchase buy small bottles of craft paint)
- Stencil- Stain
- Paintbrush
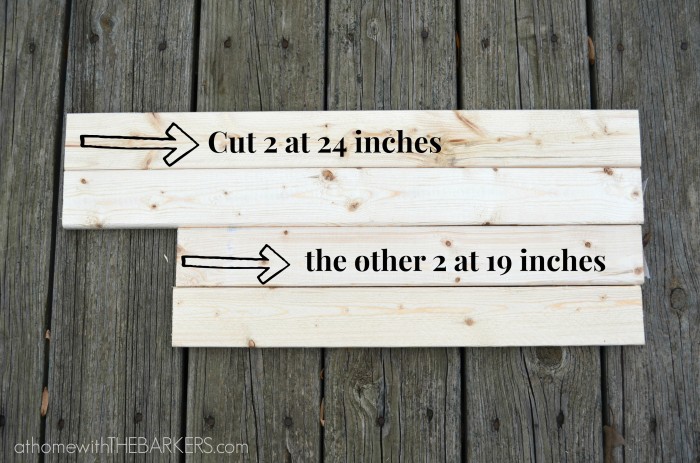
You will need to cut the 1 x 3 to make a frame around the back of your piece of plywood.
The frame has two purposes…1st it helps support the plywood and make it sturdy, 2nd it gives you an easier way for hanging.
To add the frame to the back of the plywood just apply the wood glue to the 1 x 3 cut piece and line it up even with the edges. I placed the longer 2 pieces on the sides and the shorter 2 on the top and bottom. That way when I hang it on the wall the sides are one consistent piece.
Most of the time wood isn’t perfectly straight so if you have clamps use them to hold the frame to the plywood while it dries. If you don’t have clamps just lay the plywood down and put something heavy on the frame to hold it down while the glue dries.
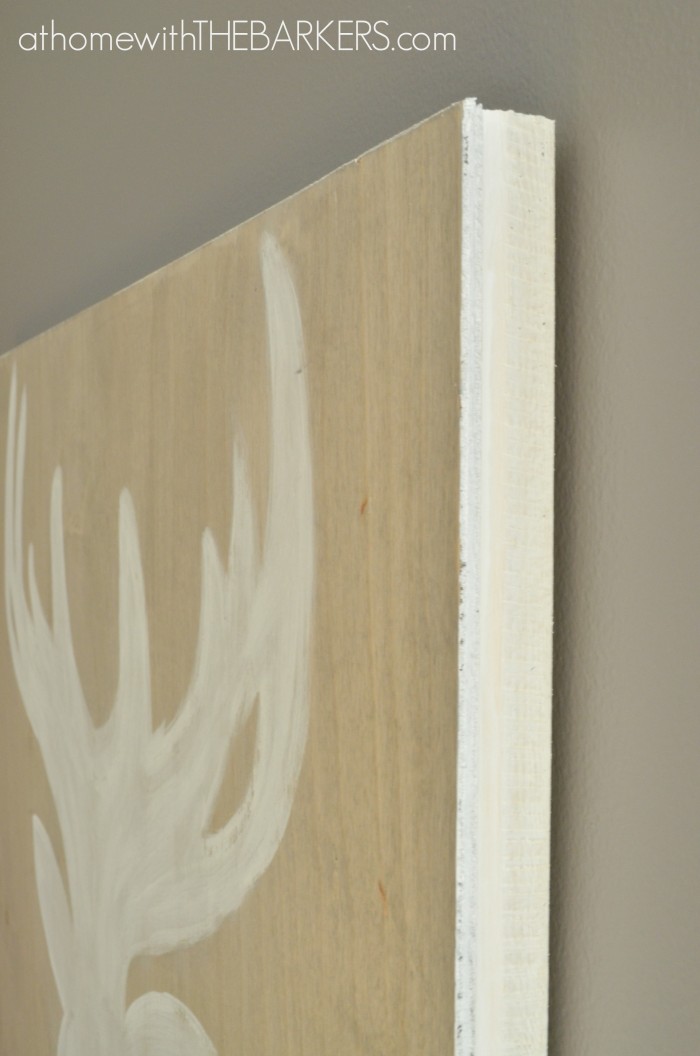
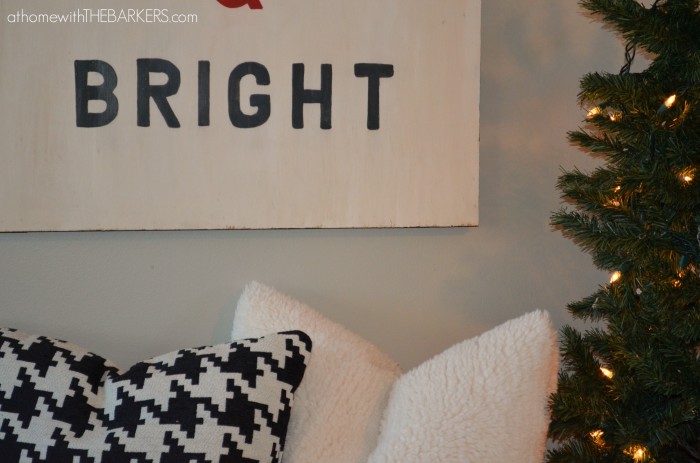
After it is all dry and set (see instructions on glue bottle for drying time) you are ready to stain or paint. For the deer sign I stained the plywood with Minwax Weathered Oak. The Merry & Bright sign I painted with Maison Blanche La Craie Paint. Like I said in the supplies list, use what ever you have already. **Note that for both signs I painted the frame…white on the deer sign and black on the Merry & Bright. You can see that in close up pictures below.
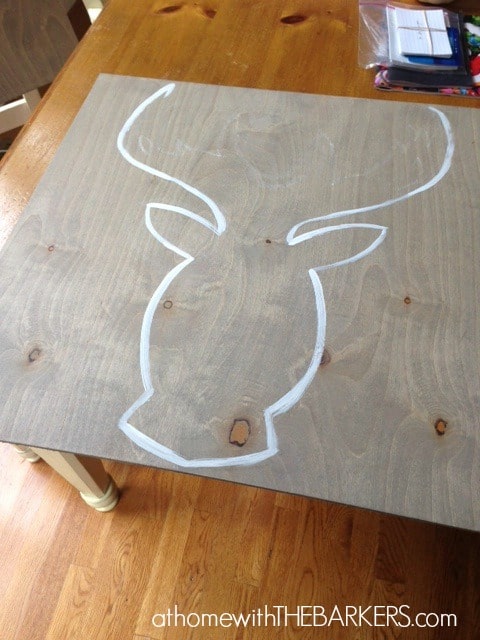
The deer art I drew free hand. Seriously, If I can do it so can you. I googled clip art of a deer silhouette I wanted to use and just drew it out with chalk on to my board. After that I used white paint to fill it in. Look closely at the antlers in the picture below and you can see the chalk lines.

If you would like you can sand lightly for distressing, I sealed my diy wooden holiday sign with Annie Sloan Wax.
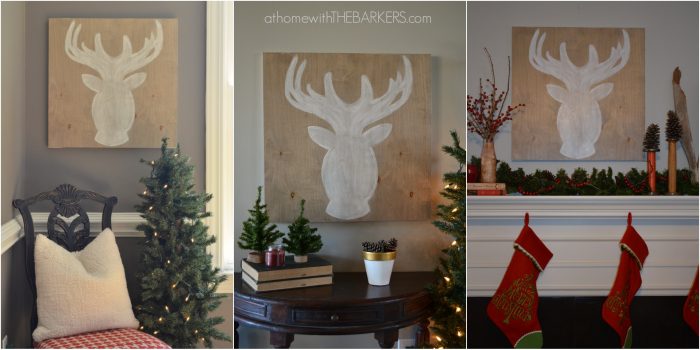
These signs are so easy to display…
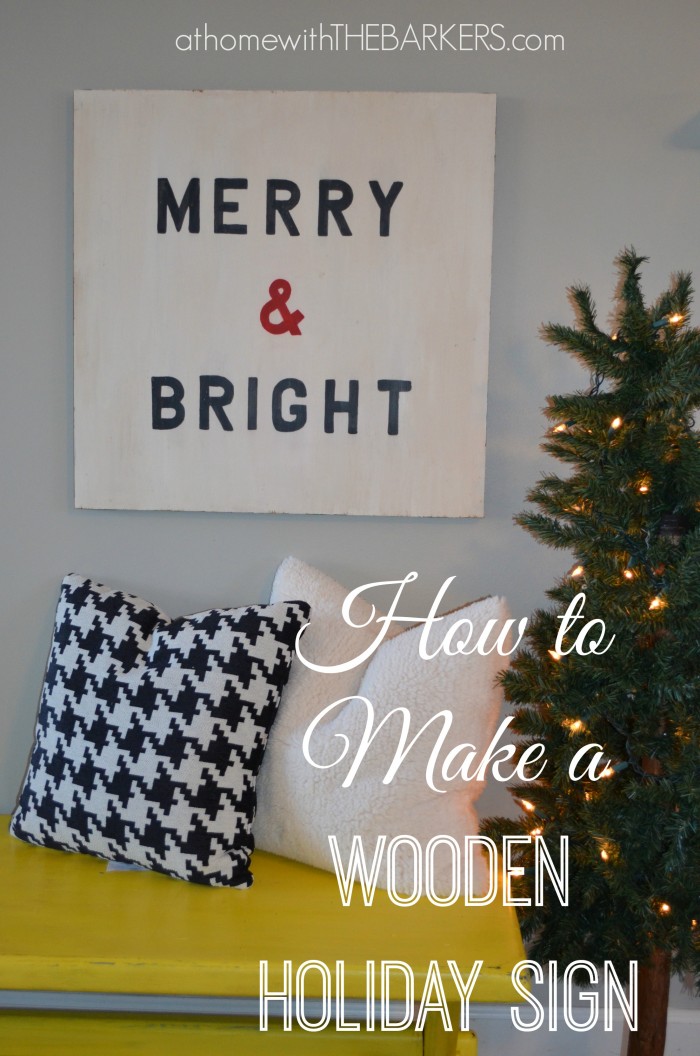
I also made a diy wooden holiday sign with the phrase Merry & Bright. I used the basic stencils from Walmart. I wanted this boxy look but you can get creative and use whatever you would like. I love how this looks with my yellow bench I painted (see it here.)
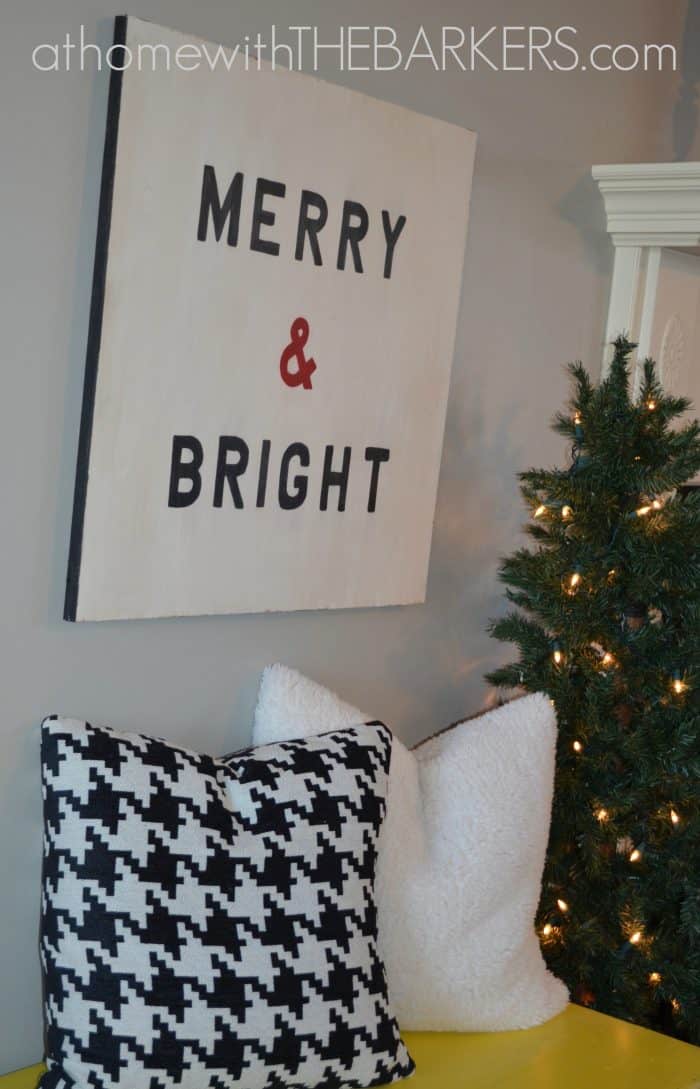
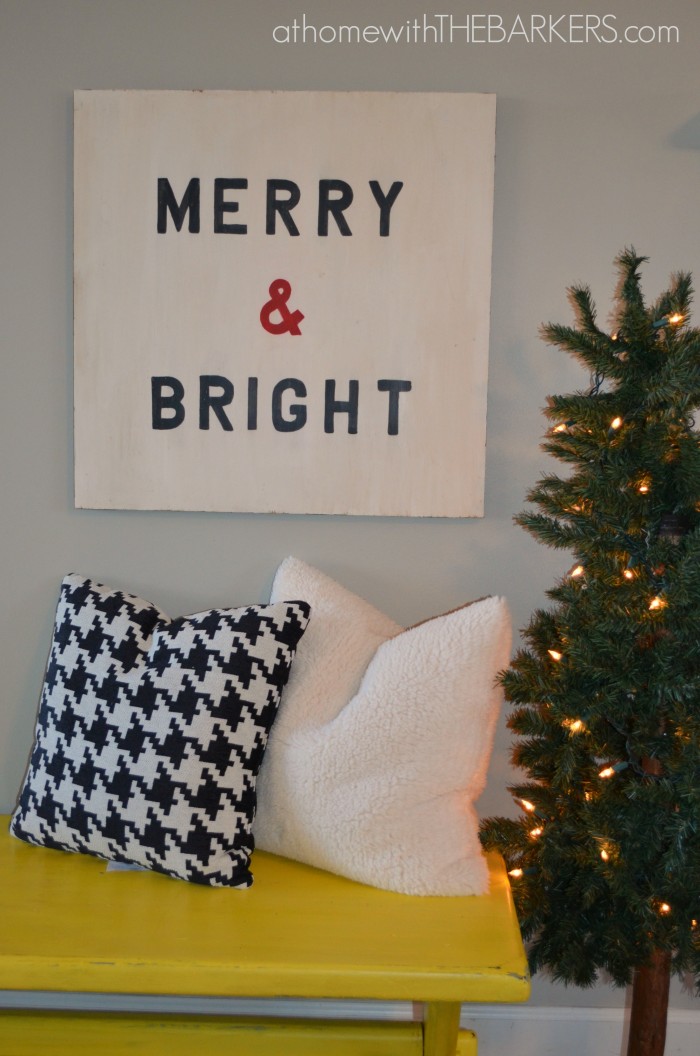
I also used the dark wax on this sign so that I could get the distressed look again.
I haven’t decorated my house yet for Christmas except in my daughters room but I am working on projects so that I can pass them on to you. This should give you enough time to make your own wooden sign before you begin your own decorating!
I am curious, what will you put on your diy wooden holiday sign? I’d love to hear your ideas!
If you aren’t into making your own sign, send me a message, we will see what we can work out.
Thank you so much!
I luv these signs!!! Adorbs! Pinning!
The stencils I bought for that are the basic alphabet lettering. You should be able to get it at any home improvement store. You can find it in the sections for mailbox letters, etc.
Hi there –
I love how this came out! I saw that you got the stencil at WalMart – you wouldn’t have a link for the one that you got would you? There isn’t a WalMart near to me – but I might be able to find it online?
It’s a great font – looks kind of vintage-y!
-breida
Love the signs Sonya!
Wow! This is amazing Sonya! Love them and I think I’m going to make the Merry and Bright. Thanks so much for the instructions and inspiration!
LOVE these signs so much 🙂
Thanks Cindy, you too!
Thanks Therese!
I love it and I WANT one Sonya! Merry & Bright! So fun! Thanks for the inspiration my friend. Super DIY idea!
What a wonderful idea for decorating for any season! I love both of your signs and have a feeling that many will follow your instructions to make their own.
Hi Sonya! I just love Christmas signs and yours looks wonderful! Thank you so much for joining the party and sharing at Best of the Weekend. Pinning! Hope you have a happy Saturday and a wonderful weekend!
I’ll have to go check out your calendar! Thank you for stopping by.
Thank you so much!
You have such great ideas! Love these…
Blessings,
Cindy
This looks great! I wouldn’t have thought to make my own frame for a wood sign like that. I also LOVE what you did with the “Merry & Bright”!
Your signs look great! I did a similar kind of look for my advent calendar this year. Love the wood art! Thanks so much for linking up to the Handmade Holiday link party! 🙂
What a perfect way to switch out to holiday wall art without spending too much money! I’d love for you to share at the Handmade Holiday Link Party that started today on my blog! Hope to see you there.
Thanks so much! Just go onto google and type in deer head silhouette clip art…then find the one you like. You can print it out if you need to use it for your stencil. You could have it enlarged probably at a print shop if you needed it bigger.
I can’t wait to see what you make Nancy!
The deer sign can really stay up all the time I think, just depends on how it is displayed! So get to it! ~Sonya
I have a fun sign planned for Christmas!! I can’t wait to create it….soon I hope lol. I love, love what you’ve done here! The reindeer is my favorite. That is just awesome!!
Great tutorial btw!
Pinning and sharing 🙂
Nancy
Both of your signs are perfect for the season. Did you have a stencil for the deer head? I’d love to make one like that but I’m no artist when it comes to hand drawing figures of any kind. You did a great job if you hand drew that deer head. The merry and bright is simple and explanatory. Great job on both. You always make such great signs. I love making signs but have terrible time with spacing of words.
Happy days
Okay, THIS is something I would actually do for Christmas. I NEVERRRRR decorate for Christmas, which is weird, since I’m so into DIY. But this seems like it would take so very little time, there’s no reason not to do it. Thanks for the inspiration! 🙂
Serena
Thrift Diving
Thanks so much! Hope your day is great ~Sonya
Looks awesome! Great job!!! Pinning. ~Christy