DIY Bathroom Vanity Makeover
An affordable and easy DIY Bathroom vanity makeover using paint and wood detail for a modern classic update.
Want a new look for your bathroom but have a small budget, get creative with what you already own.

This post may contain affiliate links. See our disclosure for full details.
Have you priced quality bathroom vanities recently? Well, if you haven’t, let me fill you in. They are very expensive.
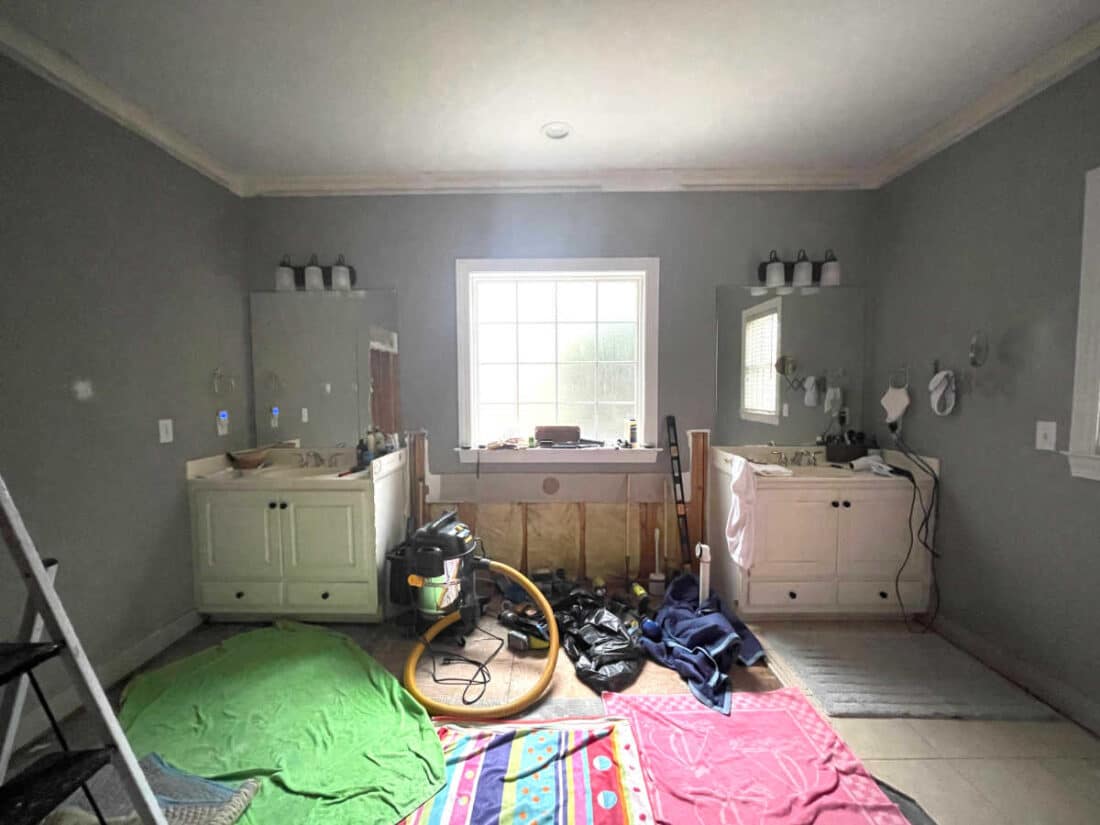
While our primary bathroom remodel was getting a total new look, it wasn’t getting a new floor plan. So, I needed the vanities to be a specific size, give or take a few inches.
I originally wanted to do a makeover on the vanities because they are very well made. But Ray was hoping to have one less project to do during the remodel. I agreed so I started searching the internet for replacements.

Searching for two vanities, in the size we needed, made of quality construction, in a style we wanted, and at a price point we wanted to pay was virtually impossible.
So, back to the original idea to give the existing bathroom vanities a makeover.
Paint is always a great place to start for any room makeover, which is why I also teach how to learn to paint a room from top to bottom. Prime example is our daughters white and mauve bathroom makeover. The Sherwin Williams Aesthetic White walls by the vanity are a warm off white.
Steps to a bathroom vanity update
Gather inspiration (look, style, color)
It’s always a good idea to have a plan when going into a DIY project like this one. While Ray would rather I have complete details planned out, I usually only have the overall style in mind. Then I create the actual look as we go.
Room makeover planning with inspiration photos helps so much when it comes to me showing my idea to Ray. If I can’t find photos I have to draw it up for him, like I did for our DIY fireplace makeover project.
I find it important to look for design inspiration that allows you to give any piece of furniture an update while staying within your homes overall style.
My style is modern classic, also know as modern traditional. This allows for me to keep our home mostly timeless in style.
Of course, it’s your home and you can do whatever you like. But after years of experience, I have found when you stray too far in style from one room to another something usually feels off.
Your home should be updated yet flow well together.
Clean and prep
Our bathroom vanity is a painted surface. It was also painted in oil based paint by the builder. If you know me, I prefer to work with latex paint. To avoid an interior paint disaster be sure to test your paint before you paint over it.
You can test to see if your paint is oil based with a cotton ball and rubbing alcohol. Add the alcohol to the cotton and run over your paint. If the paint comes off onto your cotton or softens any it is water based (latex) paint.
This means prep work is very important. Since the bathroom vanity get lots of use you’ll want to be sure your paint will hold up well.
Prep to paint over an oil based paint
- Clean with a degreaser (I use TSP)
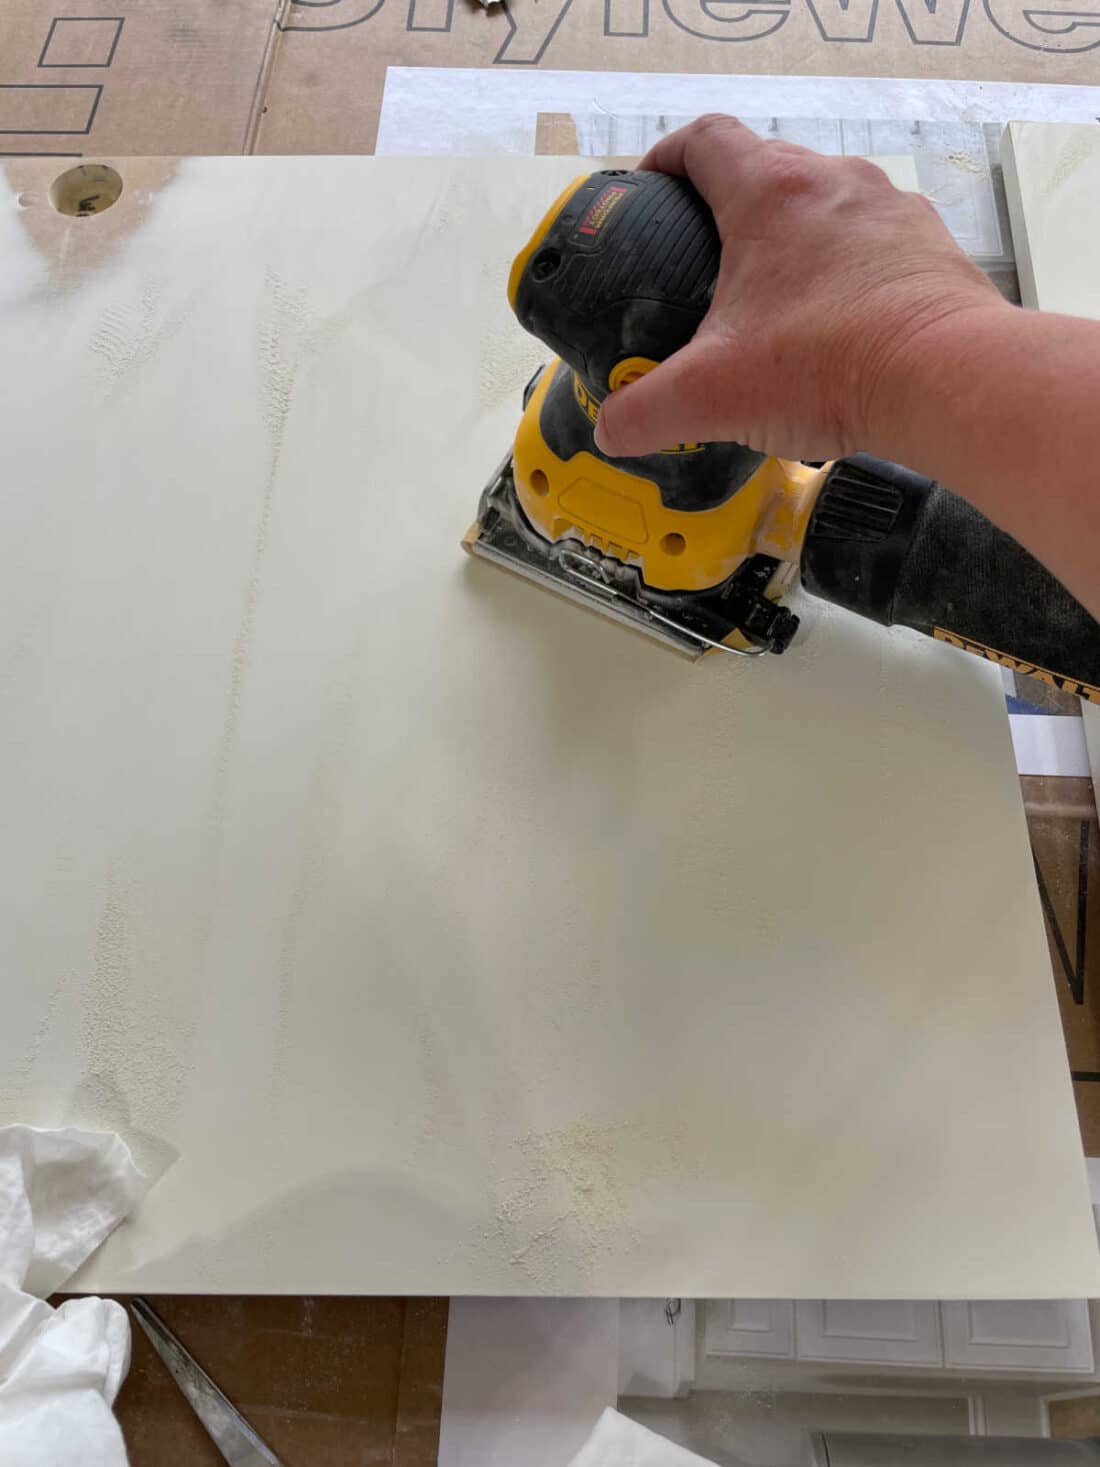
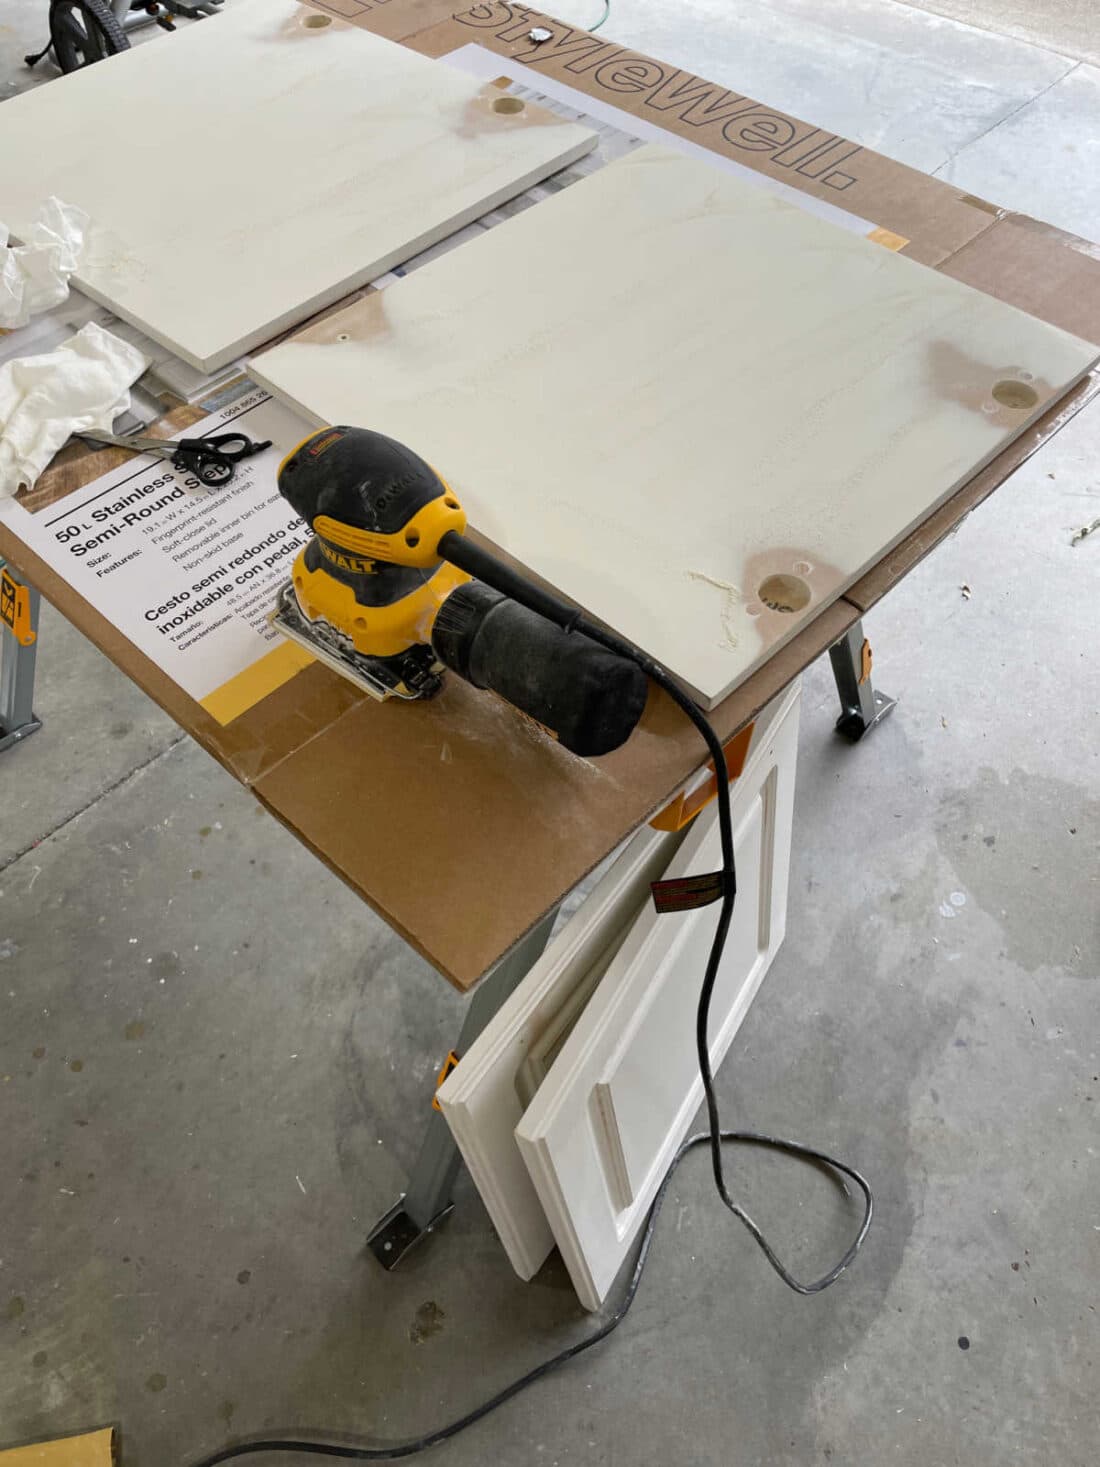
- Sand with 150 grit sandpaper. You are trying to rough the surface just enough yet not strip off the paint. Be sure to clean off all the dust after sanding. (This is my favorite palm sander)
- Prime with a bonding primer. I recommend Sherwin Williams Extreme Bond Primer. This primer does advertise you can paint over slick surfaces without the sanding. I wanted to to go the extra step because these are our main bathroom and highly used.
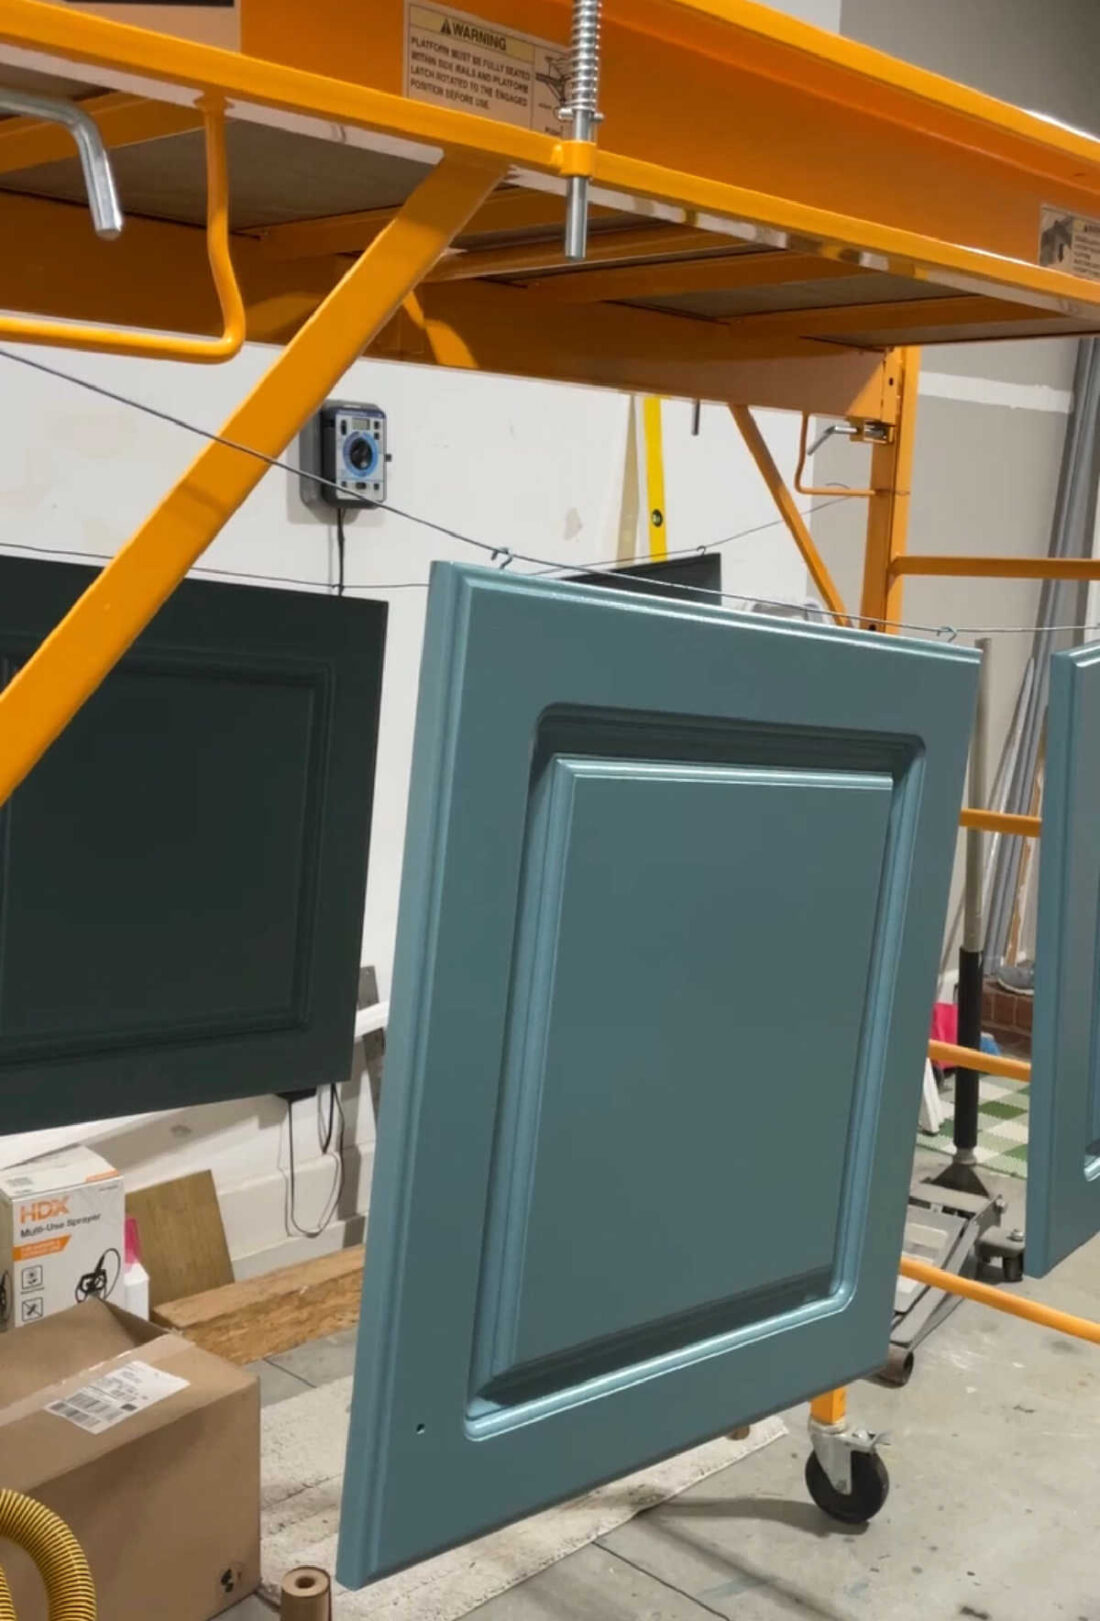
I primed and painted most everything in the room with an electric paint sprayer. I highly recommend it. The sprayer saved me hours of time.

Custom Vanity Details
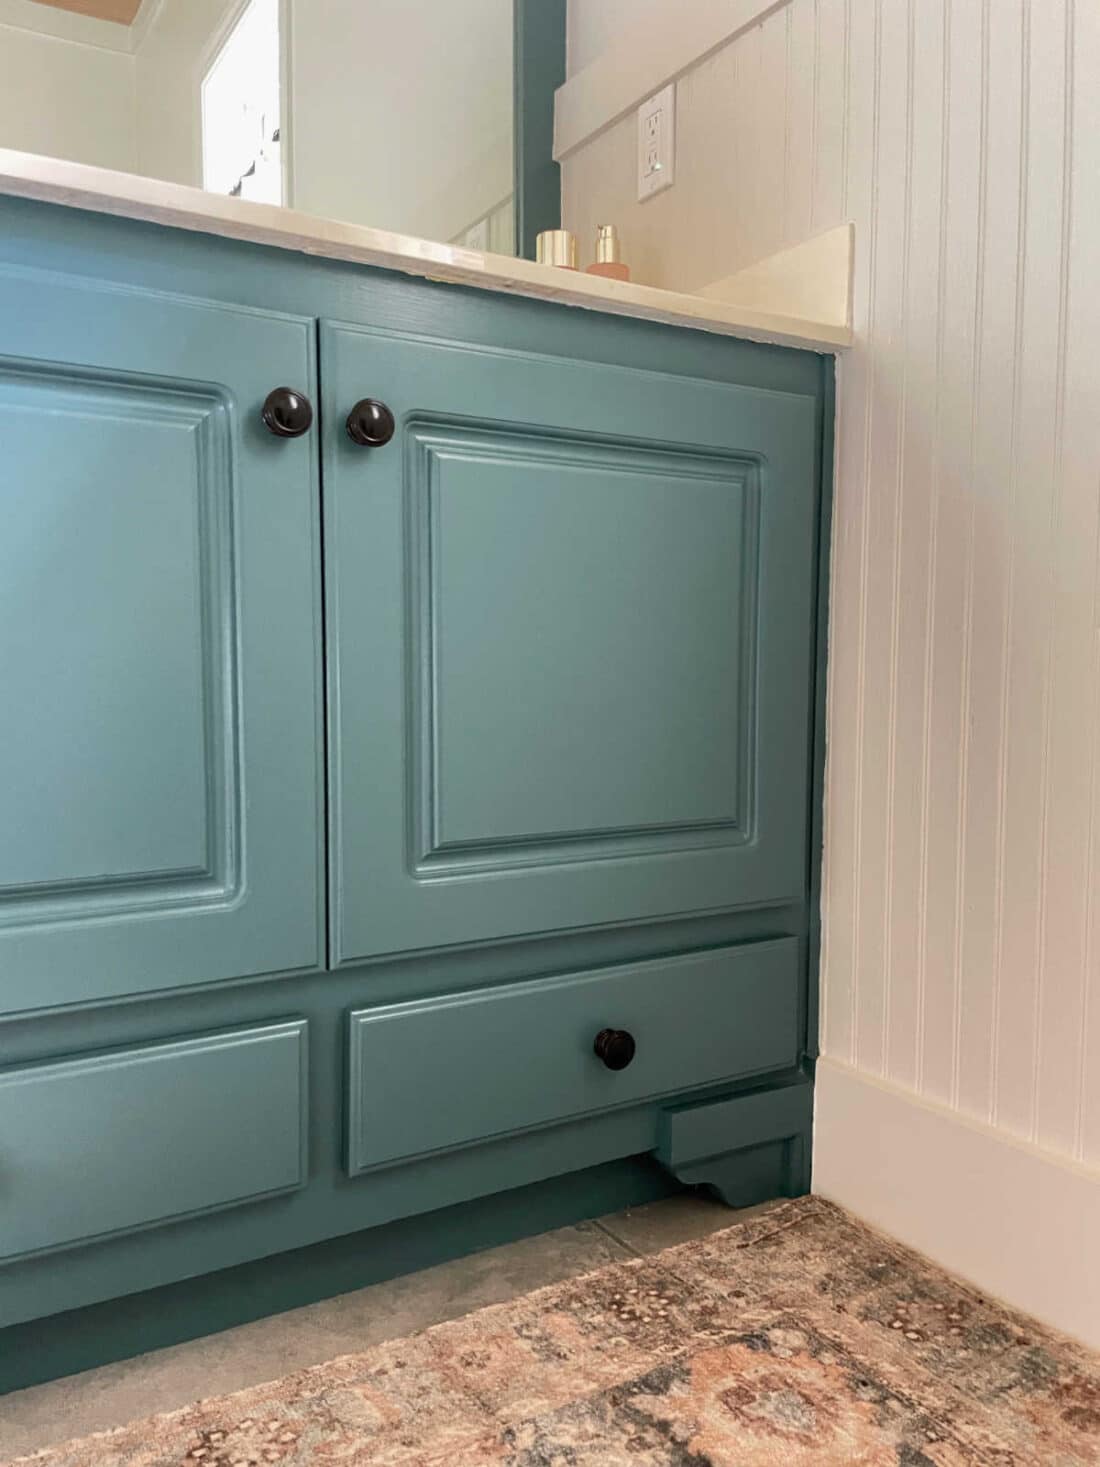
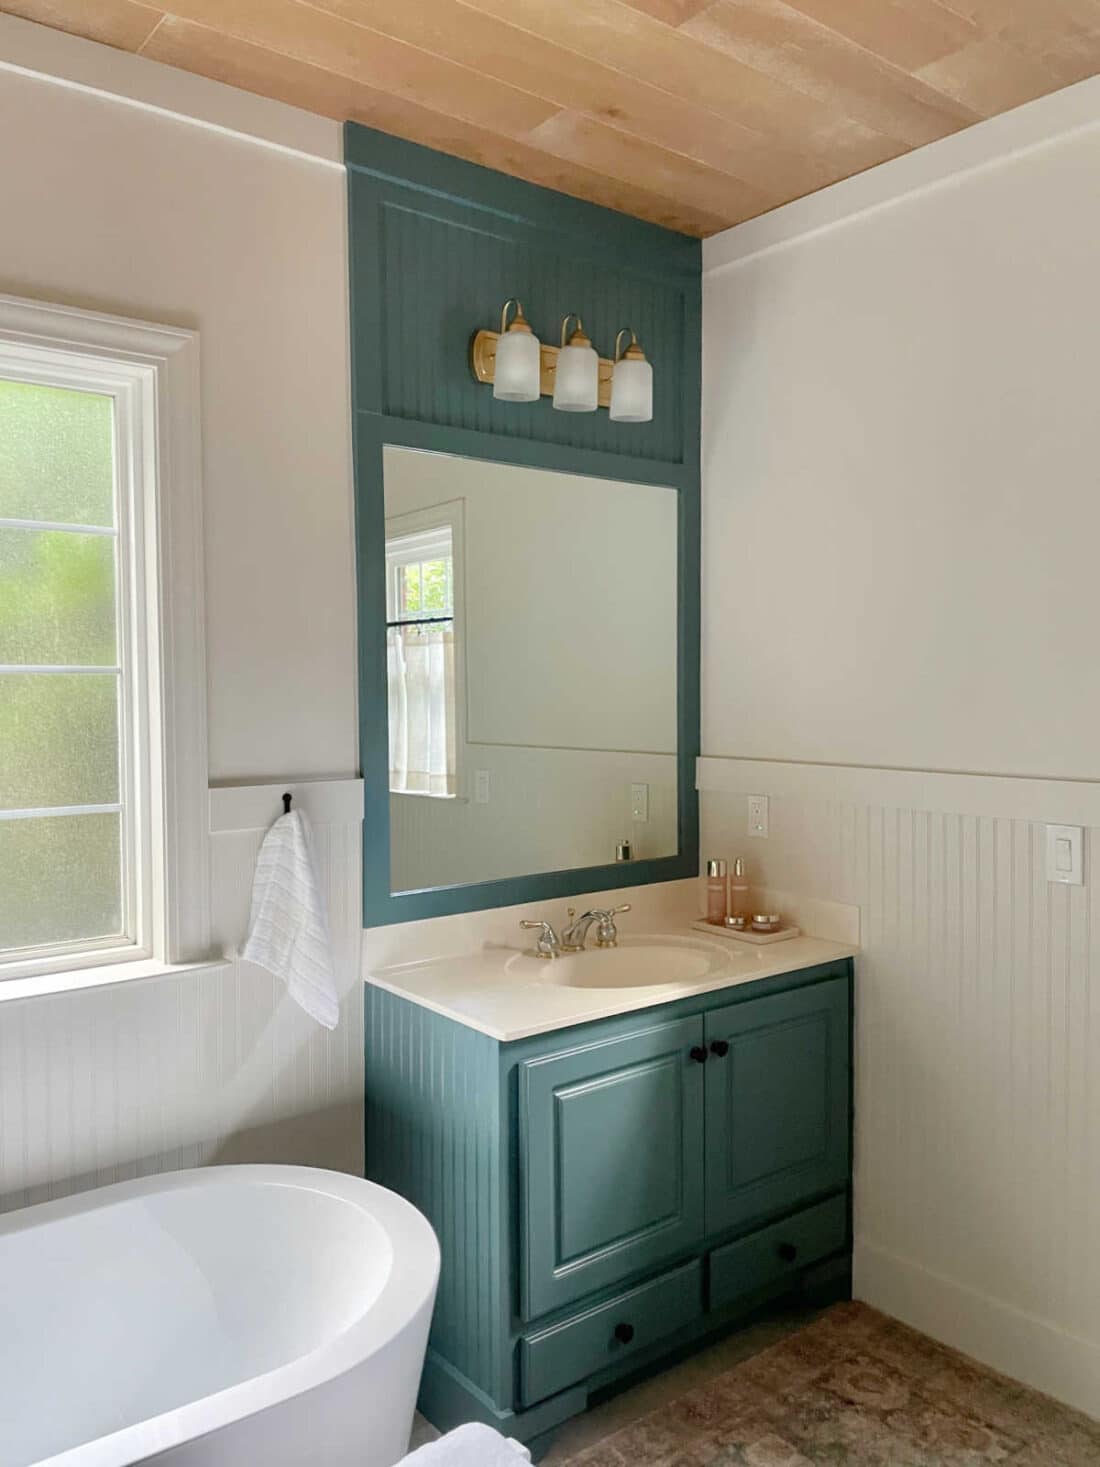
Since our countertops and faucet were in good shape, keeping them also helped us save lots of money. I have loved the knobs (similar cabinet knob) since I put them on 15 years ago so I decided to keep those too. They are real oil rubbed bronze not cheap painted ones. This is the perfect example of timeless.
We bought the house in 2007, it was built around 2001. Some things can be timeless and not need changing if you can work around them.
The details we did add to the vanity were all cosmetic but wow, what a difference it made.
What we added
- Bead Board
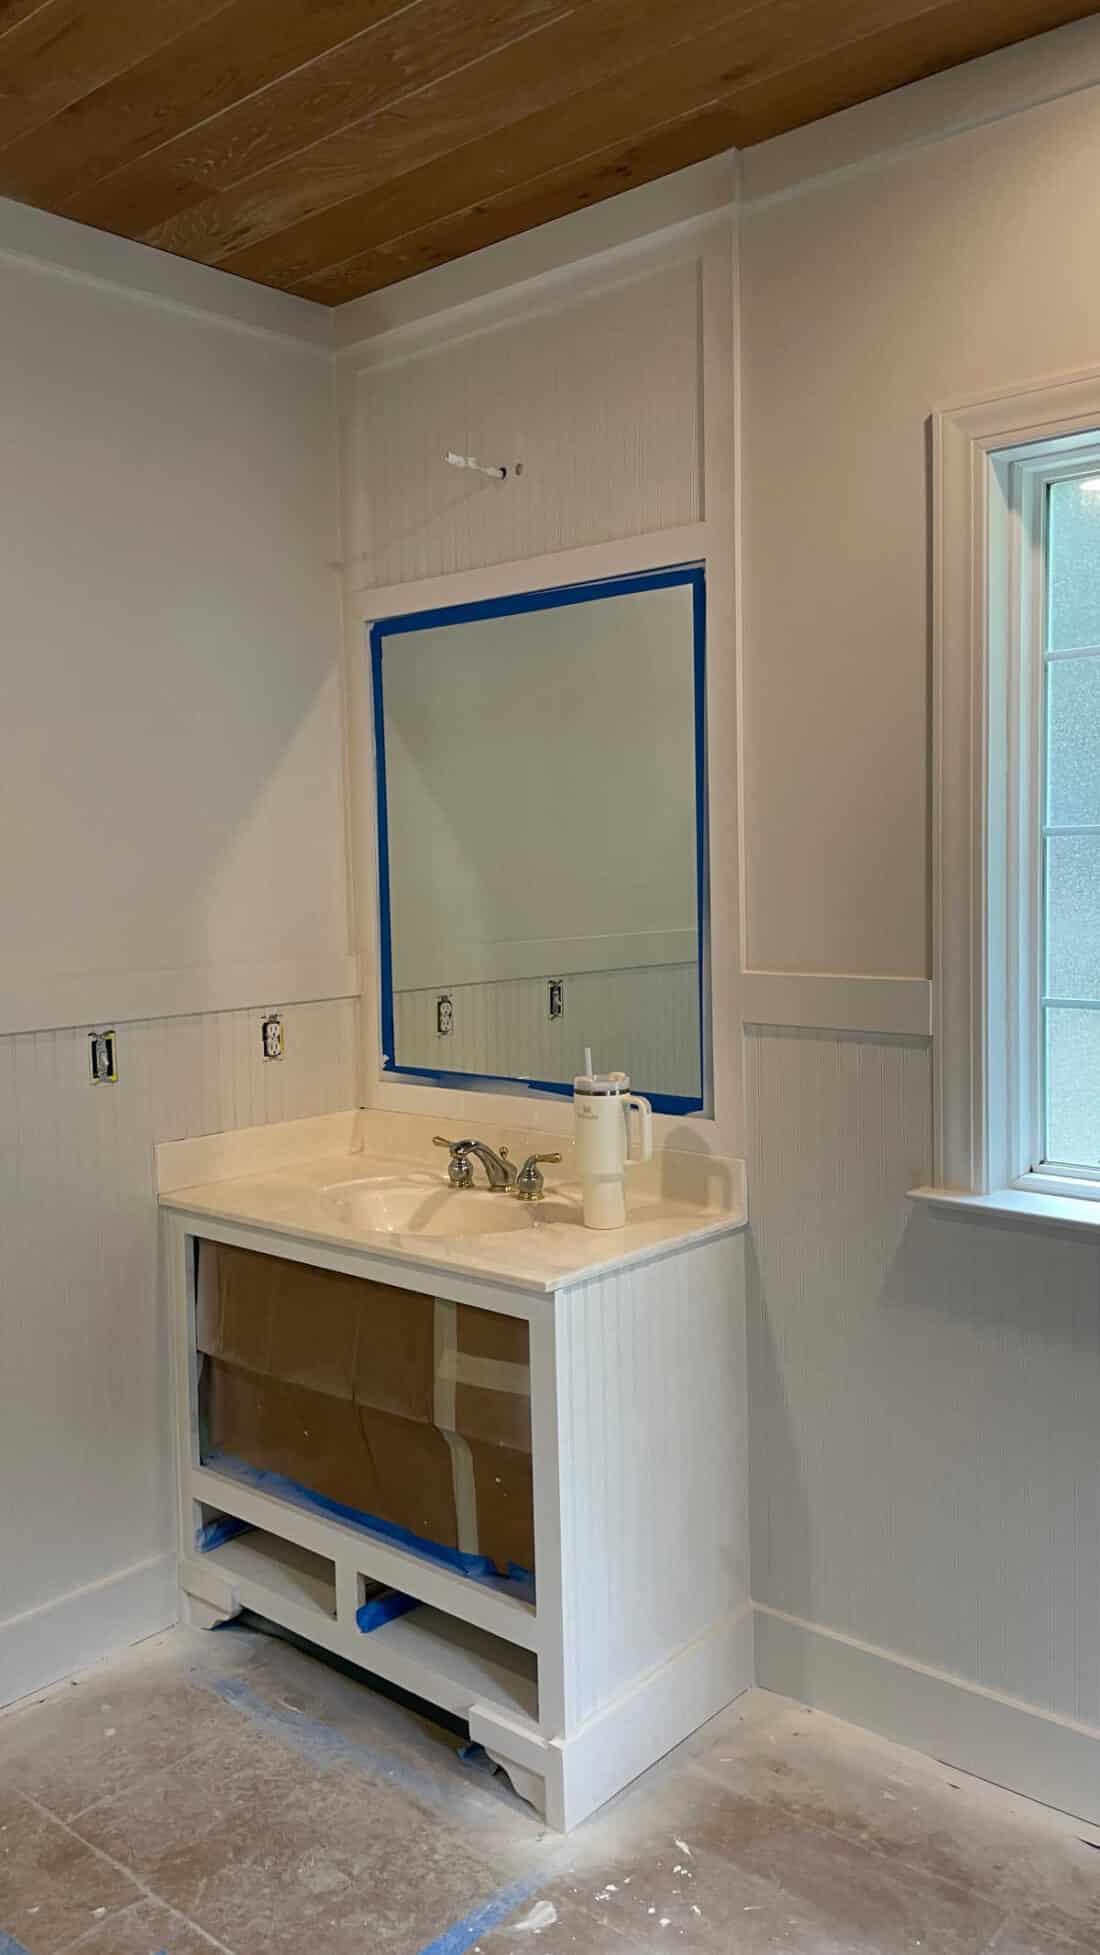
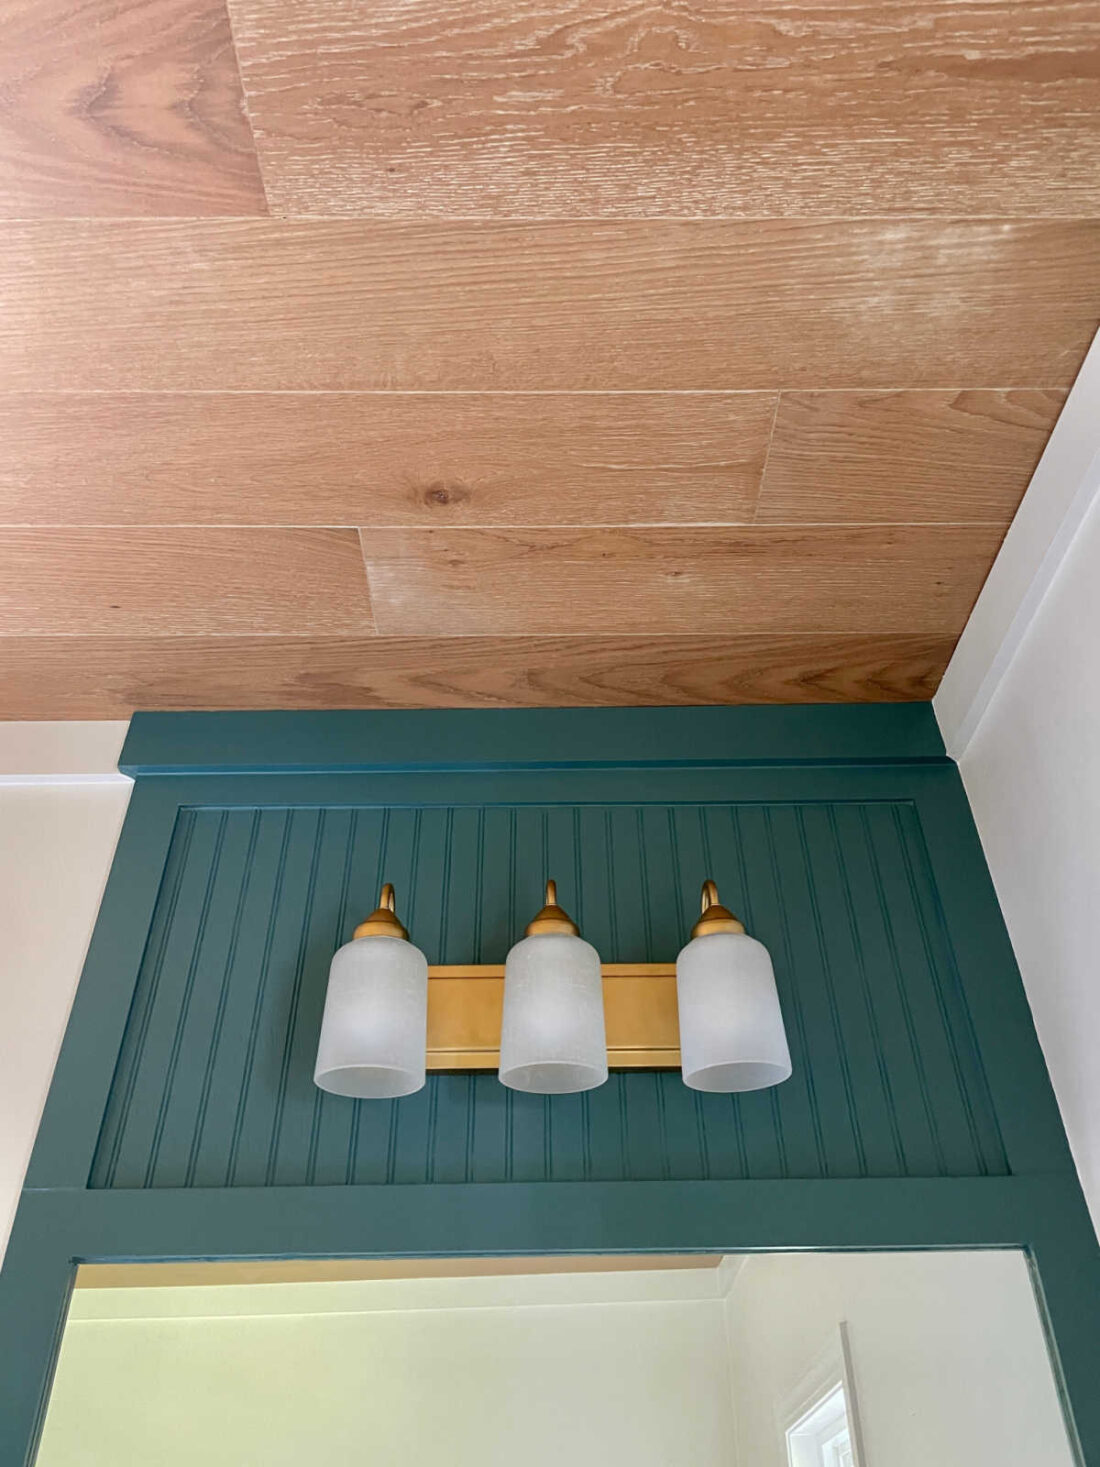
- Frame mirror and wood detail to ceiling
- Wood bracket added to front base on the right and left to give furniture look
- Painted same deep color to give high overall impact
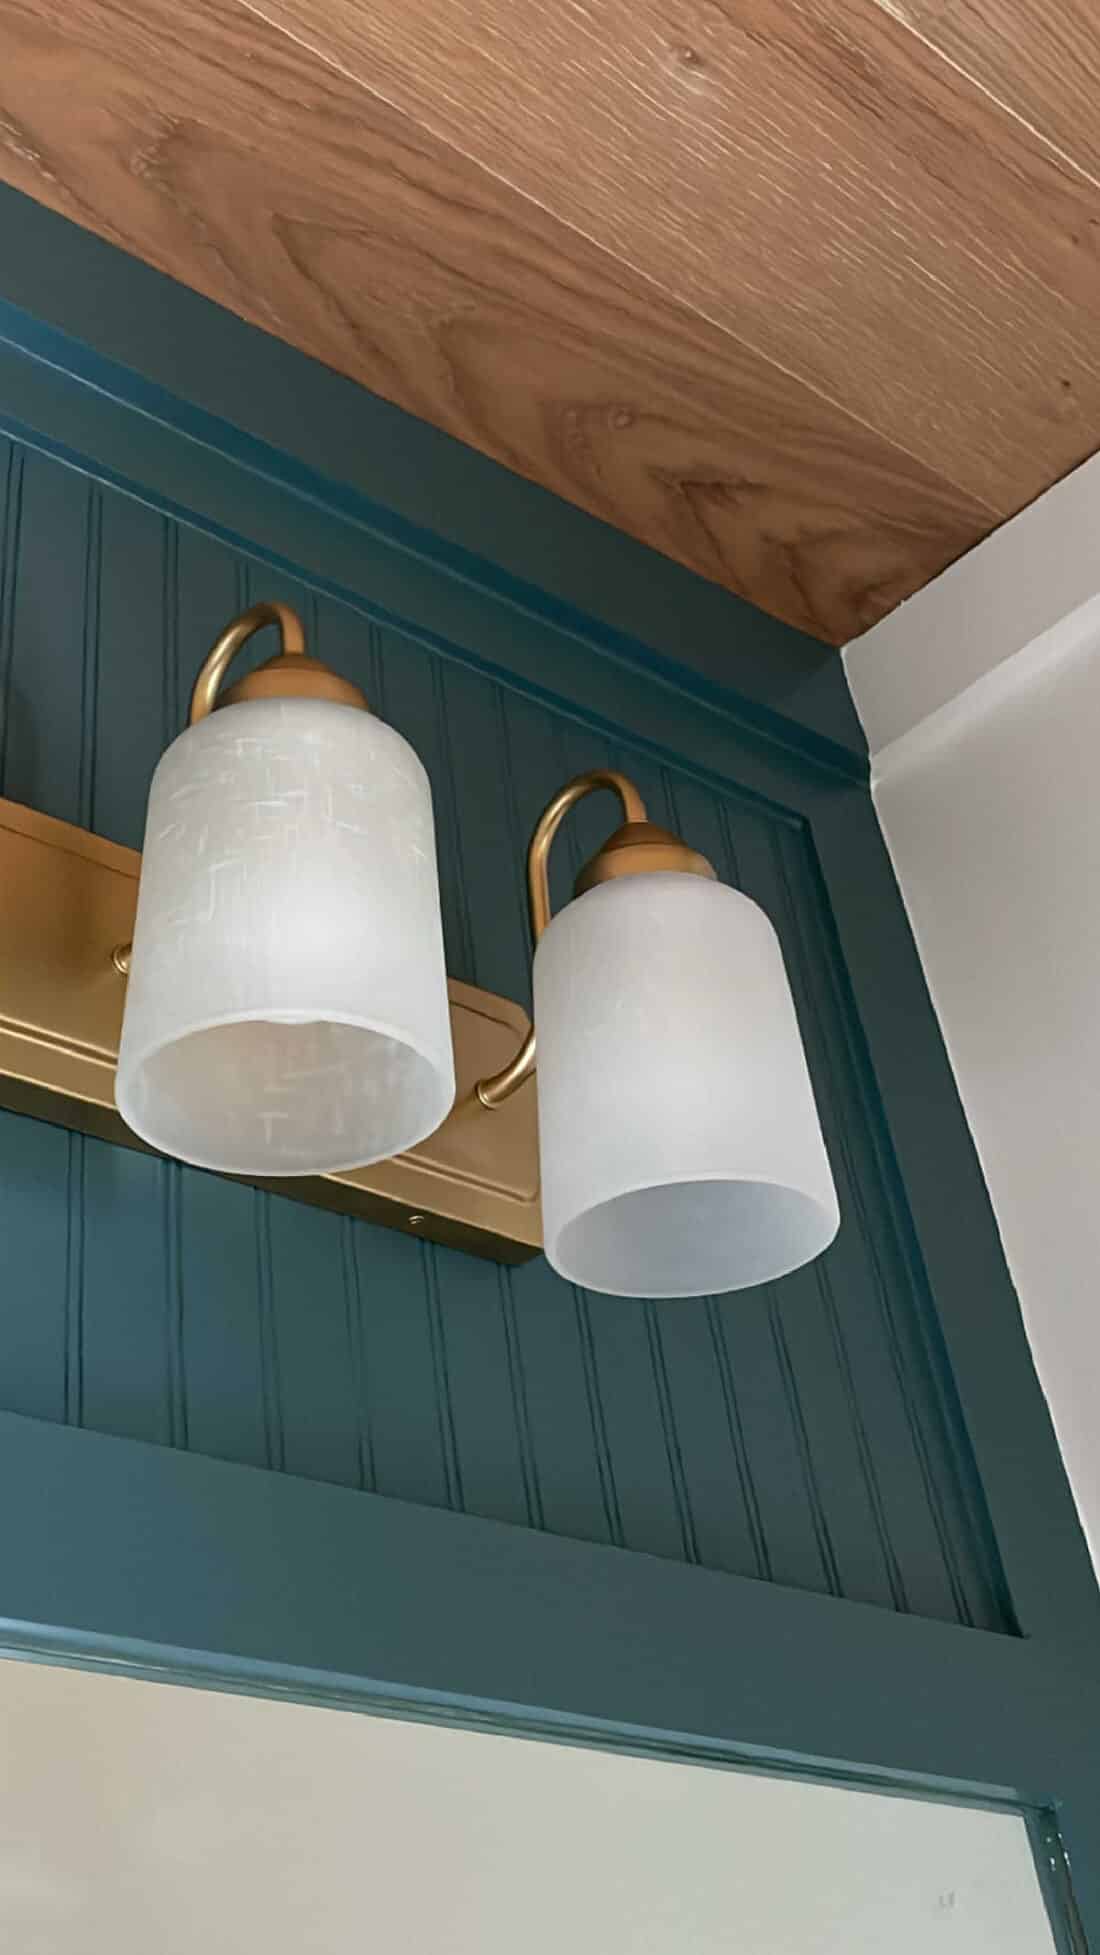
We added a custom built wood frame around the mirror. Ray did remove the mirror to do this part. Our mirrors were not glued to the wall but slide into clips. If yours are glued removing them will take extra care not to break.
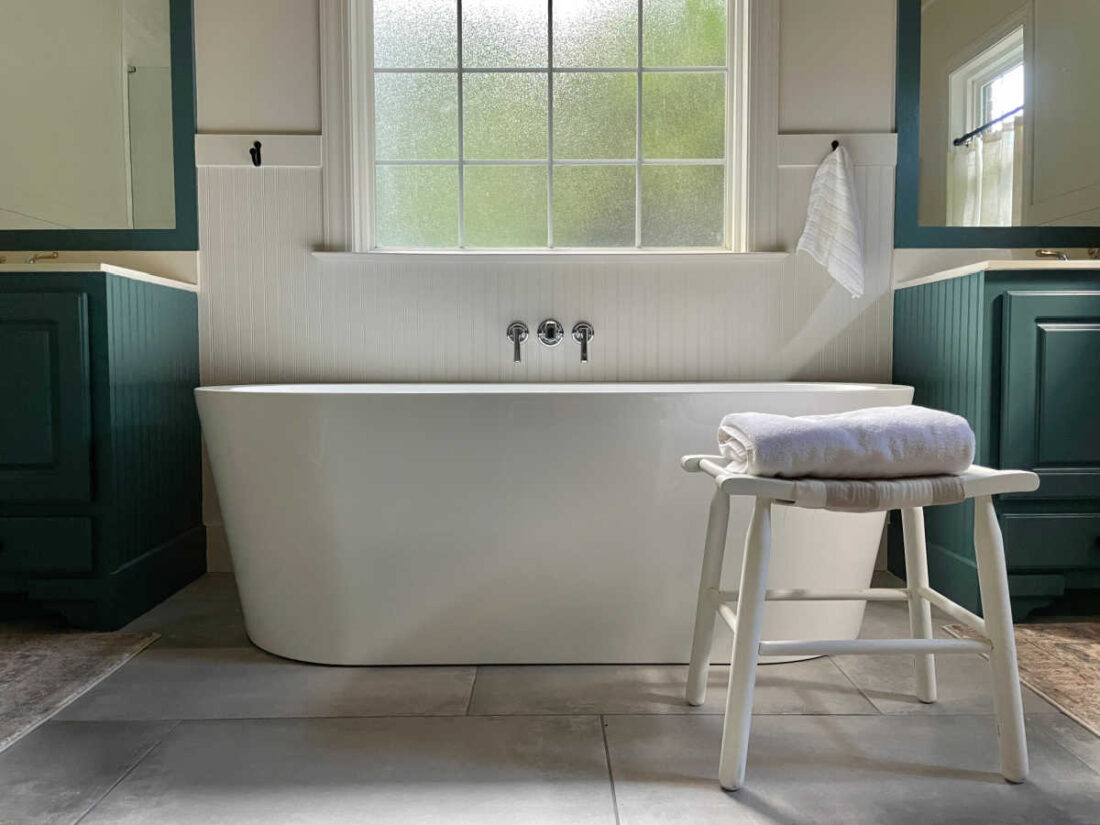
As you can see, everything painted in the deep blue green color is part of this makeover. We took the bead board we used on the walls and added it to the side of the vanity as well as above the mirror.
We added wood detail to the front bottom of both sides of the vanity by using a wood shelf bracket. We were going to custom build this part but Ray had the idea to try the bracket.
It was a very close fit. The bracket had to be trimmed down a little to fit but worked out great.
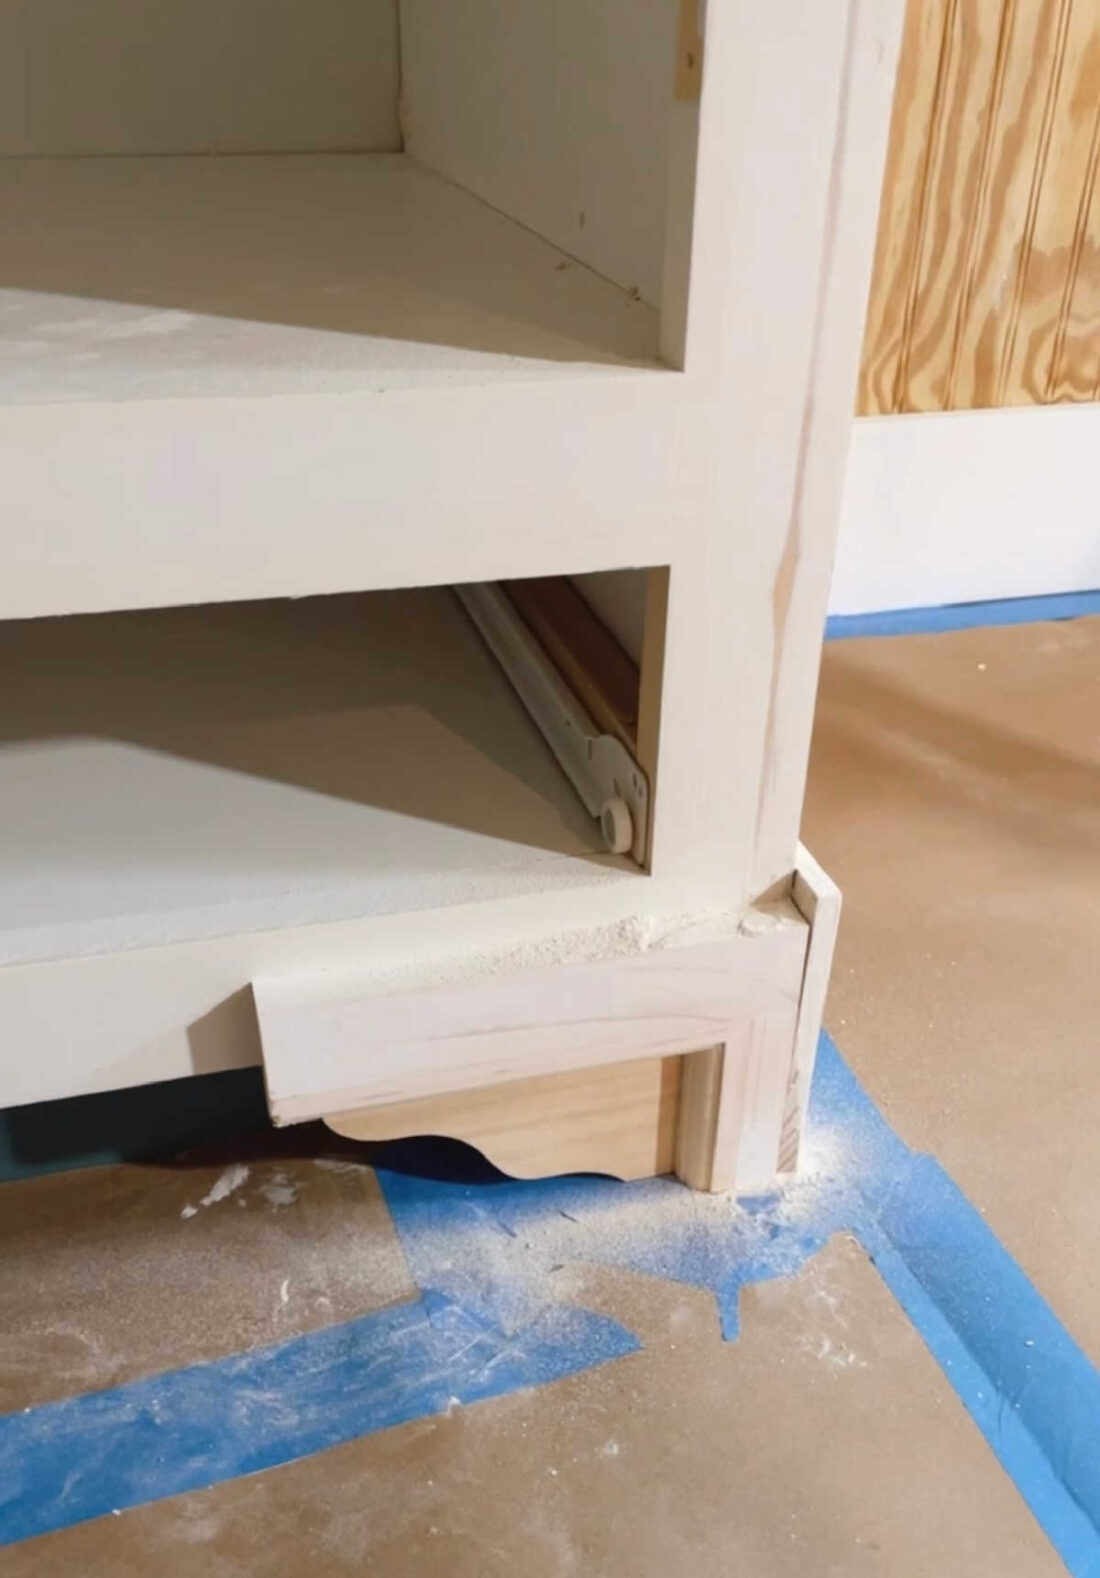

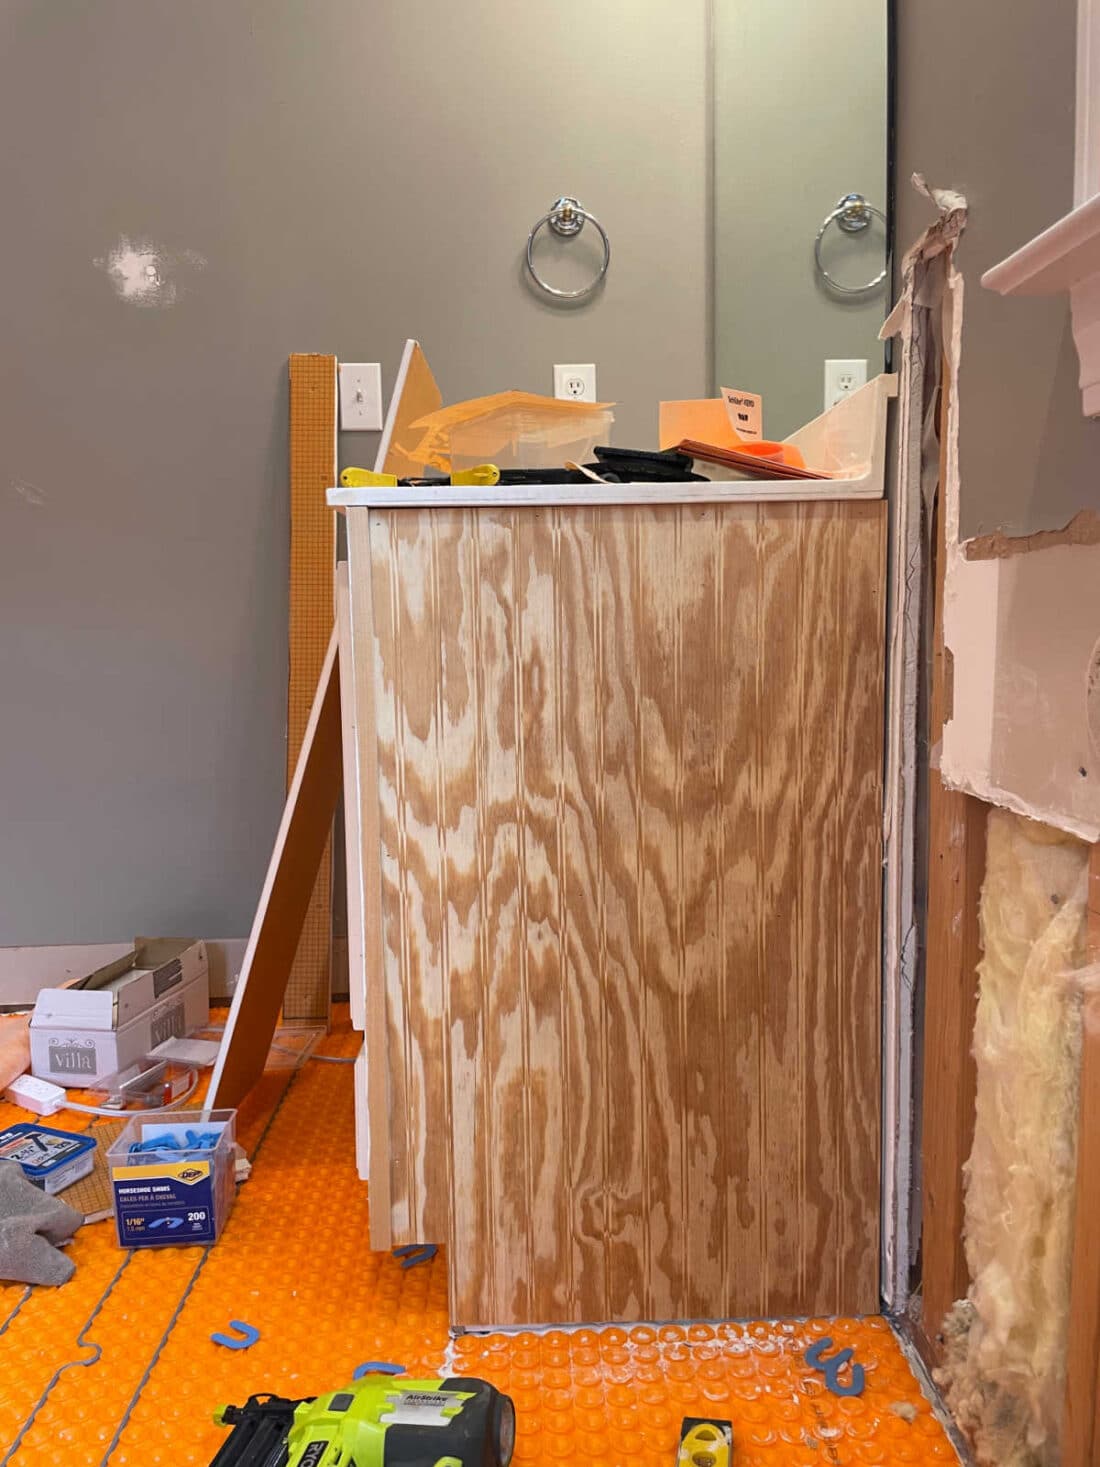
The vanity originally had the pony wall. Once we took out the half wall the vanity was unfinished on the side. Adding the bead board was a quick and easy way to give it more custom detail.
We removed the light fixture to add the details to the wall above the mirror. Then hung it back up after it was all installed and painted. The bead board above the cabinet brought the same detail as below making such a statement.
We have 9 foot ceilings but doing this in rooms with shorter walls would give the appearance they are taller.
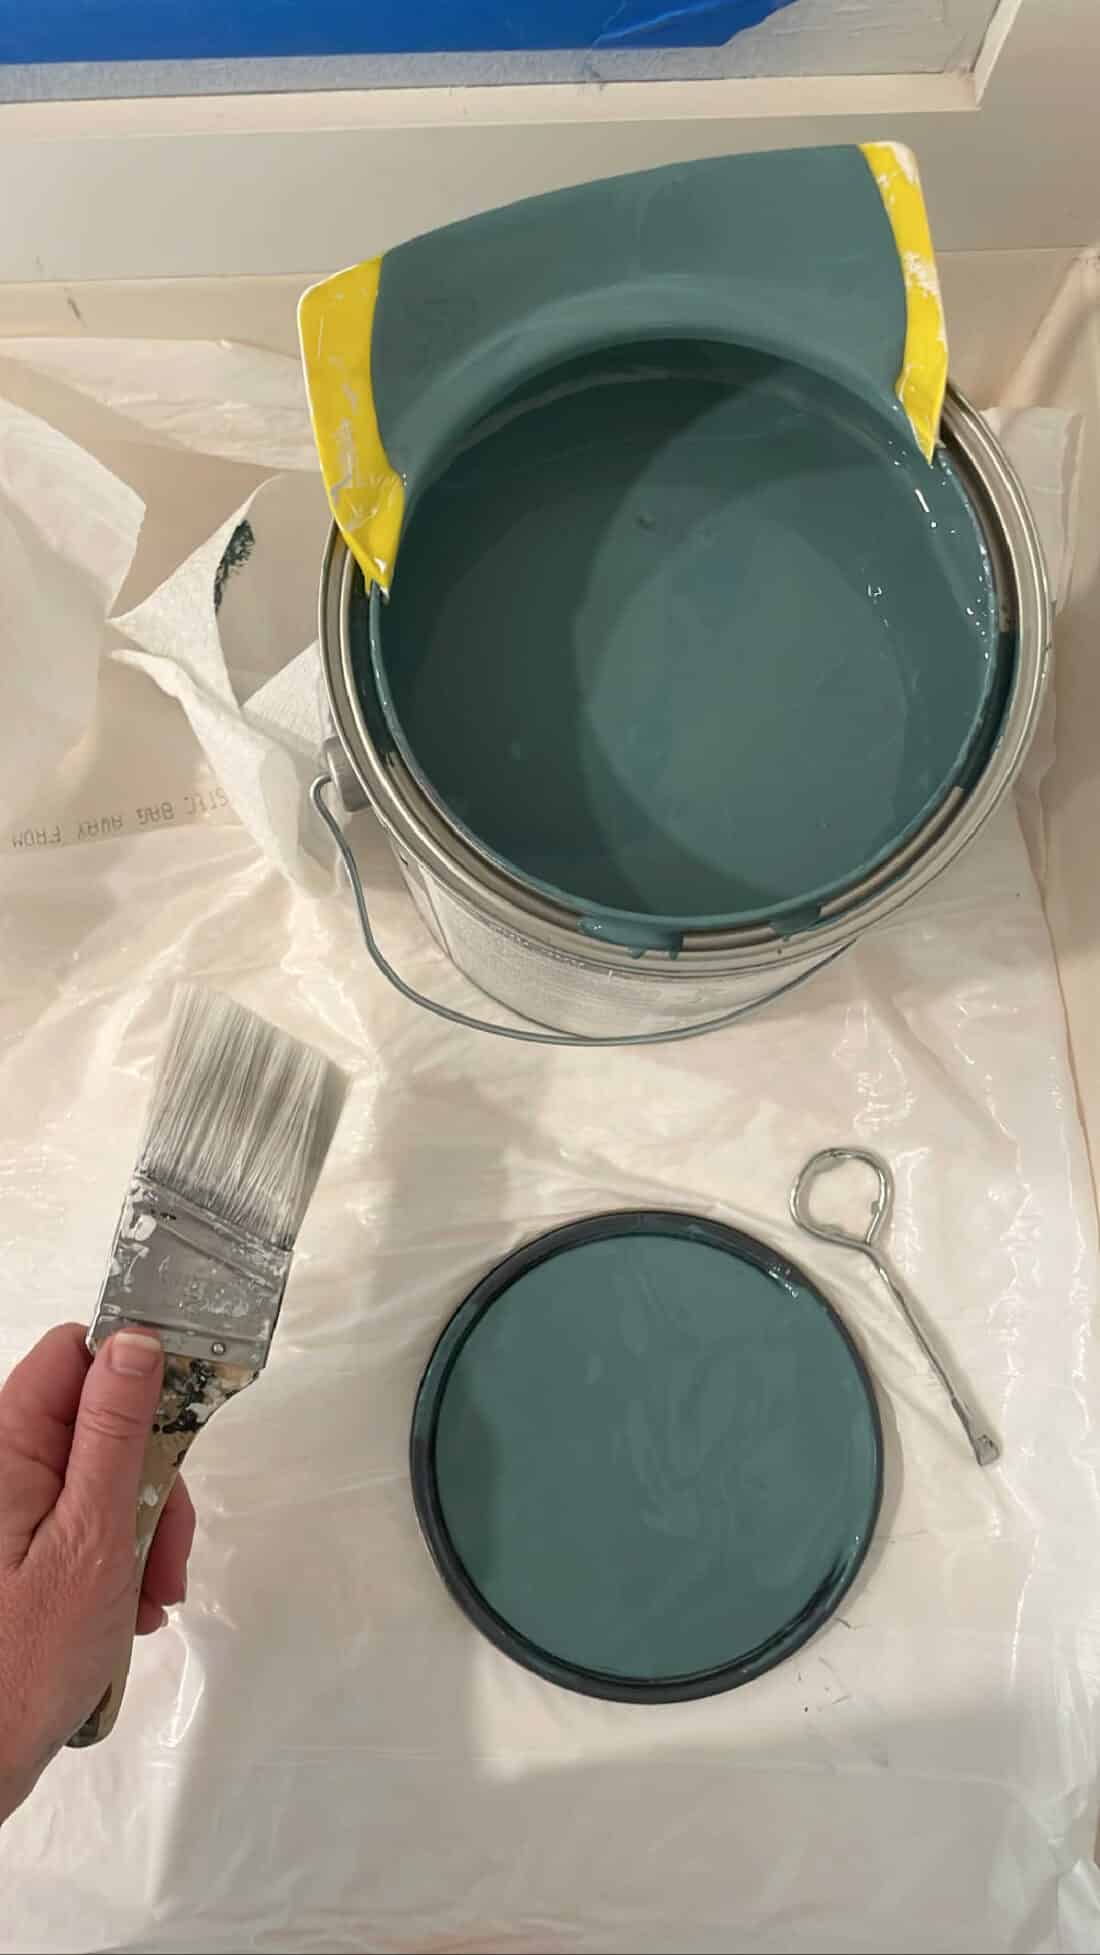
Paint colors and type
The color and paint came from Sherwin Williams. Best DIY skills to have for any room makeover are learning how to paint a room top to bottom and following my best paint sheen guide.
- Mediterranean SW 7617 Emerald in Semi-Gloss sheen (vanity)
- Aesthetic White SW 7035 Duration in satin sheen (walls, bead board, trim)
Our bathroom makeover with black painted walls is one of my favorite spaces where changing only the wall color can make a huge difference.
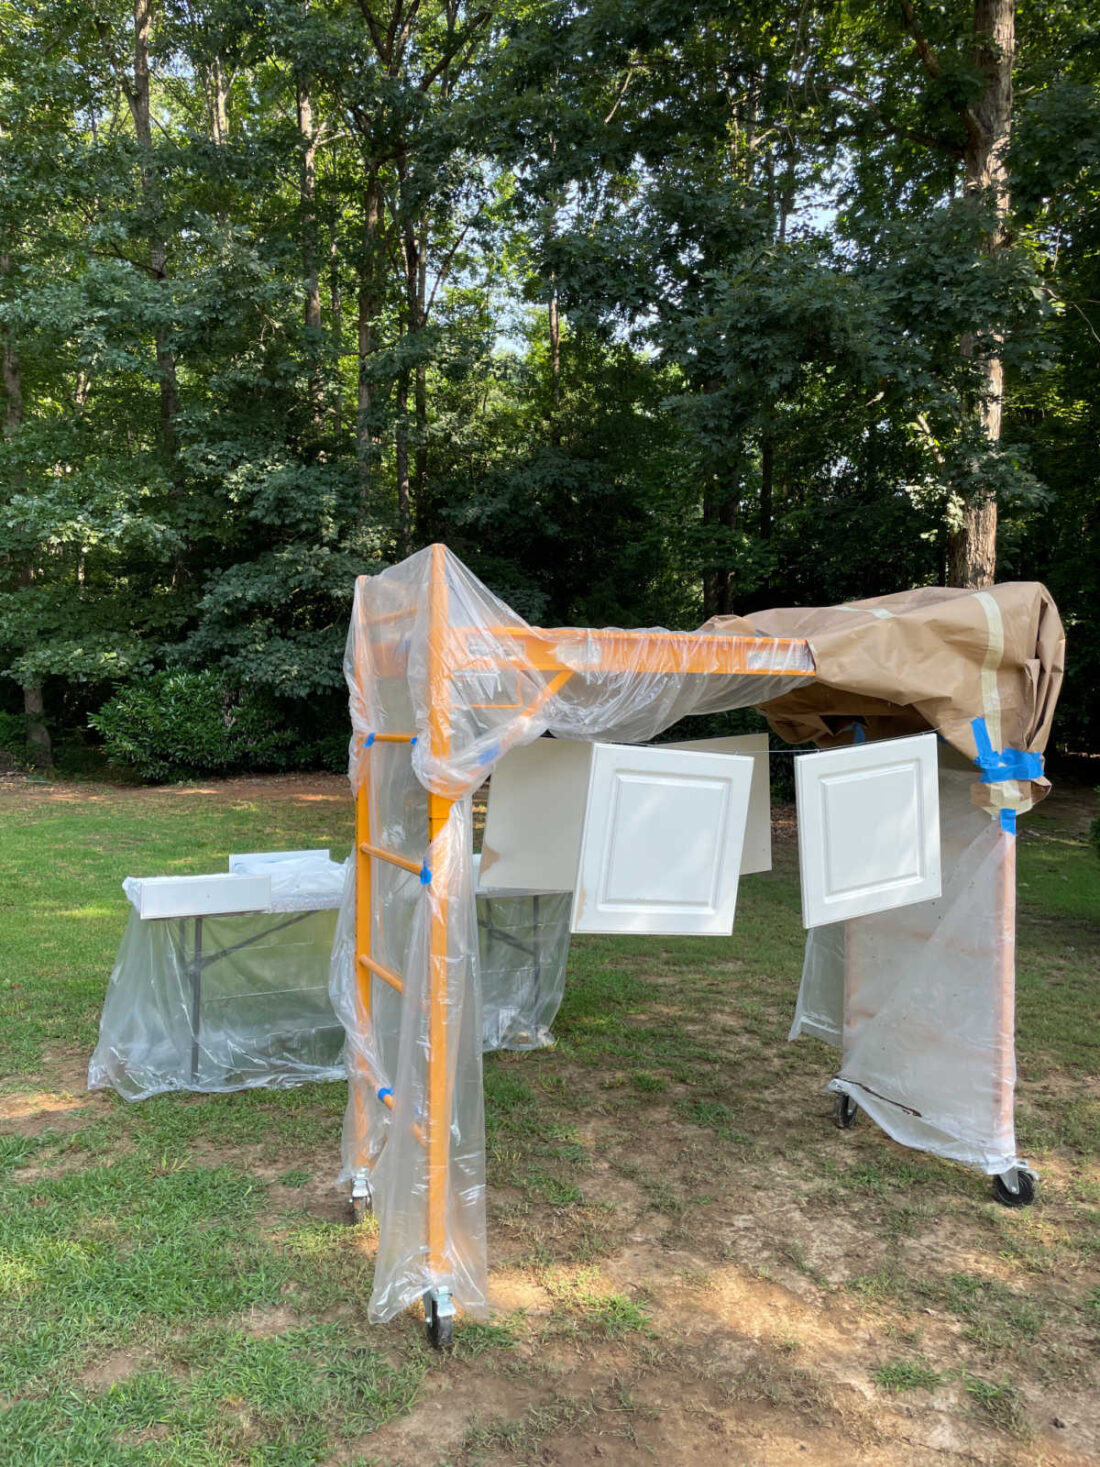
When we primed and painted the walls we covered the vanity, shower, floors, and ceiling with light wight plastic drop cloth.
Once it was time to paint the vanity I placed the doors and drawers outside. I hung the doors so I could still use the paint prayer. I wanted to smooth finish. Then I had painted the vanity box and other detail. Using a good paint brush helps.
Our goal with this vanity makeover was to give it a beautiful update and make it look more substantial with a built in effect. We achieved our goal.
I hope this inspires you to rethink what you have. While our bathroom makeover did cost money, this vanity makeover was the most affordable part.
I love this! I wish I would have painted my cabinets myself rather than have a local painter come because I keep seeing amazing ideas like this and wish I could add to it. I love the fact that you added bead board to the side of the vanity. I’ve never seen anything like that before but it ties the room together. Thanks for sharing!