How to paint a room top to bottom for beginners
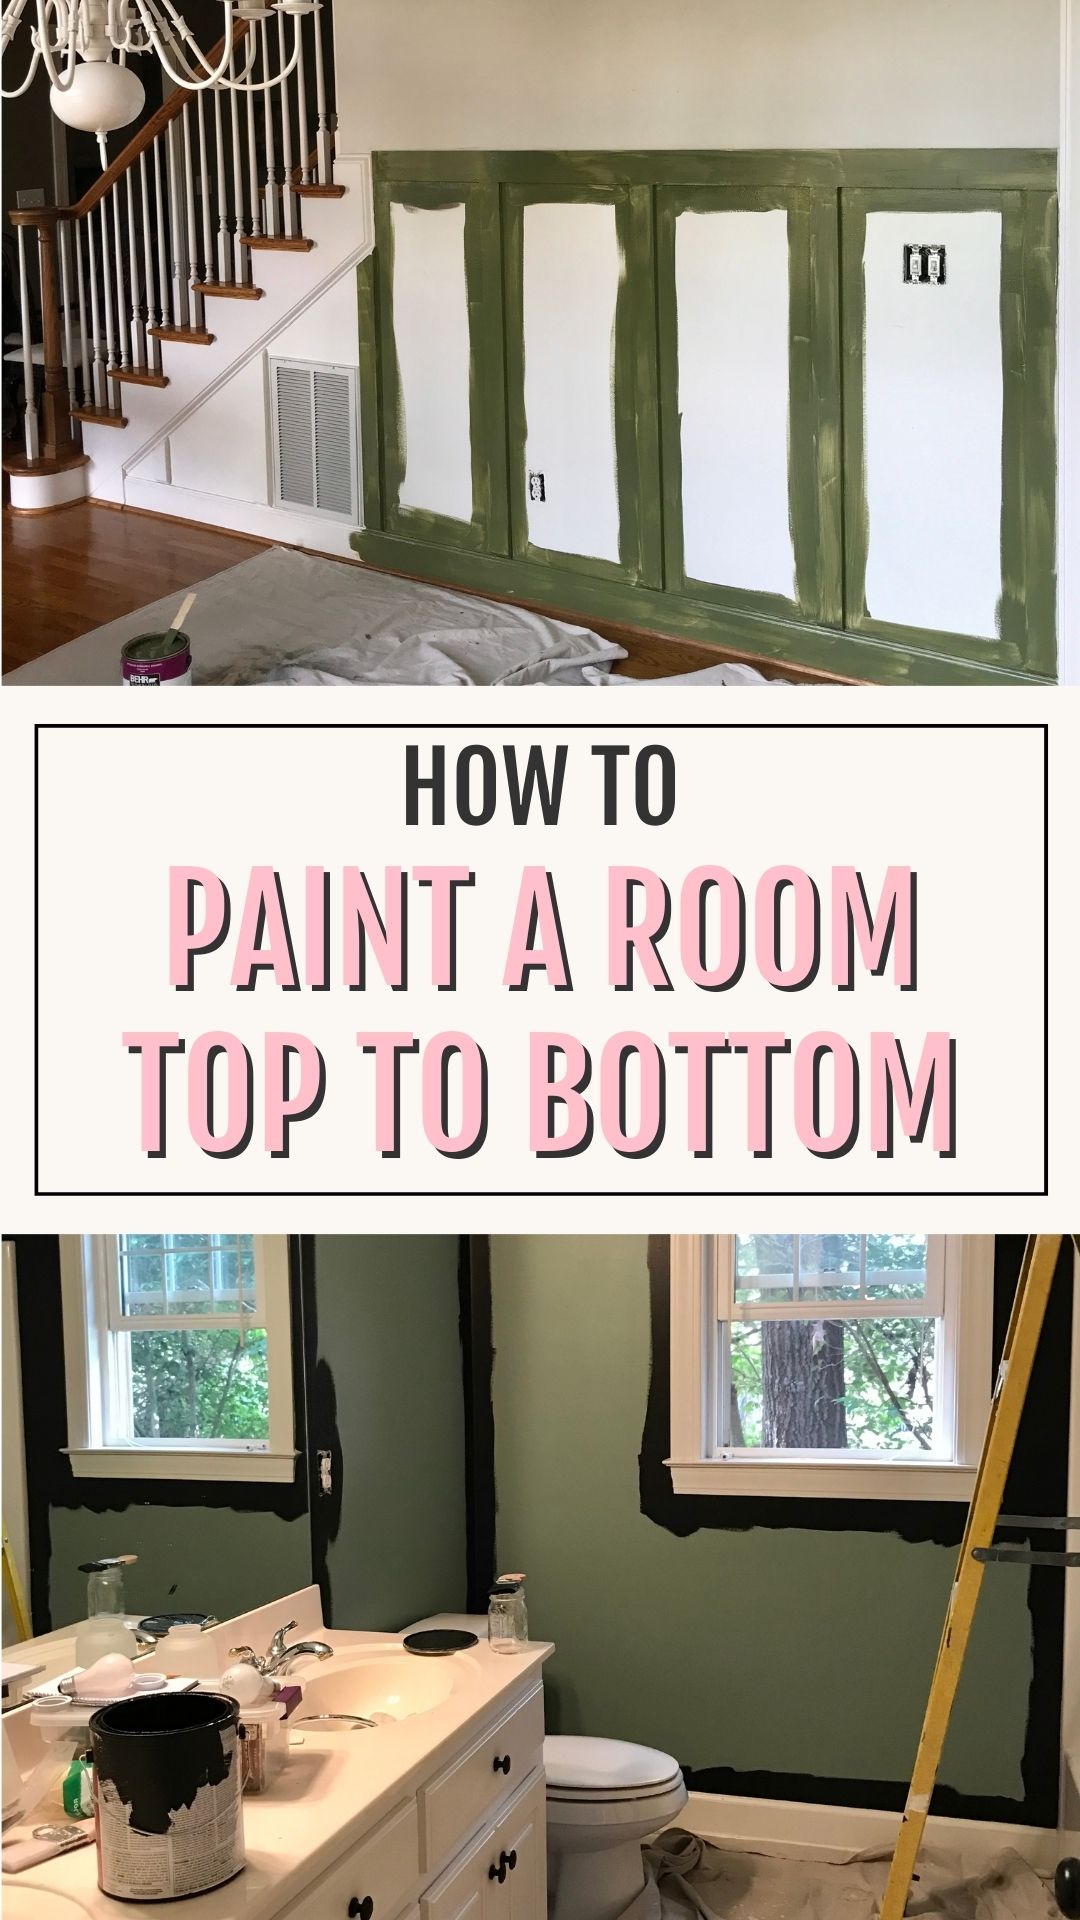
Learning how to paint a room top to bottom will give you the confidence and skills to becoming your own home decorator and DIYer. Paint is the start of every great room makeover.
I have been painting the walls in our home since we were married which was 1994. I took the time to paint because honestly we couldn’t afford to pay a professional. Learning to paint is the best thing that ever happened for me and my DIY skills.
My motto is, it’s just paint. If you don’t love it, paint it! If you make a mistake, repaint it. Whether it’s a brand new color or a shade different, you will love your room makeover.
This post contains affiliate links. Read full disclosure policy.
Benefits of learning to paint a room
- Save money
- New room look in a day
- No need to wait for a professional appointment
- DIY gratification
My sister in law recently tried getting quotes for interior painting. No one wanted to take it on. Apparently the painters were busy with bigger jobs and a small home project wasn’t worth it to them. Even though they wanted the entire first floor painted including ceiling, walls and trim. I shared this on Instagram and had another friend message me she was having the same issue.
That means it’s time to become your own painter! This is the number one DIY skill I believe everyone should learn. Having the ability to change the paint color can totally transform your home.
Paint colors in our home
This post will share how I paint an entire room, top to bottom. For most room makeovers though you will probably be painting the walls only.
Ceiling and trim will not need painting as often. I wanted to address them all in the same post since I recently did this to our entire upstairs of our home.
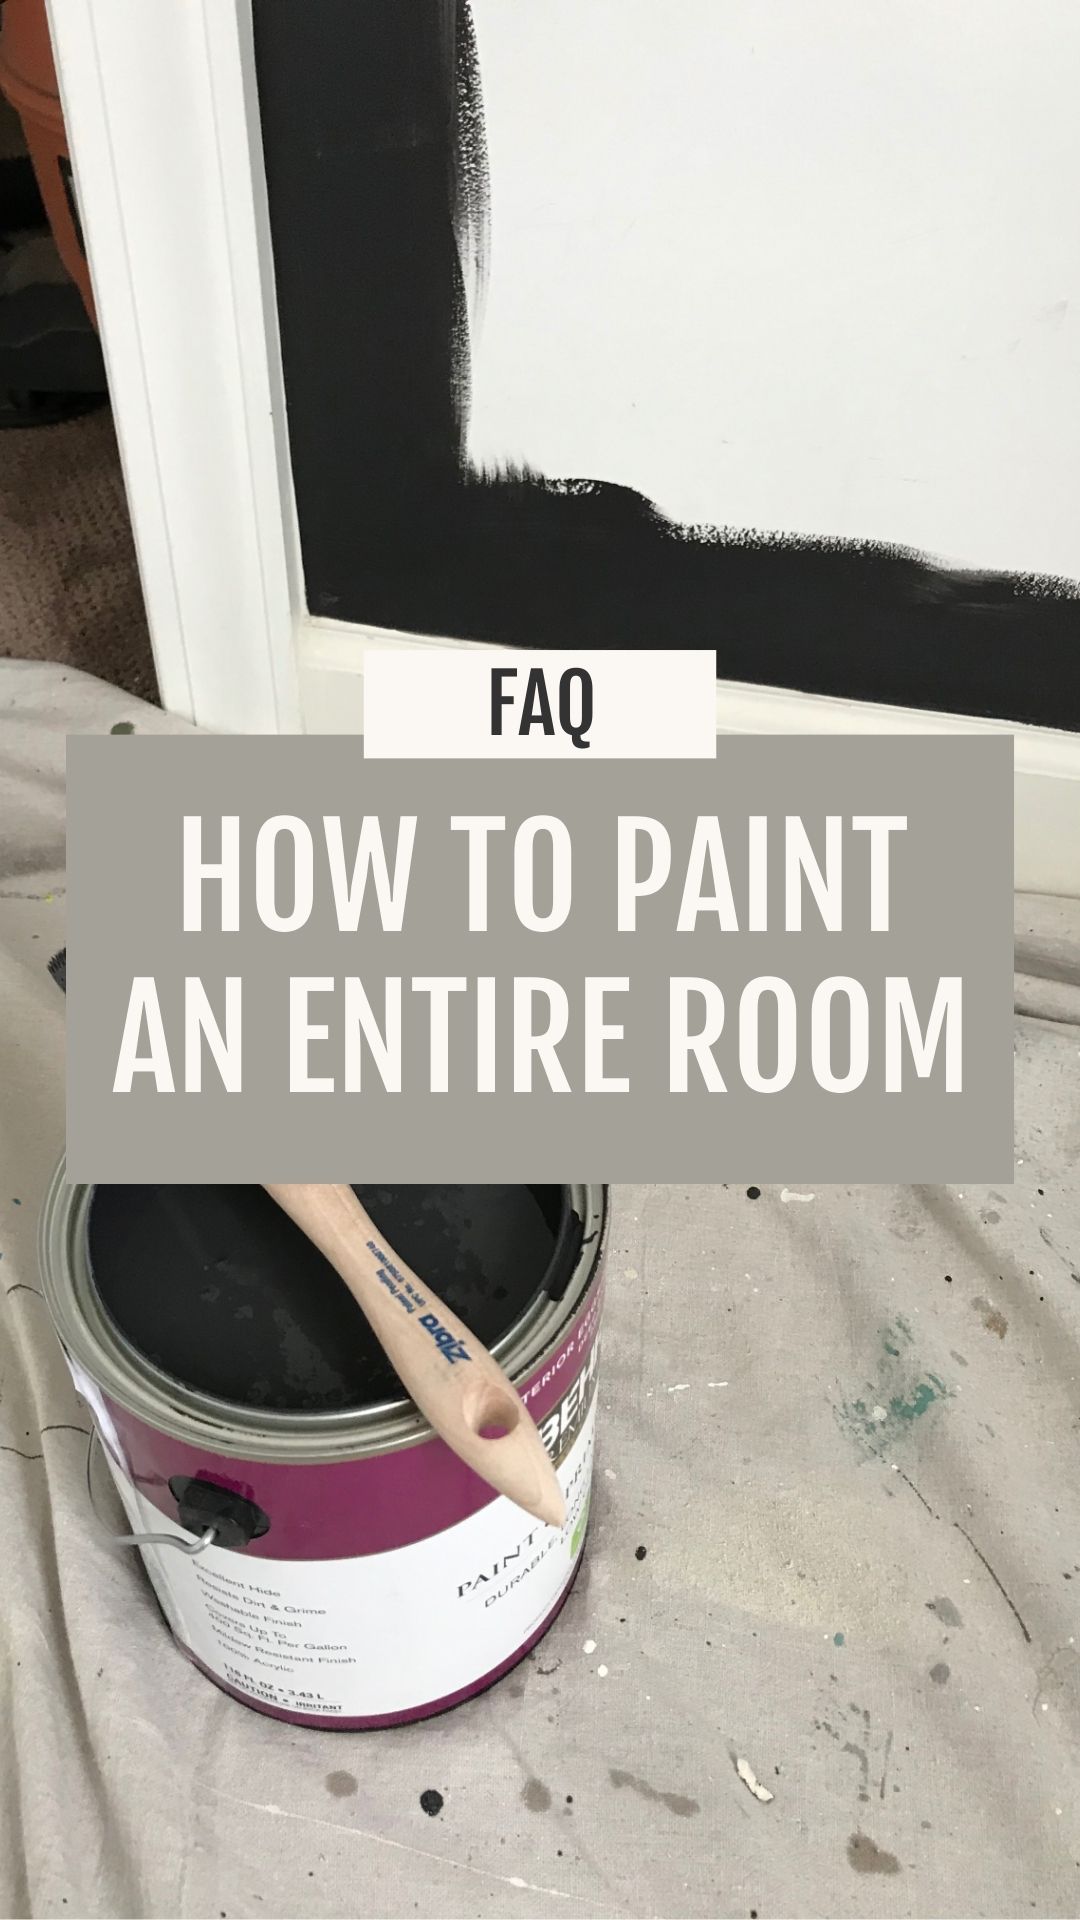
Frequently Asked Questions
You can absolutely paint a room by yourself. I do it all the time. Painting interior walls in your home is the easiest and most popular do it yourself project you can learn. The affordability of paint makes this a great skill to learn to makeover any room in your home.
There is no specific “correct” order to paint a room, this can be preference but there are tricks to making it easier. In this post, I did it ceilings, walls, then trim. The pros recommended ceiling, trim then walls. The pros find it easier to tape off the trim. I can definitely see how this can be true.
On average you can save yourself lots of money painting your interior walls yourself. The first time you start you will need to buy supplies but once you have those you will keep using them. The rollers and paint will need to be purchased for each project. By doing the painting yourself you will save on the professional cost that averages $2-$6 a square foot.
This can be preference but the pros advice painting trim before walls. It is easier to apply the painters tape along the trim work for a cleaner wall line than doing it the other way around.
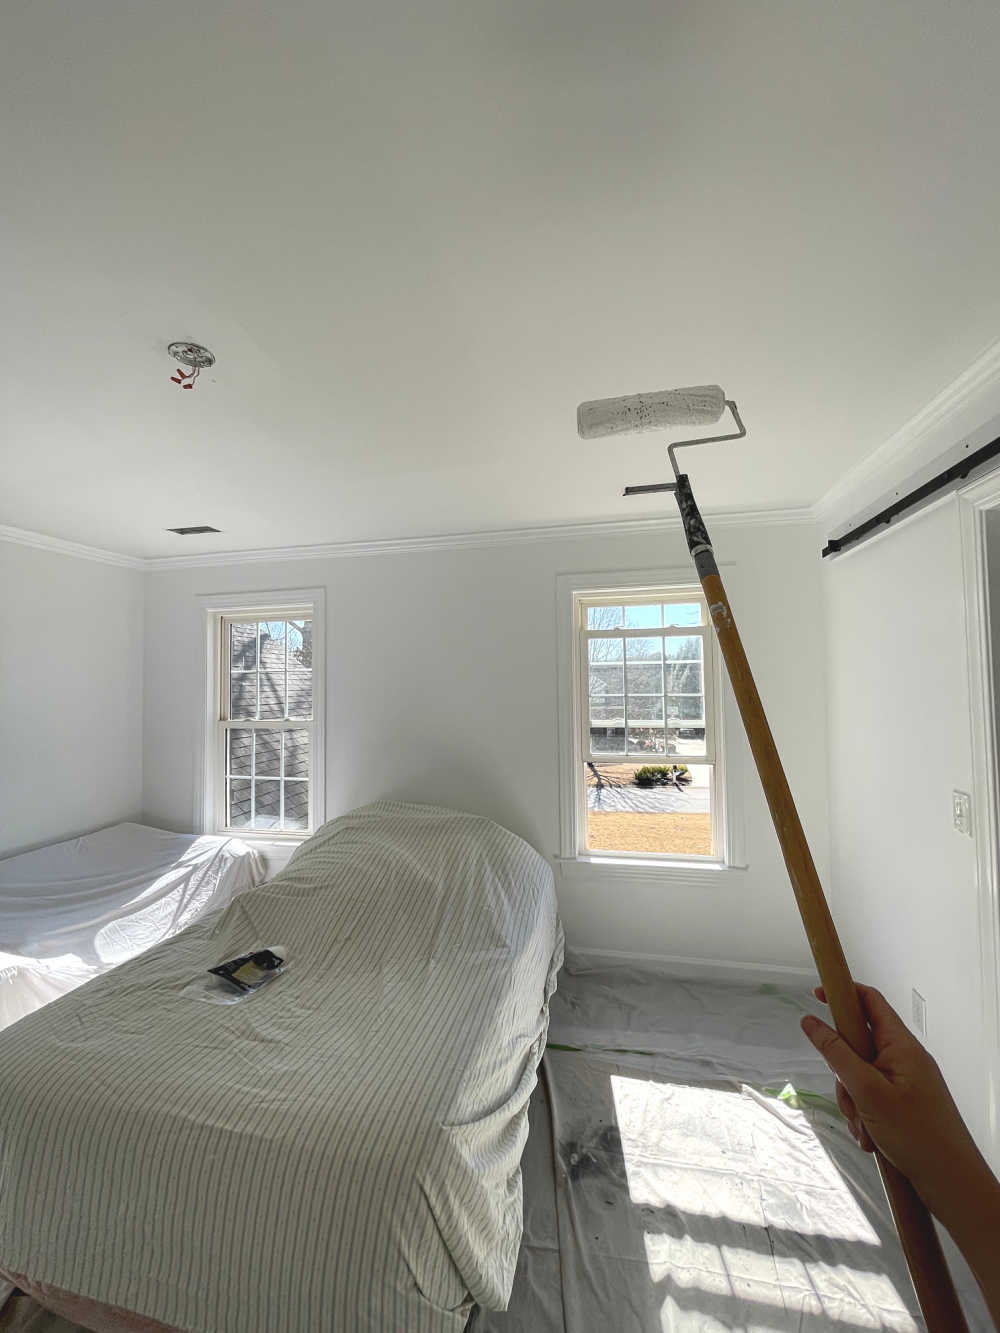
Always paint the ceiling first. The ceiling is the hardest to paint. Painting and rolling over you head can have paint splatter that can get onto the walls.
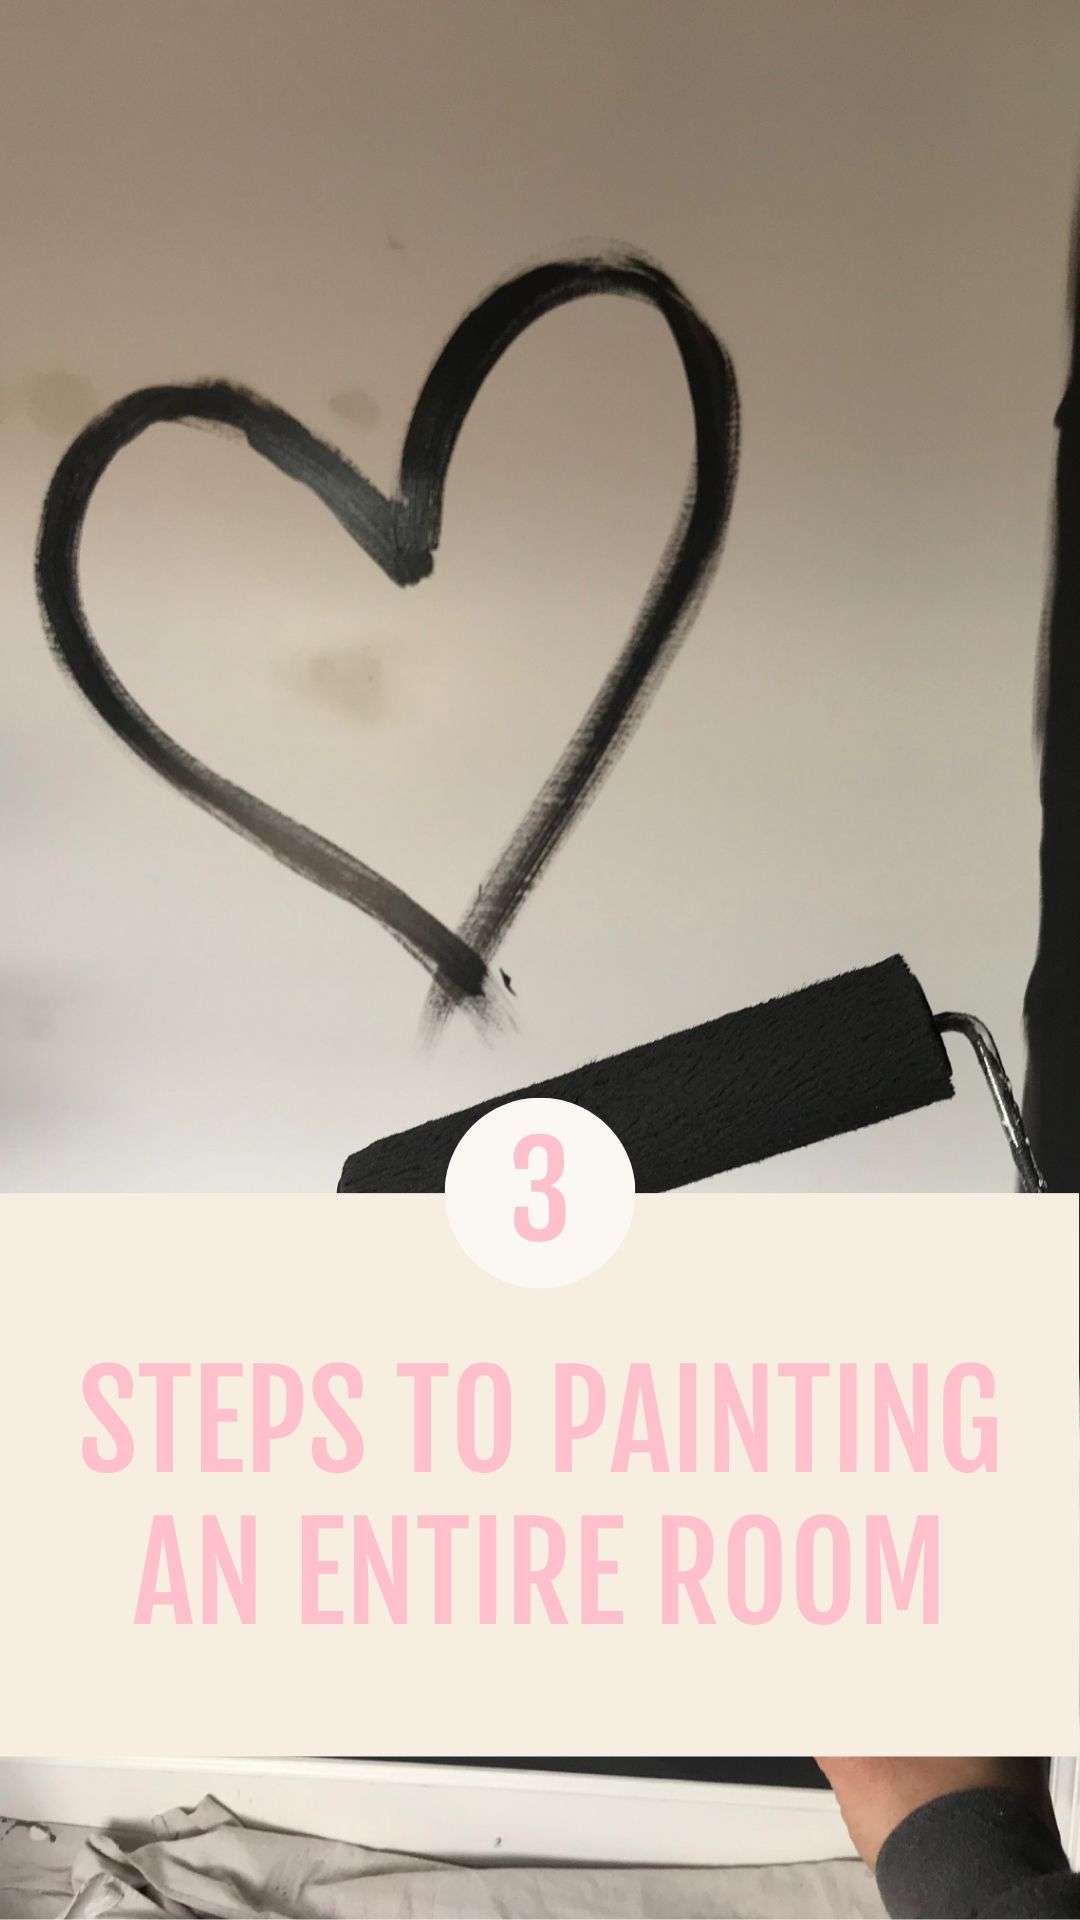
3 Steps to painting an entire room
Plan
- paint type and color you need for each surface (sampling is a must)
- supplies
- scheduled time (white paint can take way longer than you think)
- meals for you and family (the best advice I can give for any DIYer)
- Choosing the right paint color is top priority. Read this blog post when you are ready to choose your color. It will guide you to getting the right color every time.
- Make sure you have correct supplies.
- Consider how much time you will need. This is helpful for creating a happy space while working around family.

Prep
- Remove all items from walls.
- Move out any furniture you can to make painting with a pole easier.
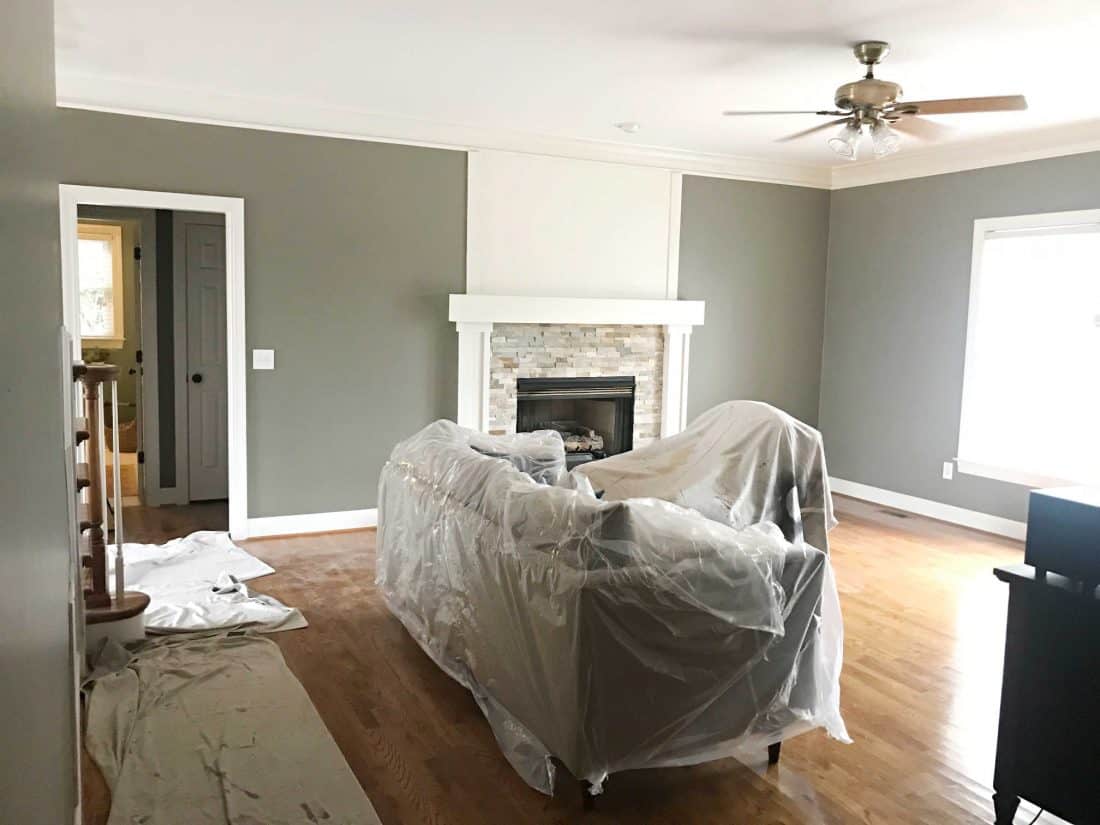
- Cover all remaining furniture with drop cloth or old sheets.
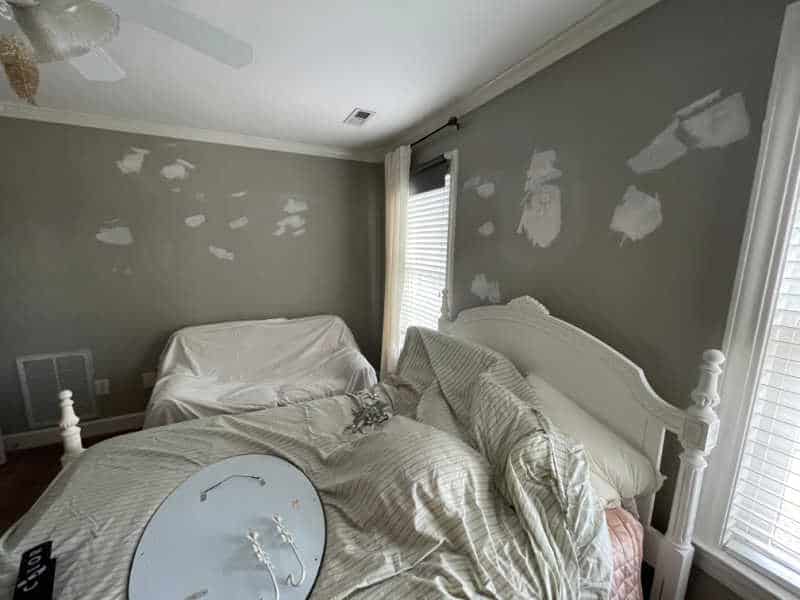
- Spackle all holes, sand and repeat as needed.
- Dust all of the walls
- Prime over spackle
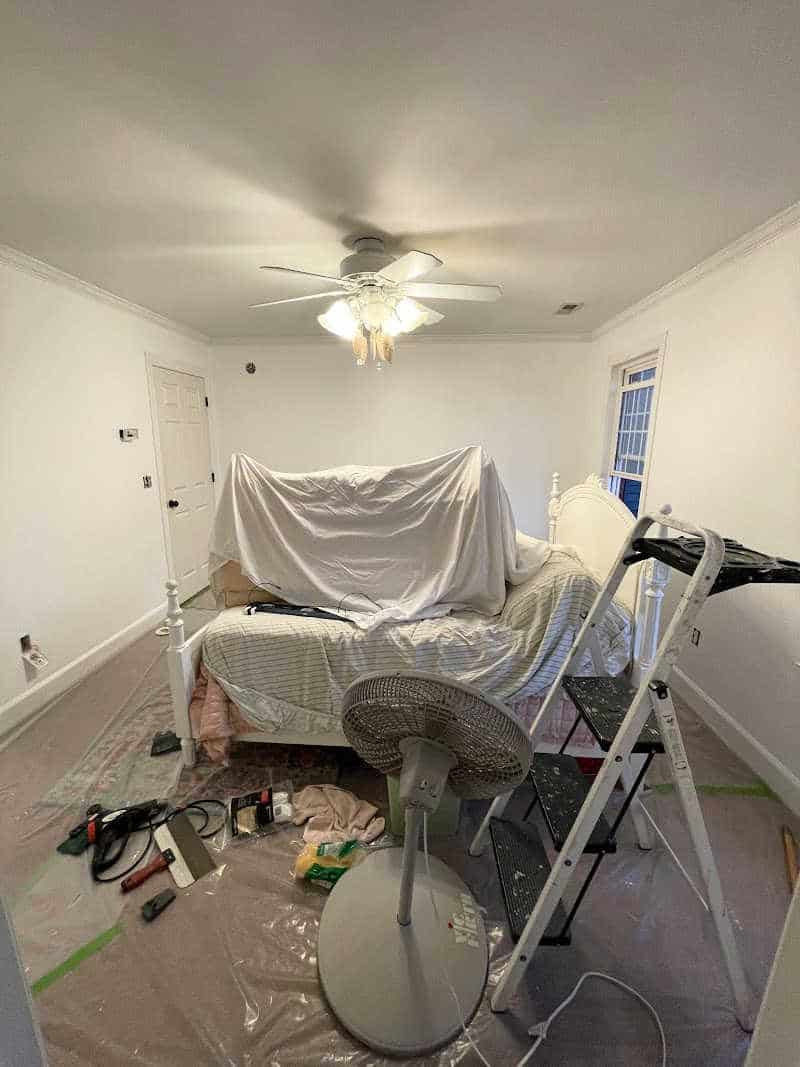
- Clear the space (move furniture out or to the middle fo the room, cover furniture to protect from any dust that will come from sheetrock repairs)
- Cover floor (plastic -at least 2 mil, for carpet works good, share my trick / hardwood works great with brown paper / or drop clothes -if you are a messy painter make sure you buy quality so paint doesn’t go through)
- Remove light switch and outlet covers (drop them all in a zip-loc bag so not to misplace any screws)
- Patch holes if needed
- Remove any broken or old caulk around trim including windows and doors (do this carefully because you don’t want to rip your sheetrock, score with a knife)
- Wipe walls down to remove any dust (there is dust even if you didn’t make repairs so wiping is important either way)
- Prime any surfaces that need it (if you made sheetrock repairs you will need to prime those places, also any spot where raw sheetrock may show where you pulled the caulk off / repaired and sanded places will be flat, your walls will have a little texture because of roller marks from previous paint, you will need to dab your primer over the repair marks to make them blend better)
- Caulk (do this after priming but before painting: depending on your caulk it could discolor over time, be sure to buy paintable caulk)
- Finally time to paint
Paint
- ceilings
- walls
- trim
Painting ceiling first, walls next and trim last. While you are not a professional, you still want to get the best paint finish you can. A clear sign of a bad paint job done by a homeowner is drip marks and splatters.
Painting top to bottom will ensure you stop that from happening. As you brush or roll down a wall you will smooth those drips.
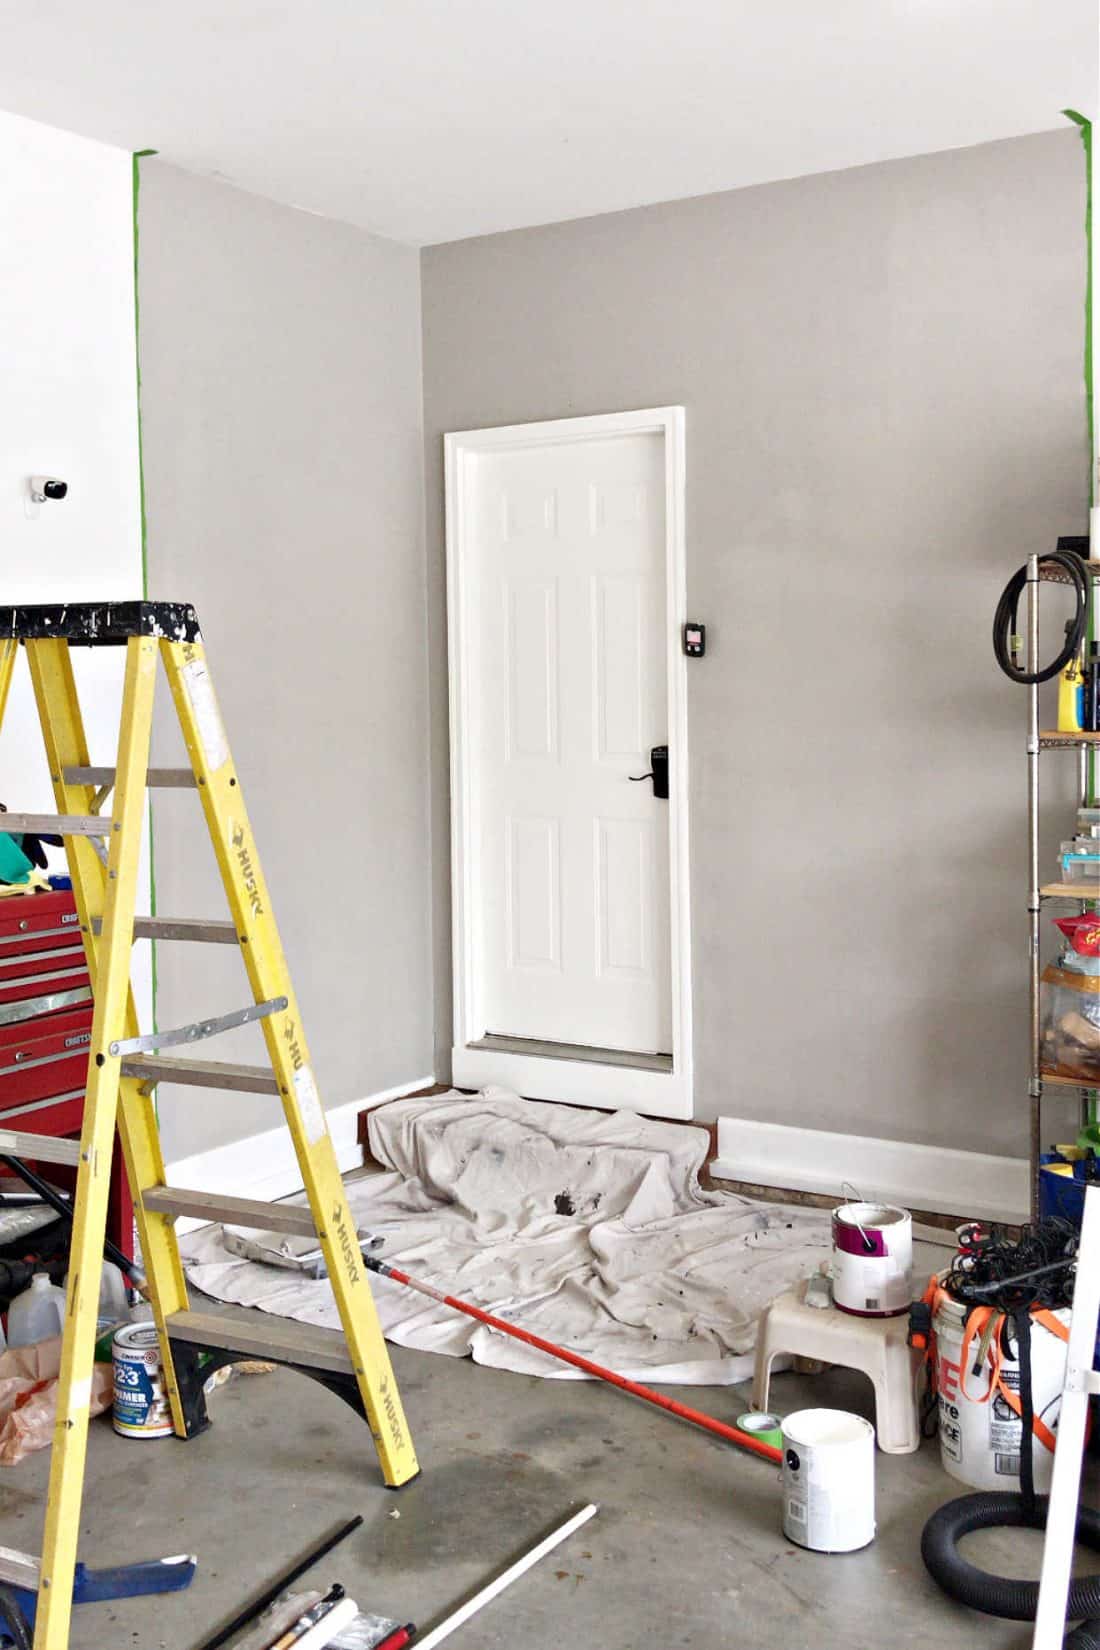
- Cut in first. Cut in means to use a paint brush to paint around trims, doors and windows. The professionals I have watched use a really wide, straight edge brush. I prefer an angled brush because it lets me paint without painters tape.
- Roll next. Roll top to bottom in a W pattern. This gets a good even coverage on paint. You may need more than one coat of paint depending on the color.
- Do not keep rolling over wet paint. As it starts to set it will pull back off the wall and onto your roller. It’s best to come back with a second coat instead of one heavy layer.

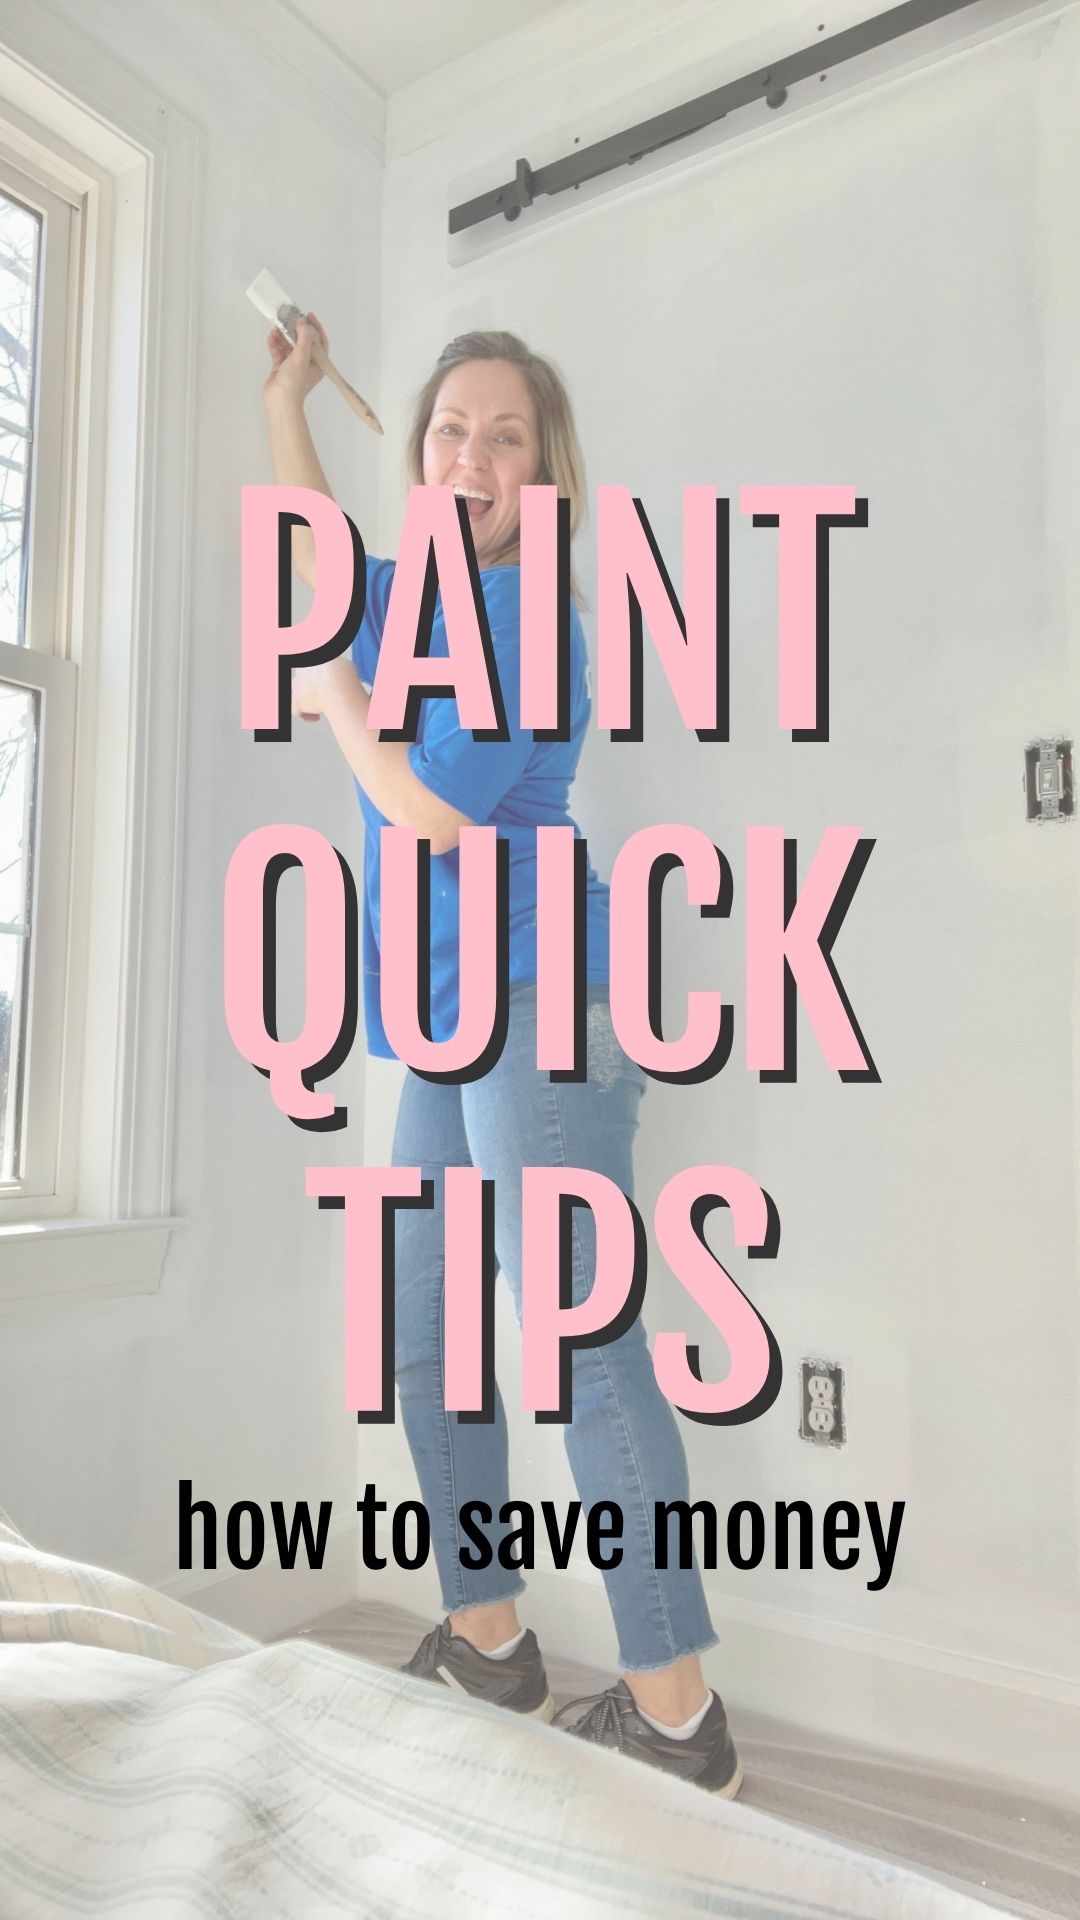
Paint Quick Tips
- Make sure you buy enough paint before you start.
- When you need more than one gallon of paint mix them together in a 5 gallon bucket. Each can could be slightly different. Mixing them together will ensure you don’t paint a wall a second coat and it looks different. This is called boxing the paint.
- Wrap your brush in plastic wrap to keep it wet while you take a break. I do this when a project goes into the next day as well. You can also wrap your roller.
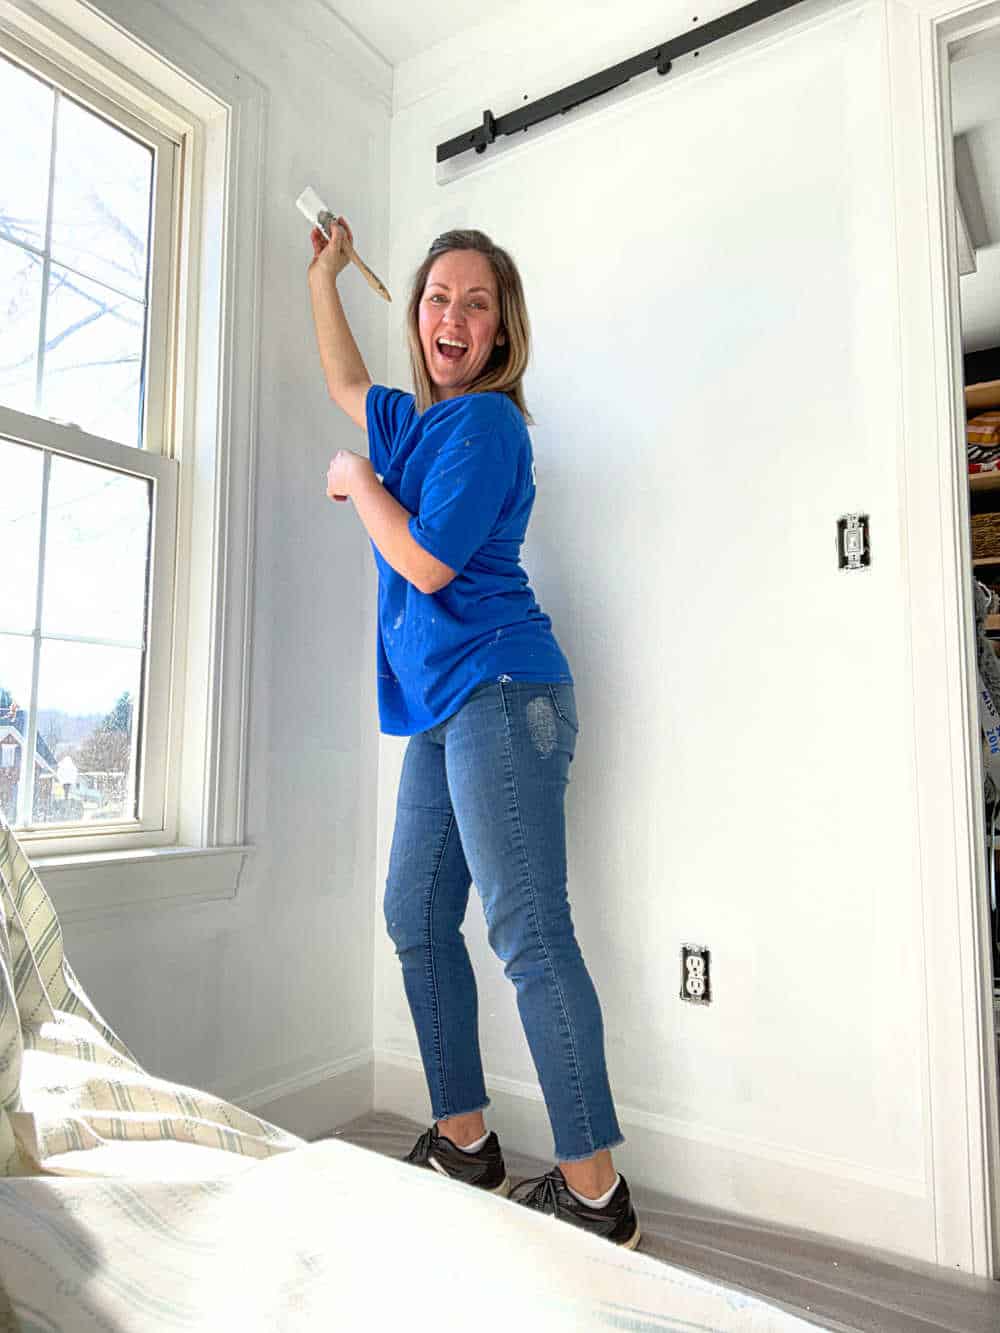
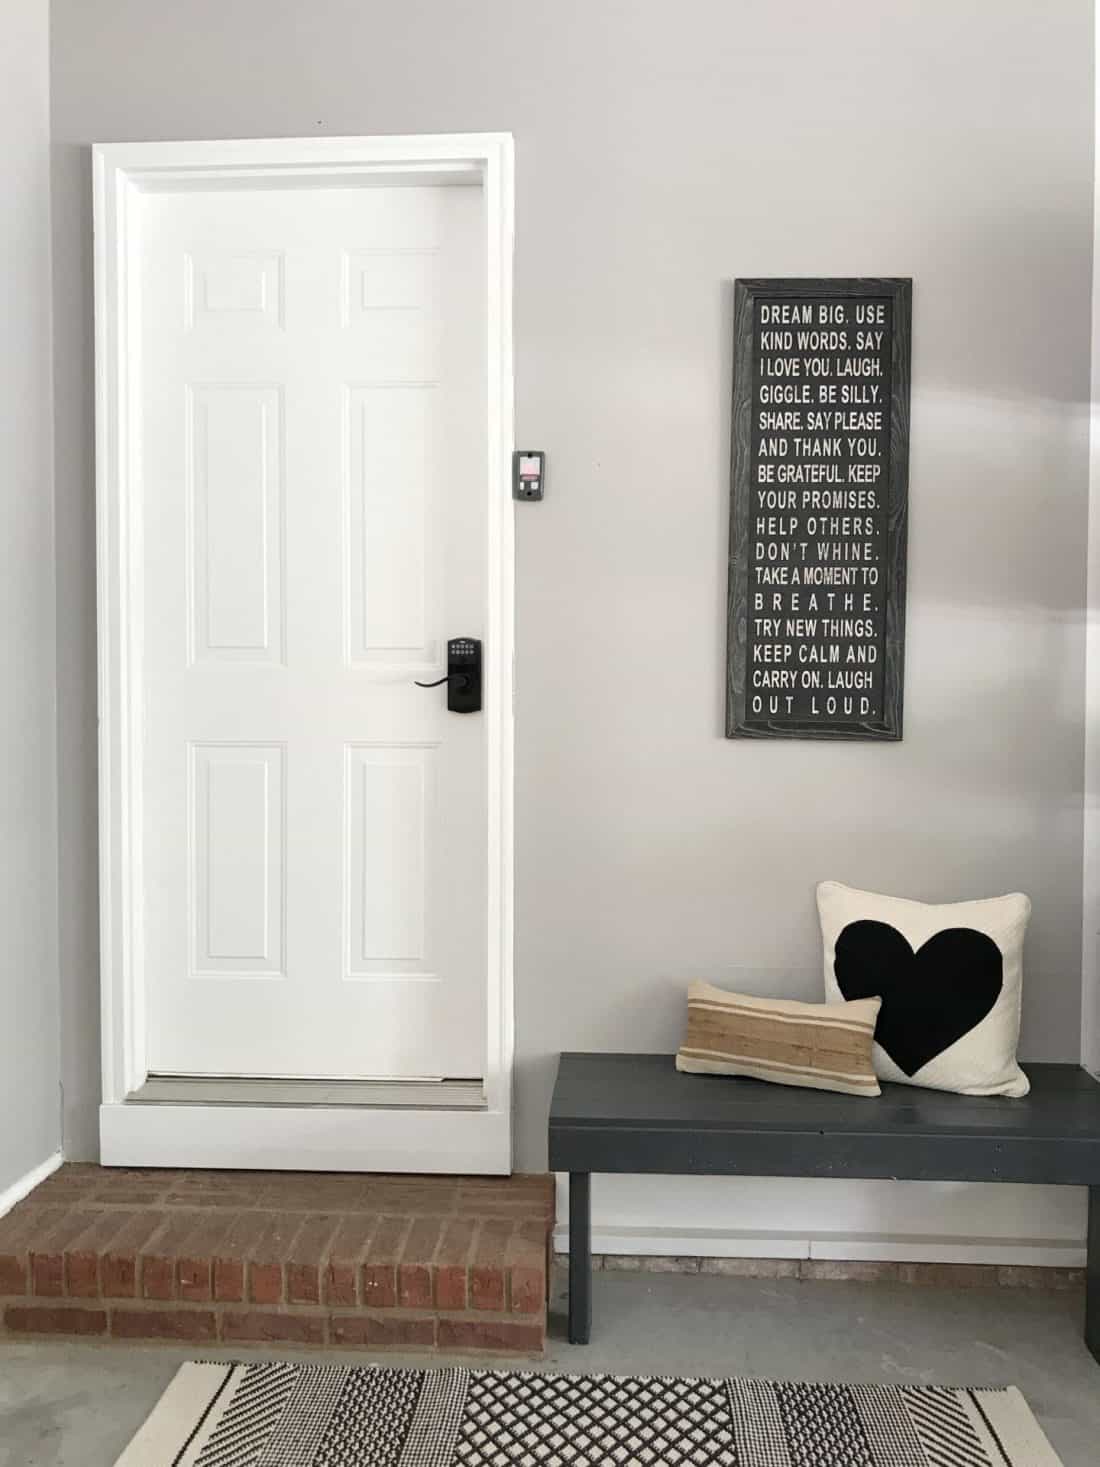
Learning to paint a room is the first thing any DIYer should try. It is the most affordable way to makeover a room.
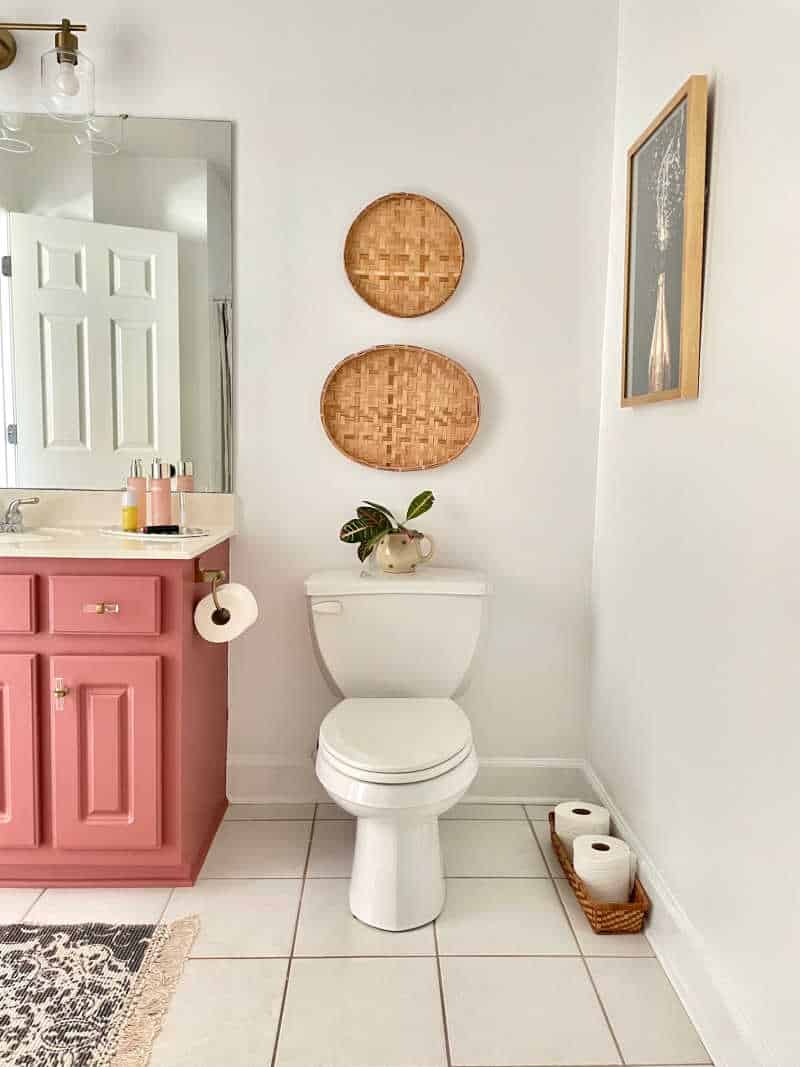
All of the photos in this post are rooms I have painted in our home. I learned to paint before Ray and I were married. It was the only thing we could really afford to do.
Over the years painting became easier and more like therapy to me. Ceilings not so much but you understand that if you have ever painted over your head. I hope you learned something from today’s post.
Thank you so much for sharing these tips! I am planning to paint my room and don’t know how to start it!
Thank you for sharing this informative article.
Awesome! Can’t wait
Will take your advice and let you know how it goes.