Modern Traditional Primary Bathroom Remodel
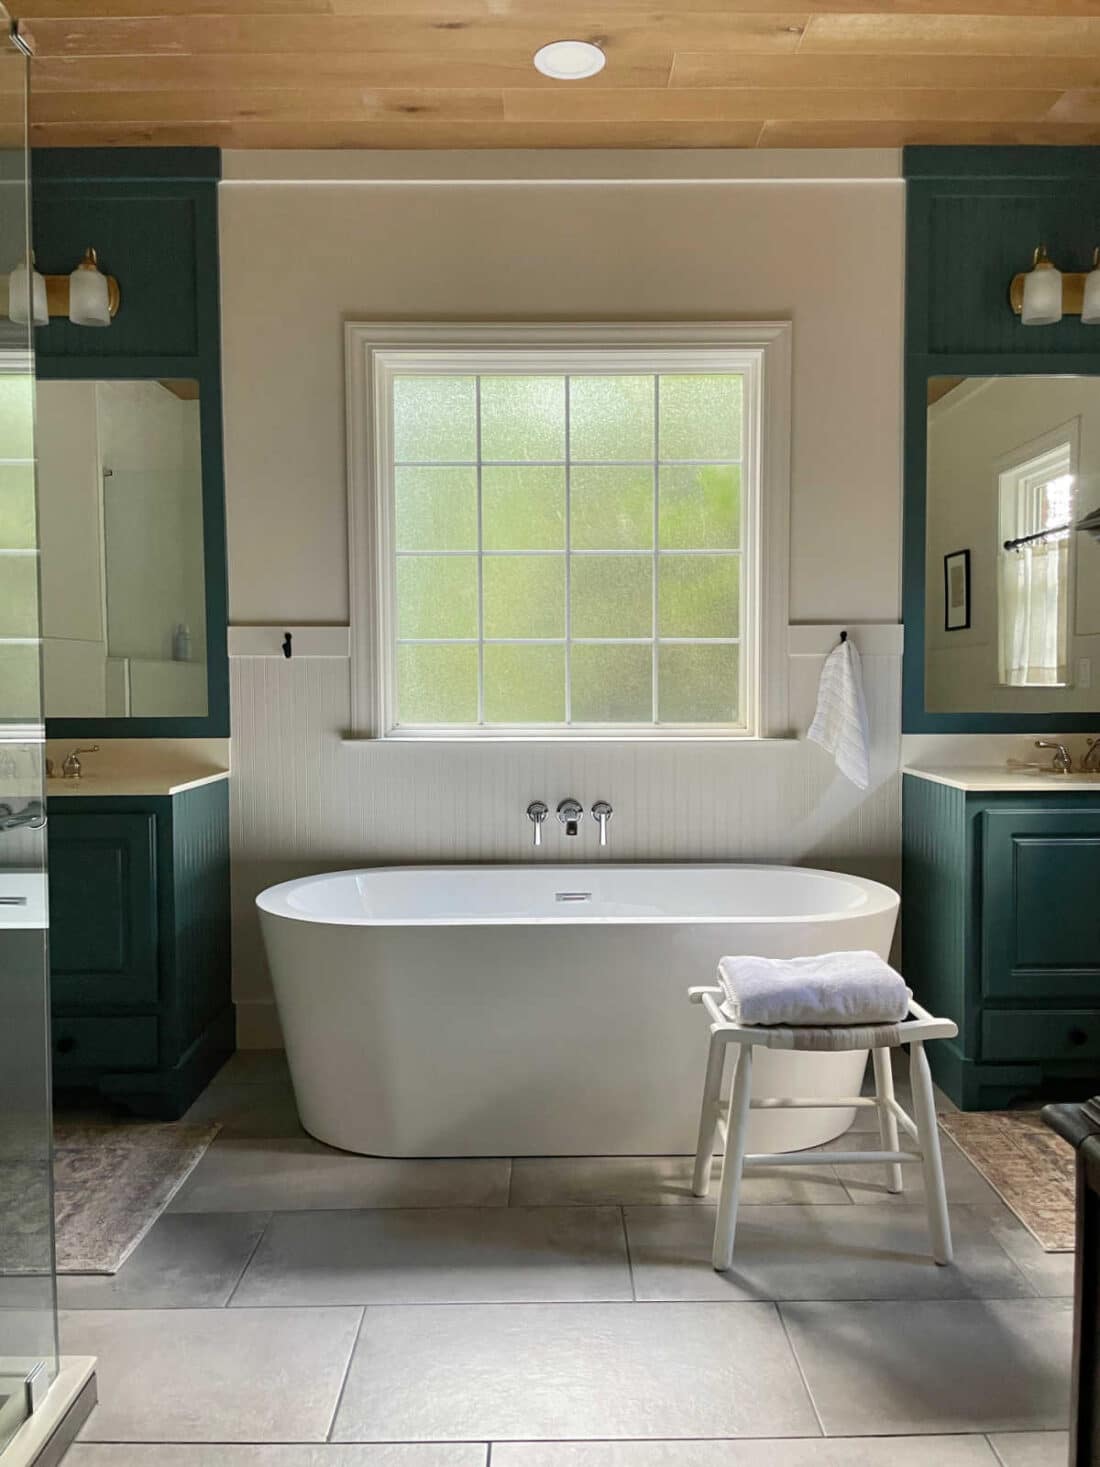
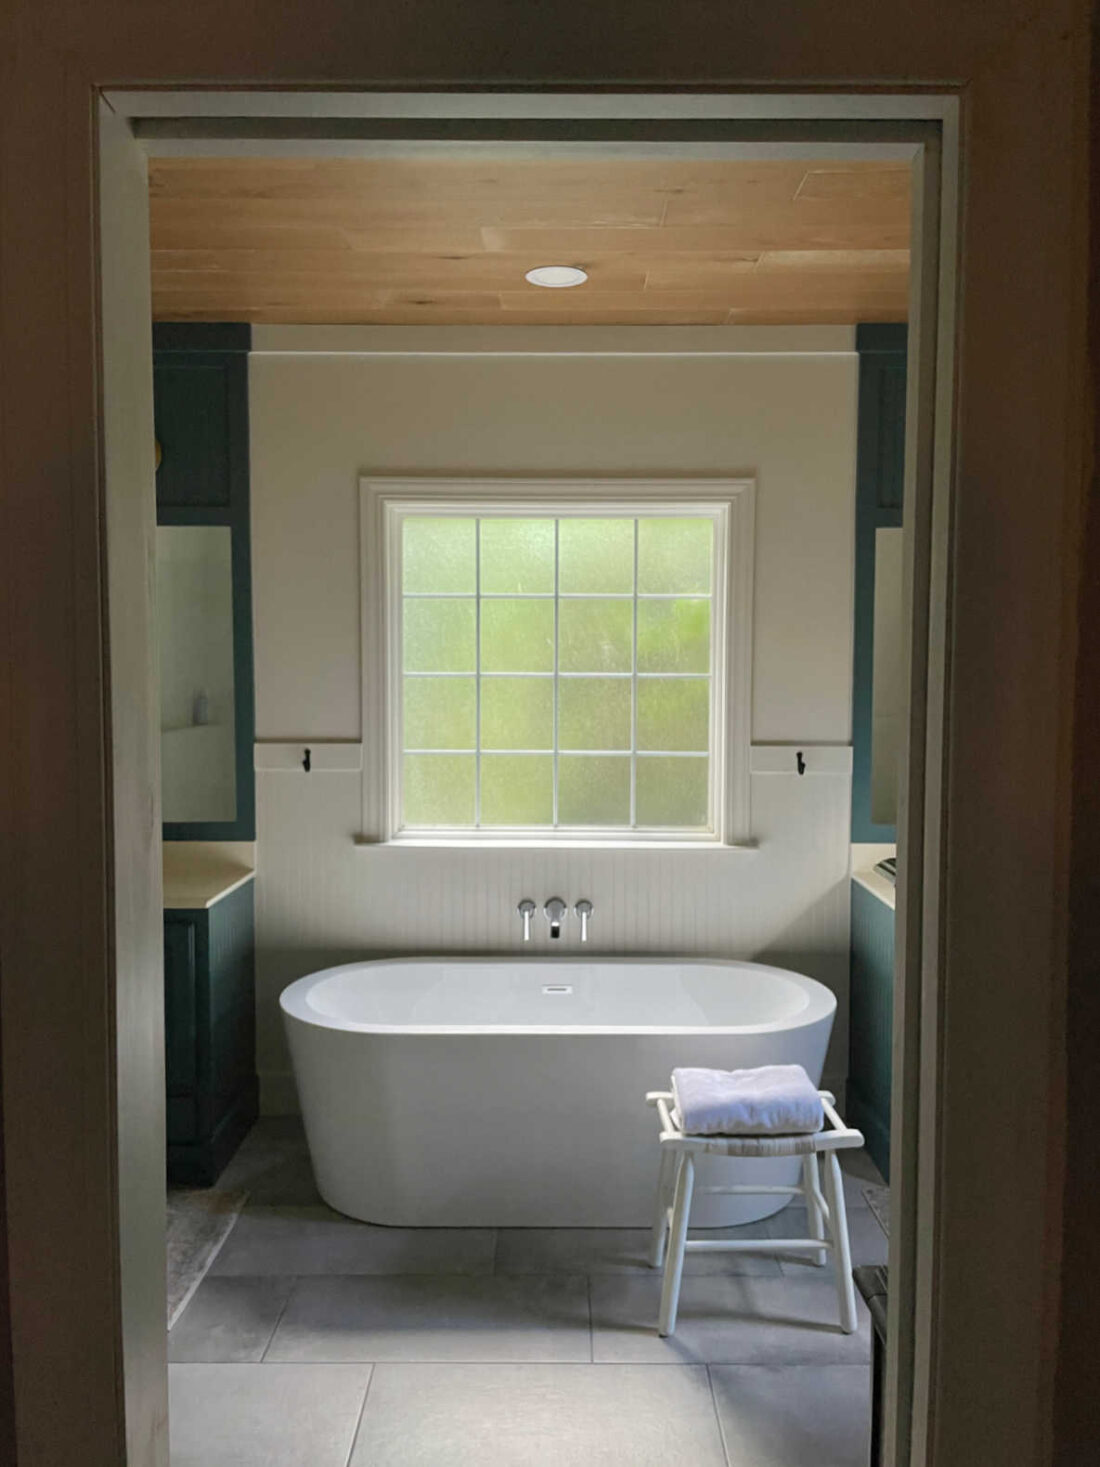
Modern traditional primary bathroom remodel with classic details and a spa retreat vibe.
Whether you do a complete primary bathroom remodel or a partial makeover, this before and after master bathroom makeover will give you inspiration for the entire space. Including a cost breakdown.
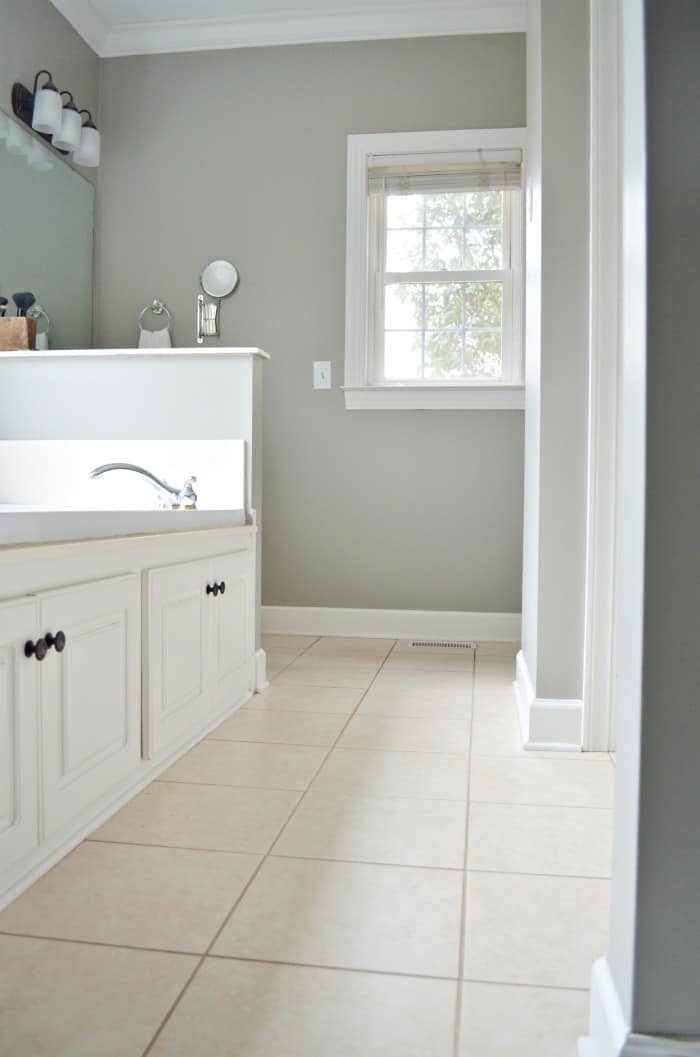
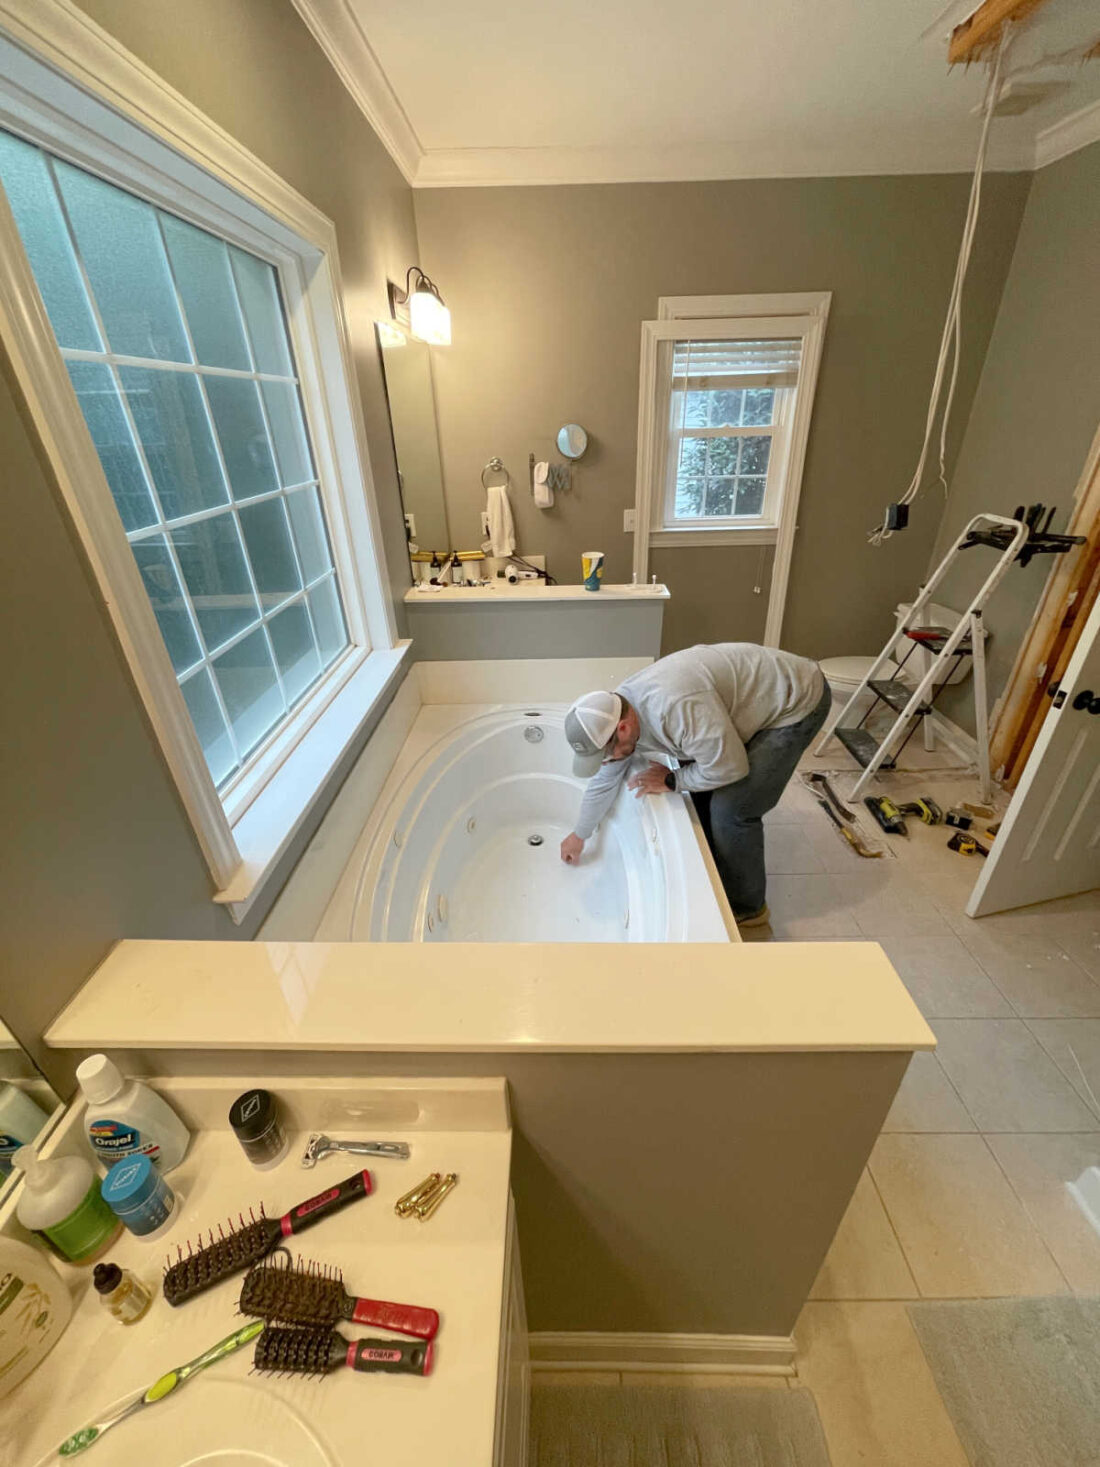
Our dated early 2000’s master bathroom was one room we have wanted to remodel for many years. The shower was tiny and the jetted tub huge. A bulky closet also took up tons of space.
Removing a closet is shocking to most people but to me it just felt right. Read on to see everything we did to renovate our primary bathroom.
This post may contain affiliate links. See our disclosure for full details.
Every time we travel and stay in a hotel, Ray comes home wanting a new shower. This time, after a trip to Chicago, we decided to go for it. It’s been a few years since our DIY kitchen makeover so maybe a another trip is in order.
Bathroom renovation vs. bathroom remodel
A renovation is more cosmetic and a remodel is construction heavy. While we didn’t change the layout of our primary bathroom the room was basically gutted except for the vanities.
We started the demo process on November 14, 2022 right before the holidays. Then on December 2nd our daughter got engaged. We had already decided not to rush the bathroom remodel. We had an extra bathroom to use so we didn’t want to put extra pressure on ourselves.
So we finished the bathroom at the end of June 2023. By this time we were in full planning for an August 5th wedding. I knew I wouldn’t be able to get the bathroom reveal before the wedding so here we are.
13 DIY facts you need to know to save time, save money and save your sanity. After more than 30 years of doing DIY projects, those facts are true 99% of the time.
Our Primary Bathroom Remodel Punch List
- Demo linen closet to replace with shelving, cabinet or storage of some sort
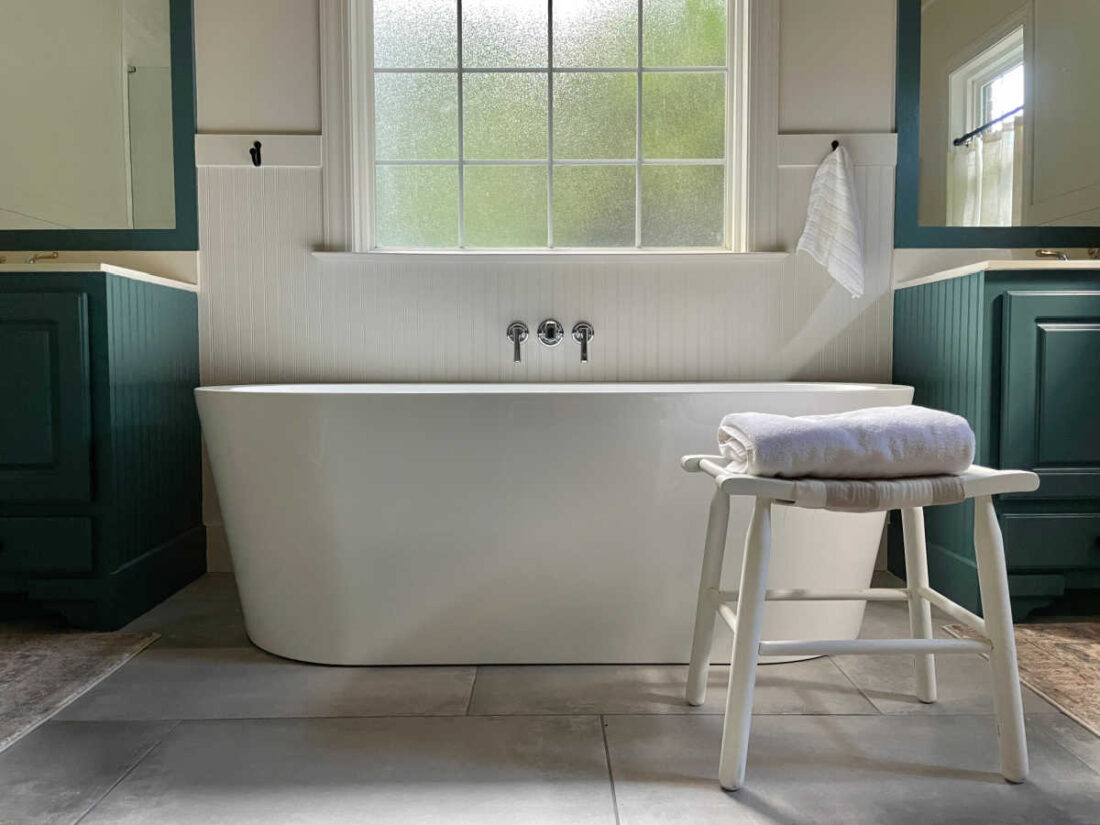
- Remove garden tub and pony walls to replace with free standing soaker bathtub
- Take out shower insert to widen and custom tile the shower
- Relocate water and drain lines for shower and bathtub
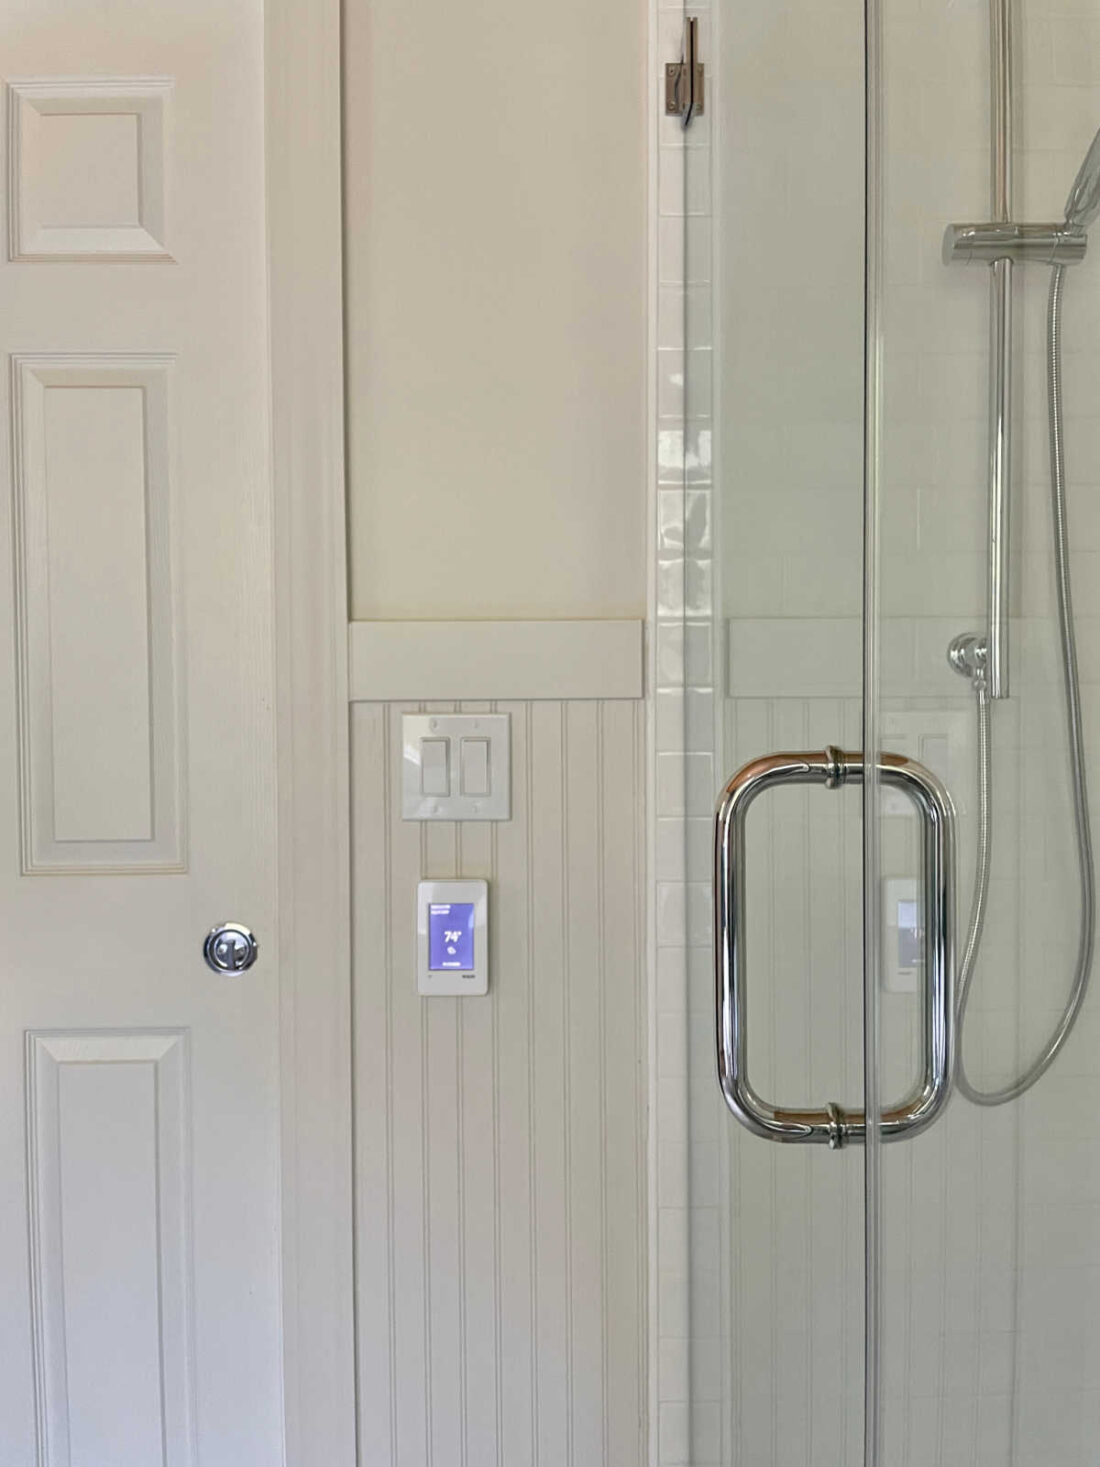
- Replace tile floor and install heated floor underneath
- Relocate overhead lights and fan electrical to a different wall
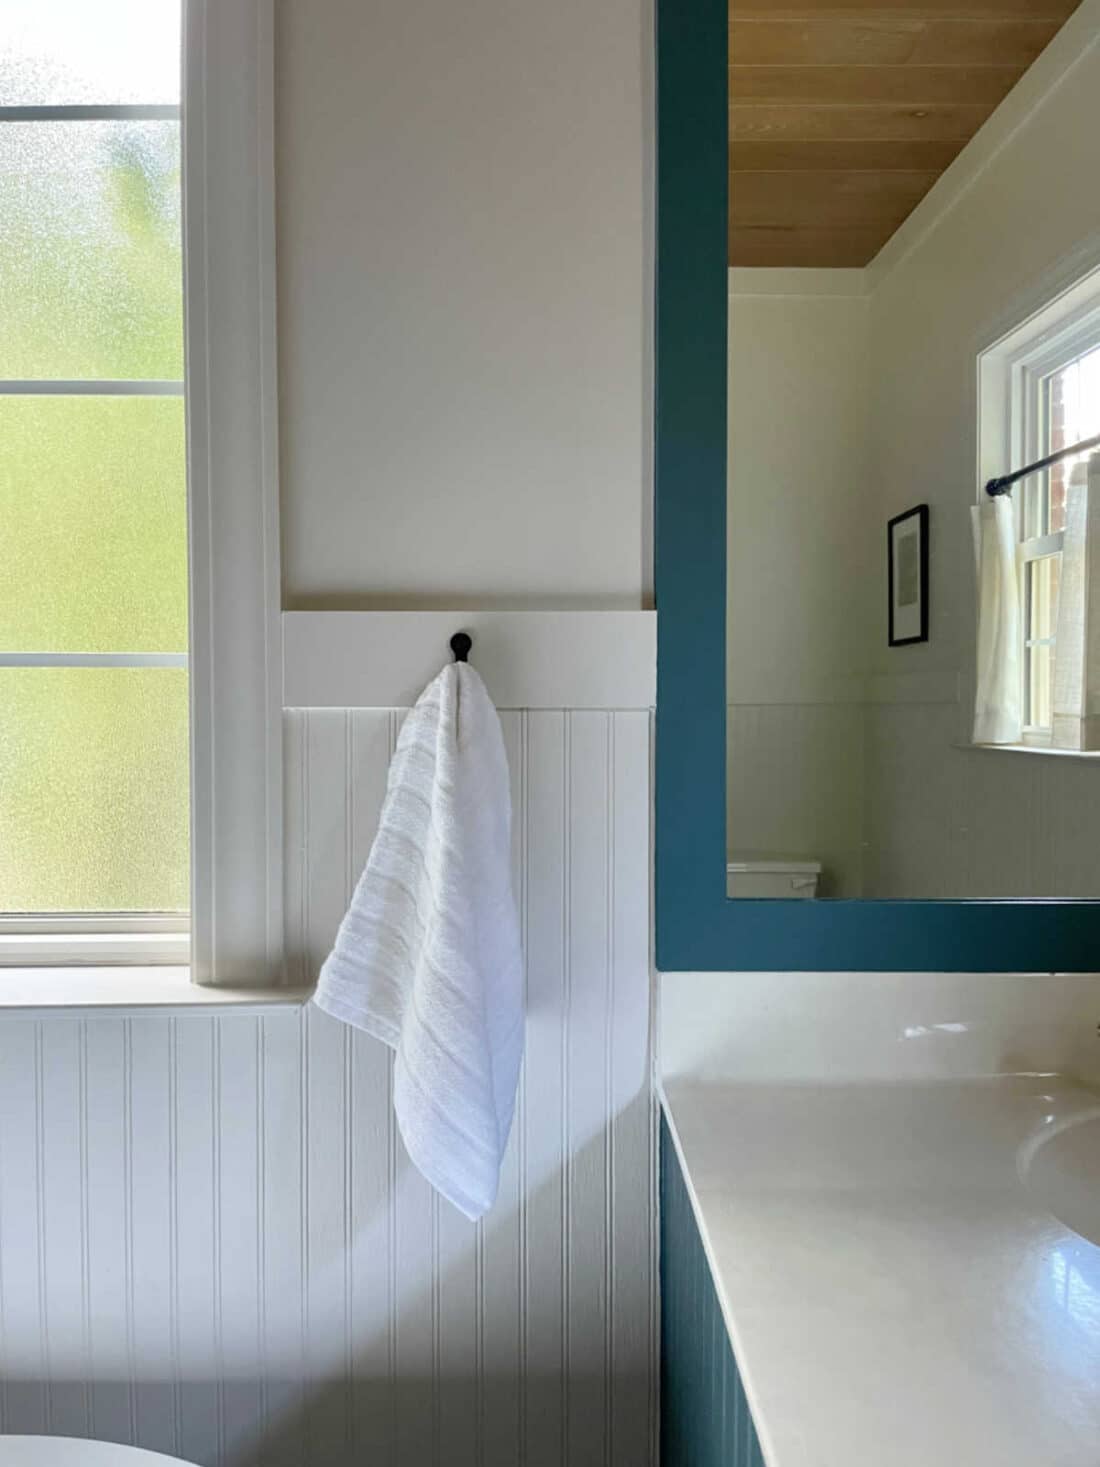
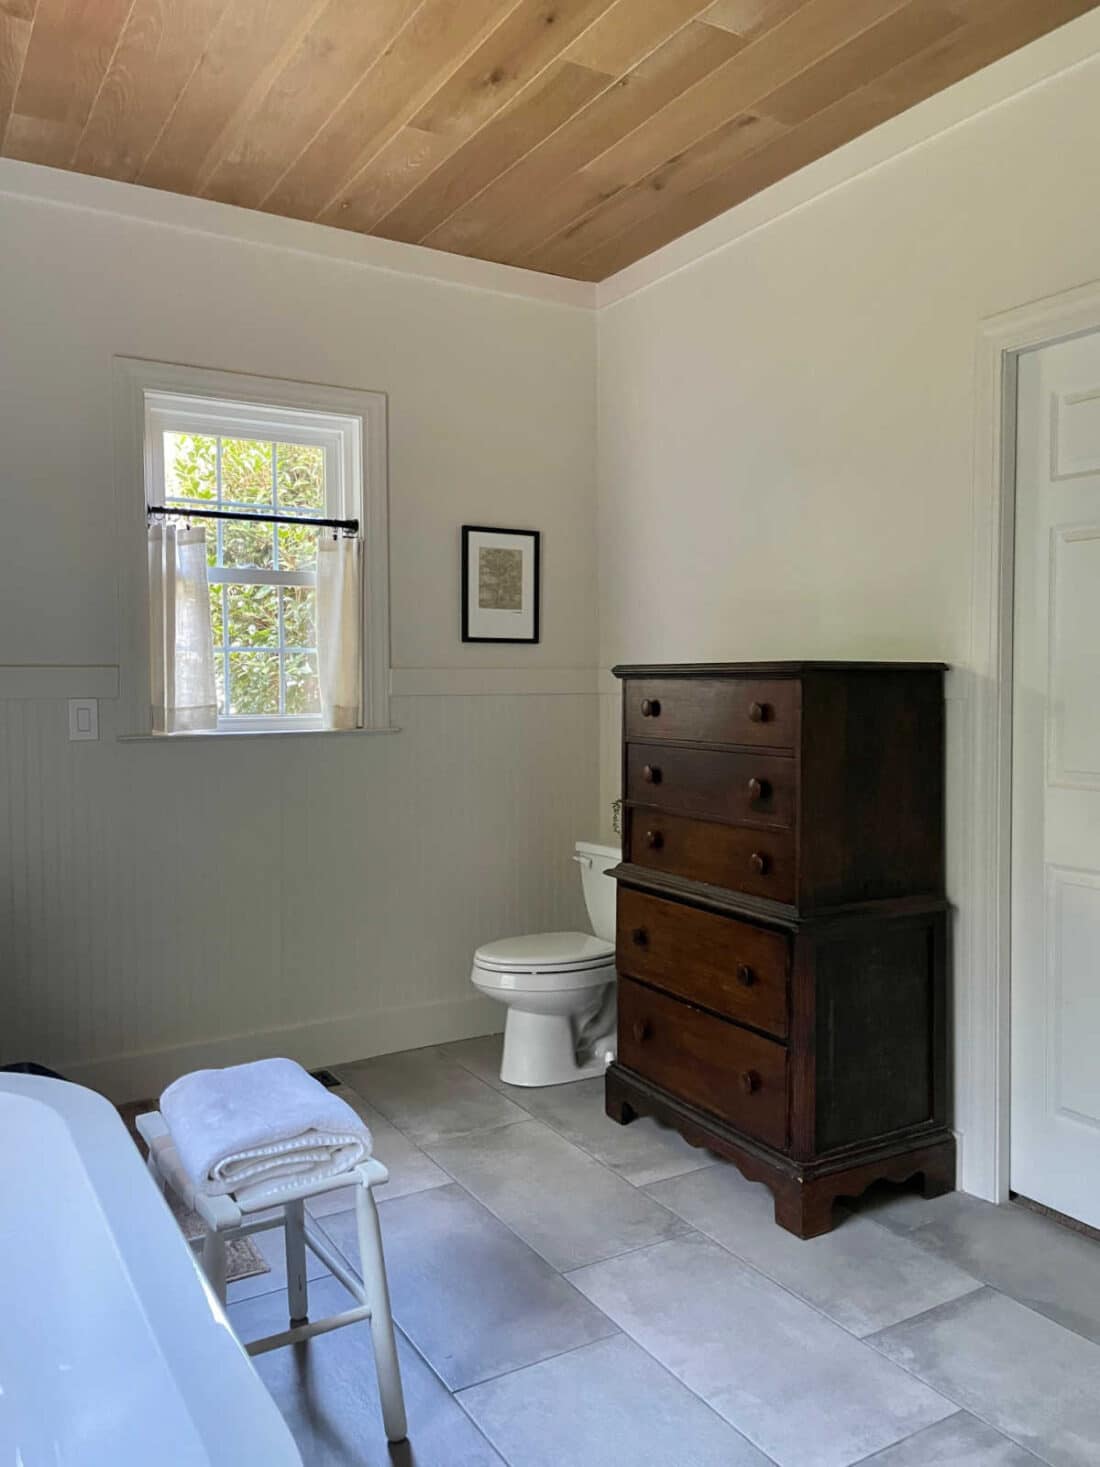
- Add wall details with bead board, a wood ceiling and paint
- Change classic entry door style to pocket door
- Vanity update
- New light fixtures (decided to spray paint existing)
- Add ceiling exhaust fan which included venting through the attic and out the roof

Paint colors
- Walls and trim, Sherwin Williams Aesthetic White Duration in satin
- Vanity, Sherwin Williams Mediterranean Emerald in semi-gloss
- Primer for cabinets Sherwin Williams extreme bond
- Primer for wood bead board Zinsser BIN oil based shellac primer
When it comes to the most affordable DIY changes in your home, I always recommend paint. Learning how to paint a room top to bottom will save you so much money. When I painted our spare bathroom black, it was a big wow!
Using a paint sprayer when you have so many different surface details will speed up the process even more. This would have come in handy when painting kitchen cabinets.
The bathroom style before updates
Our home was built in 2000 so it still had the style from the 1990’s. The most obvious was the huge jetted garden bathtub with pony walls. We knew we wanted to remove that for a more modern style. We prefer to shower so having a bathtub was another debate. Because we weren’t changing the space layout we knew keeping the bathtub was a must.
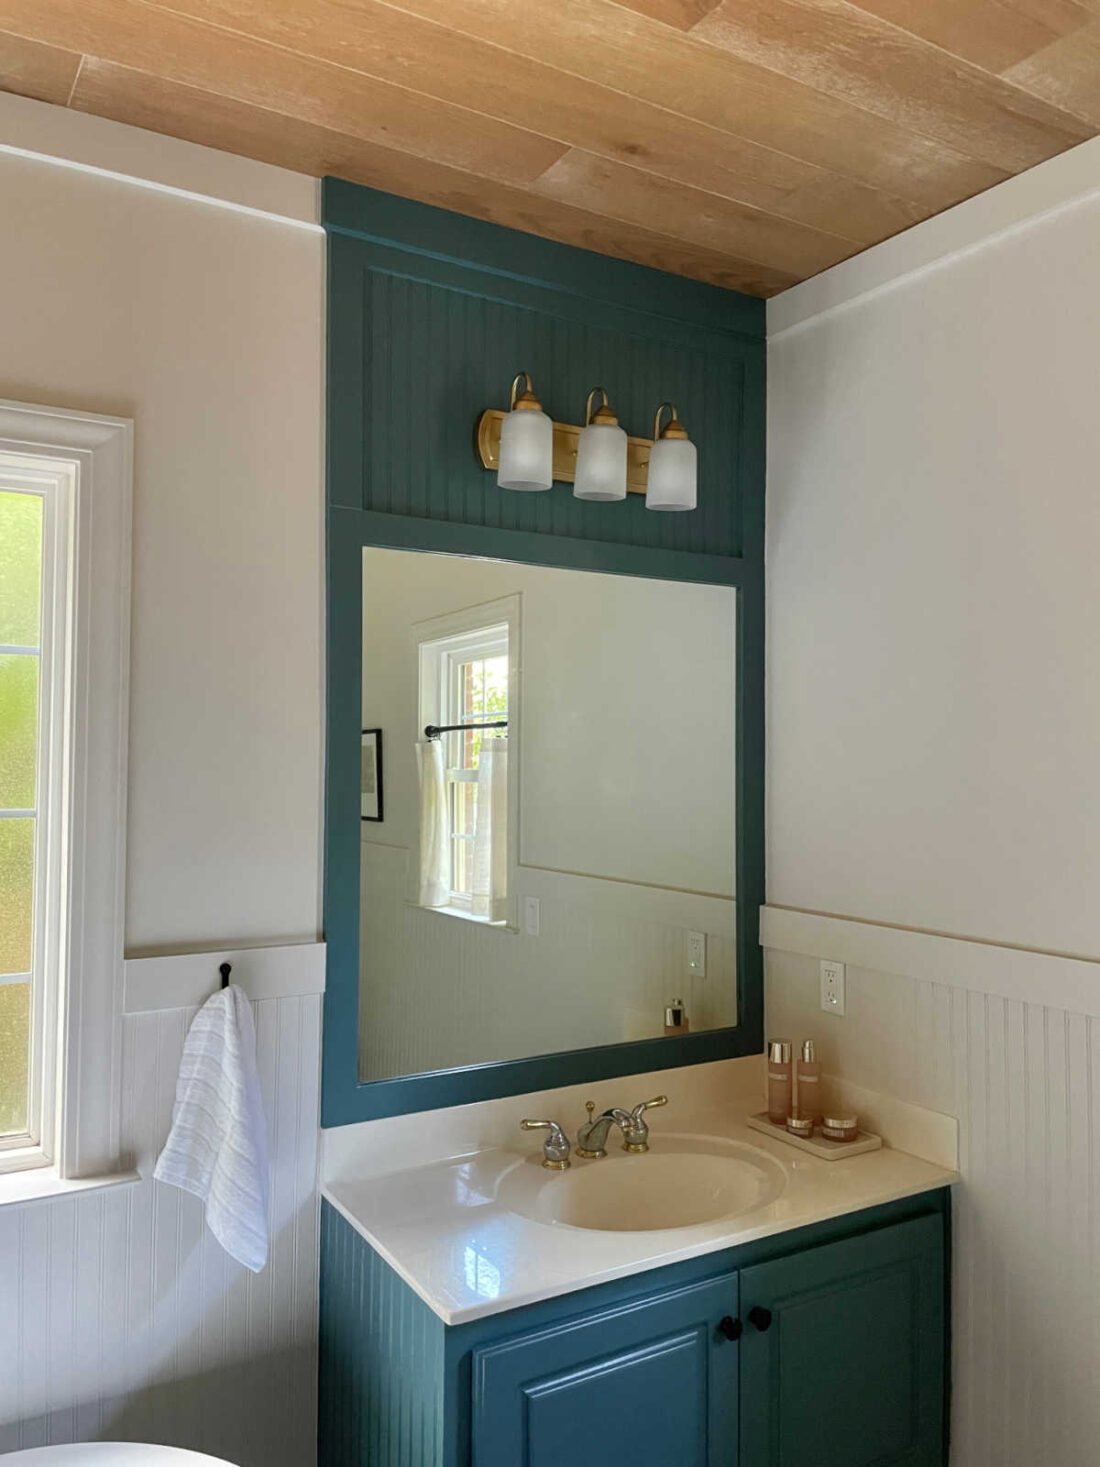
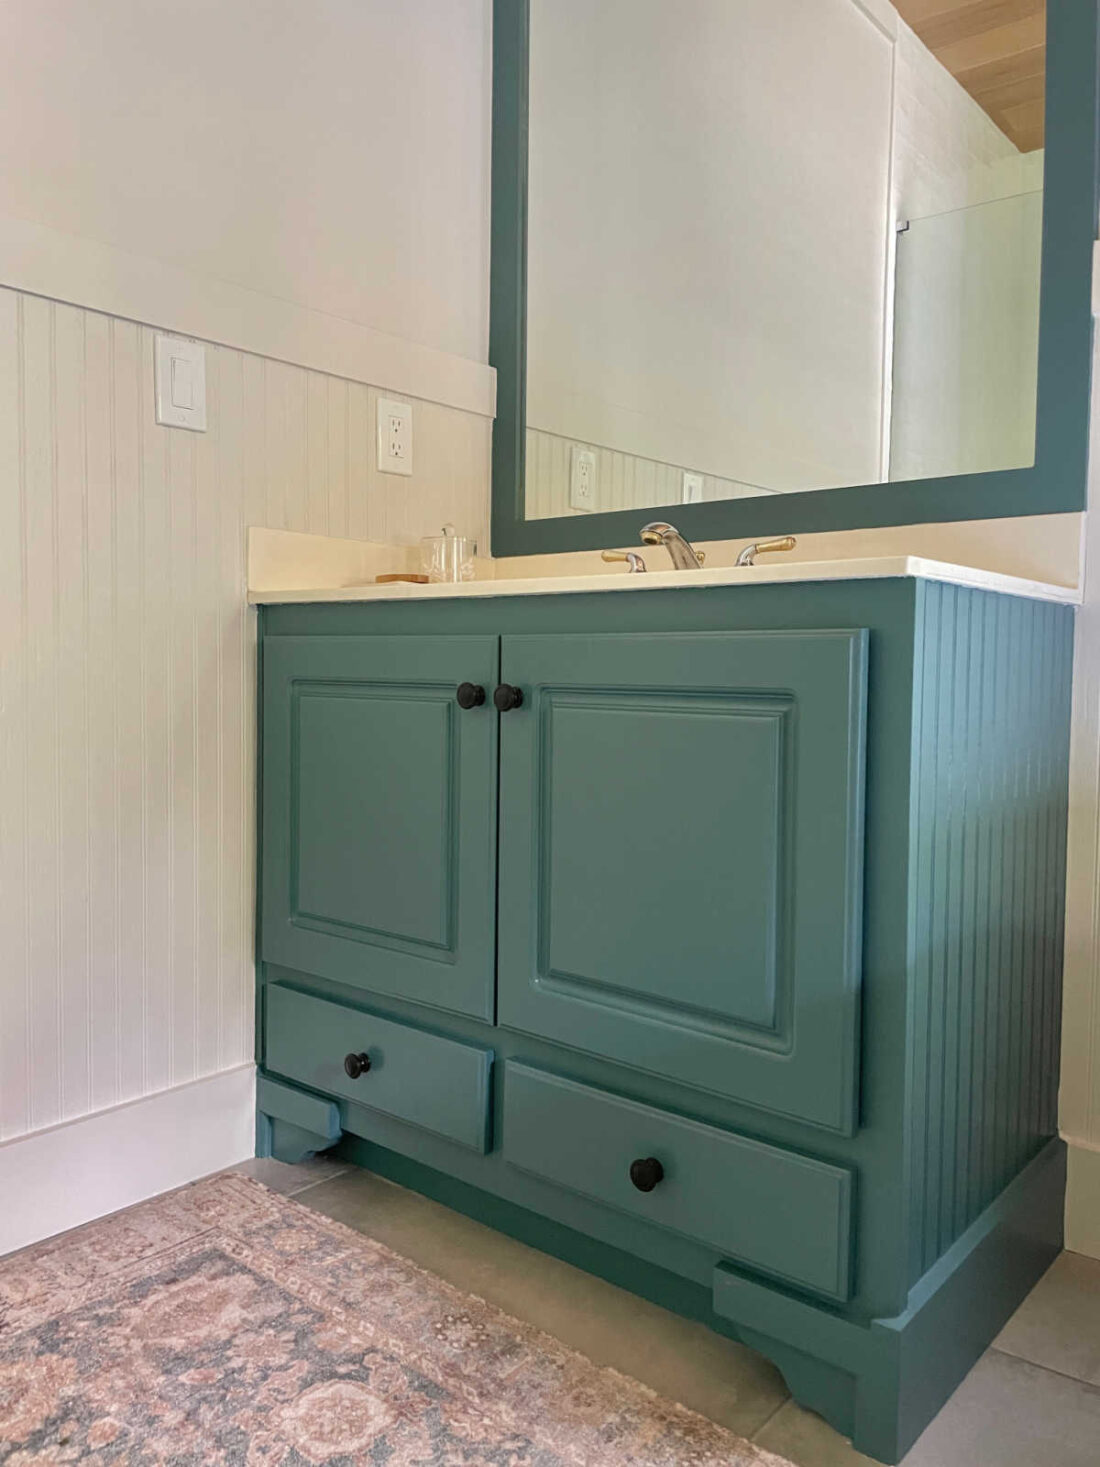
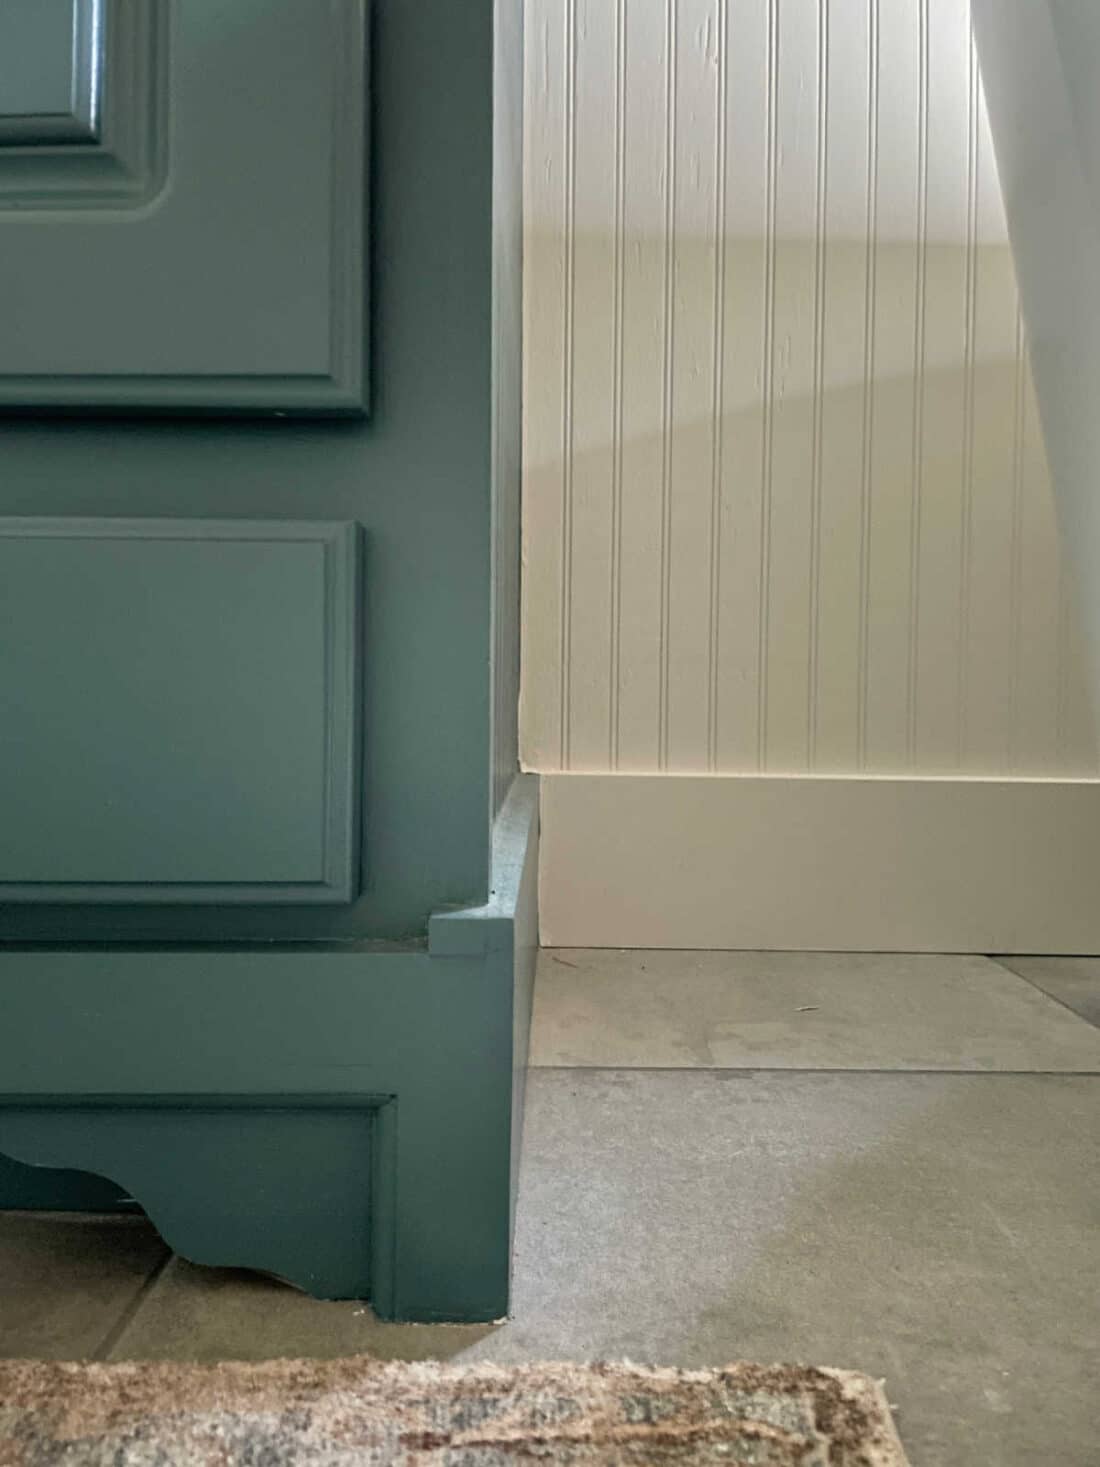
The original plan was to buy new vanities. After searching and realizing I would need to spend upwards of $3000 for two vanities of any quality, the decision was made to give our current one’s a makeover. It allowed me to improve what we already had in a wonderful way.
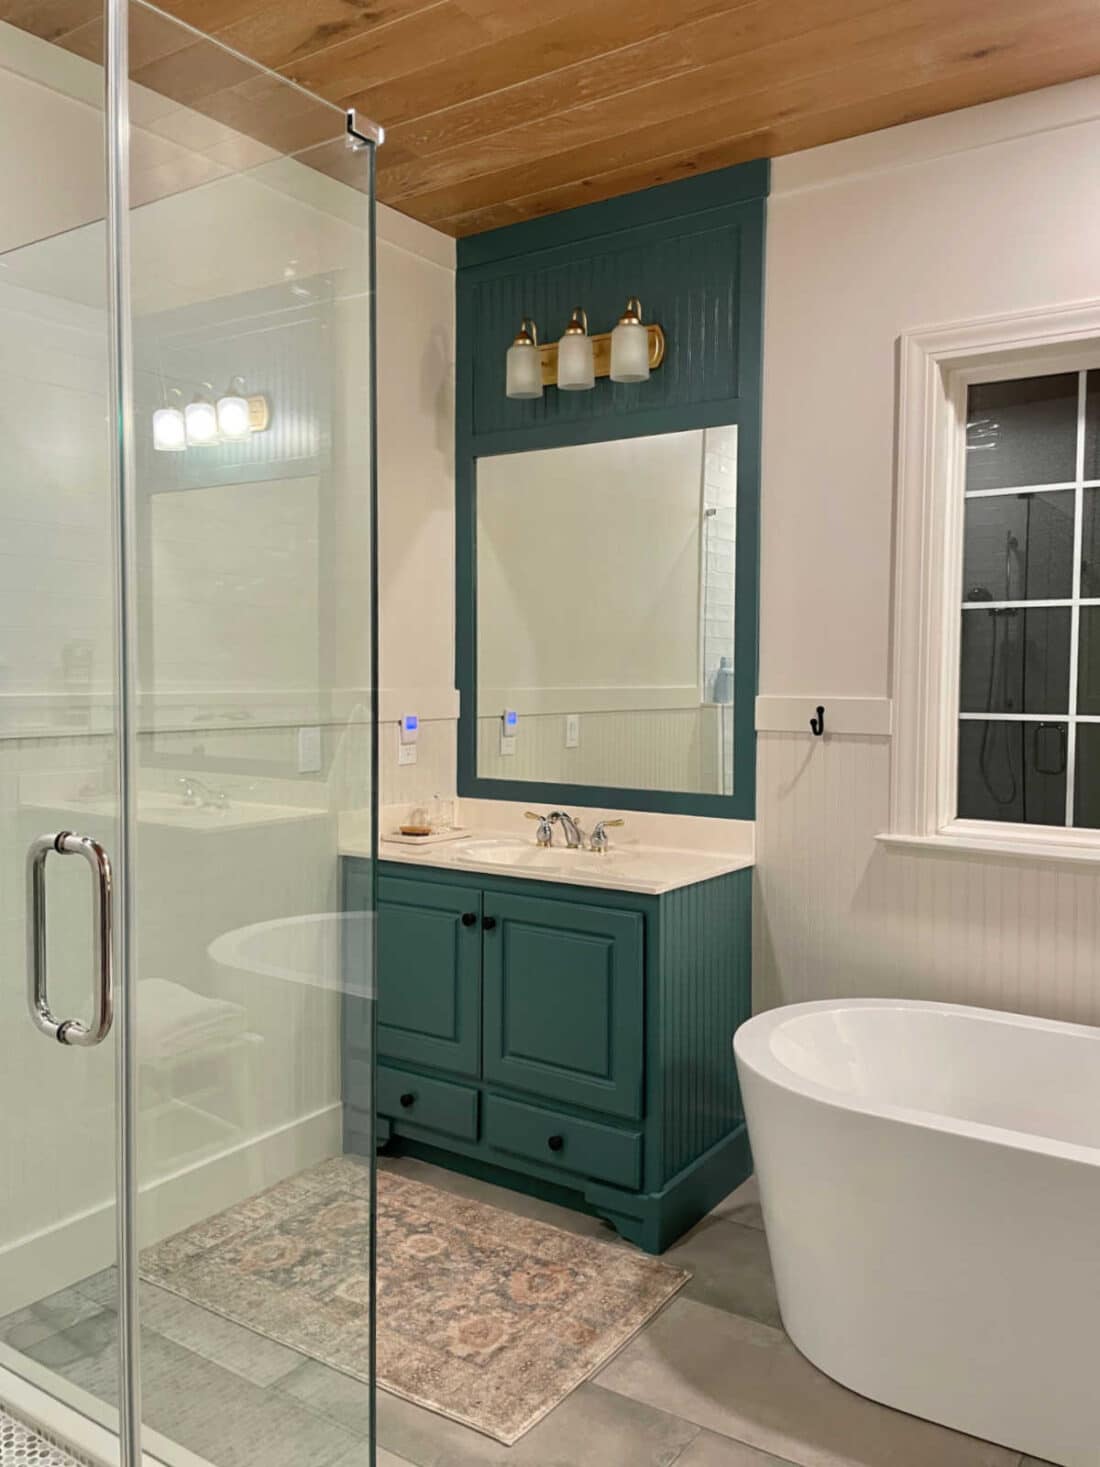
The goal with the traditional 90’s, early 2000 bathroom was to make it feel fresh, spa like, modern with touches of tradition.
The room measures 14 feet x 10 feet. This post will showcase the full room reveal. I will create separate tutorials for each project.
Important to remember:
When updating, I believe it’s important to keep with the homes original style. Finding ways to make a traditional home modern but adding in details that keep with the character of the over all design is the key. Using timeless and classic finishes in an updated way works best for our home.
Design Ideas and room wants
As a DIY couple we can come up with ideas as we go. However, Ray prefers that I give some ideas and inspiration photos or drawings to get a visual. He isn’t creative the same as me so he doesn’t always see what my words are telling him.
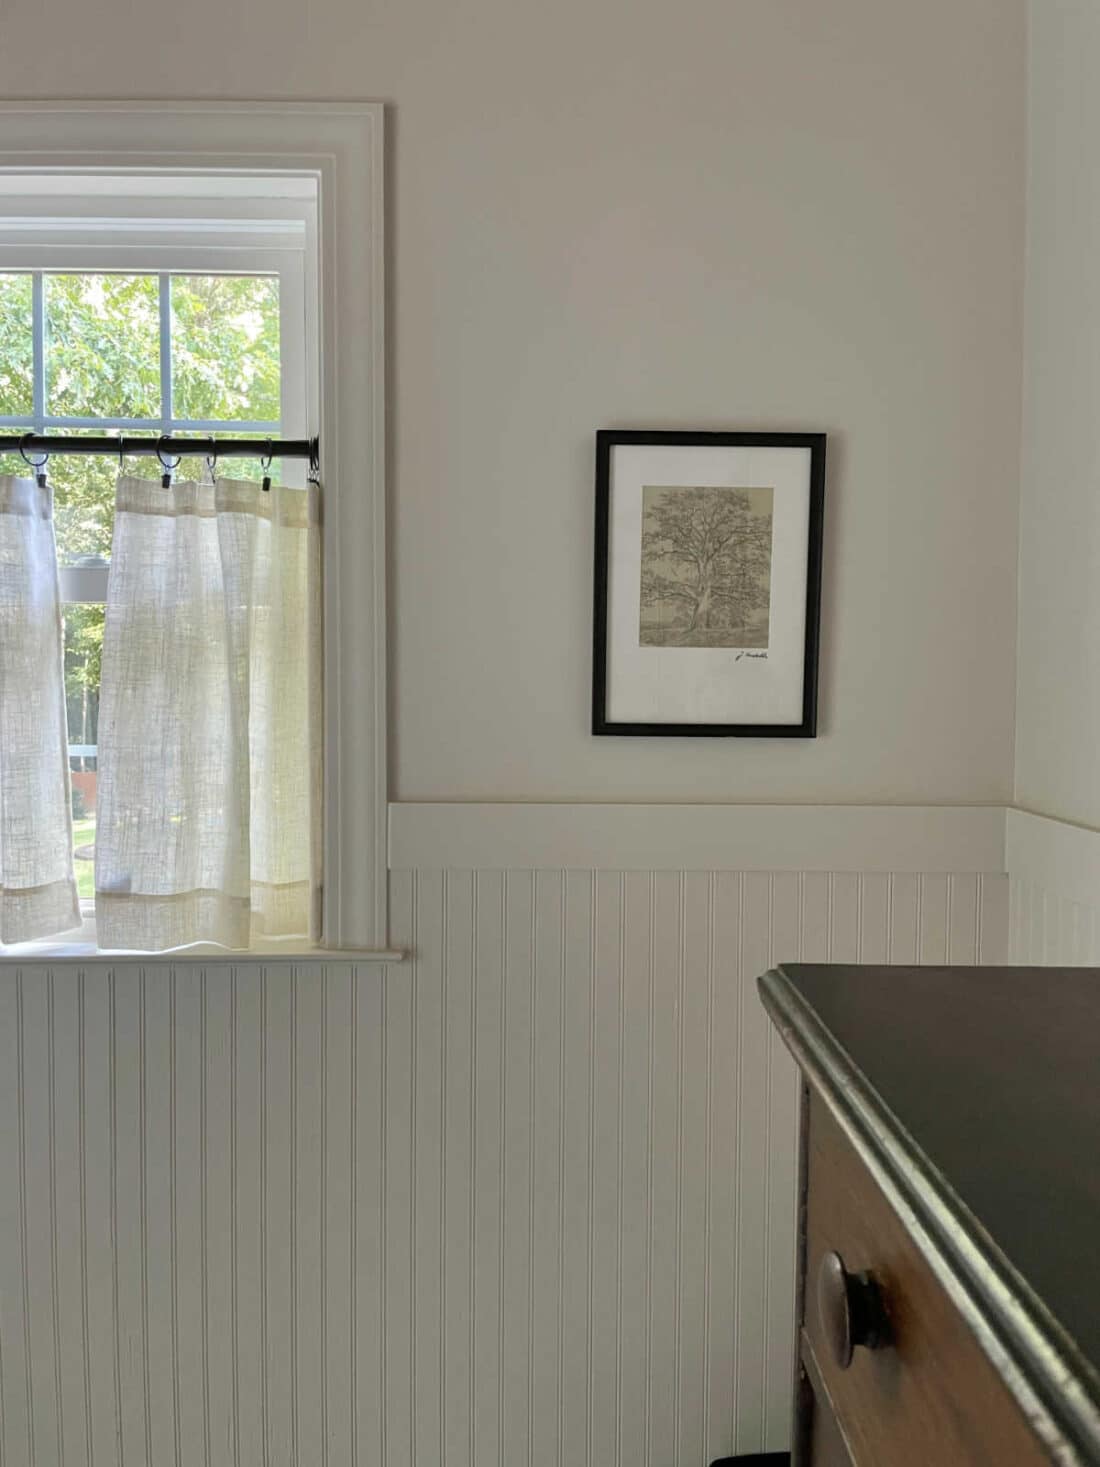
Learning to describe my home style has taken years. I’ve always felt pulled in two directions until I realized it doesn’t have to be so hard. Modern traditional interior design style embodies how I like our home to look and feel.
Blending old and new in a simple, minimal way is exactly how what I love. Once I take a mental note of this I can move forward in a room.
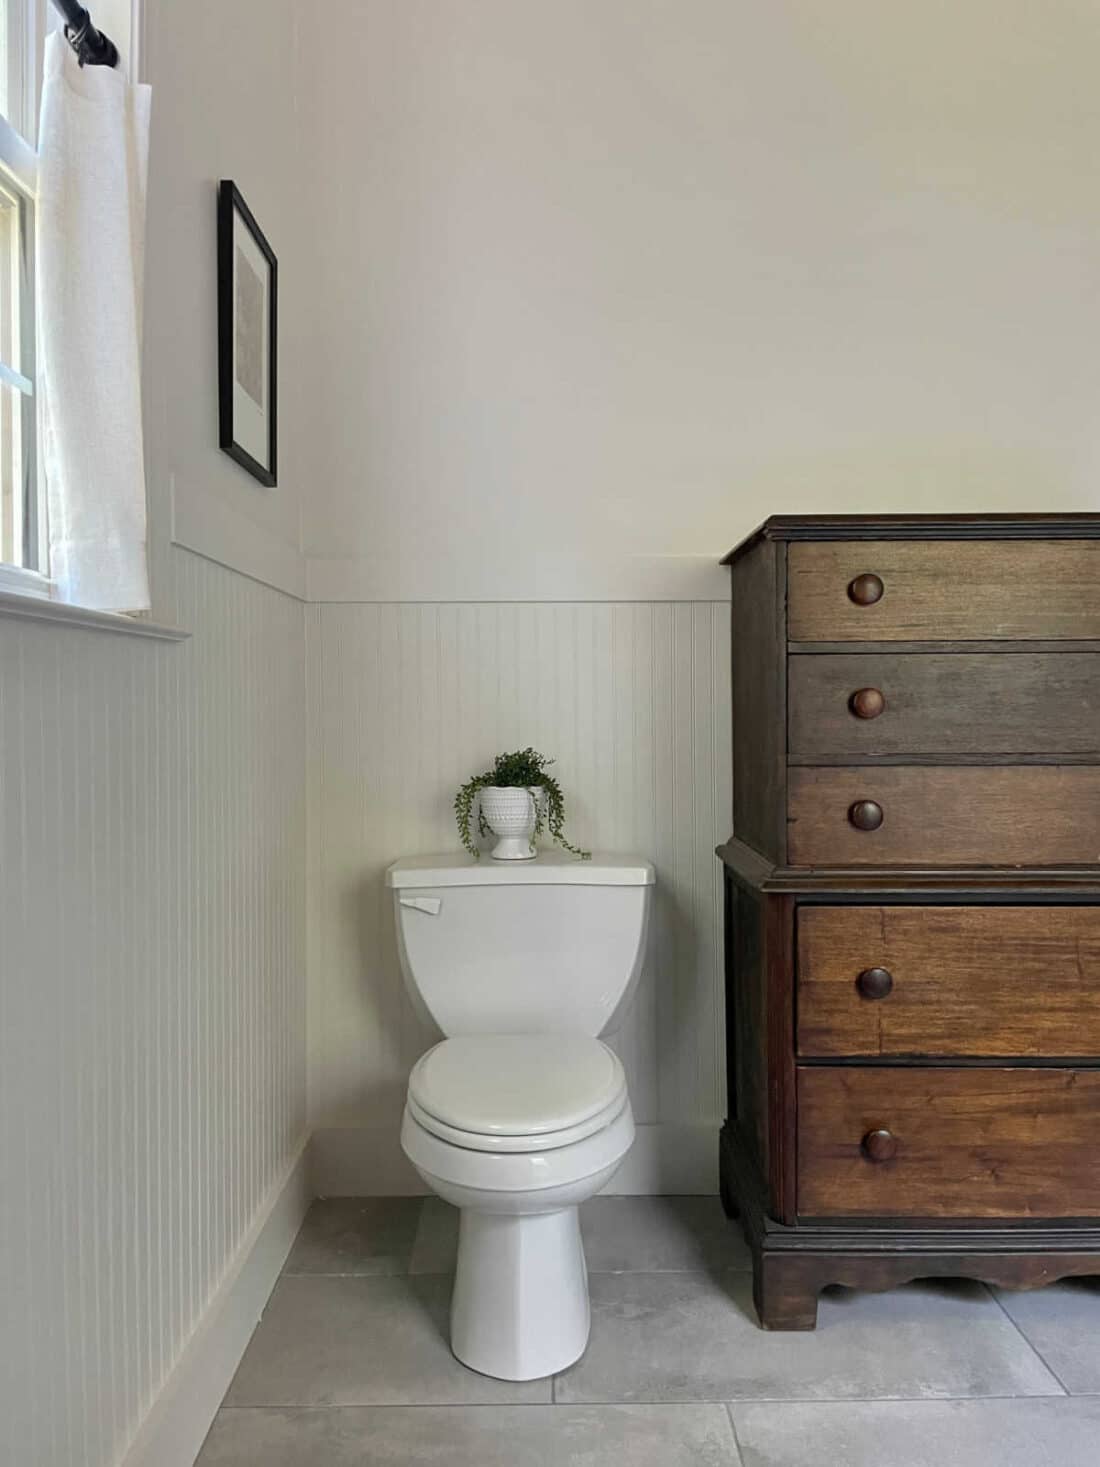
What I knew for sure was I wanted large scale floor tile that looked similar to one from our trip to Mexico. Our room at UNICO 20 87 had them and I loved the look. Creating the tile combination for the shower went from there.
Our carpet in the bedroom and closet hallway is a taupe color. It was important to me, as it should be, those tile color tones matched up with the carpet. When you update anything in your home don’t forget to consider other areas as you transition from room to room. This will make sure the flow of your home feels effortless.
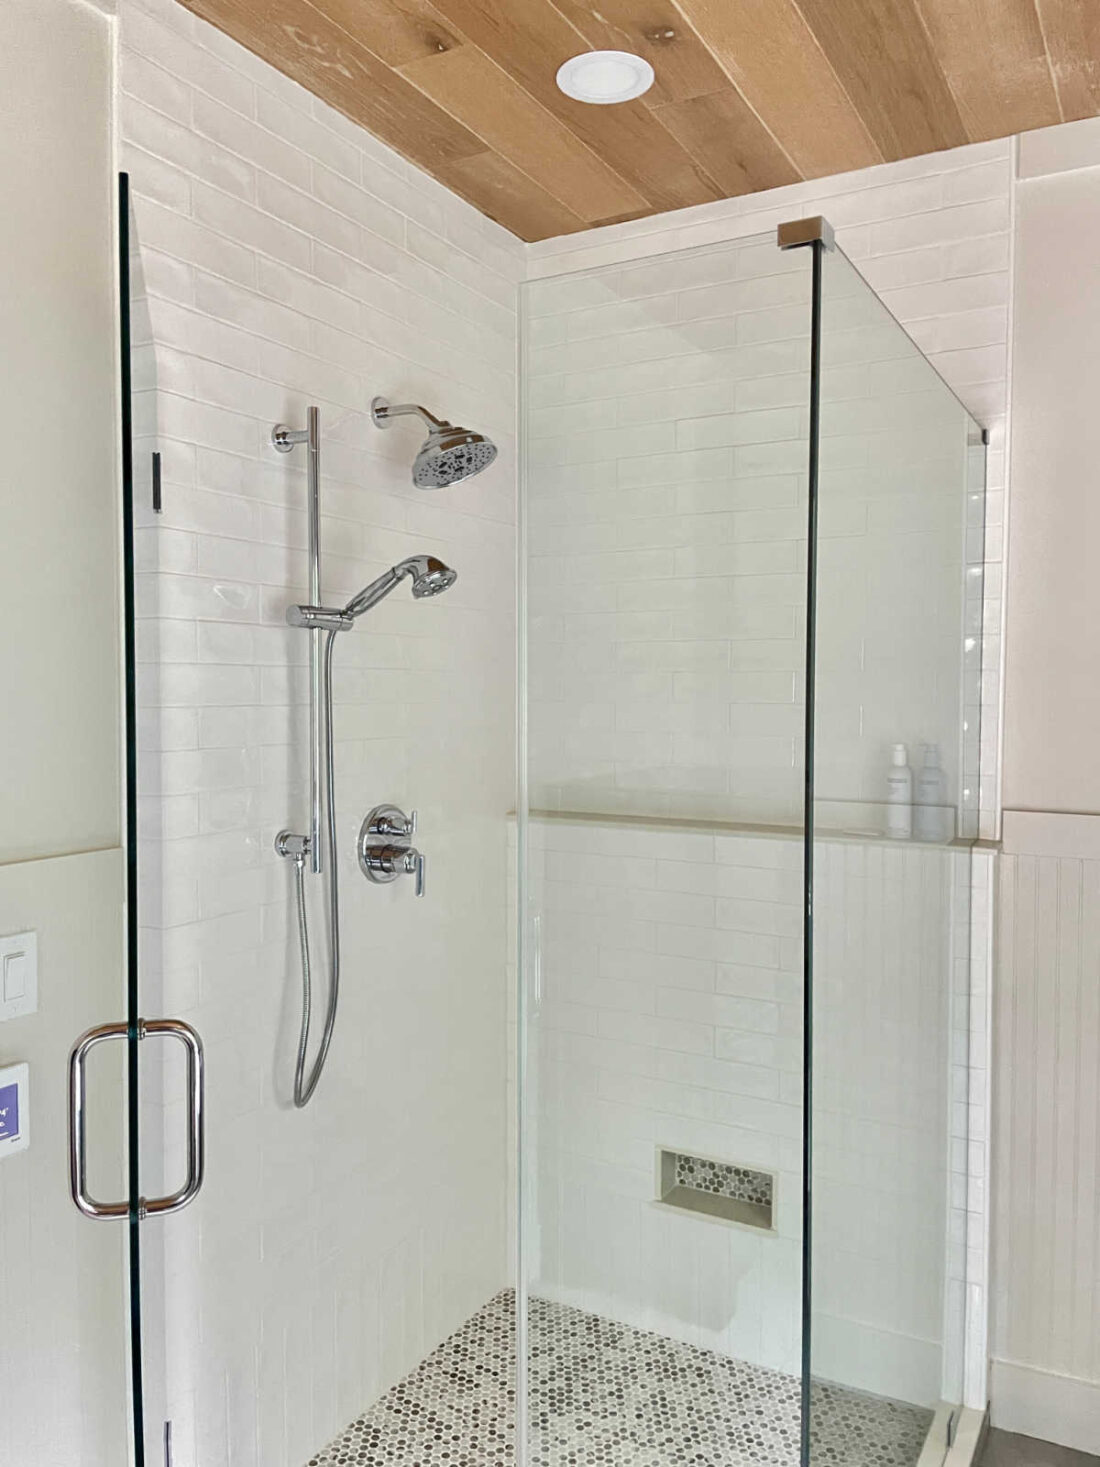
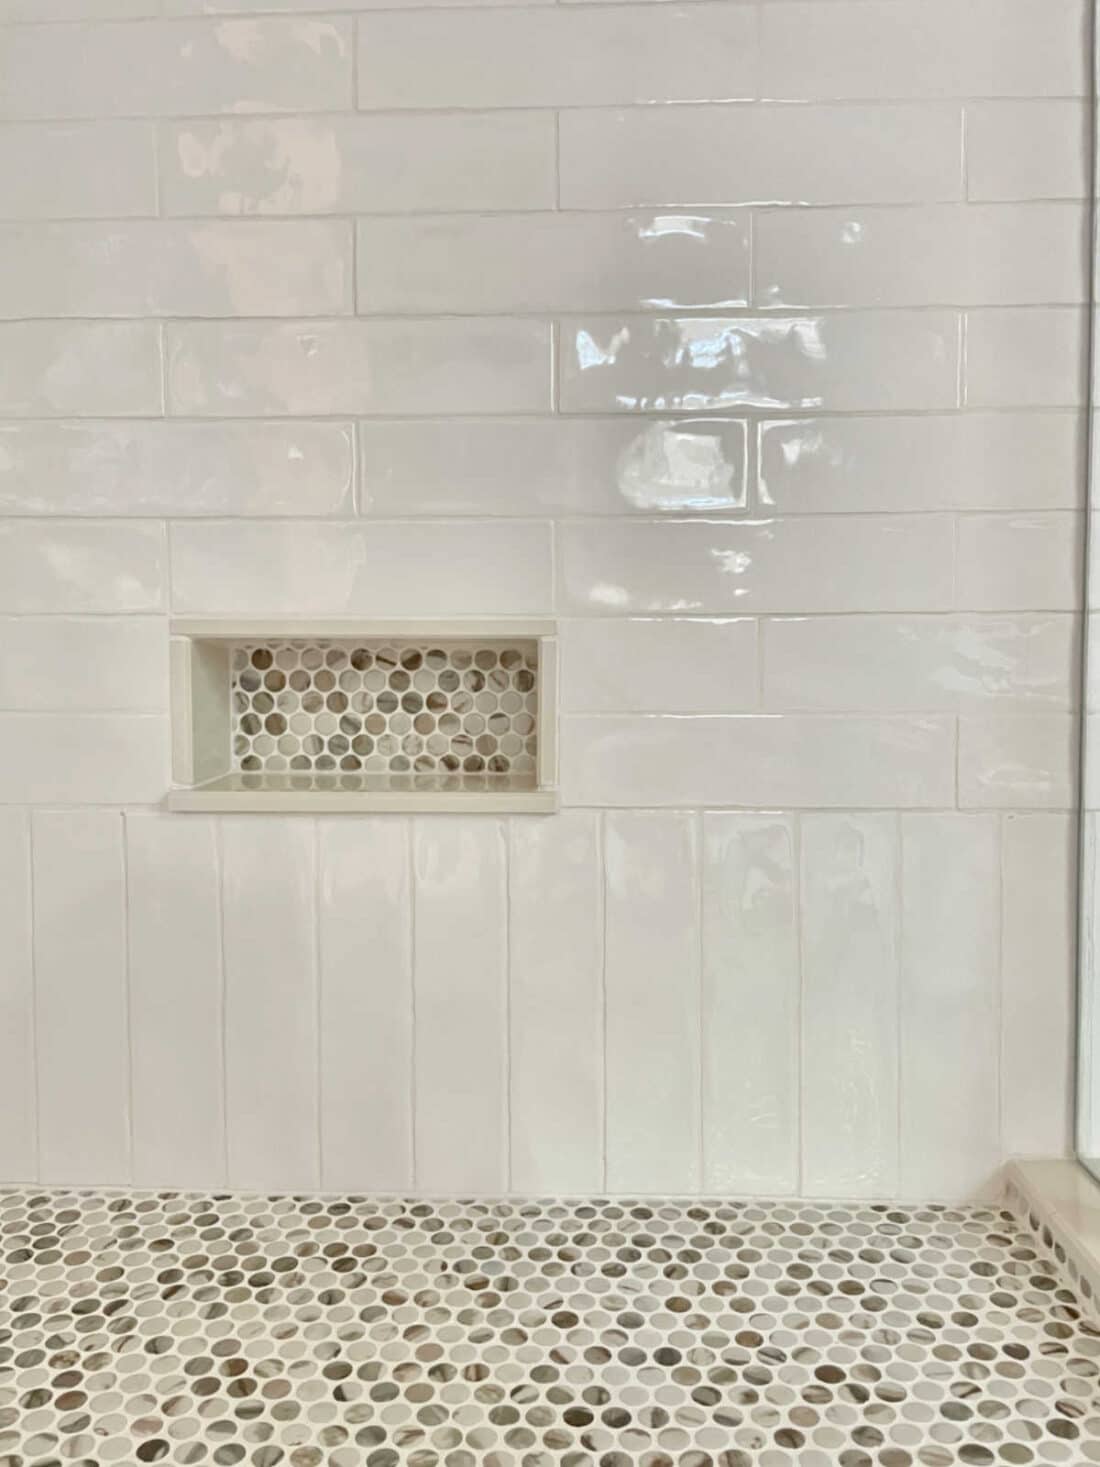
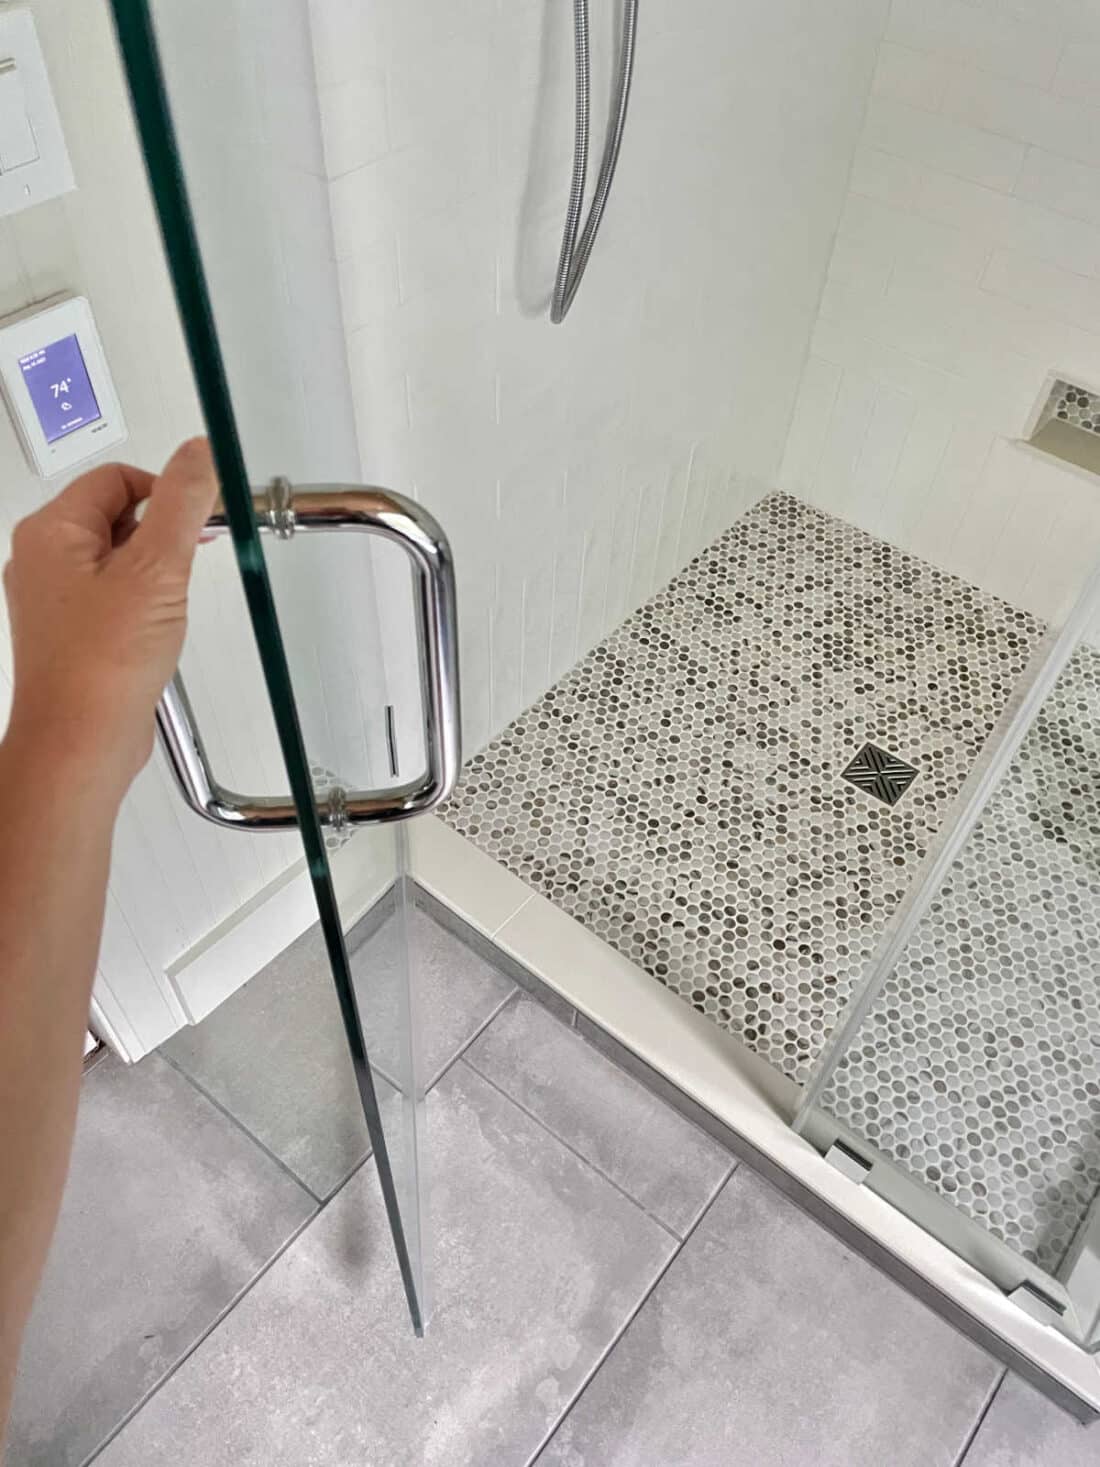
For the shower, I didn’t want a product niche, I wanted the ledge. It felt really timeless and classic to me. The design of the shave shelf was a way to add the small niche detail.
Once we removed the shower insert and the adjoining wall, we were able to expand the shower to a 4 x 4 foot space. It is a great size without being too large or too small.
Accessory shopping list
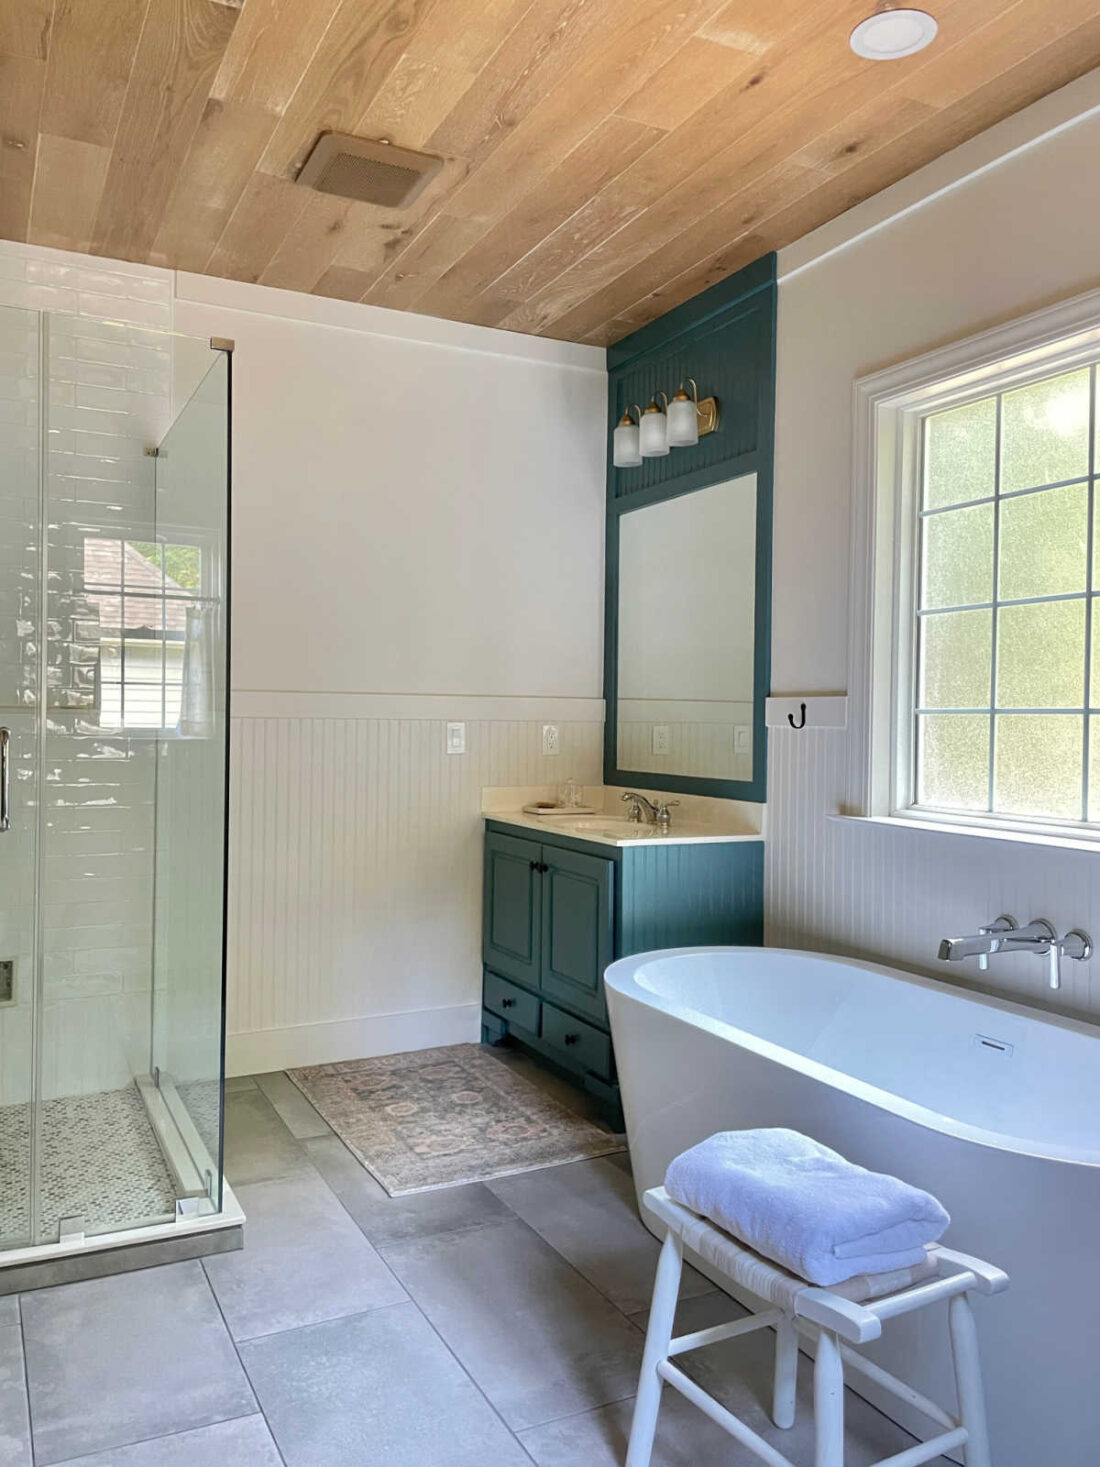
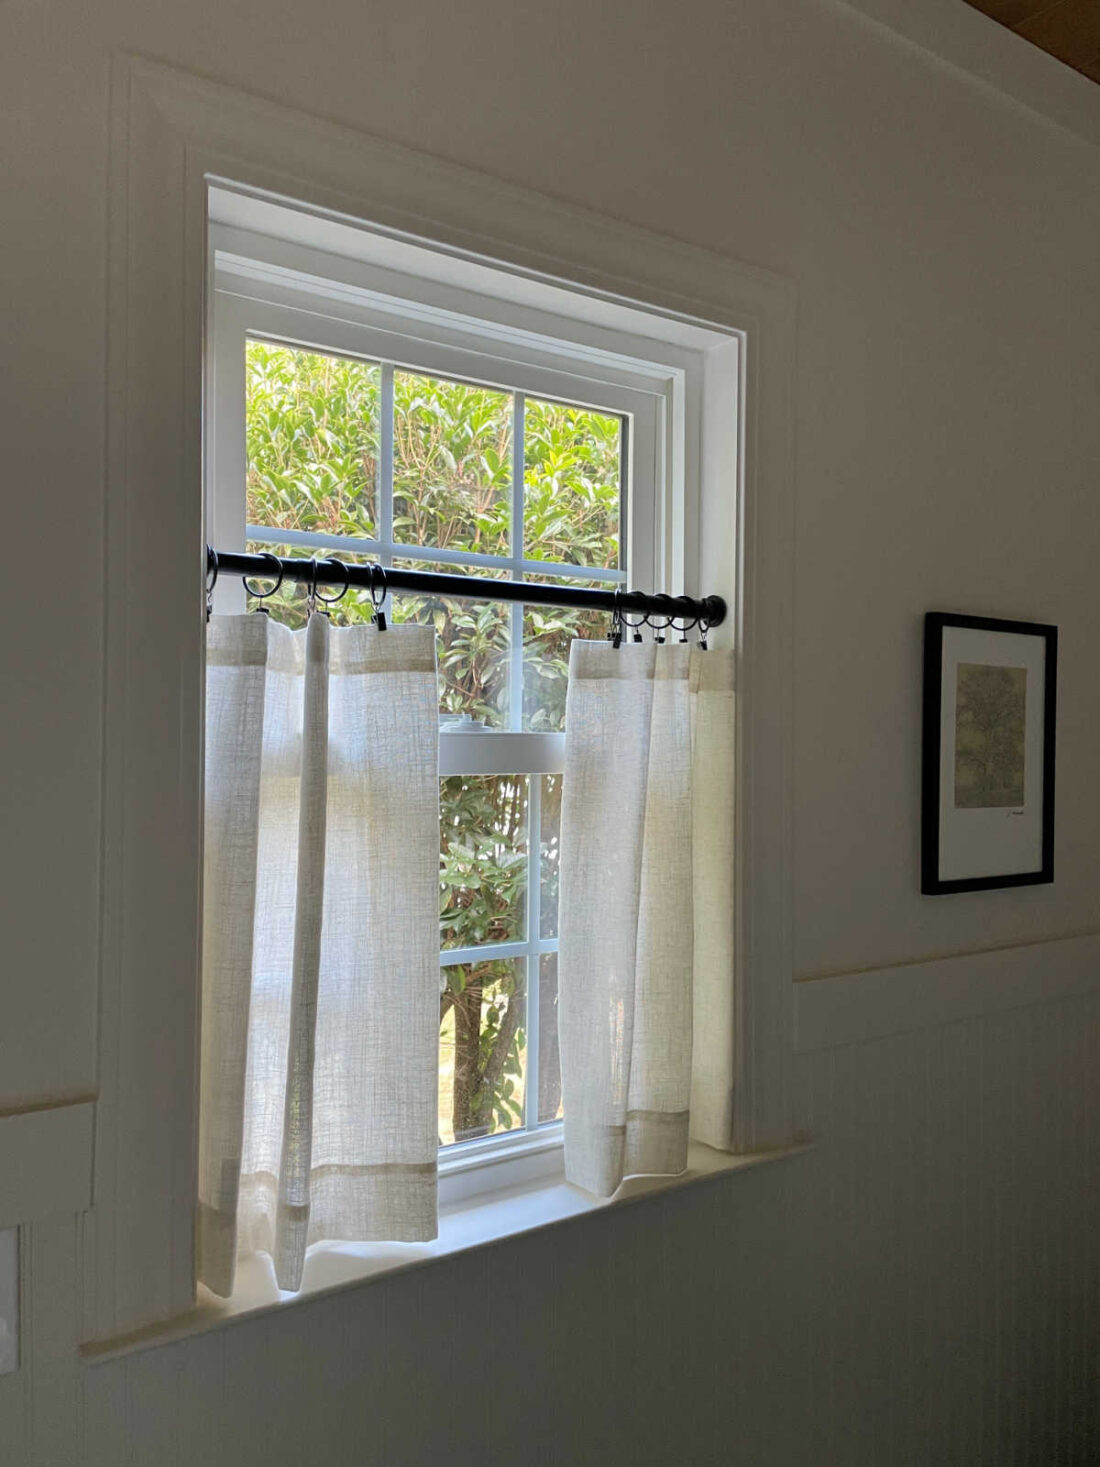
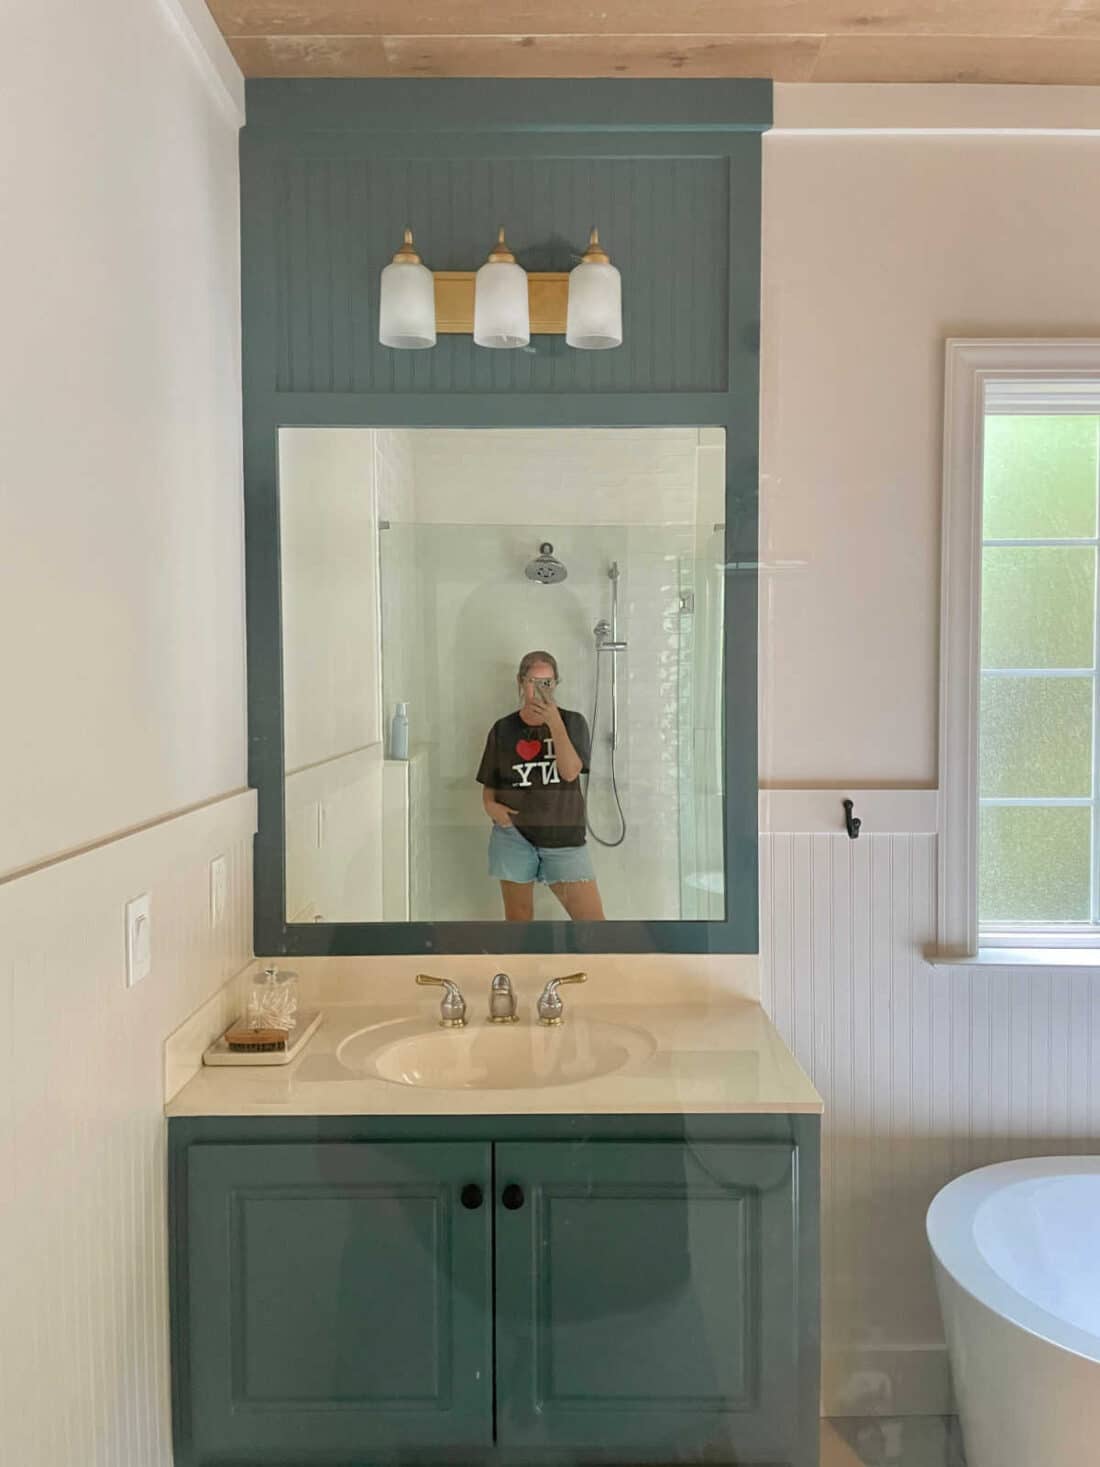
The vanity and countertops were still in great shape but needed more detail. The paint color and wall detail gave them the wow factor I was hoping. It was Ray’s creative idea to use a shelf bracket for the front detail. Instead of building his own furniture look pieces, he bought the brackets and cut them down to size.
Bringing the paint color around the frame and up to the ceiling gives you a full feel of the 9 foot ceilings.
Primary Bathroom Remodel Cost
The average cost for a primary bathroom remodel listed on This Old House website is $10,000-$30,000. I believe with all of the work we did in ours it would have been at the $30,000 range if not more.
We saved money by doing all of the work ourselves.
- Free standing tub $850
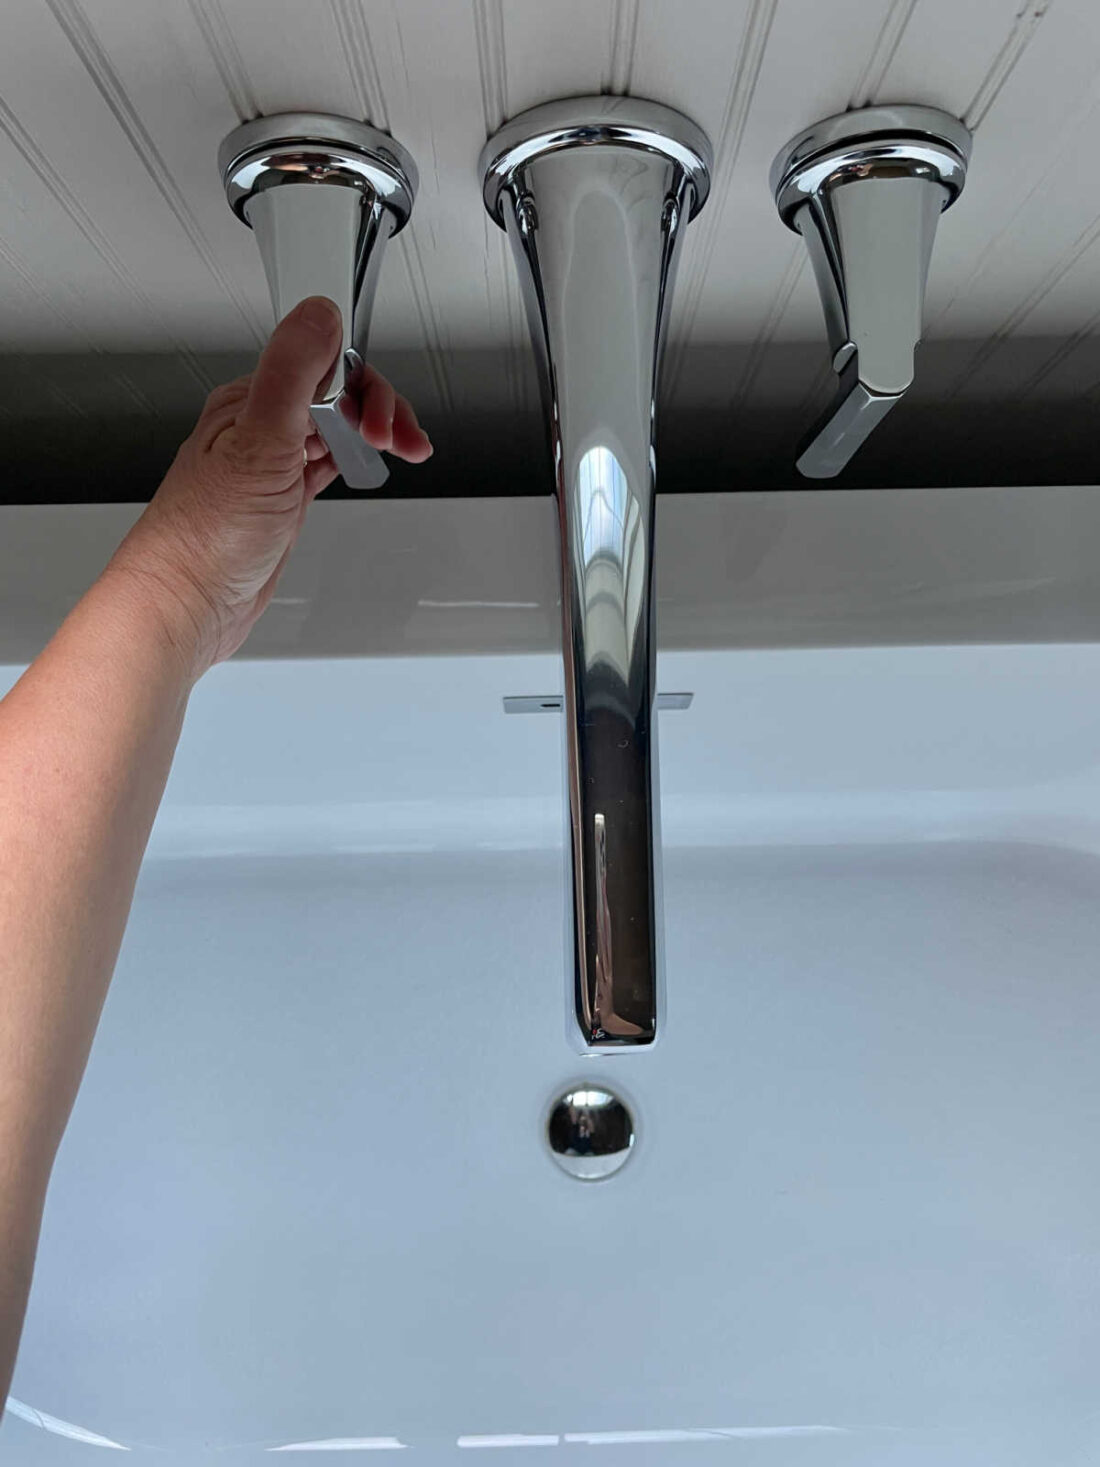
- Tub fixtures $756
- Pocket Door $550
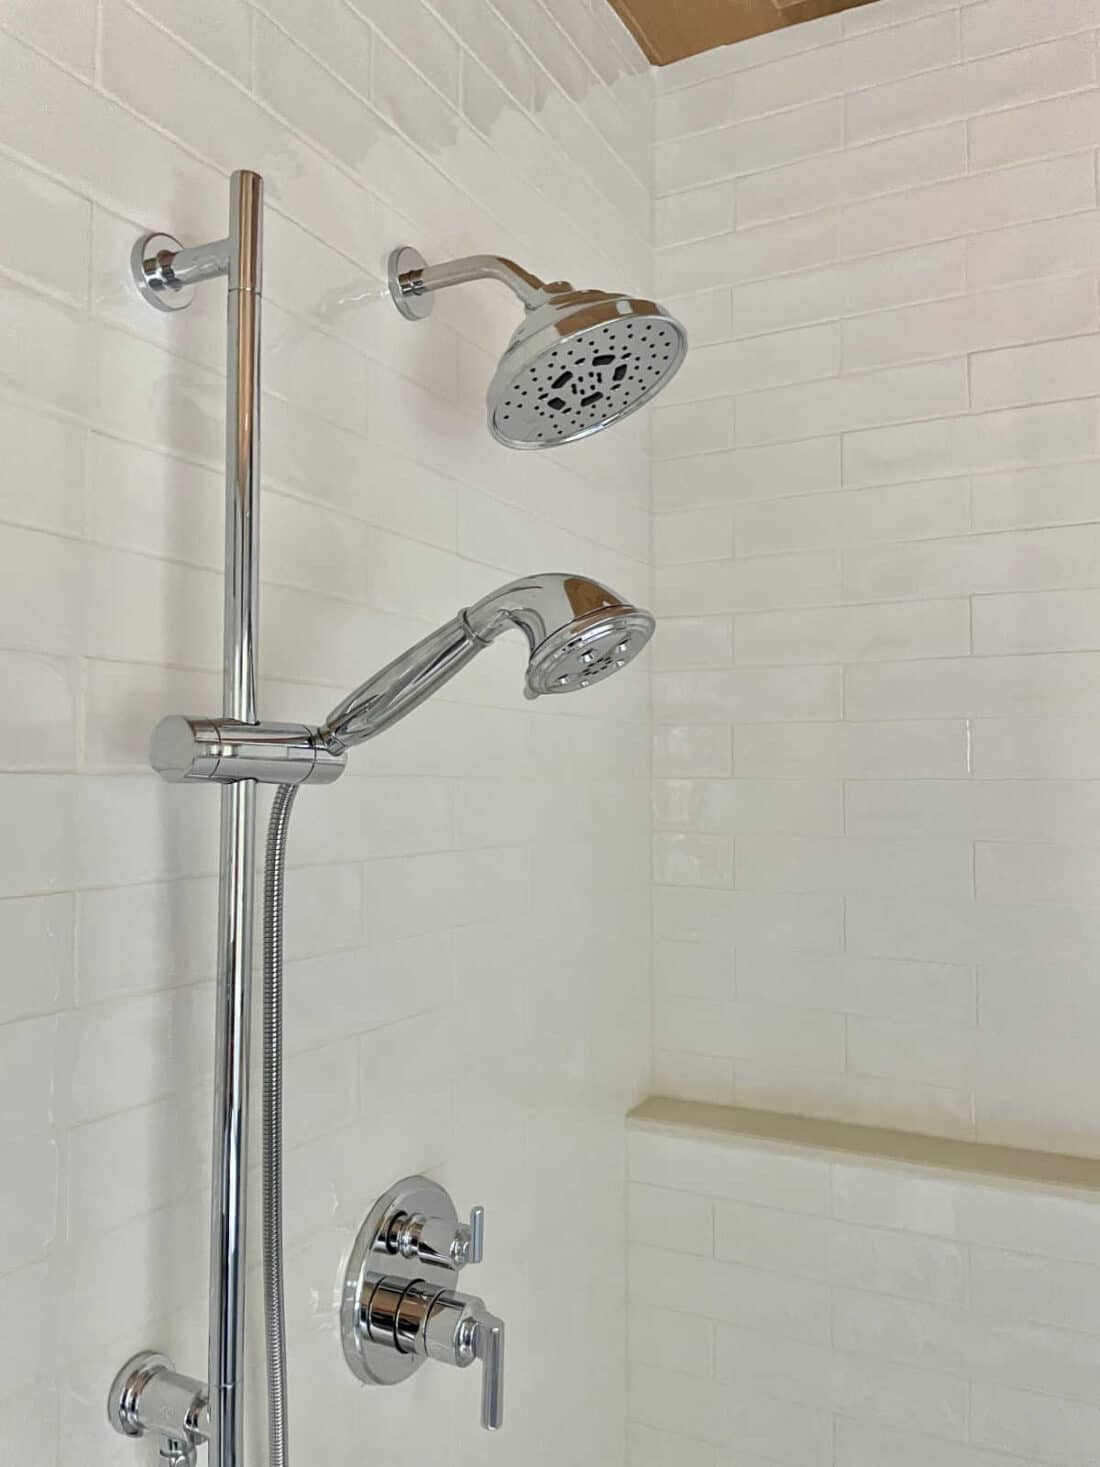
- Shower Fixtures (Brizo Essential Series) $1198
- Floor and Decor (tile and tiling supplies) $1800
- Glass door installed (the only thing we couldn’t DIY) $1680
- Paint and primer $350
- Paint sprayer (gifted)
- Contractors direct (Schluter system, water proofing, heated electric floor, thermostat) $1400
- Ceiling wood from Floor and Decor $800
- Materials (bead board, wood, tools, plumbing $1924
Grand total spent $11,308
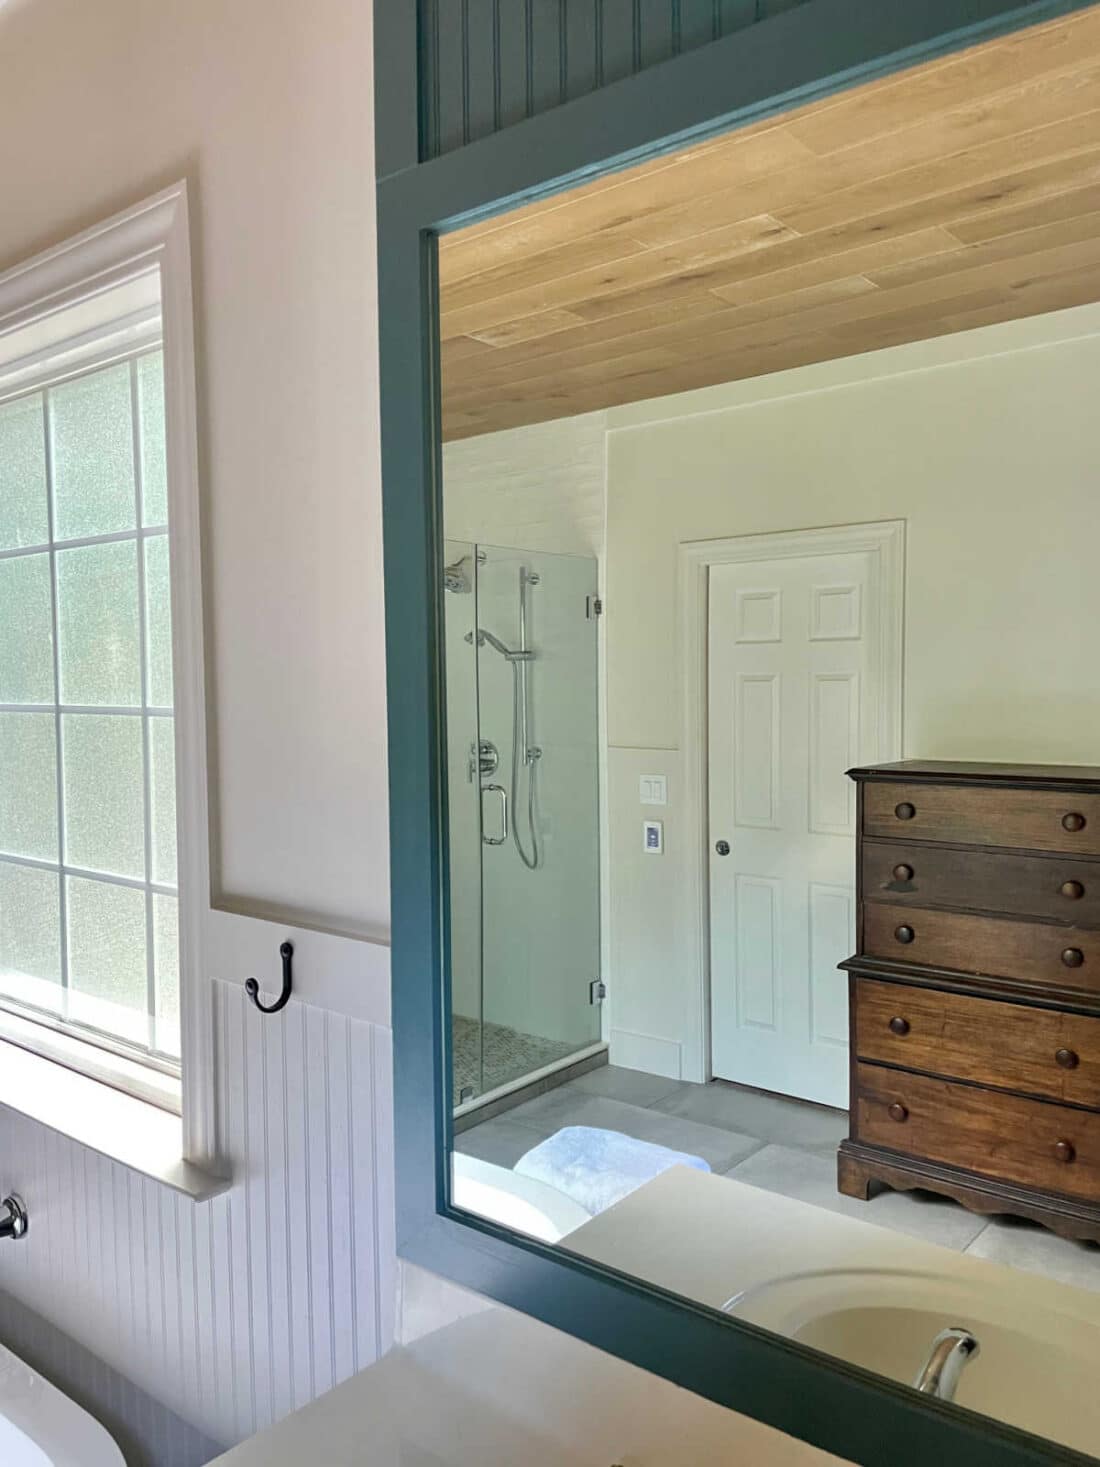
Creating a bathroom that was roomy, spa like but still fit within our modern traditional home style was the goal. I really feel like we succeeded. The below photo is me standing in the shower to give you a good view of how it looks from there.
Takeaways – Would we do anything differently in our primary bathroom remodel?
- We really do not like to install tile, mostly on the floor and we plan to never do it again. So just maybe, we may pay someone next time for that part.
- The only thing we may have considered changing was the window above the bathtub. We do live in a neighborhood so leaving it seemed natural.
- Looking forward to warm floors come winter time.
- Once day we will replace the sink faucet to match the rest of the rest of the Brizo line. That would require new countertops too and I just don’t think it’s worth it right now. I think it looks great.
