DIY Kitchen Makeover Reveal
Looking for ideas to update your kitchen without spending a fortune? Then you are in the right place. Follow along on our DIY kitchen makeover journey to see what’s possible when you’re willing to do it yourself.
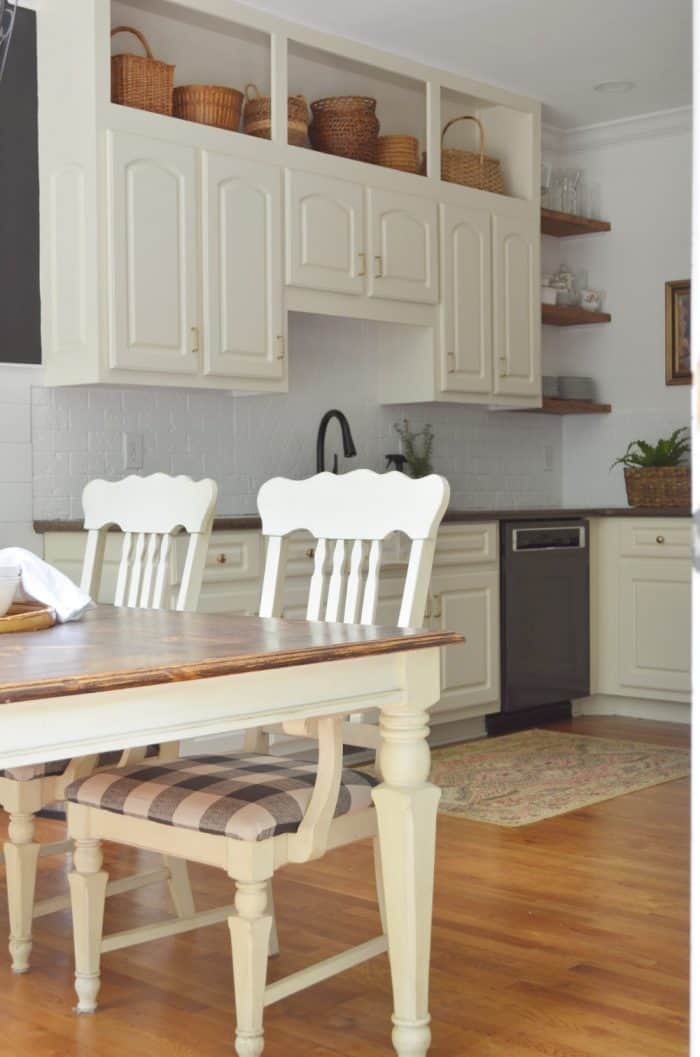
When we started the DIY kitchen makeover back in April I knew it wasn’t going to be a fast project. I am by nature impatient when it comes to projects but I had decided ahead of time not to let the kitchen get into a total disarray. Being able to keep the kitchen functional daily was a priority. Except during the cabinet painting process, the kitchen stayed in order.
Raising the cabinets height had been something I wanted to do for a long time. Ever since our one room challenge kitchen makeover.
Getting Ray on board was the first obstacle. We are both very practical people when it comes to decor and design but he more so than me. He was having a hard time visualizing if this would make as big of an impact as I was sure it would. Let’s just say, I was right!
Like the champ he is, he worked hard on all of my ideas
While we have a dream for how to completely remodel our kitchen, that was not in our budget. BUT guess what, we have a great new kitchen anyway. You will find all of the shop links at the bottom of this post.
Kitchen Makeover Goals
- have cooking supplies easily available
- balance out the kitchen ceiling height with the big window by the table
- create more usable counter space
- store my everyday and entertaining items in plain site, double as decor
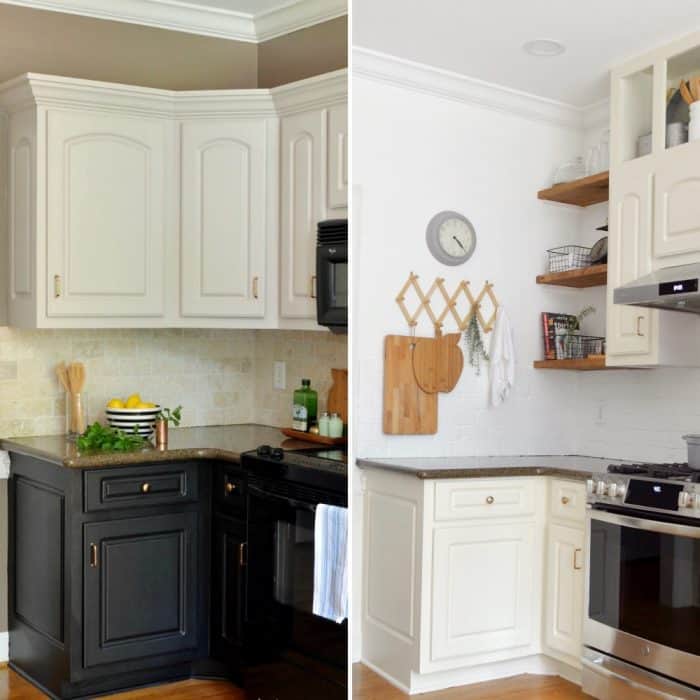
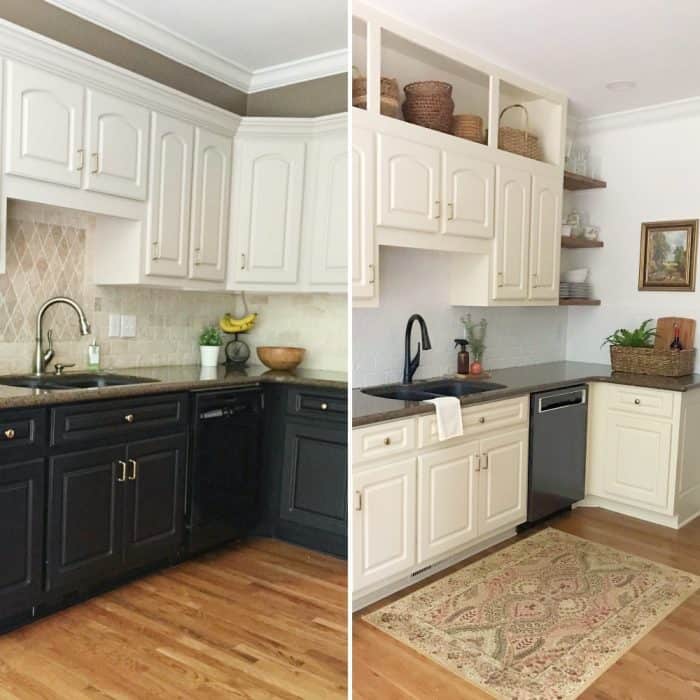
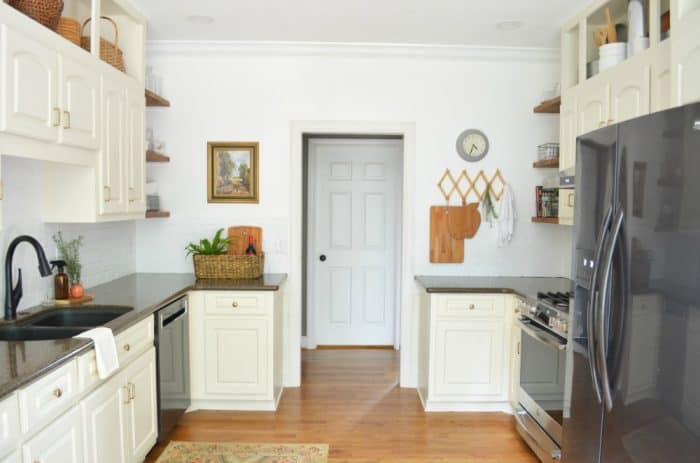
The goal with our kitchen was to make it more functional and balanced. The counter space couldn’t be changed but I felt like by removing some upper cabinets it would allow us to work more on the counter area where those cabinets were hanging. It worked.
Completed Projects
Projects we completed: (as the tutorials are created I will link them here)
- declutter all cabinets and get rid of everything that was duplicate and/or not used
- demo/remove 4 cabinets (2 corner, 2 regular)
- repair walls from cabinet removal
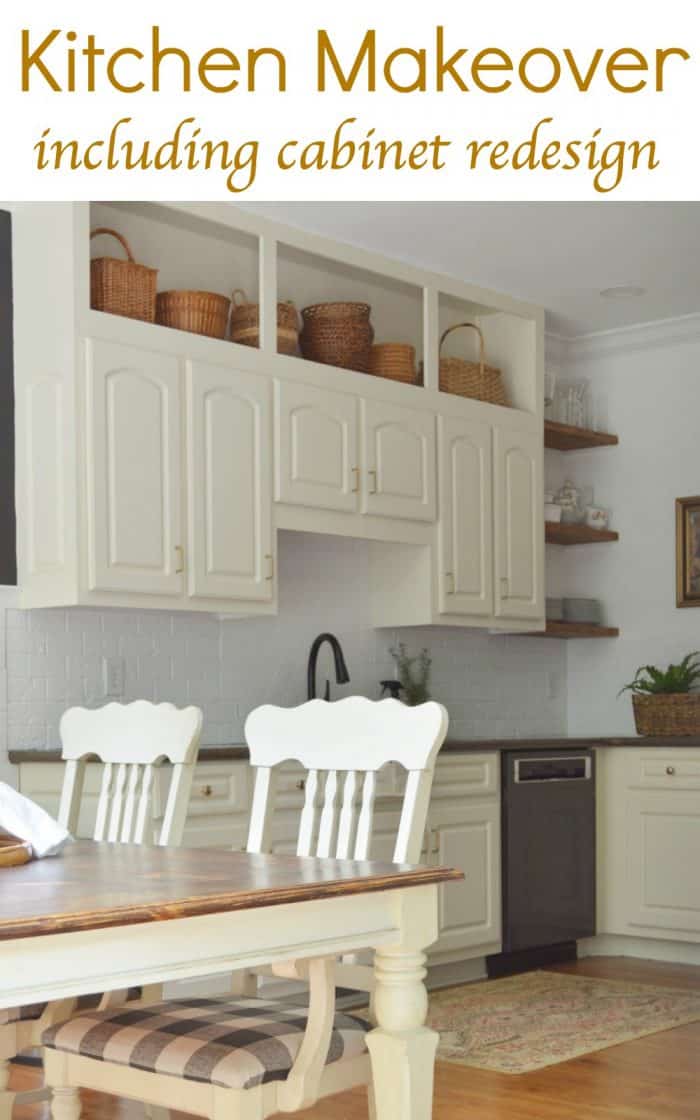
- build cabinets to the ceiling
- build open shelving
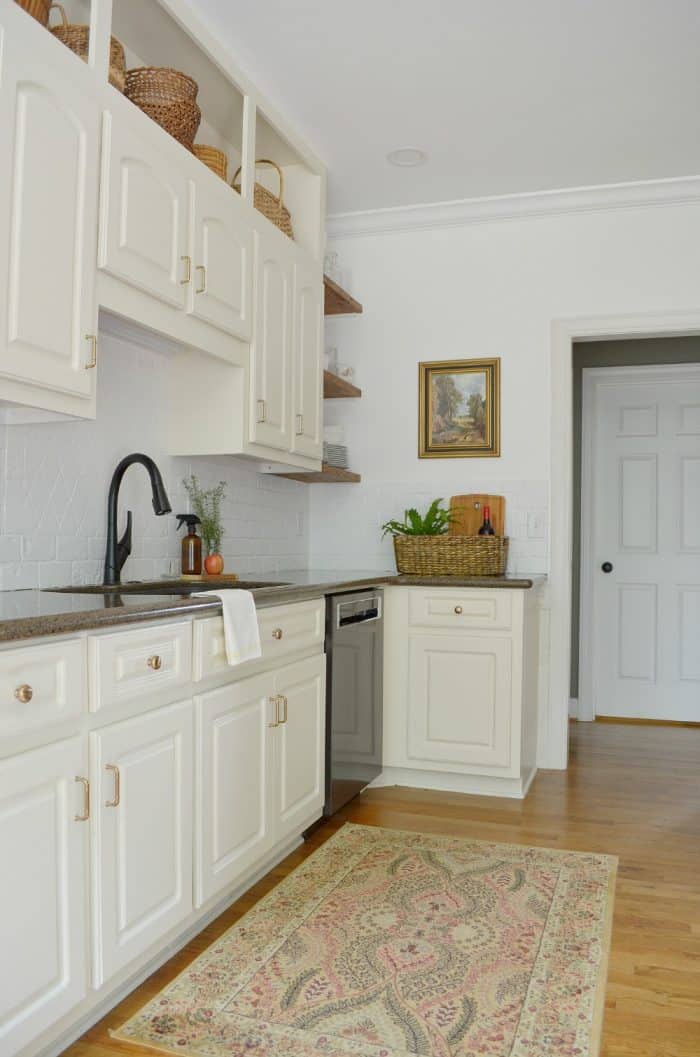
- caulk and paint cabinets (Antique White By Sherwin Williams)
- paint backsplash (White Gallery by Olympic)
- paint the walls (Black Magic by Sherwin Williams)
- replace big fluorescent light with slim lights
- paint ceiling (standard ceiling white)
- have gas line installed for new stove (paid a professional)
- Plank wood wall completed previously
- Chairs recovered in a previous makeover using this post
The open shelving was built the same as our rustic shelves in the living room. For the kitchen shelves I used gel stain with added water to use as a glaze. Instead of the iron brackets we wanted them to appear free floating. One side is screwed in through the cabinets. The other side is hung on a wood cleat.
This post is to reveal the after photos. Each project will get a tutorial post of it’s on. Be sure you have joined my email list. I will send out those emails each day as those post are completed. I will also update the projects list above with those links as well. Also, be sure to pin the photos to your Pinterest boards.
Kitchen Makeover Reveal
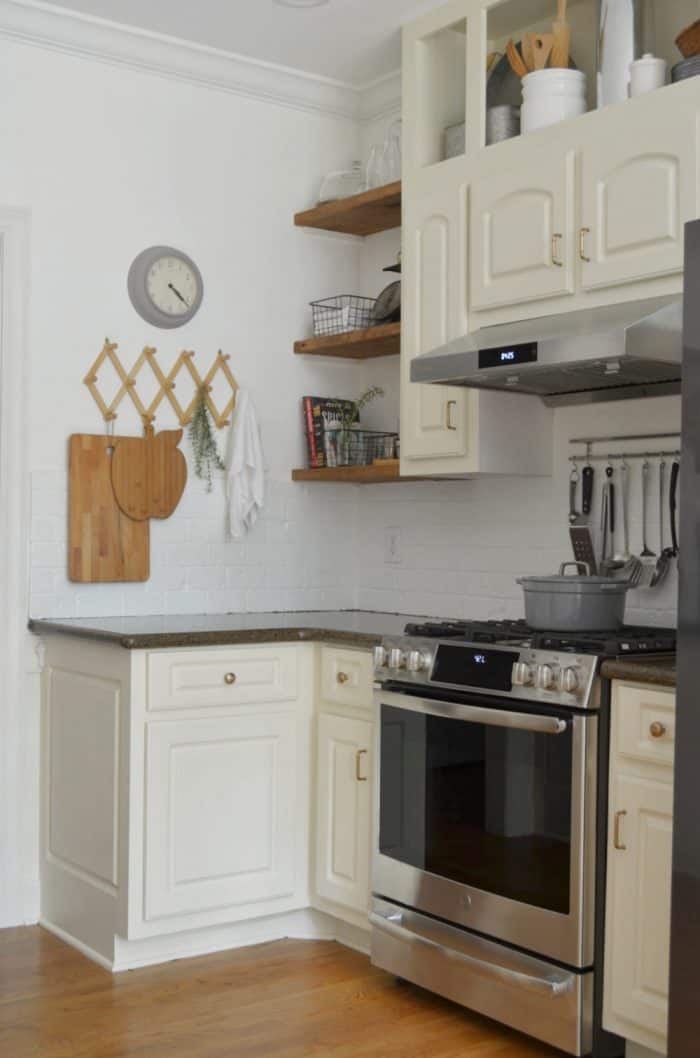
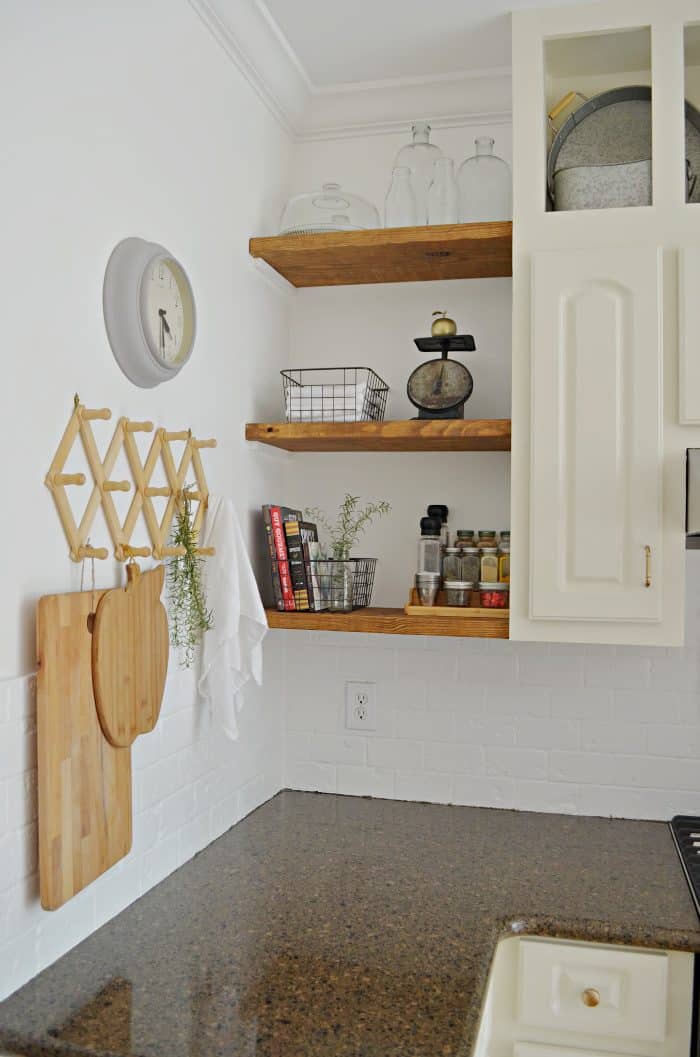

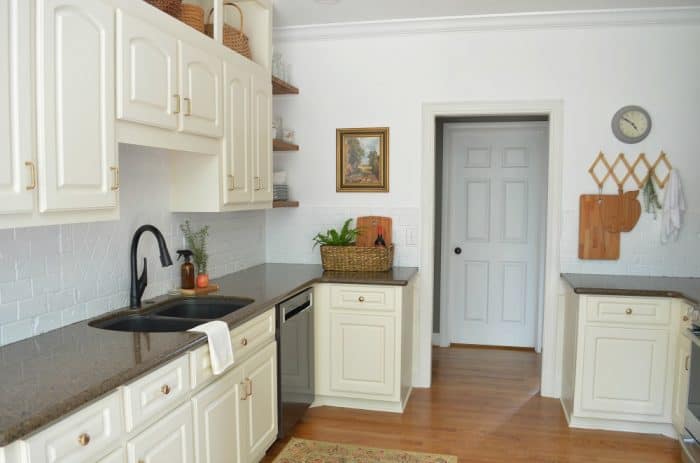
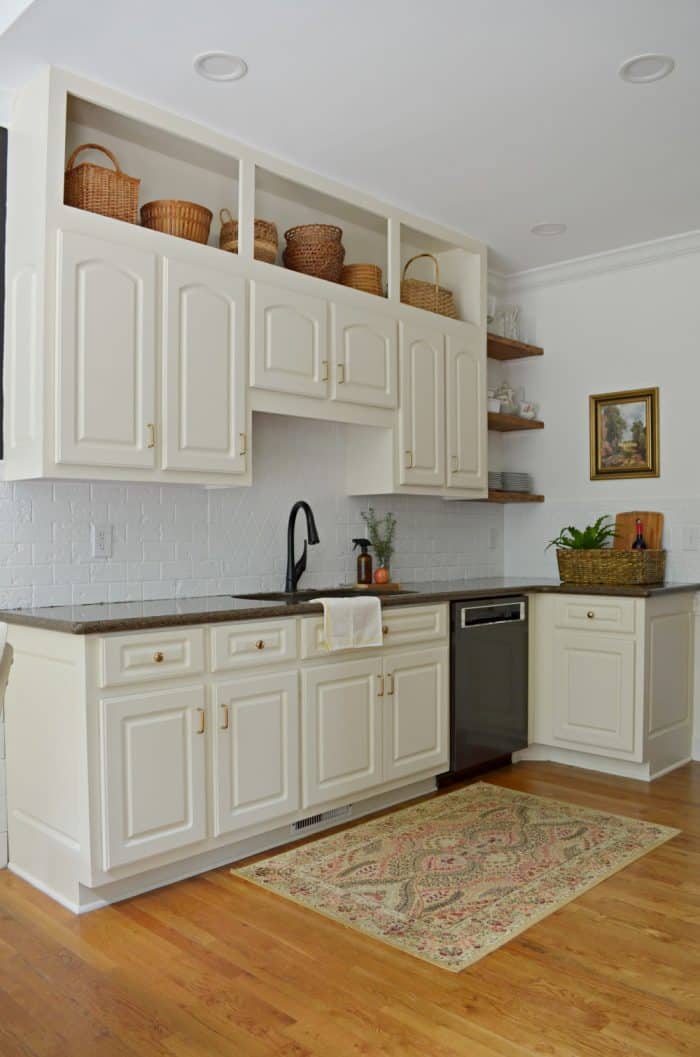
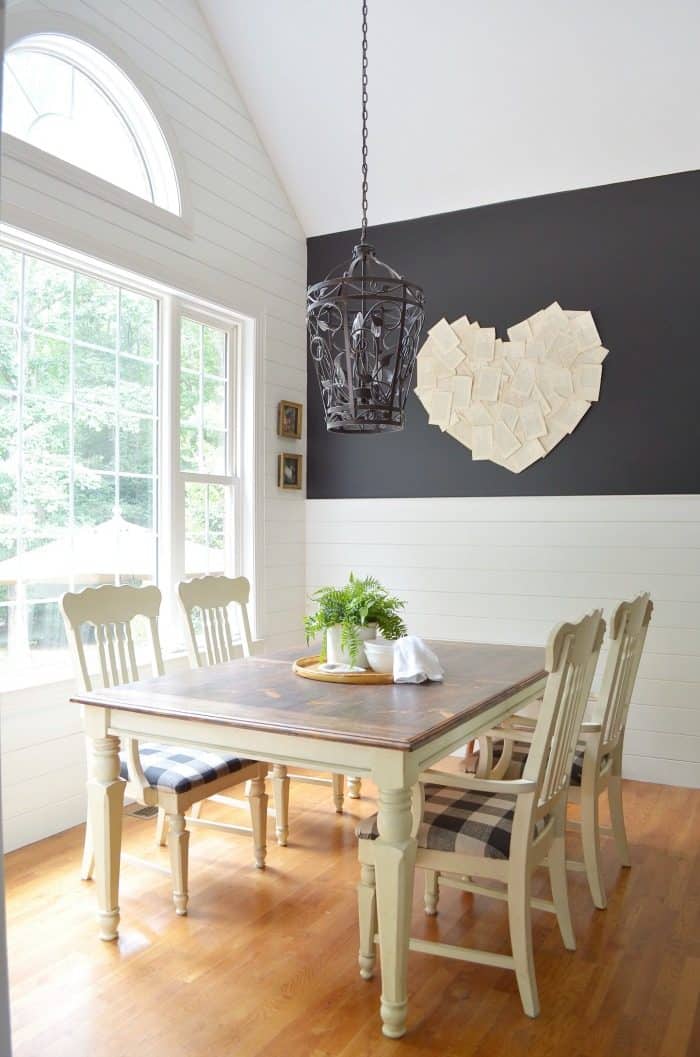
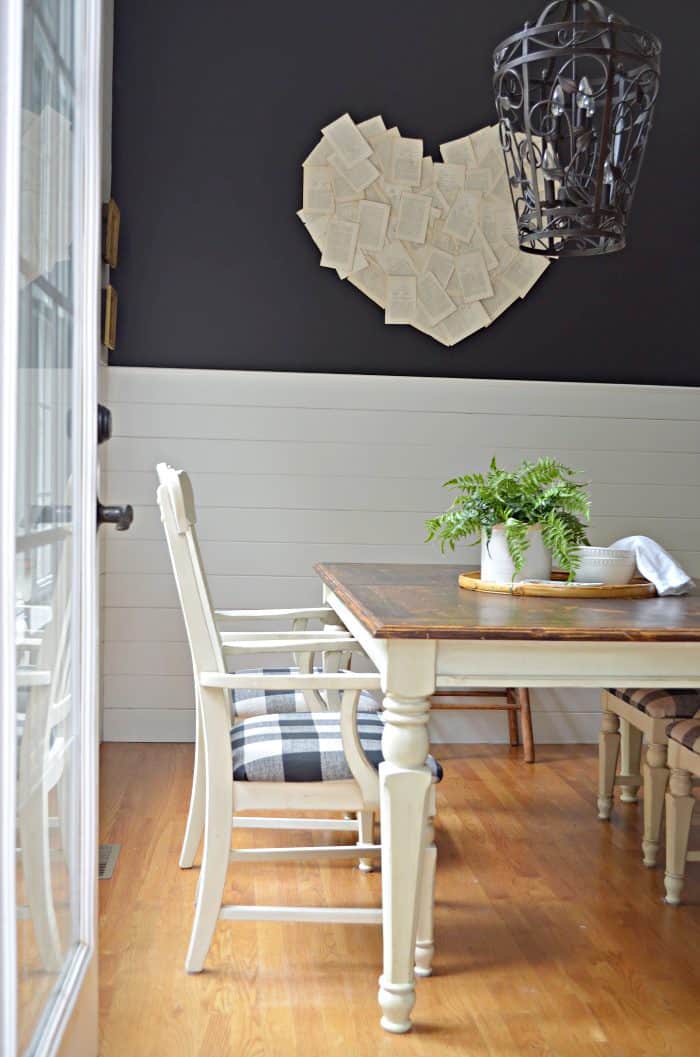
This post contains affiliate links.
Shop Our Kitchen
- Magnetic Utensil Bar
- Stove
- Hood
- Microwave
- Refrigerator
- Dishwasher (brand new on Craigslist but I would have paid full price, it’s basically silent!)
- Ceiling Lights
- Baskets
- Faucet (gifted to me at a Delta Blogger event, I love it)
- Flour sack towels
- Dutch Oven
- Wire baskets
- Hinges
- Trash Can (bought from Costco)
- Amber spray bottle
- Spices cookbook
Cost vs Value remodeling trends show the average cost of room remodels in the area you live. A kitchen remodel is $22,507 up to $131,510 on average. YIKES!
This is why we share what we do. In order for you to create a home that you love without breaking the bank. We spent more because we added in new appliances BUT you can see what DIY work can do without those new items.
Before you go…be sure to pin this photo to your kitchen or DIY Pinterest board. It allows me to help others.


Glad this helped you!
You just saved made up my mind without a doubt. I was about to purchase paint and do the same thing to my lower cabinets, the pics of real life which I live too sealed the deal. thank you for this tutorial you saved me a lot of time and money. whewwwwwwww
How does the painted tile splashback hold up to cleaning? I find that grease can get quite stubborn quickly behind the stove top so I have always thought any paint would come off tiles when cleaning?
What did you do about the cornice behind the cubbies you put in on top of the cupboards?
If you are using Decoart chalky finish paint the dark wax will be the sealant. No need for an extra step. There are tips I have for waxing if you need them. Not sure if you are new to it or not. Here are many posts I have using dark wax. https://athomewiththebarkers.com/?s=dark+wax
I am going to paint my bathroom vanity, I am wanting farmhouse. Thinking painting creamy white with dark wax. Should I seal first then wax? I am thinking about using decoart.
As always you and Ray(our favorite son) have done a fantastic job. So proud of you handling so many things at one time. Take a rest now. Love you. Dennis & Kathy