White and Mauve Bathroom Makeover
White and Mauve bathroom makeover with mostly paint. A few new touches made this room go from dark to bright and cheery.
If you are here from the bedroom post then welcome to the rest of the makeover. If you found this bathroom makeover first, you must see the attached bedroom that goes with it. There were way too many photos to put both spaces in one post!
Room makeovers are always the most fun posts to share. The before and after home decor projects post shares the quick version of our home in tour style.
This post contains affiliate links. See my full disclosure policy.
If you are in the design phase, I have some great tips for planning the room makeover using inspiration photos.
Bathroom Makeover details
- Painted ceiling, walls and trim (patched drywall first)
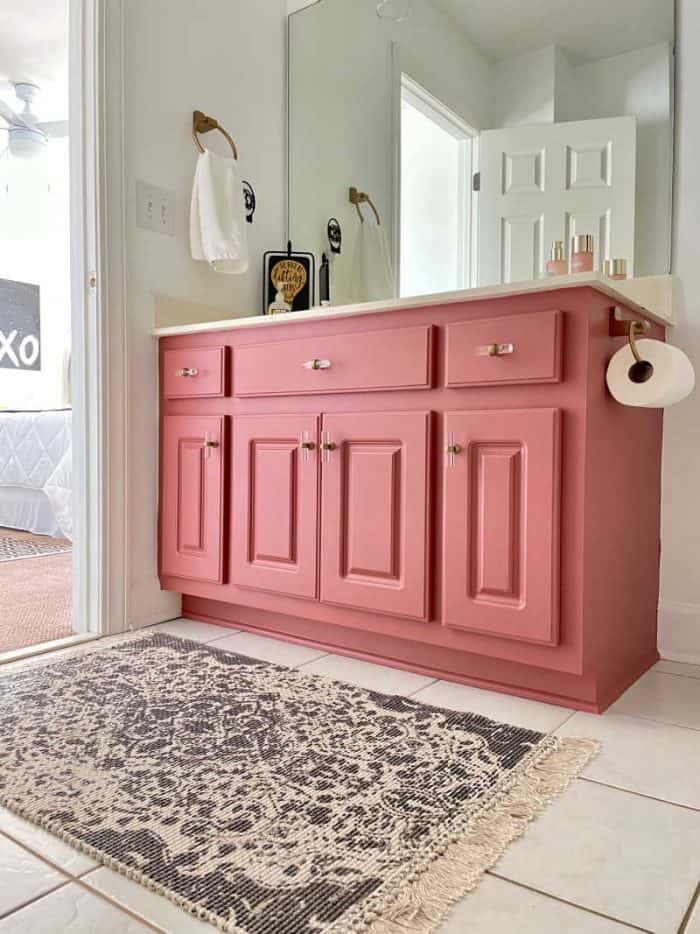
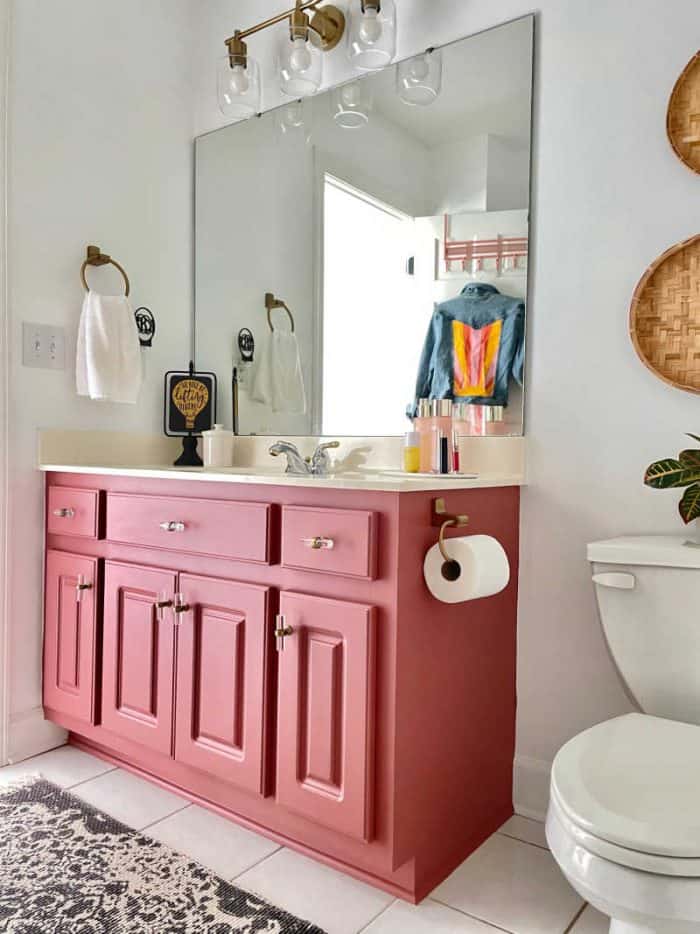
- Painted vanity cabinet and added new hardware
- New rug
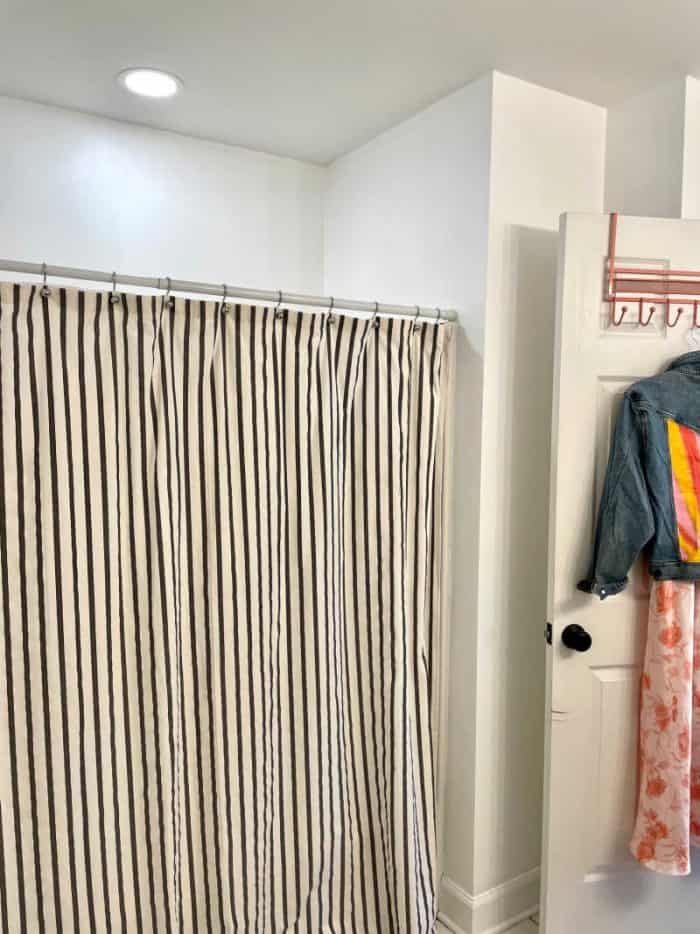
- New shower curtain
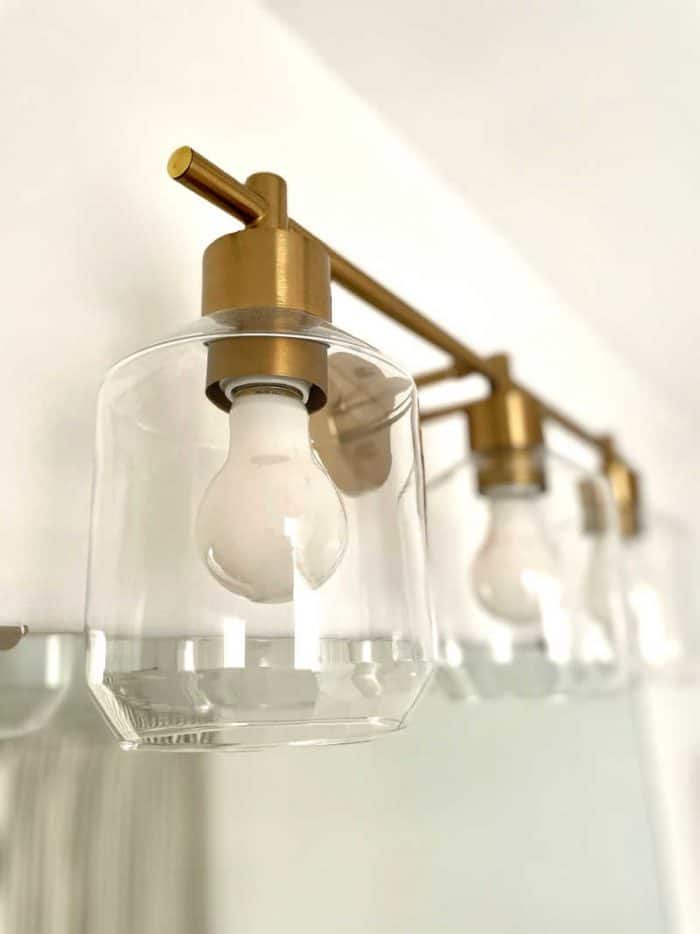
- New brass vanity light fixture
- New hand towel and toilet paper holder
- Added new light over shower (same light and tutorial as from the boob light post)
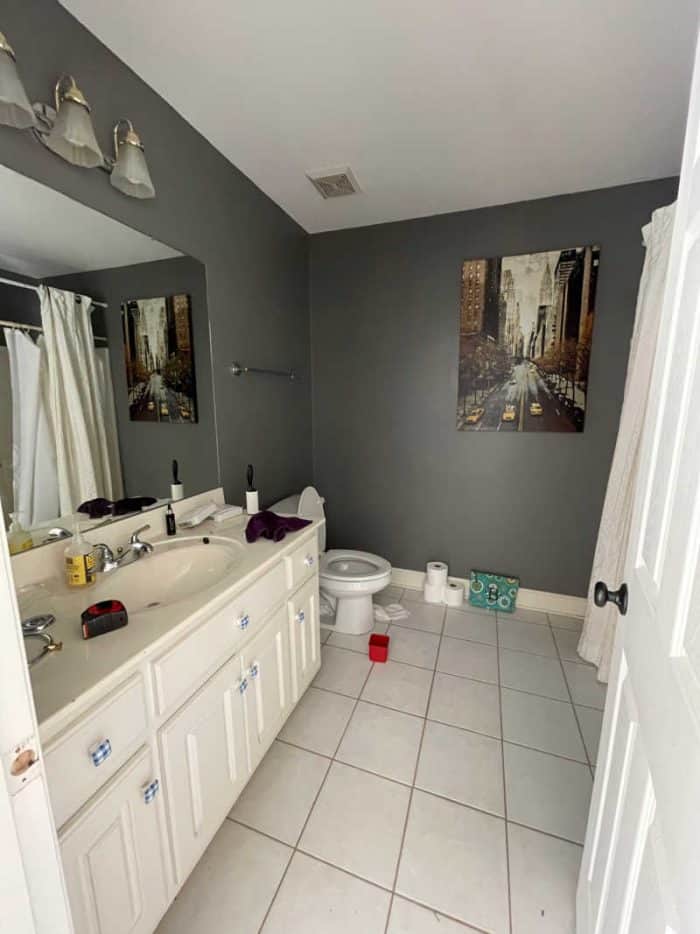
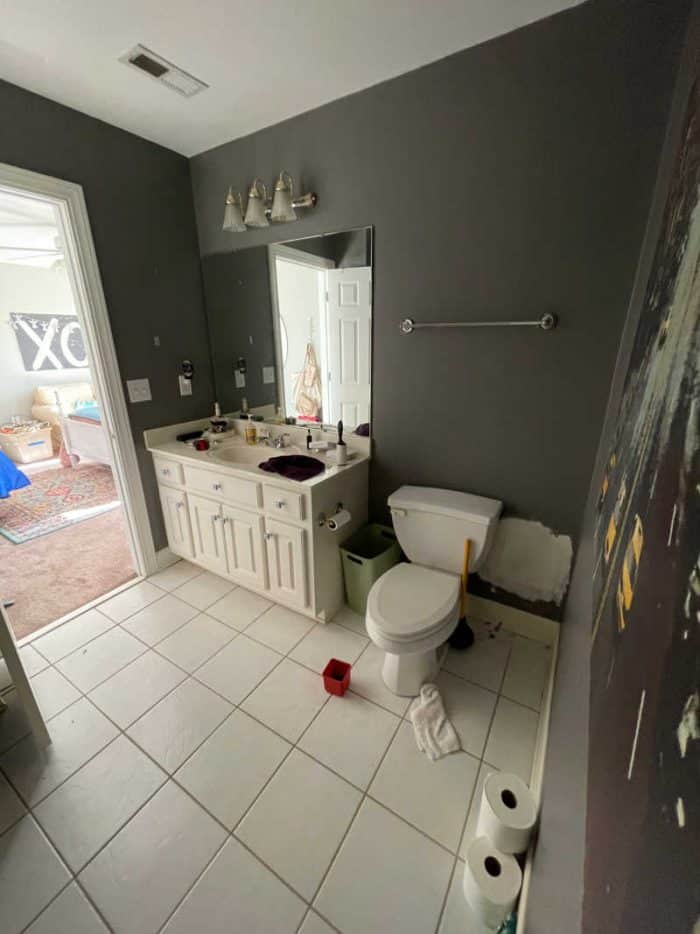
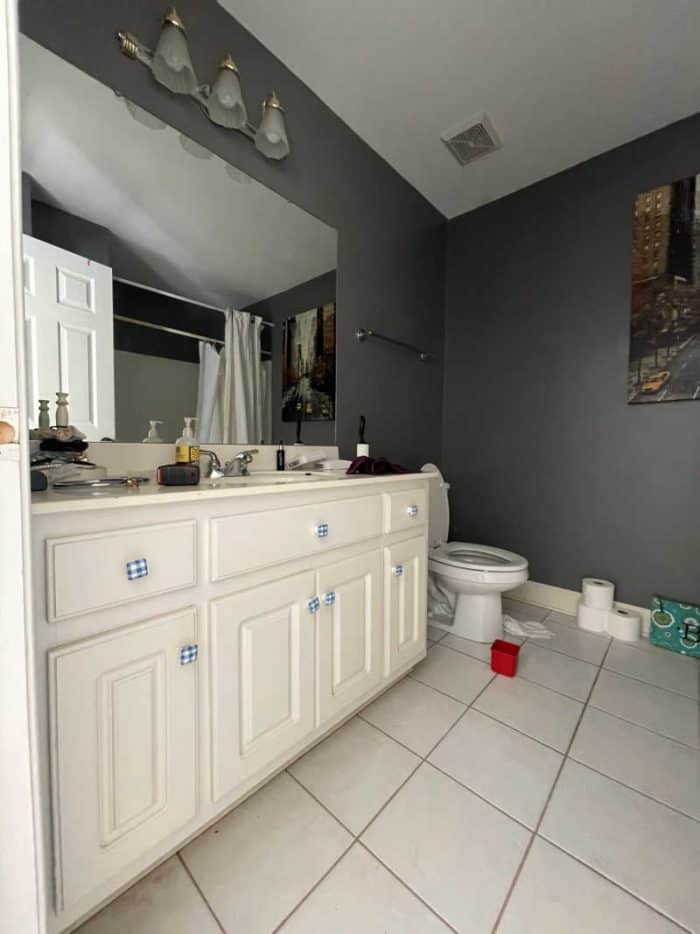
These before pictures will give you a good idea of where we started. I had already cleaned out most of the extra stuff. There was a bookshelf under that piece of art.
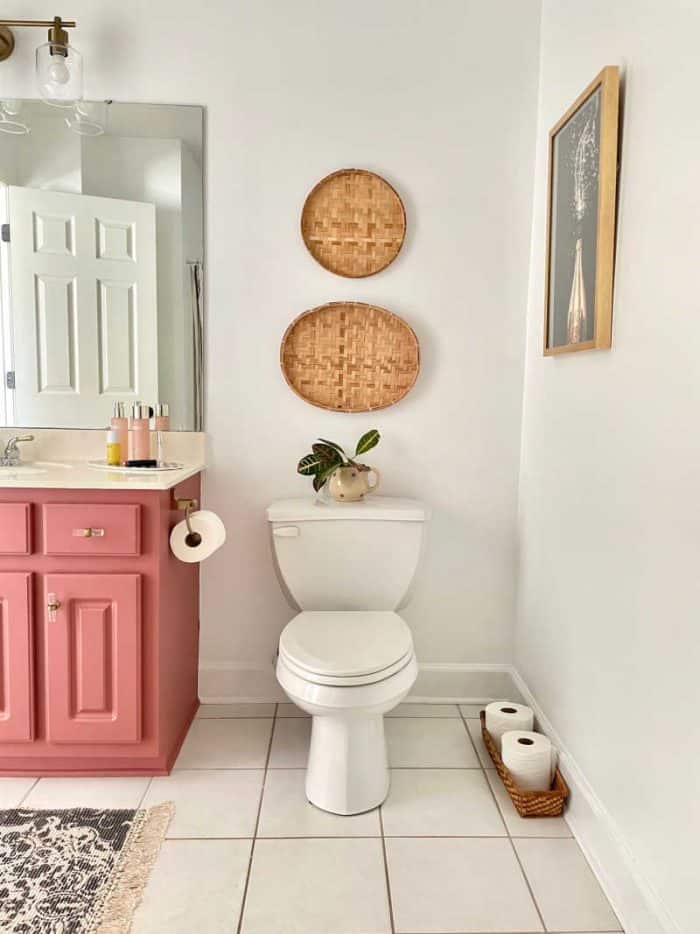
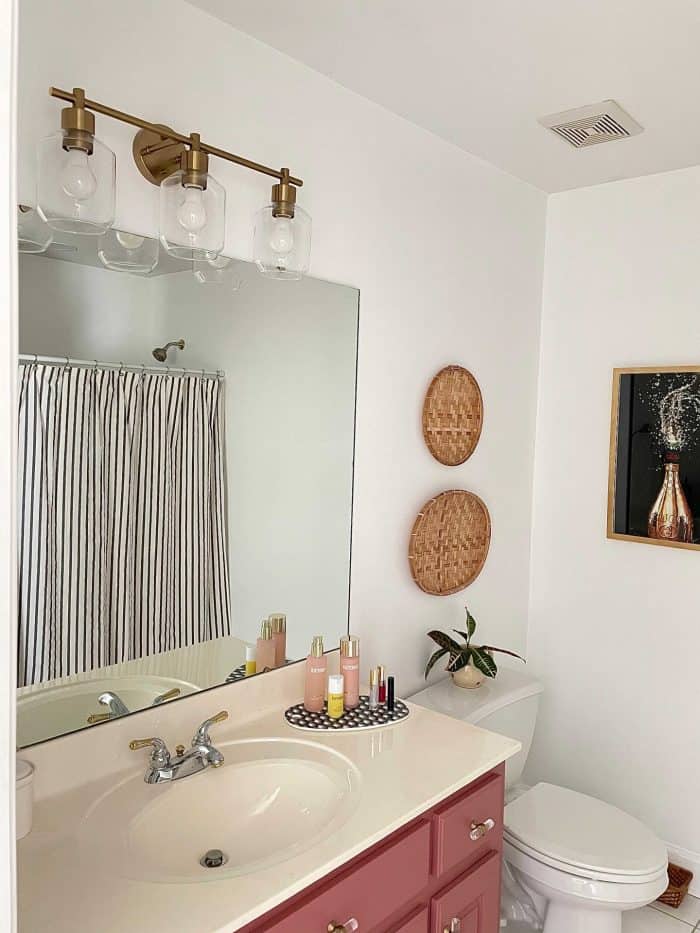
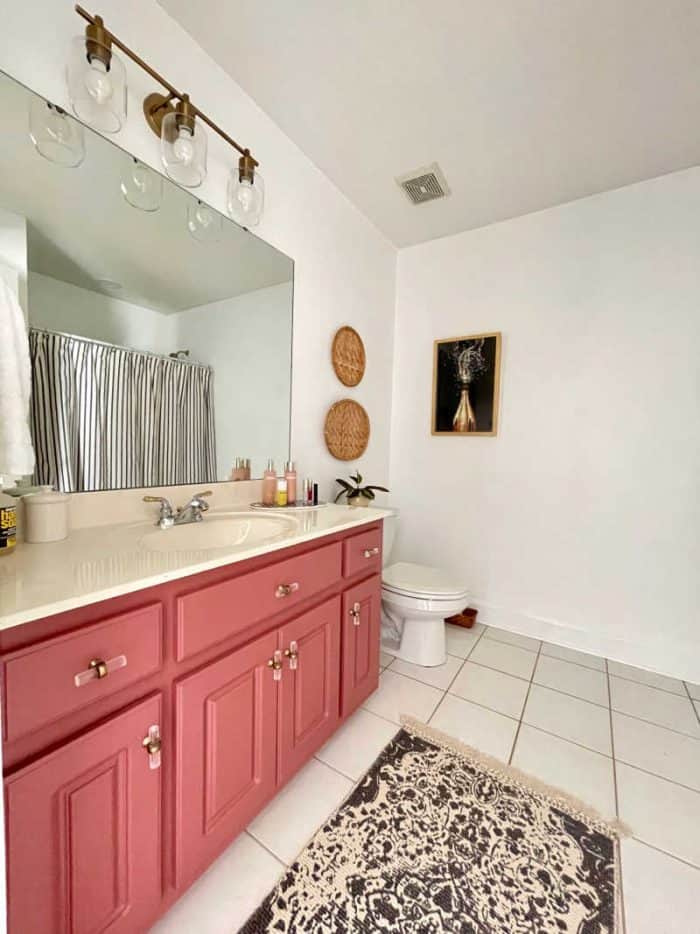
This room was dark and in such desperate need of a makeover. Now I love it so much. It turned out so great. Sarah Beth and I love added warmth of the cabinet paint color! The mauve colored paint, is formally named Enchanted Echinacea, and is from Fusion Mineral Paint. This is the first time I’ve used this paint. I’ll be sure to write about that in another post.
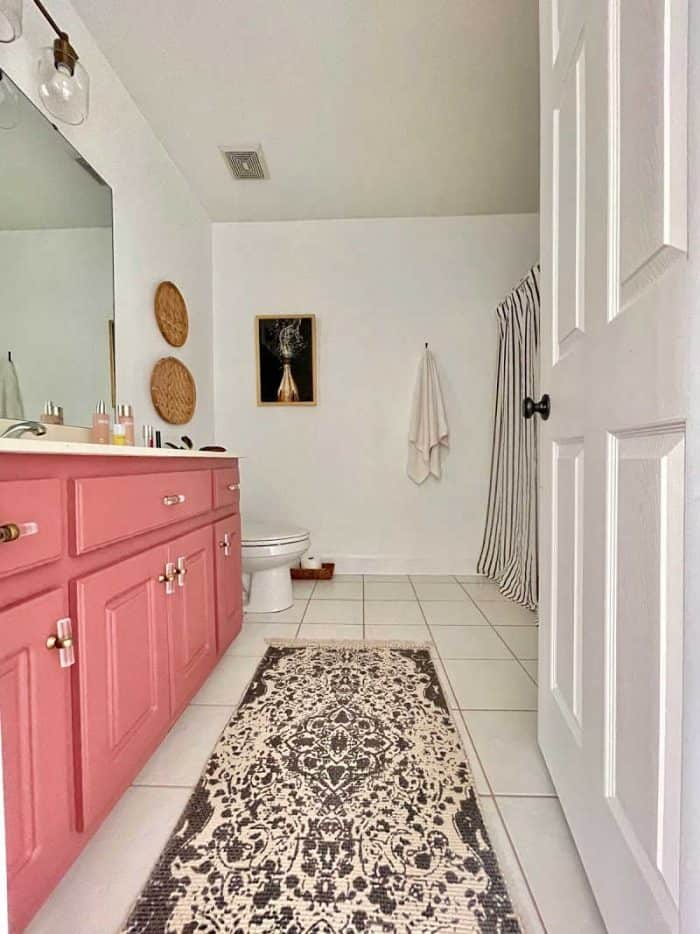

White and Mauve Bathroom Makeover
This makeover specifically showcases the true power of paint. I have said it so many times, if you want to change the look and feel of any room, paint it.

- Walls: Eggshell
- Trim: Semi Gloss
- Ceiling: Flat Ceiling paint
You can see in our primary bathroom Sherwin Williams Aesthetic White. In contrast to this pure white makeover, Aestheic White is a warm off white paint color.
Be forewarned, once the walls go white you will more than likely need to paint the trim, ceiling, and doors. Like I say all the time, knowing how to paint a room is the best DIY skill you can learn. I had already planned to paint the trim but I thought the ceiling and doors would be fine. NO! I have not painted the doors yet. All of the doors will be done at once, after I finish painting the rest of the upstairs.
ALSO, I primed the walls and trim before I painted.

After paint I moved on to light fixtures and hardware. The light fixture in this bathroom was really embarrassing it was so dated. Sarah Beth has wanted the blue and white “little girl” knobs off for years. I just never took the time to change them.
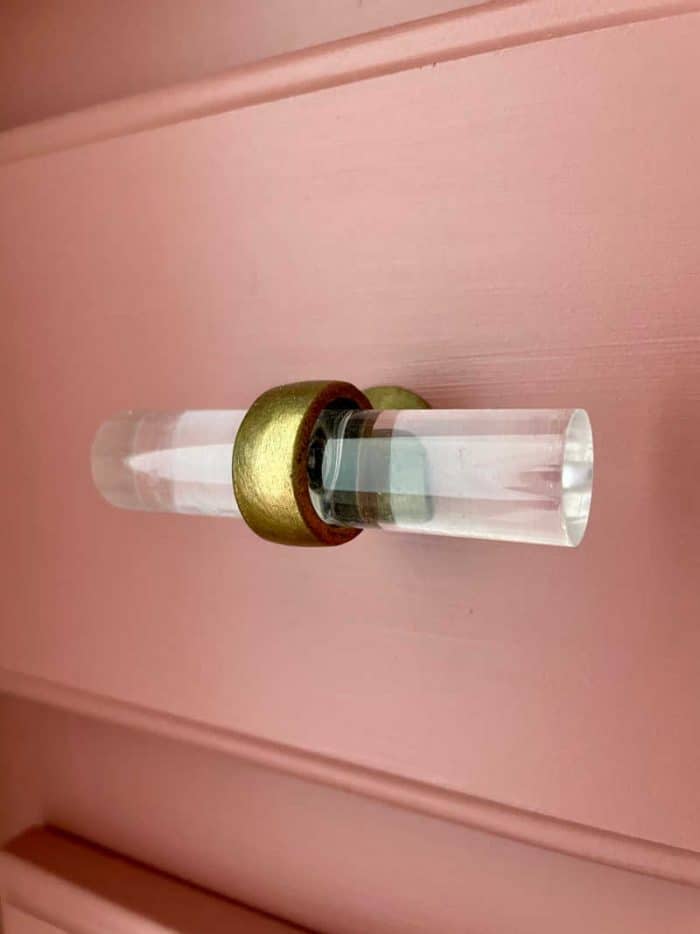
These vintage looking acrylic and brass pulls I found at Hobby Lobby were the best find of the day. They were exactly what I had envisioned. When I saw them I immediately snatched them up. They were on clearance for $1.79 each.
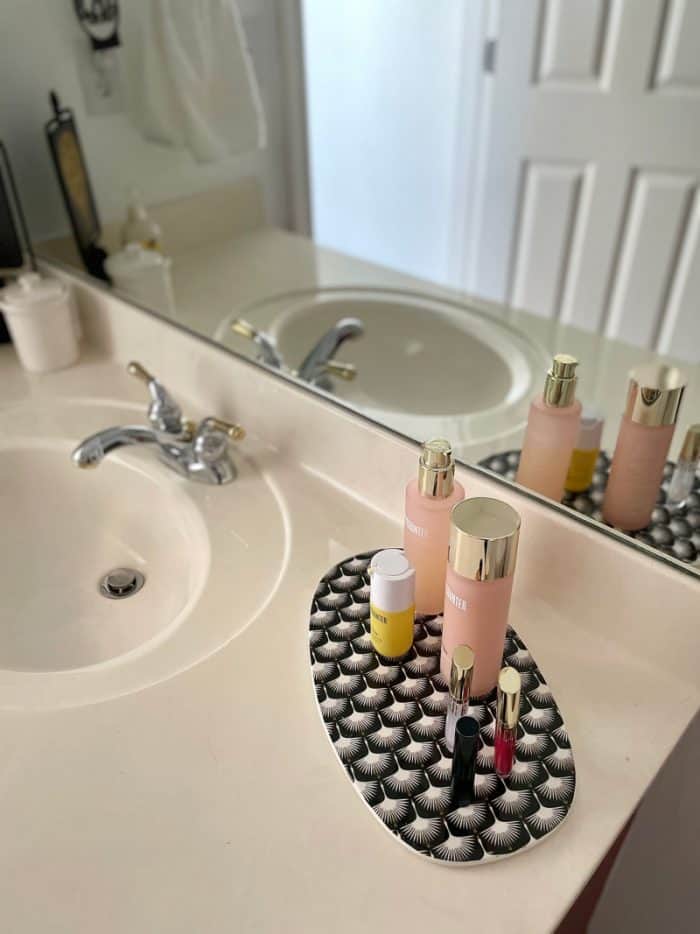
Another thing I’ve taught my daughter is to take very good care of your skin. She uses the same anti-aging line I do. She said she gets the most compliments on her skin since using these. We have been faithful to it for 2 years.
Plus the glass bottles are perfect for styling on the counter. The color palette looks so pretty.

This ceramic tray was another clearance find at HomeGoods. It is intended for the kitchen as a cutting board but I absolutely love the use of it here. It adds a whimsical touch by using it this was.
Shopping List
- Shower Curtain
- Shower Curtain Hooks
- Bathroom hardware (Hobby Lobby clearance)
- Bathroom Light Fixture set (YOU WILL NOT believe the price!)
- Cabinet Paint (Color, Enchanted Echinacea)
- Bathroom Rug (HomeGoods)
- Champagne art (HomeGoods)
- Skincare and gloss
- Black, white and gold ceramic tray (HomeGoods)
Overall, you can see just how paint transformed this bathroom. The rest of the makeover didn’t cost very much at all. It is now like a brand new home when you walk here. Ray now wants me to make the rest of the house “new.”
Here is one last look at the room before…
and the bathroom makeover after!
If you missed it be sure to see the white bedroom makeover that goes with the bathroom!
I hope this inspires you. It doesn’t have to cost a fortune to make over a room.
The white and mauve bathroom makeover is such a stunning combination—soft, calming, and elegant. The blend of crisp whites with warm mauve tones creates a serene and inviting atmosphere, perfect for a refreshing bathroom retreat. It’s amazing how these subtle hues can transform the entire space!
Hey! Paint with Fusion Mineral paint would be a great place to start. You will need to clean the vanity very well the do a light sand if the surface is super shiny. Check out this post I wrote. I used different paint but how I do it is always the same. https://athomewiththebarkers.com/painted-kitchen-cabinets/
Can you tell me how you painted the vanity? I have never done it before but would love to but don’t know where to begin to not mess it up. Thanks in advance!