DIY Wall Mount Wood Headboard
Learn how to build a DIY wall mount wood headboard to save money and space in any size bedroom.
This post may contain affiliate links. See full disclosure here.
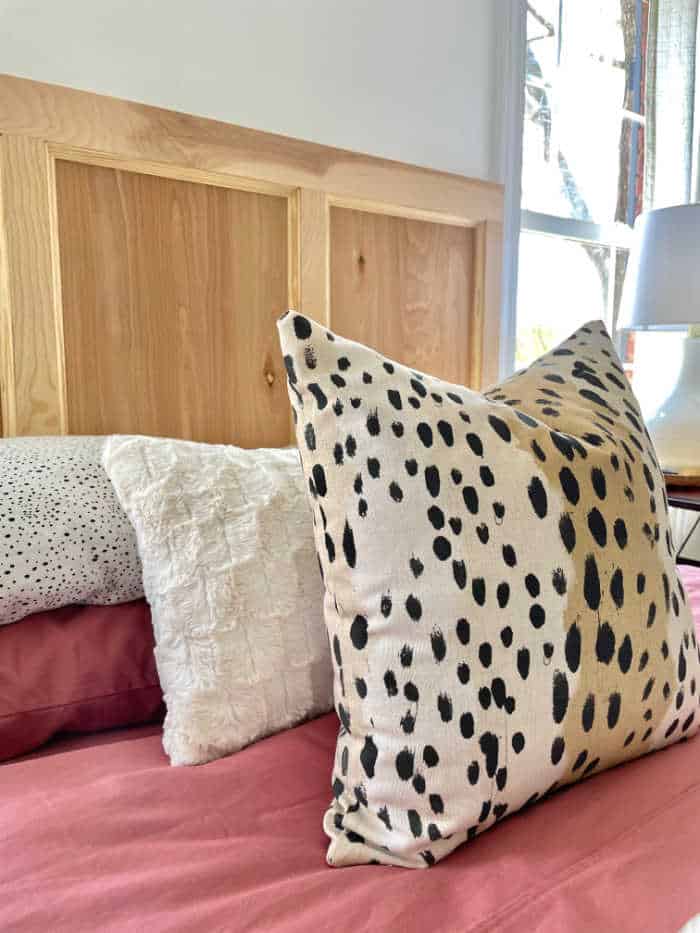
In the recent bedroom makeover for our college daughter we shared a new headboard. This DIY headboard is actually the third headboard we have built ourselves. The first and second were for our master bedroom.
There are a few reasons I am a big fan of creating wall mount or floating headboards.
- Space saving
- DIY saves money
- Wall mount makes for a sturdy surface to read or watch TV
The goal for this headboard was to complete the project with wood we had left over from another project in order to save money. Ray built a closet out of birch plywood and we had enough left to build this headboard.
DIY Wall Mount Wood Headboard
Tools used:
- Kreg pocket hole jig
- Clamps
- Wood Glue
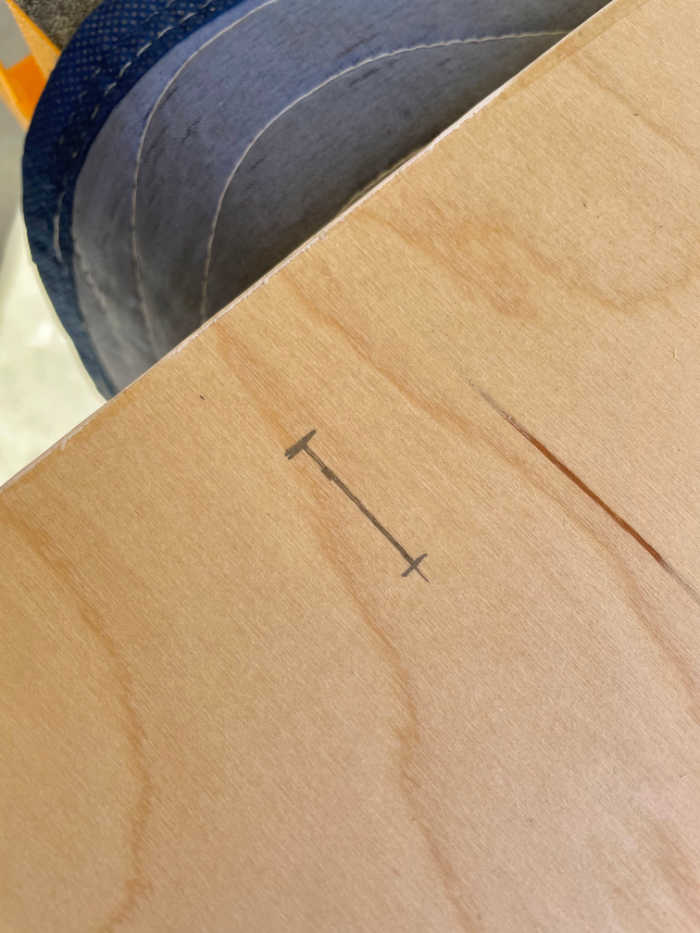
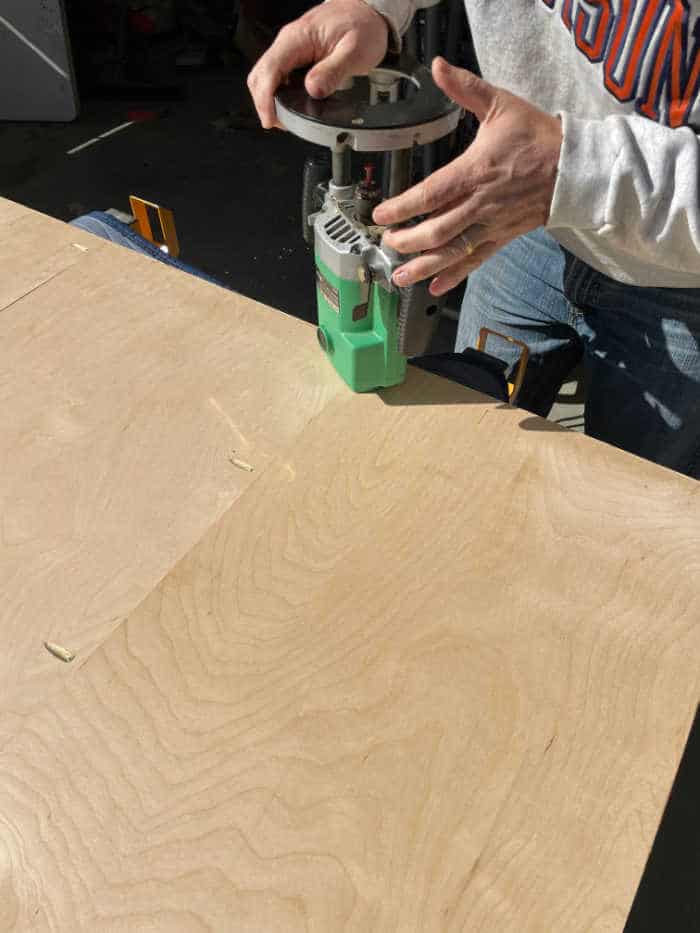
- Key hole router bit
- Table Saw
- nail gun
- wood filler to match birch
The birch plywood is sold in 4 x 8 foot sheets and 1/4, 1/2 or 3/4 inch thick. What we had on hand was a 96 x 24 inch piece of 1/2 inch and a 60 x 10 inch piece of 3/4 inch. We also already had the birch veneer edging.
Wood and supplies used for wall mount headboard:
- Birch plywood (completed headboard 56 1/4 x 30)
- 3 panels (30 x 18 3/4)
- top trim strip (56 1/4 x 3)
- 4 shorter trim pieces (27 x 2)
- concave detail trim (or whatever trim you prefer) 9 pieces total (3 cut 16 in, 6 cut 27 in)
- veneer trim (iron on to top edge)
- wood filler
- Stain or Polycrylic to seal and protect
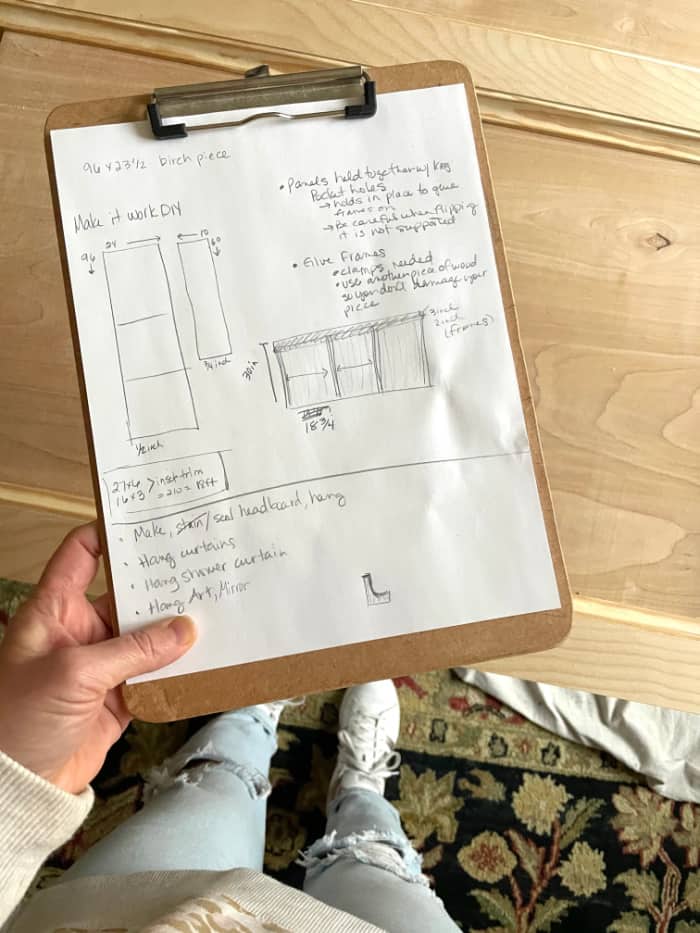
My mind is always working to figure out a way to use up anything we have on hand. I do however like to make sure I am still getting the look and style the space needs to turn out how I have designed it.
Ray needs more details to work from than my verbal description. I search sites I like such as Pottery Barn for inspiration if needed, then I draw out what I have in my mind and tweak it around the wood we have.
How to put your headboard together:
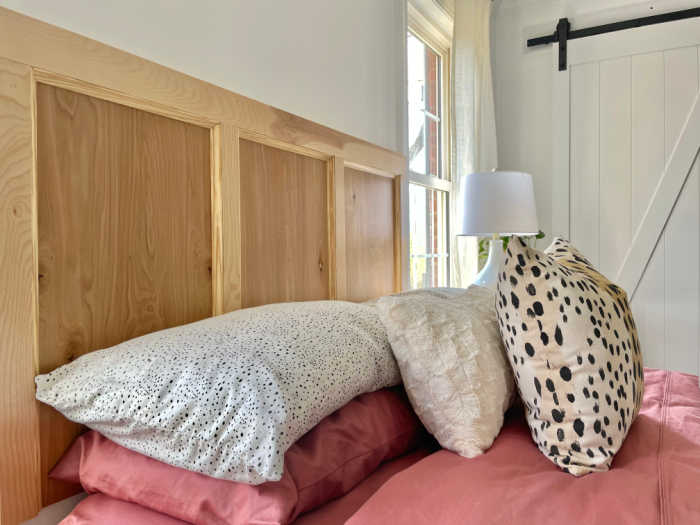
I wanted this headboard to be 30 inches tall. This was a good height visually as well as for sitting up in bed. The piece of plywood we had was already cut to 24 inches wide so in order to get the height I wanted on the bed we needed to cut the wood into 3 separate panels.
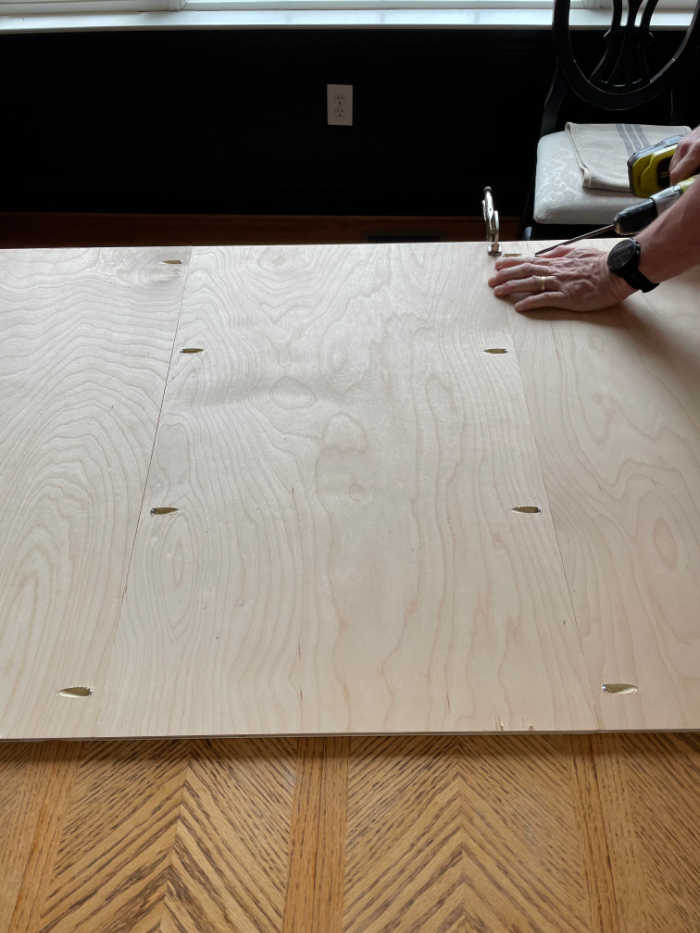
We were also working between two windows that happened to be the exact size needed for our daughters full size bed. We made it so the bottom of the headboard sits on the window sill. The panels were cut to 30 inches tall by 18 3/4 inches wide. Ray used pocket holes to hold the 3 panels together enough for us to add the rest of the details.
*TIP: Be careful handling the three panels being held together by the pocket holes only. This is not sturdy yet. The front framing is what will make your piece solid. Also, if you have a large enough piece of wood that doesn’t need to be cut into 3 panels you could skip this step.
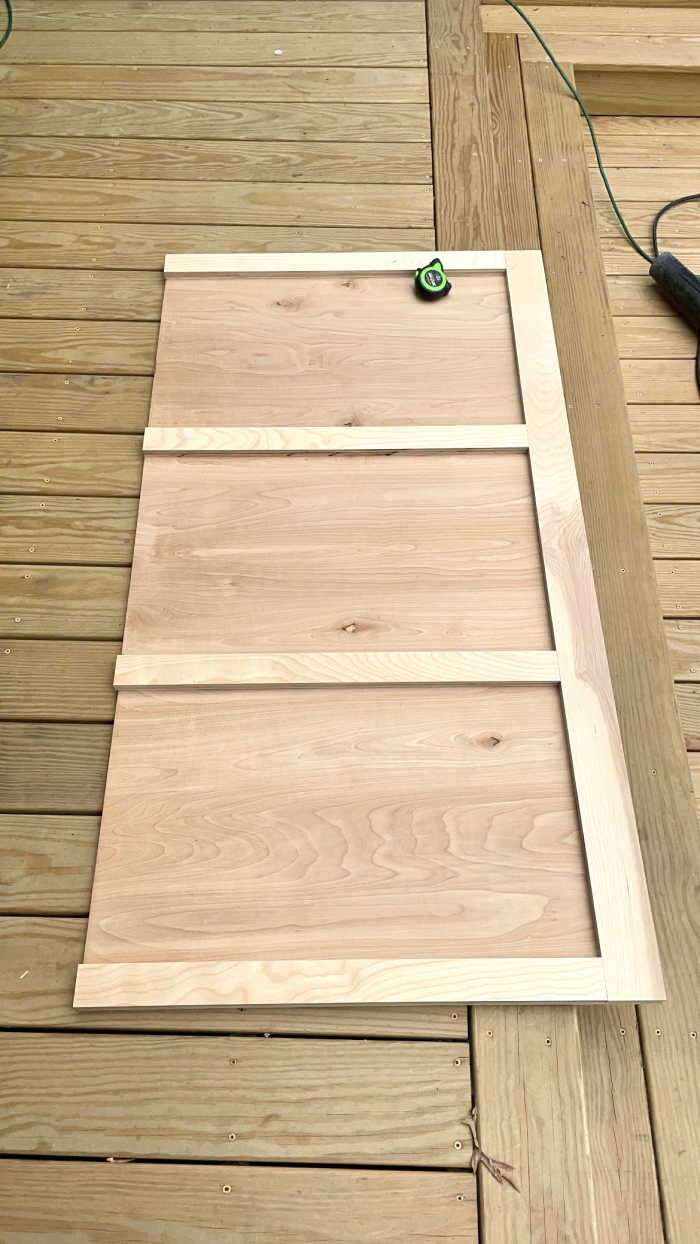
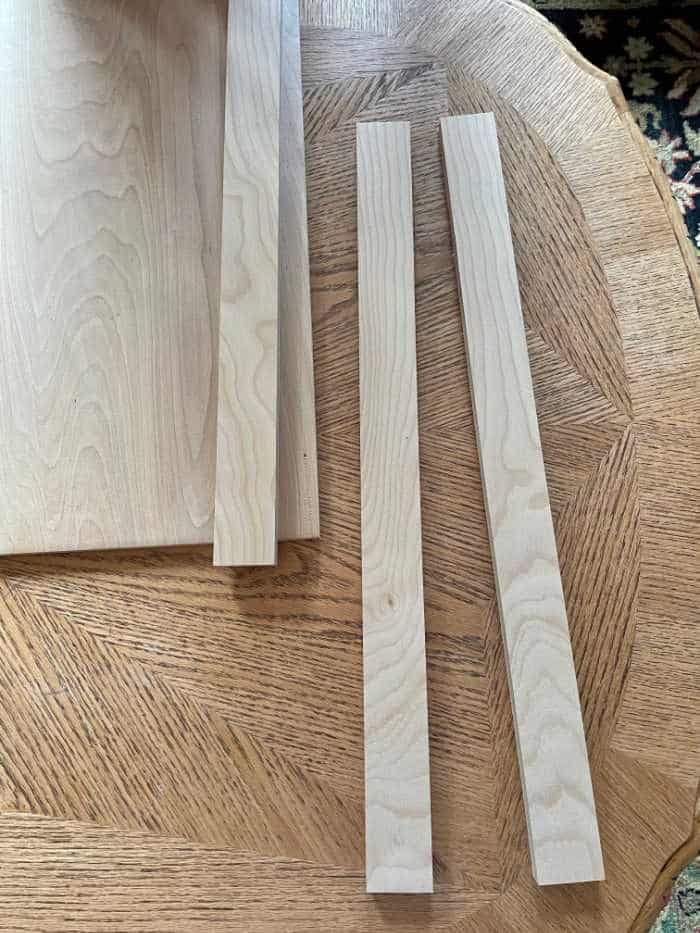
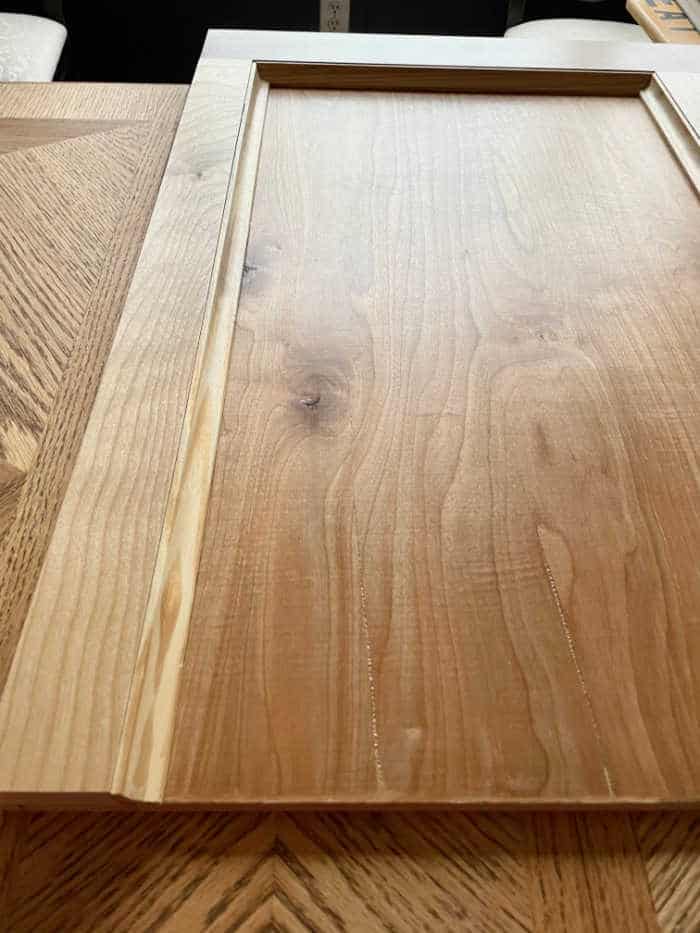
The trim/framing work was created by cutting the 3/4 inch plywood into 1 long strip for the top then 4 shorter strips for the ends and middle. These framing pieces go on top of the base panels for a layered look. Attach the birch trim pieces with wood glue and clamp down until dry. Then pop in a few finish nails and cover with wood filler.
*TIP: Use a scrap piece of wood between the clamp and your headboard. Clamps can leave marks on soft wood and you don’t want that to happen.
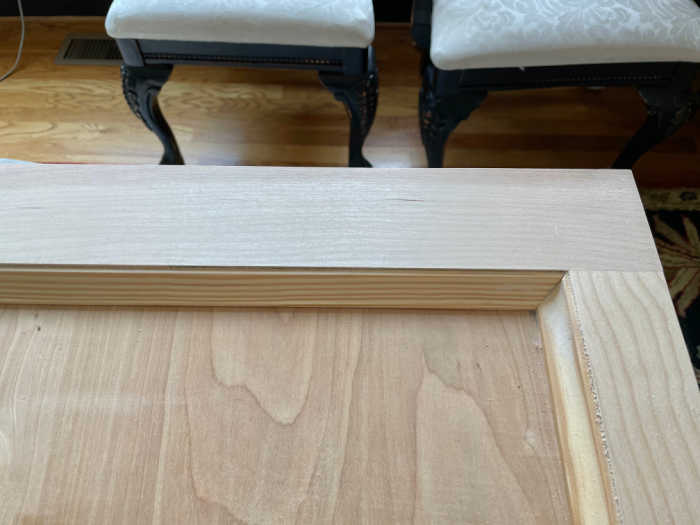
Detail concave trim will be added the same as the birch trim by using wood glue and finish nails. Ray cut this on a 45 degree.
Then I added the birch wood veneer. This is an easy iron on application.
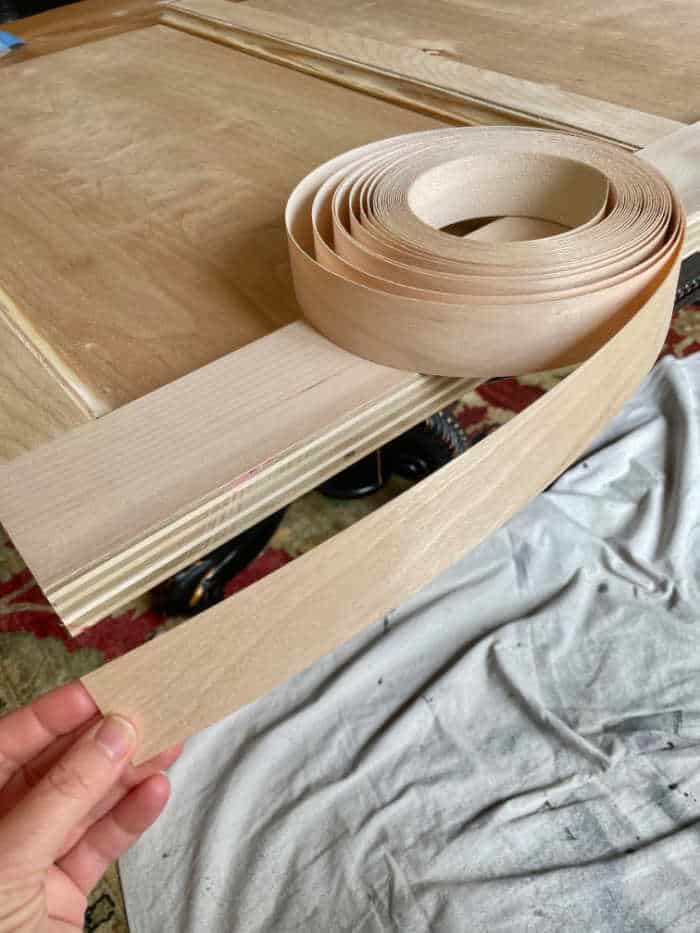
Use the wood filler to cover the holes then sand. Lightly sand entire piece with very fine sanding block. I decided not to use a stain color so making sure the wood filler matched my birch was very important. Once I clear coated the headboard with polycrylic I didn’t want the nail fills to show through.
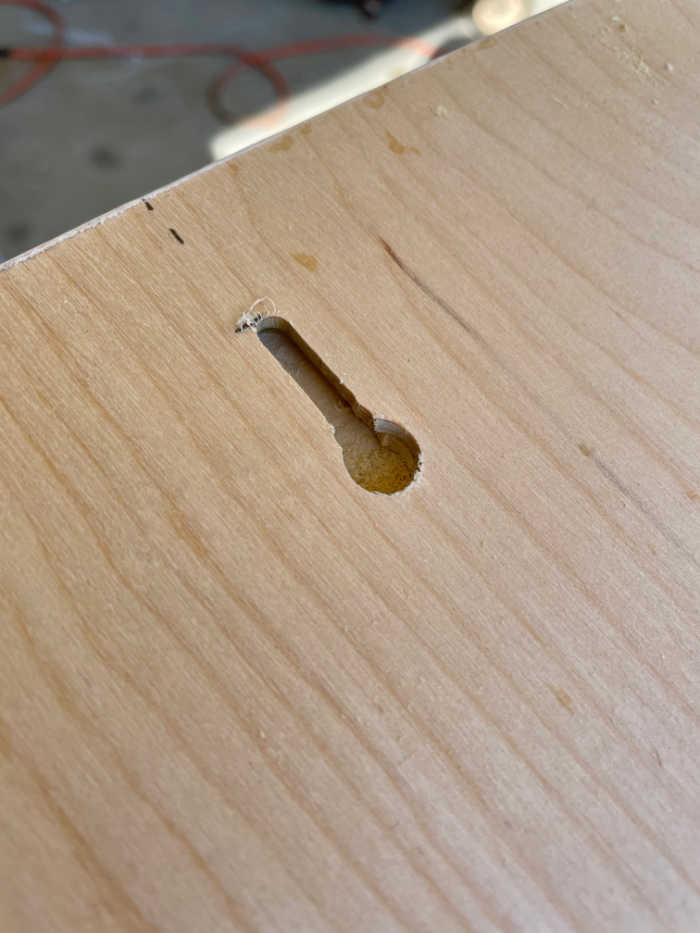
We hung the headboard by screwing into a stud and hanging from a key hole we created on the back of the headboard. This is a great way to get the headboard snug against the wall and secured directly into a stud.
We love how the headboard turned out. You can do this DIY with any wood, stain or paint combination you would like.

I think the french cleats would be a great option too. We were able to go into the stud so we felt good with it.
I love the design, but I wonder if French Cleats would be a stronger option to attach to wall? It would also be easier to adjust. Just a thought.
Hey! Thank you so much for your kindness. Ray said he would buy a standard countersink drill bit smaller than the screw you plan to use. Then cover and paint as you said. Make sure you buy a screw double the combined depth of the headboard material and sheet rock.
Hopefully this will help.
Sonya
I think you’re innovative design ideas are great, coupled with your husbands woodworking skills & knowledge.
Your headboard is unique, it looks very polished & professional!
Did you use one (or more) keyhole(s) to attach & hang the headboard?
I just finished making a 20” x 80” king size headboard that I want to wall mount, & I’m trying to find the safest, most secure way to attach it to the wall. I don’t own a router or many shop tools, (or have a handy husband either;).
I wonder if reverse drilling the screw holes, before attaching it to three studs, then puttying over & touching up the paint would work as well?