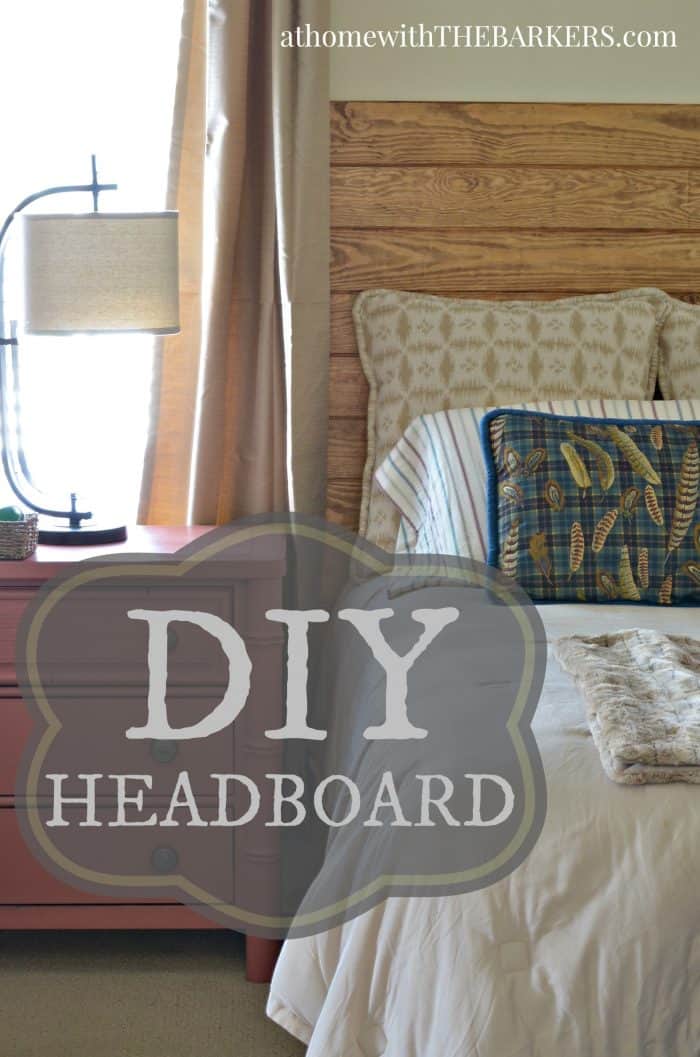
DIY Headboard
Learn to build this simple tongue and groove DIY headboard. Great project to update a bedroom.
I’m a big fan of creating your own headboard especially those attached directly to the wall.
You can attach a wood wall headboard in any style room. Whether you like stain or paint, both would look amazing.

This post may contain affiliate links. Please read our full disclosure policy.
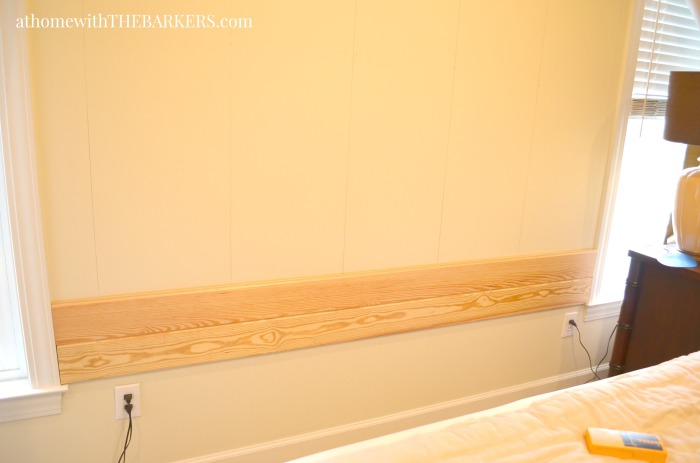
We purchased classic wood tongue and groove 6 inch wide pine boards from the home improvement store. The same boards we used on the plank wall for our kitchen. Depending on how tall you want your headboard you will need a different amount of boards. We have a king size bed so we needed to buy the 6 foot long boards. Our headboard fit between the windows so we used the framing as our start and stop line.
If you do not have windows as a framing reference you will need to trim your wood headboard on the sides. The style of trim you choose will depend on the look you are going for. To keep in minimal I would use a 1×3 in the same pine.
For the top of our we cut off the groove to make our board straight. That way I didn’t need a trim piece. This kept with the minimal look I wanted.
If you like a different style headboard, check out this wall mount wood headboard we built for our daughters white bedroom makeover.
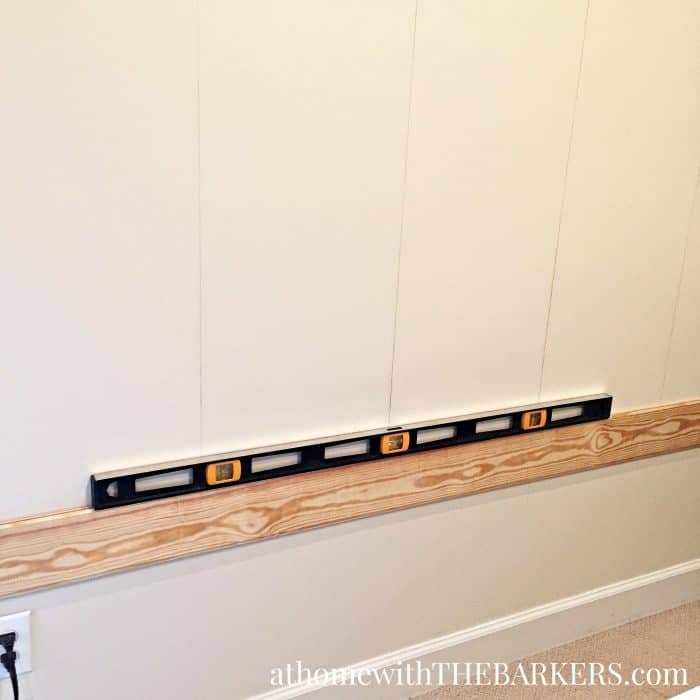
The most important 2 things about adding wood panel boards is to nail them into a stud and make sure they are level. If you get the very first board level you are good to go after that.
Mark you studs first, then start laying the first board from the bottom. You will want your headboard to sit slightly lower than the mattress.
We used our Ryobi AirStrike to nail because it makes a DIY job much easier and faster. We nailed the first board in a few times on each stud to secure it. Each board after that we nailed into the groove so the nails would be hidden. Same idea as to laying hardwood flooring for those of you who have done that 🙂
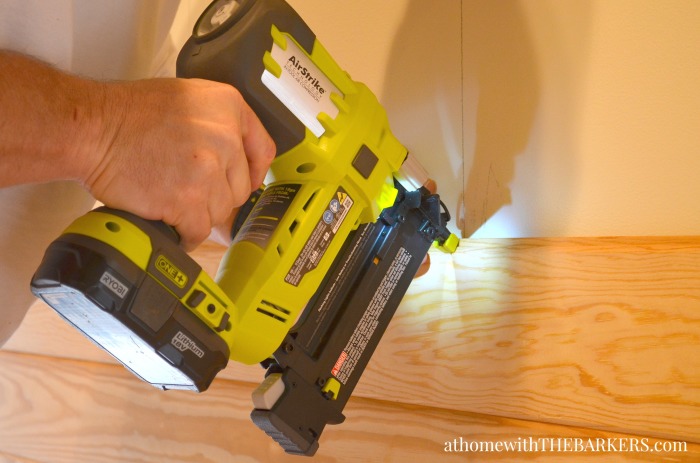
Now this part goes pretty quickly.
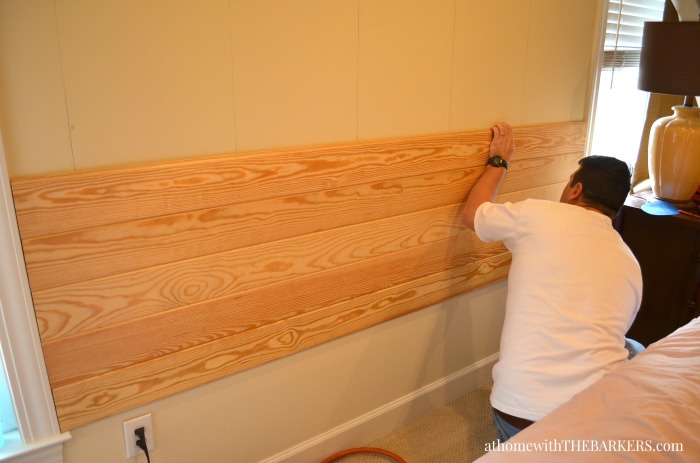
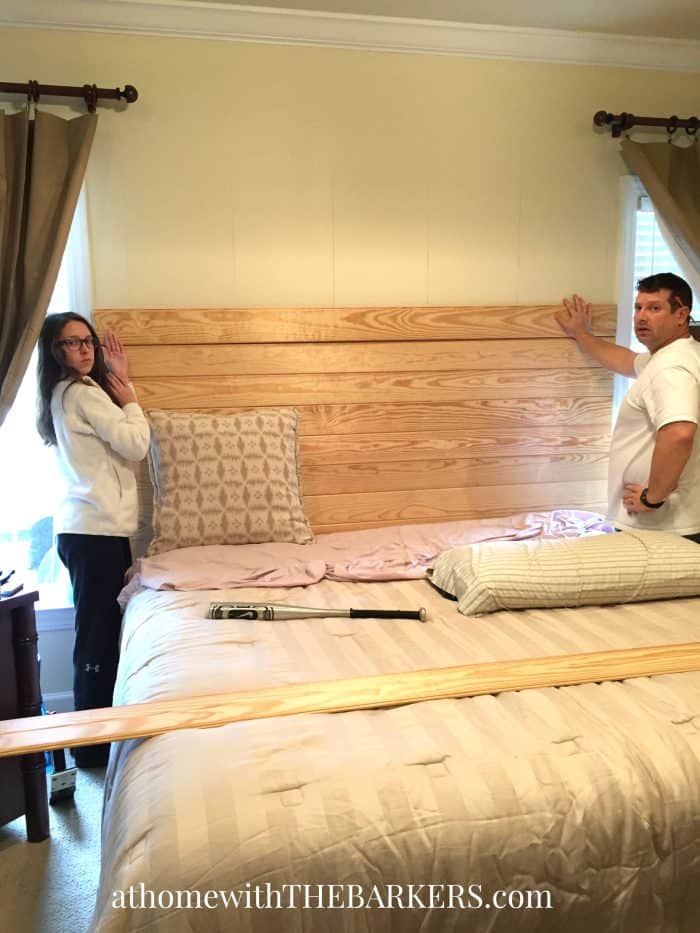
I knew I wanted this DIY Headboard taller than a traditional bed but until I could see it with pillows, I wasn’t sure exactly how tall. This is where they hold and I stand back and look, then text a couple of pics to my sister for a little reinforcements.
This photo cracks me up…Y’all this is the look I get A LOT!!
I was planning to stain it a darker color but not too dark. Then I decided to use dark wax and it turned out exactly as I had hoped. I love the color and how it feels to the touch.
I wanted to be able to buff it some in order not to have a waxy feeling. Buffing it right after adding wax to the wood helps with this. I didn’t wait and let it set in. It still stained the wood perfectly!
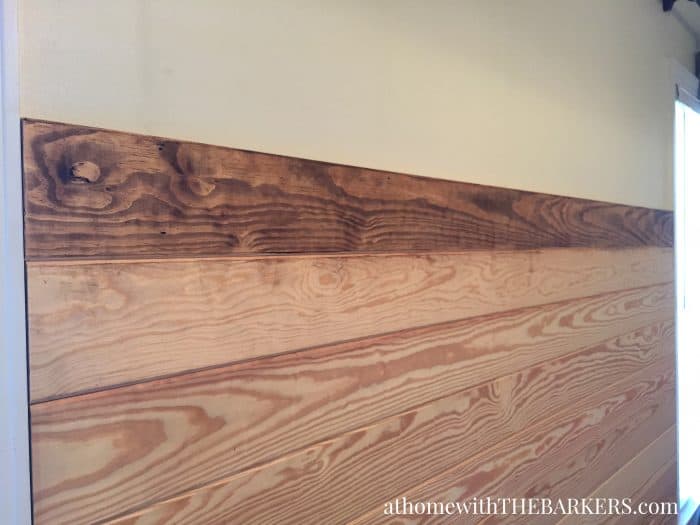
The room looks sort of yellow in the below picture but the one above is more accurate. I took some of these with my iphone so the light looks different than with my big camera.

This is the view into my bedroom from the hall. I still need a bedskirt and to have the carpet cleaned but progress is being made.

If this is your first time to my blog, WELCOME! I’m so happy you have stopped by. Check out many more of our before and after home decor projects to see how our home has changed over the years. Even our master bedroom refresh.

I think you could get by with just straight edge cuts. We cut the tongue part of the board off of the top one so it would be a nice edge and it looks great.
Love this! We’ve been throwing around the idea of creating a wood plank headboard for our master- but our bed isn’t flanked by windows and I’m not sure how to frame it out so it looks finished!
I love how the headboard gives a strong looks of the bedroom, it is classic and elegant. Thank you for sharing this one.
simple yet such a great statement! love this! come share at my link party
I am loving this! Our bedroom has the same issue- our bed is between two windows and very hard to photograph so I feel you ha! It turned out beautiful. I would have never thought to try the dark wax on wood!
This turned out beautiful!! I’ve been thinking about making a wood headboard for our room, too. I love how yours turned out, and I love the dark stain! 🙂
Thanks so much Erin!!
Thanks Shannon, me too 😉
The look, it’s the best!!
Thanks so much…exactly the look I was going for Patti!
Wow, this turned out really beautiful. Kind of modern and fresh but still cozy. So clever to fit the boards between the two windows.
That looks awesome Sonya! What a great idea. p.s. I get that look a lot too…
It looks beautiful. Love the pretty wood tones 🙂
Wow, that headboard is gorgeous! And I love the fact that Annie Sloan wax gave it that beautiful effect. LOVE the woodgrain showing through. I can’t wait to see what you do with the rest of this space!!
Sonya this is fantastic. And I love the look that your hubby and daughter are giving you. I get that one on a daily basis too. Hilarious!
Hugs,
Beth
Thanks so much! It is a great option to regular stain.
Love it Sonya. I’m impressed with how just using ASCP Dark Wax gave it that old wood feel. I must remember this trick. Looking forward to seeing the room reveal.