Sharpie Paint Marker Accent Wall Project
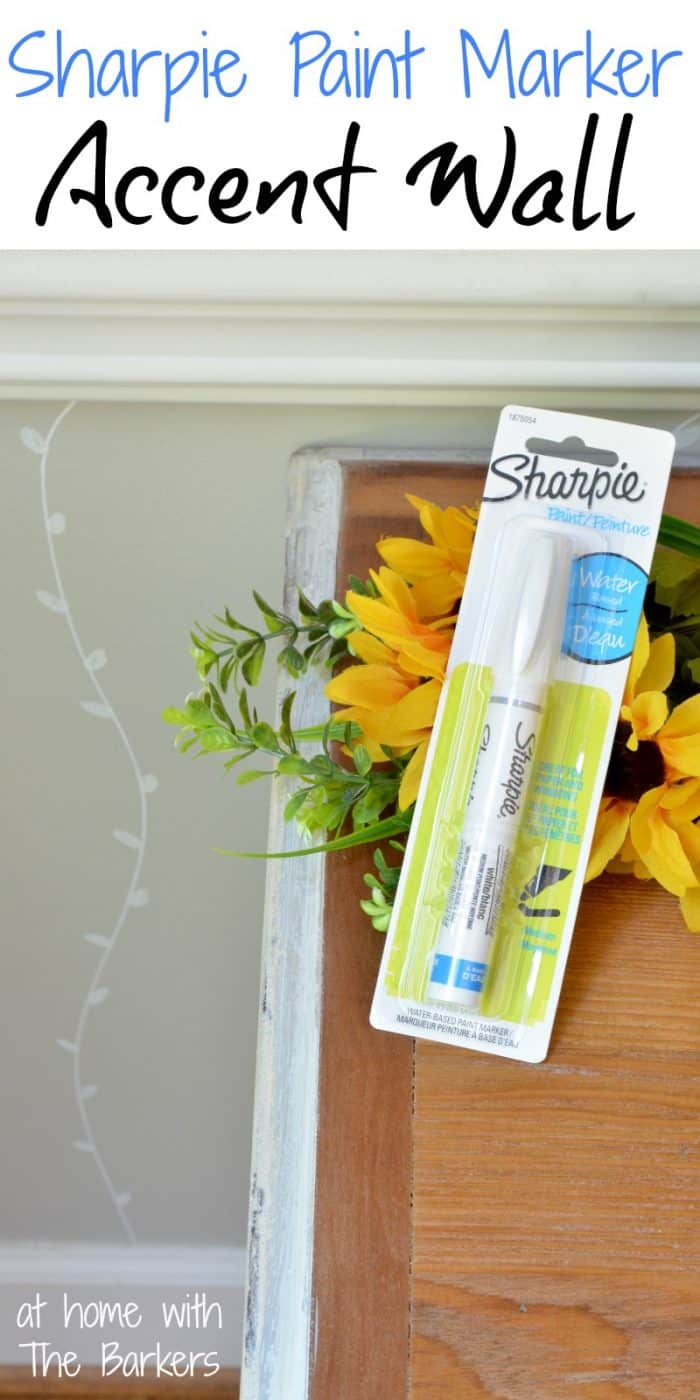
This sharpie paint marker accent wall project was an easy one. The simple design was freehanded.
This post may contain affiliate links. See our disclosure for full details.
Sharpie Paint Marker Accent Wall Project
I have been wanting to add some detail to my kitchen wall but I really didn’t want to use a stencil. I have had trouble in the past with paint bleeding through. I also just wanted something simple.
I started with a very simple and basically plain wall.
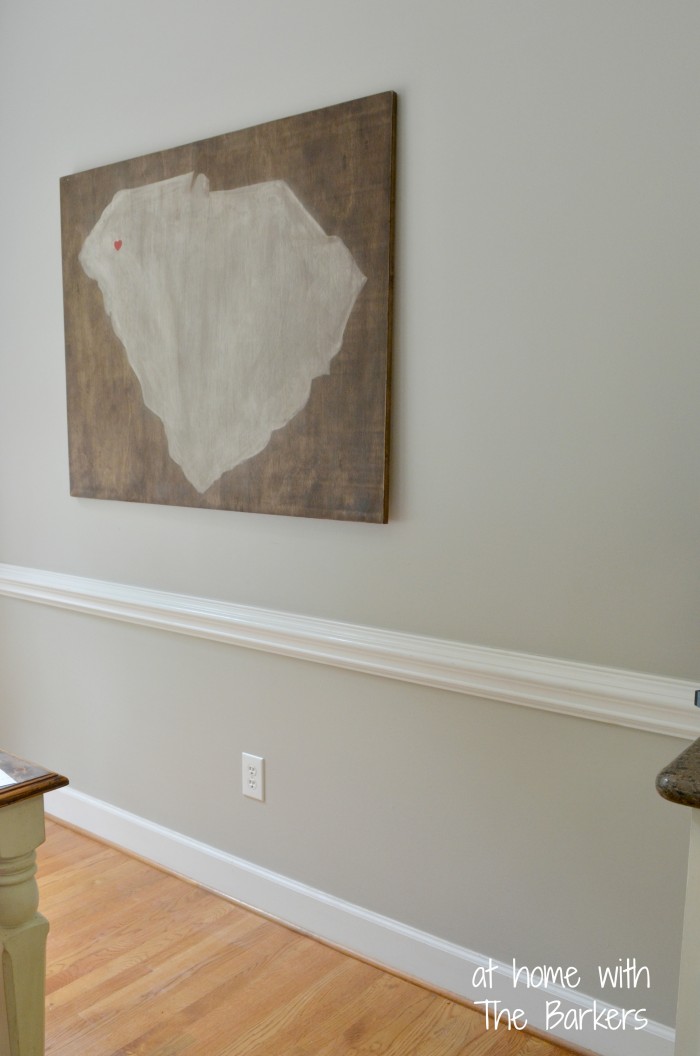
See how I painted the DIY State Art for a personal wall piece.
When I saw the Sharpie Paint Marker I knew I could just draw my own details on the wall. So many color options too.
For my project I didn’t even use up one of the Sharpie Paint Markers. They last a good while.
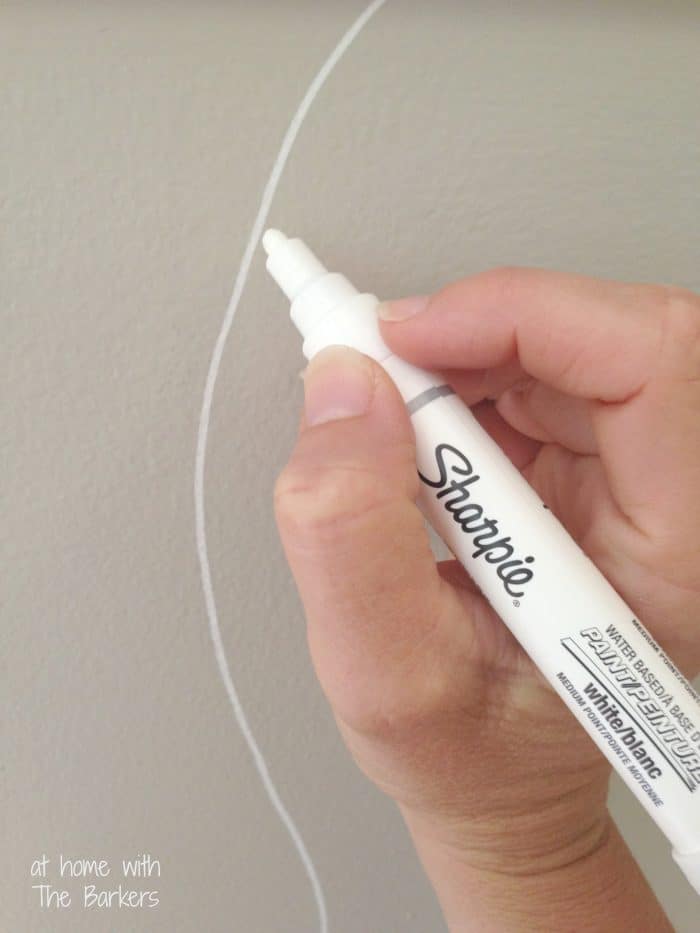
You need to know I free handed this art. It is so simple. I started with the first line about 4 inches away from my cabinets. I drew a wave pattern.
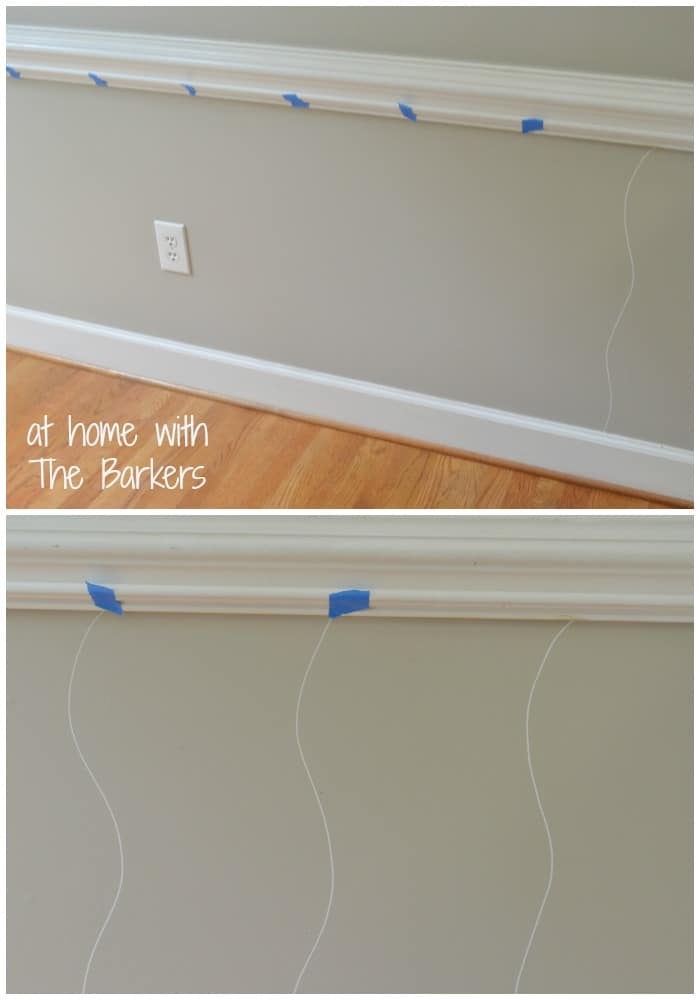
I wanted all of my wave lines to be about 9 inches apart so I measure and marked with painters tape. Then I continued to draw a wave everywhere I have a piece of tape.
Next came adding the detail to the wave line. I drew small oval shapes, approximately 7 per each side of the wave. I had shorter wall space to cover under my window but I adjusted that to around 5 ovals per side.
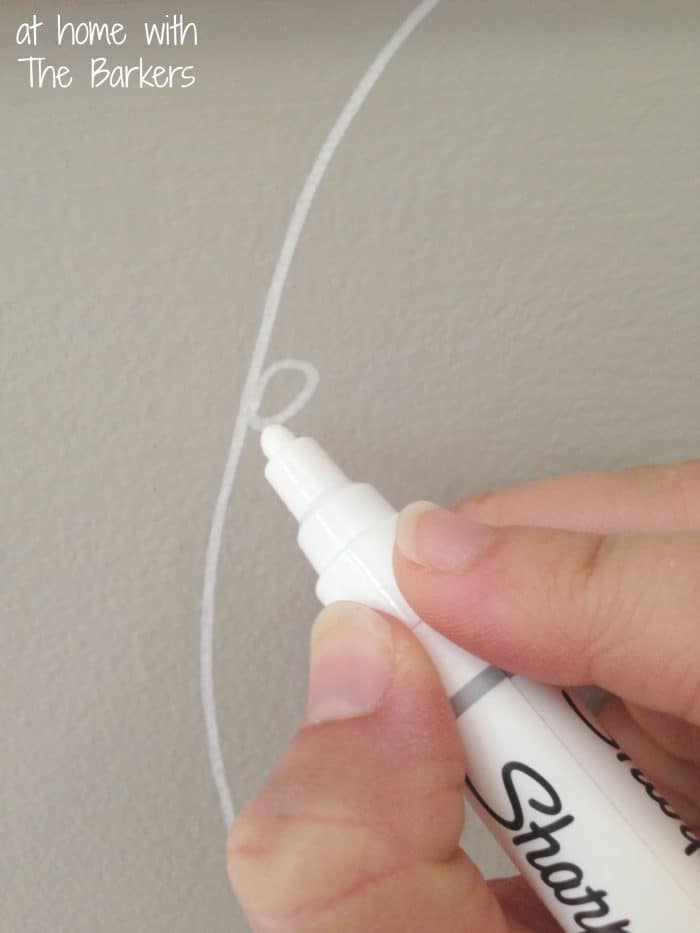
This was one of the easiest projects I have done in a while and I love it so much!
Bonus…both kids thought it was cool too!
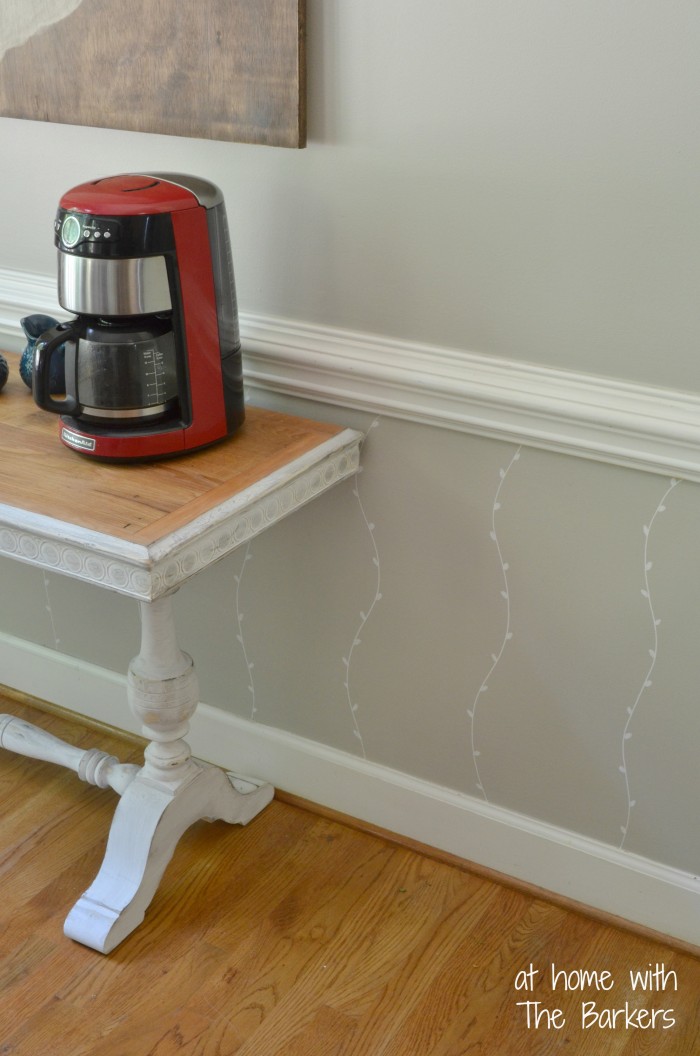
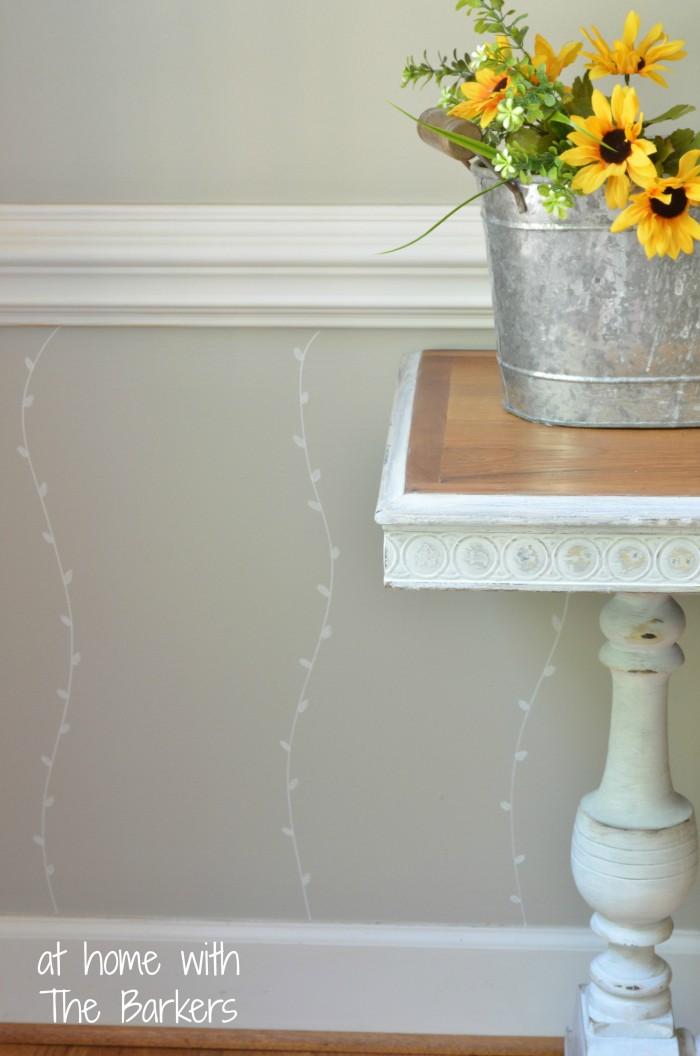
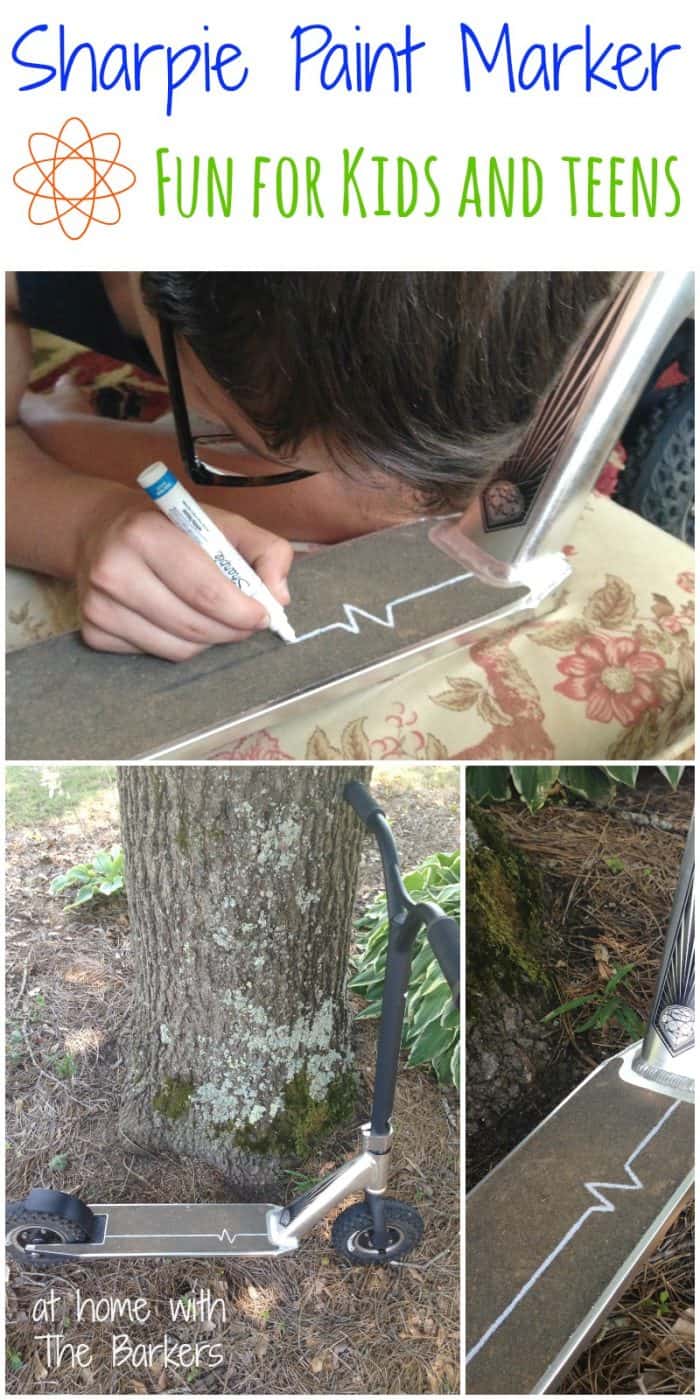
Now head out to Michael’s to pick up your Sharpie Paint Markers. You can even let your kids have some summer crafting time as well. My teenage son asked could he have mine when I was finished, he had an idea for his dirt scooter. It was a great idea if I do say so myself!
Sharpie Paint Marker Bonus Project
Happy Summer,


love it. have not really used the paint markers very much…but may have to.
Give it a try, they were great to use!
Thanks for the idea i did not know they had anything like that,so glad to know. Great idea,really a nice touch to a wall.
Oh…I’ve never heard of these. Have to give them a try. I can see these working on a lot of things….like furniture!!
That is so simple and adorable! Great idea.
This turned out beautifully! I love the subtle detail it adds. Pinning 🙂
Thanks Tonya! I’m sure you can come up with a great idea for your kids rooms!
I absolutely love this idea. I think I need to do this for one of the kids bedrooms.
Thanks Dria!
That is so awesome I love it! So unexpected and creative fantastic job 🙂
Love it, gotta try one! Easy update to your wall and it looks great!
Super cute!
Super fun summer activity!
I never would have thought to do the painting on the wall with the markers but it is such a cute idea! And I love that the kids can customize their scooters with it. I’m going to have my kids do that as a summer activity!
Thanks Janel, it was super easy!
What a great, easy way to update a wall!!! Love it!
Thanks Christy! I do love an inexpensive project!
Cute idea and cheap!
Thanks Karianne…cheap and easy 😉
Sonya,
Love this project so much! What a change for not many $!
Happy day friend!
karianne
Thanks Paula! It was so much easier than a stencil!! You should try it!
YES it can be! I already have more ideas about using it!
Lovely! This could be so addicting!
Thanks Alyssa! I’m actually more at ease free handing than I am trying to be precise! Thanks so much for stopping by ~Sonya
This looks great! Glad you chose white, too…it look awesome against the grey. I would be SO nervous to freehand…ah! Good job! 🙂
I love the detail you gave your wall with the Sharpie marker. It’s awesome that you made is so pretty without using a stencil.