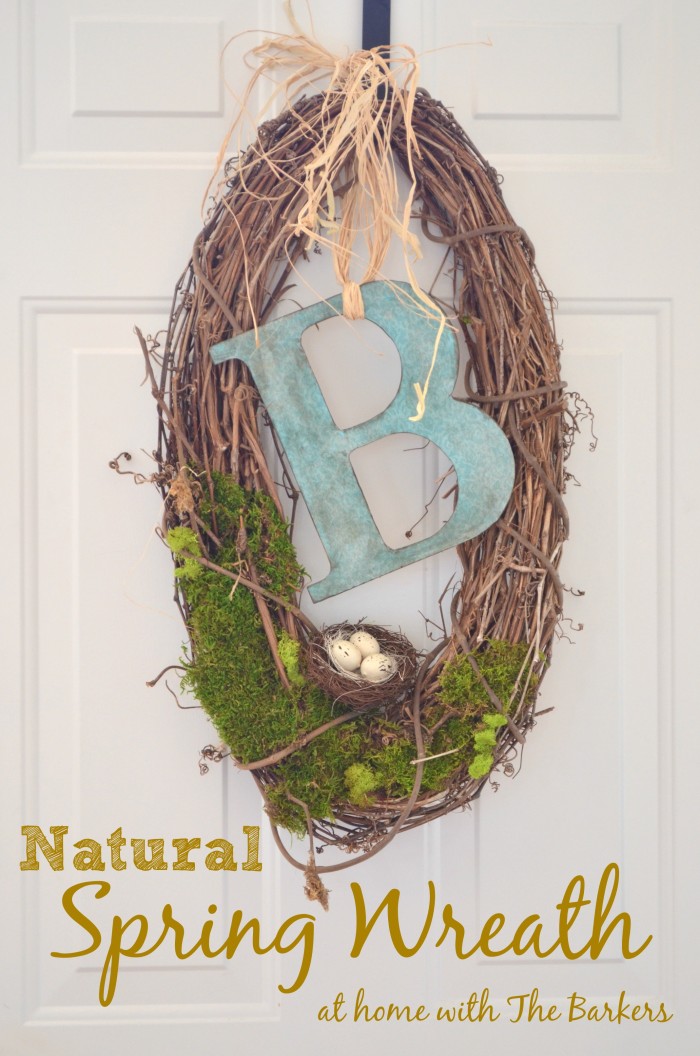
Natural Spring Wreath
This Natural Spring Wreath for my front door is a fun do it yourself project to do in an afternoon. The grapevine wreath is the perfect base for wreath making.
This post contains may affiliate links. Read full disclosure for full details.
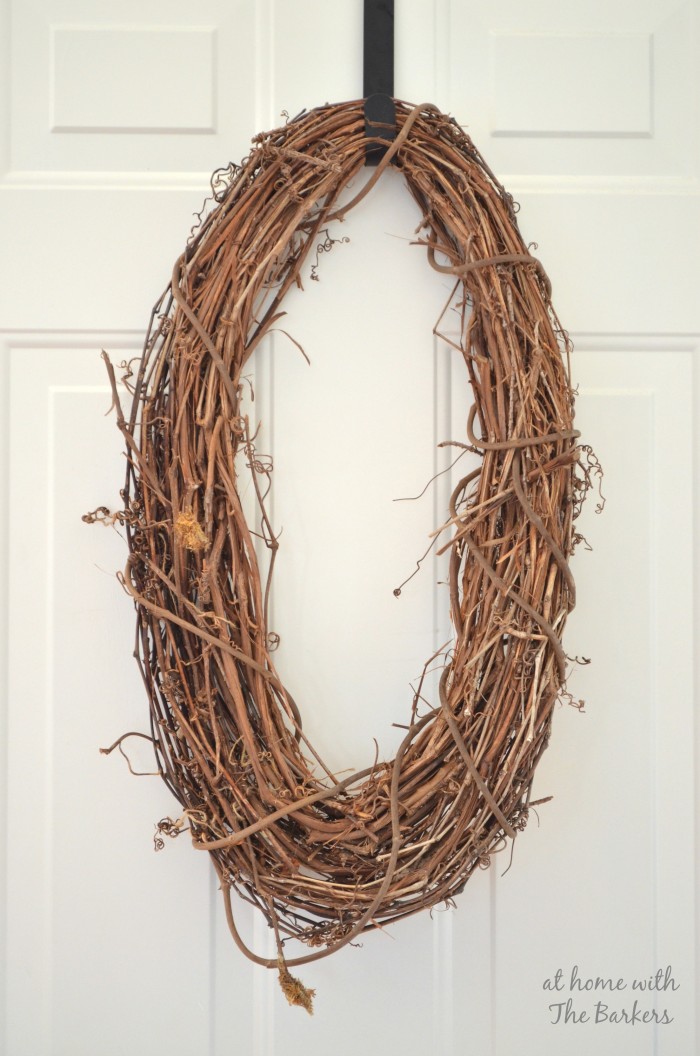
I have used grapevine wreaths for many years, I love them. They are easy to work with and I tend to like the natural elements. This particular oval grapevine wreath I have had for about 6 years. It has been hanging on my front door all of that time and still looks great.
Monogram Wreath Making Supplies:
- Oval Grapevine wreath
- Round Grapevine Wreath
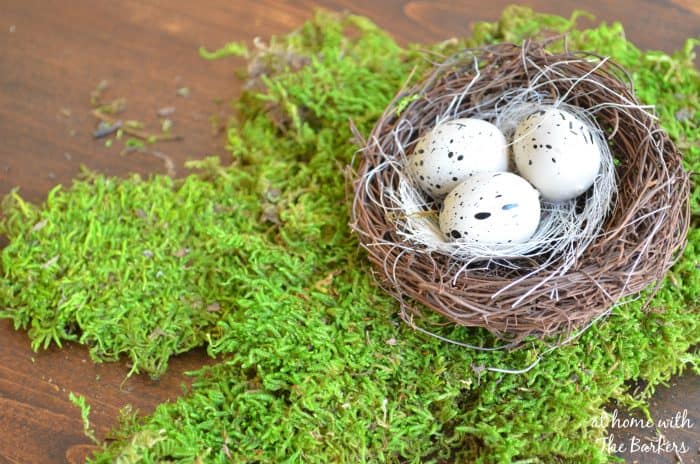
- Sheet Moss
- Floral Wire
- Pressed Board Letters
- Mod Podge
- Scrapbook Paper
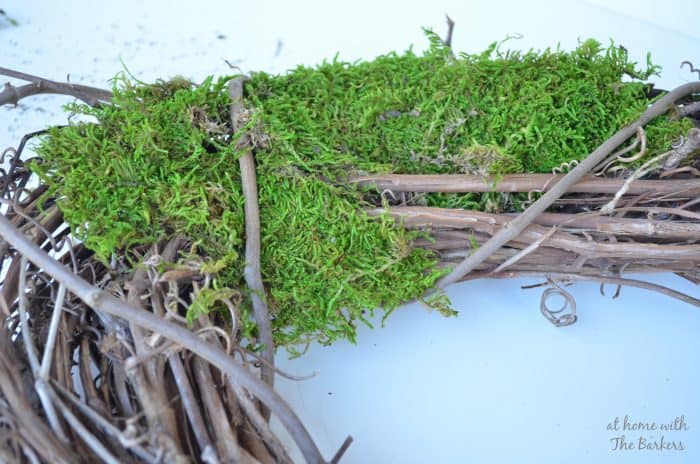
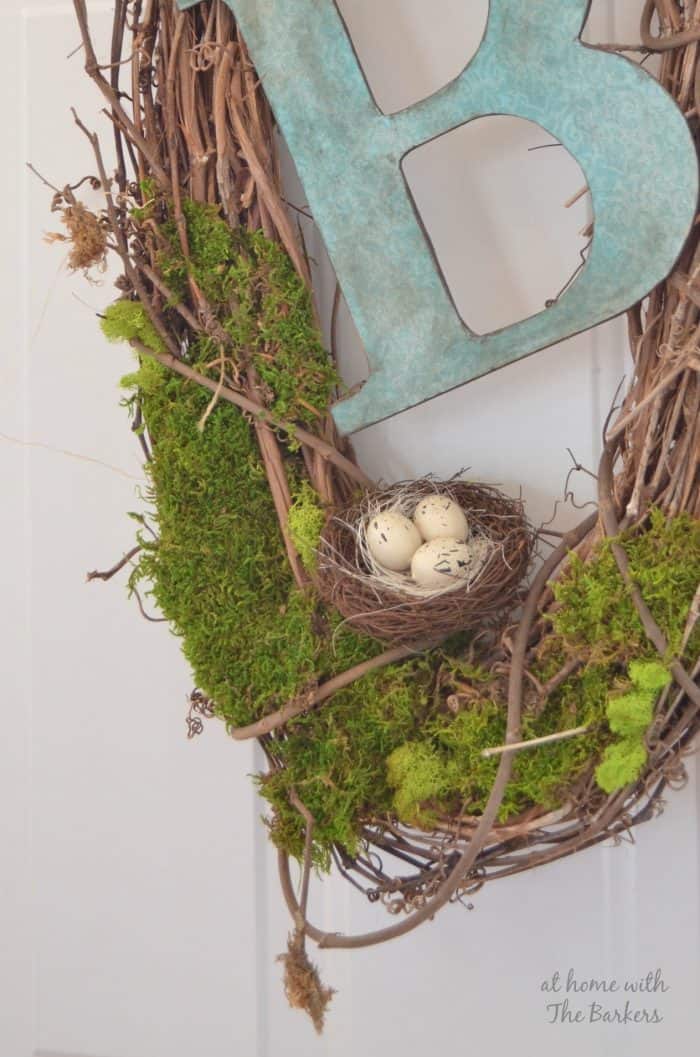
I change up the decorating on it with the seasons so I try to add items that I can removed easily. This year I wanted to add moss and at first I was thinking I would have to hot glue the moss down. The moss comes in sheets so you have different sizes to choose from.
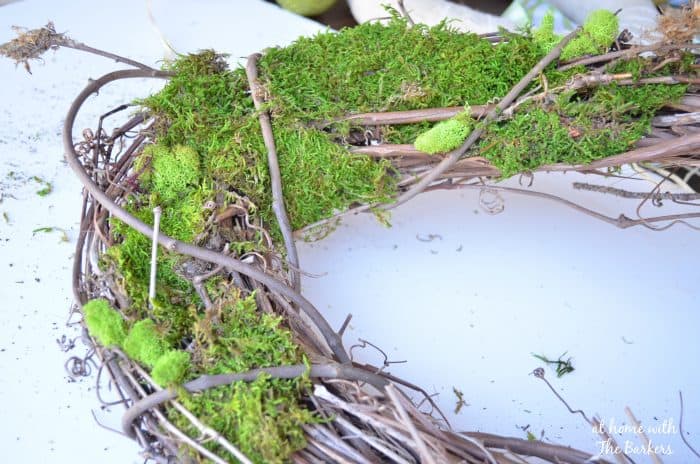
I started working with it, tucking and molding it around the branches of the wreath and just like that it was perfect. NO GLUE needed.
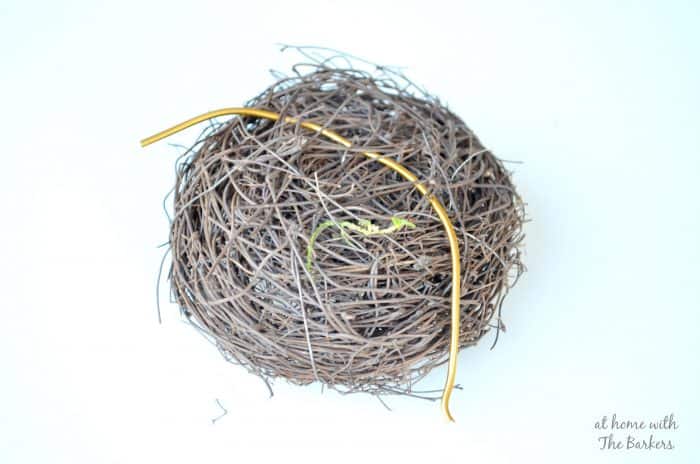
To attach the bird nest I used some floral wire I had picked up at Dollar Tree. I cut a piece long enough to weave through the nest then bend around the branches of the wreath.
If you don’t have time to create your own wreath or you need more wreath inspiration, check out this curated selection of front door wreaths that I’ve found for you.
If you are already looking forward to summer style wreaths check out my peony wreath on a round grapevine or a beautiful sunflower wreath.
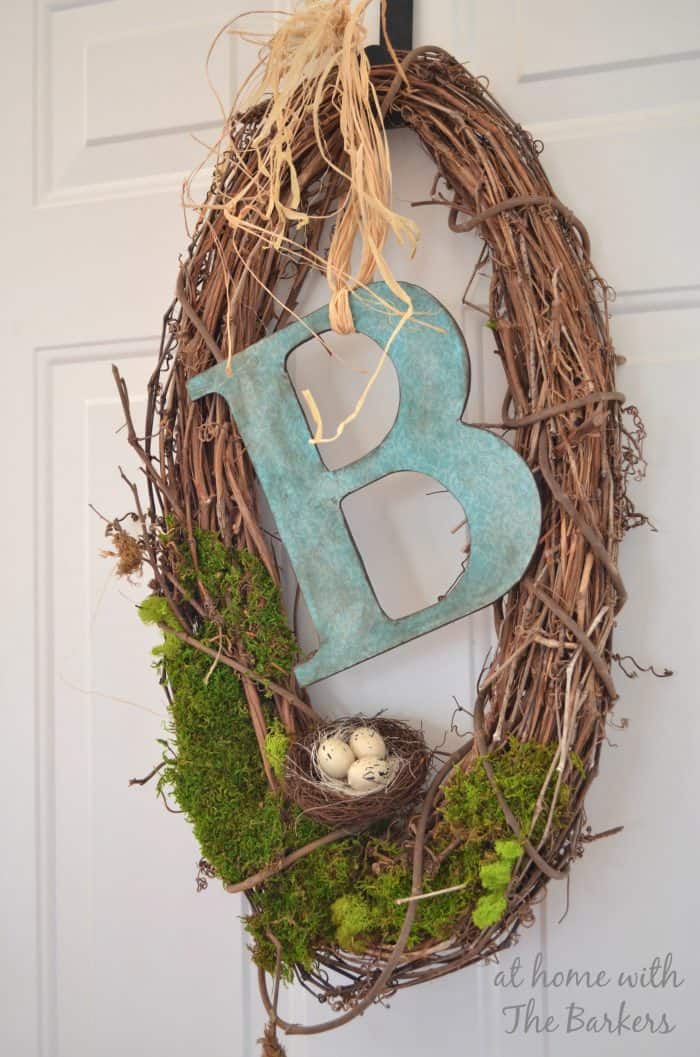
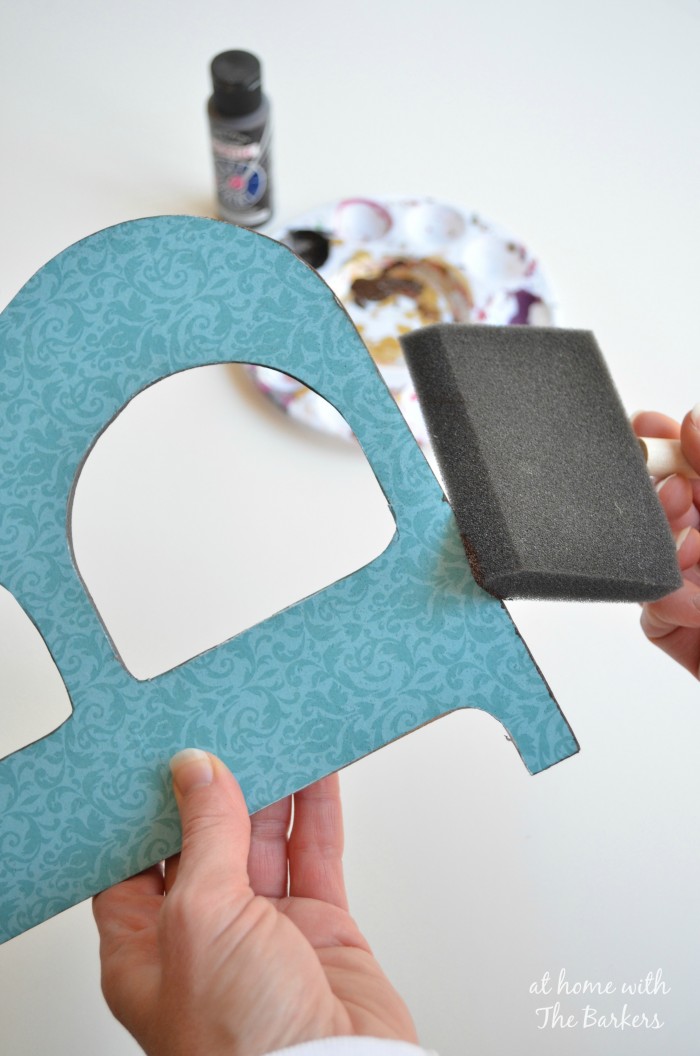
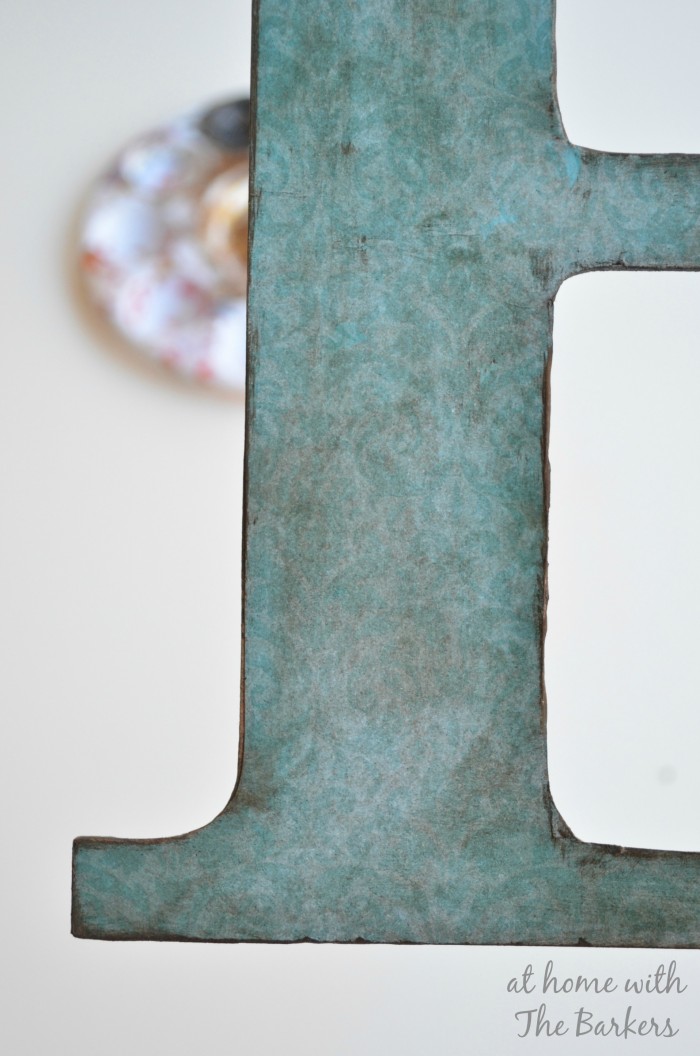
Including a monogram on my wreath is a special touch. The pressed board letters are perfect to add scrapbook paper with this special glue. I already had this one covered in the blue paper from my daughters room last summer. I decided to give it an aged look. I used brown craft paint and a sponge brush. At first I thought I may age just the edges but after the edges were complete I knew I wanted the entire surface aged. If you like just the edges done you can stop there and it still looks great.
The way I aged the entire surface was by adding water to my sponge, then squeezed it out . It allowed the paint to spread through the sponge giving a washed and worn look to the “B” that I was hoping for. Then I attached with “B” with some raffia.
*TIP* Do not rub repeatedly in one section with a wet sponge or too hard…water and paper aren’t usually friends.

MORE Spring Projects that will inspire you:


Love the shape of your Spring wreath and all that bright green moss! Perfect for springtime!
I always find mine at Hobby Lobby.
im having trouble finding the oval shaped wreath. Any suggestions? I need oval to fit the oval window in my door… Thanks!
Wow, great ideas! I have a heart wreath that I was thinking of doing so,etching similar with. I wonder where I’d get the faux moss from here? I’ll have to research:)
Thanks so much Kim! I appreciate you pinning this to such a great board!
I adore your wreath! Thanks for letting me feature it today in my wreath round up! Just wanted you to know that I’ve scheduled your wreath to be pinned to the Better Homes & Gardens Blogger’s Projects Board tonight! Have a fabulous day!
I absolutely LOVE this wreath. The green moss with the blue B, such a great spring color combination. Please share at our link party going on right now, if you have a chance!
https://www.delineateyourdwelling.com/2014/03/link-it-or-lump-it-party-no-29.html
Great wreath Sonya. And included in my round up to go live at 1am on Sunday night/ Monday morning!!
I love your wreath….especially the treatment on the B! Pinned to my I Love Wreaths board! Visiting from the Scoop Mega Spring party.
Awesome! I thought the letter was made of copper. Nice job!
Thank you so much!
Love this! Egg shape and all.
– Alma, The Tablescaper
I am ready too!
Awww, so sweet! Thanks!!
You are definitely the Queen of wreath making Sonya!! 😉 I LOVE this one. So pretty!!
Nancy
This looks so pretty on your front door. I need to assembly supplies to make a spring wreath for my door. I hate having it bare! There are only 21 days until spring and I’m more than ready!
Thanks!!
Sonya-I {heart} this so much. Beautiful my friend!!!