31 Days How to Create Gift Wrap Art
Day 22: How to create Gift Wrap Art
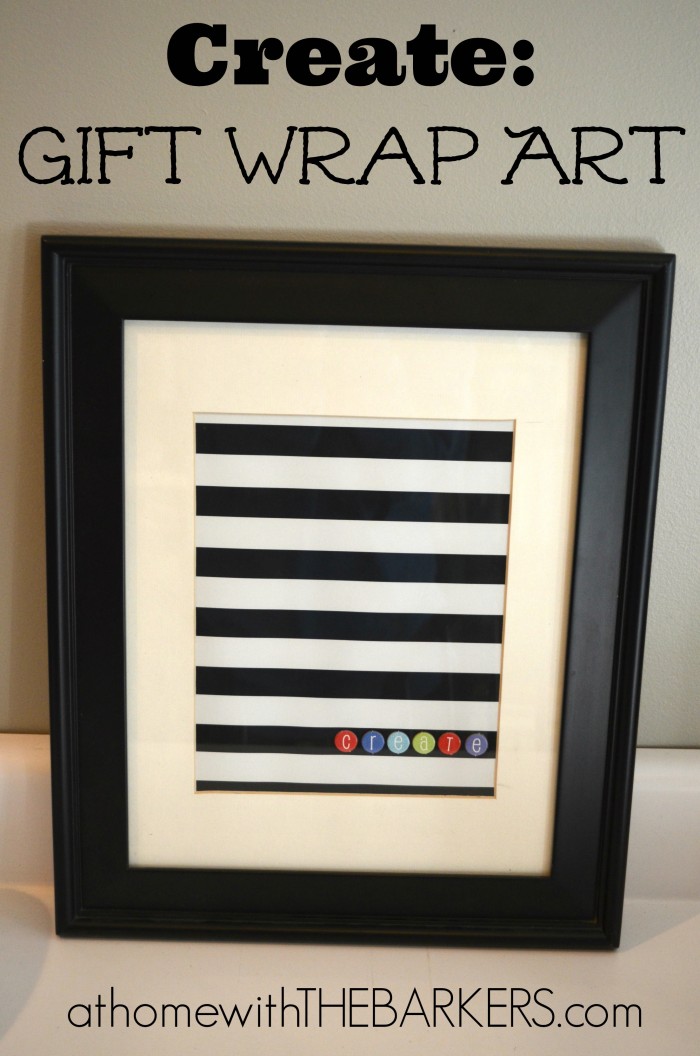
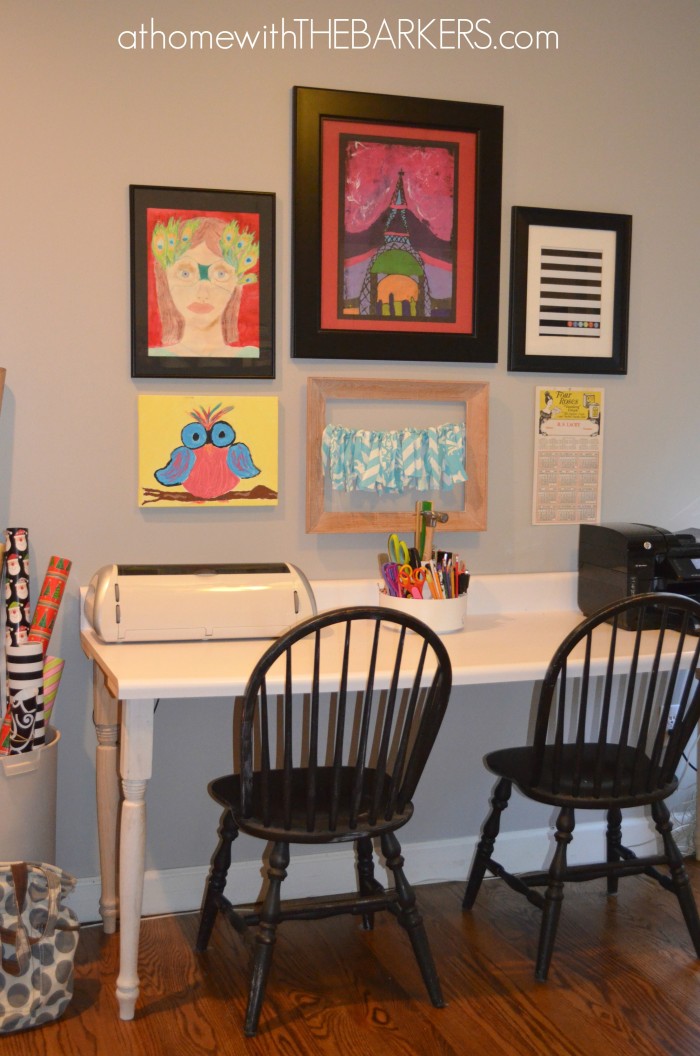
This was another easy art project for my gallery wall that’s going up in my craft room.
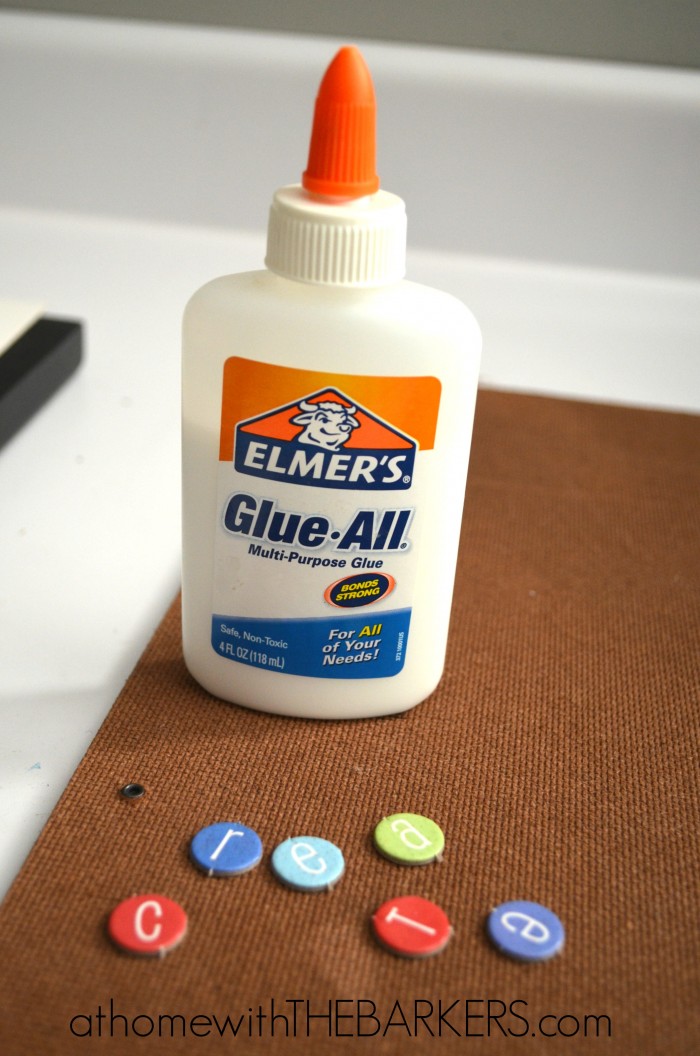
All I needed was a frame, gift wrap, letters, and glue…I already had all of this on hand.
The best part is that I was able to use my table in the craft room because it was clean.
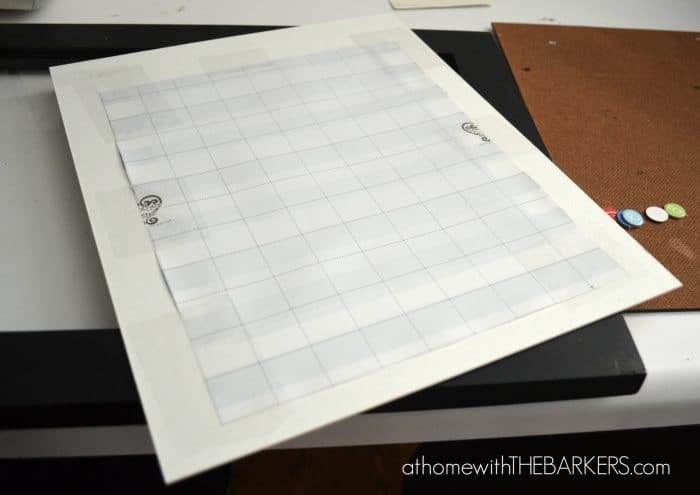
I cut the gift wrap to fit behind the mat inside of the frame.
Then I taped it down to keep it in place.
My daughter loves to make cards, so we have lots of supplies for that.
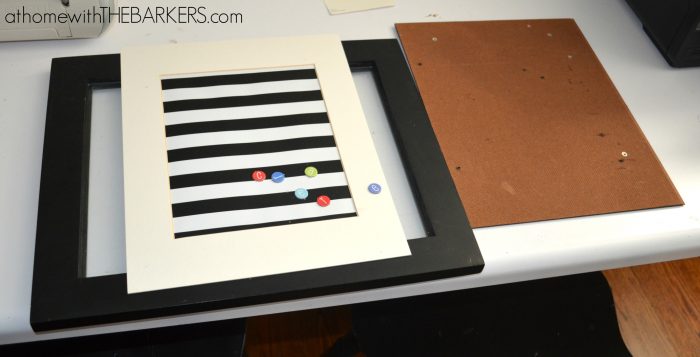
I picked out a word that I wanted to display in my frame.
Then I chose the colors based off some of the other art that will go on the wall too.
I used basic Elmer’s glue to hold the letters in place.
It turned out super cute and only took about 15 minutes to make.
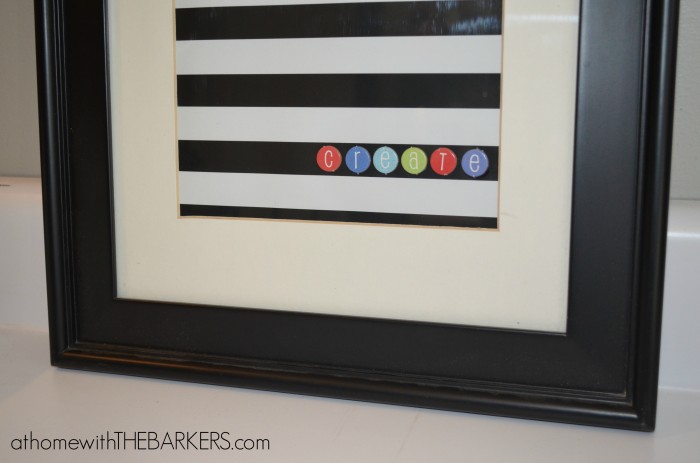

Making art for your walls is an easy inexpensive way to give a room personality.
I hope this little tutorial on how to create gift wrap art will spur on your creativity.
Have you ever made your own art?
Also, how are you doing on your 31 day journey? We are close to the finish line and I am HAPPY with out progress!


Thanks Christy!
I LOVE this project! It is so cute and easy – a great combo in my mind!
Cute idea!!!!
This is so cute and would be a perfect project for any season. A teen would love to do this for a room decoration.
Simple and so cute…
Blessings,
Cindy
Still working on it….No pics yet. 🙂
Great project and I’m happy you could use your table. But I’ve been waiting to see how you organized your crafts room. Any pictures of that?
Awesome, so simple but very attractive, beautiful. Simplicity wins out. Happy week