DIY Fabric Heart Sachets
How to create simple DIY fabric heart sachets to decorate your home. Scented with essential oils.
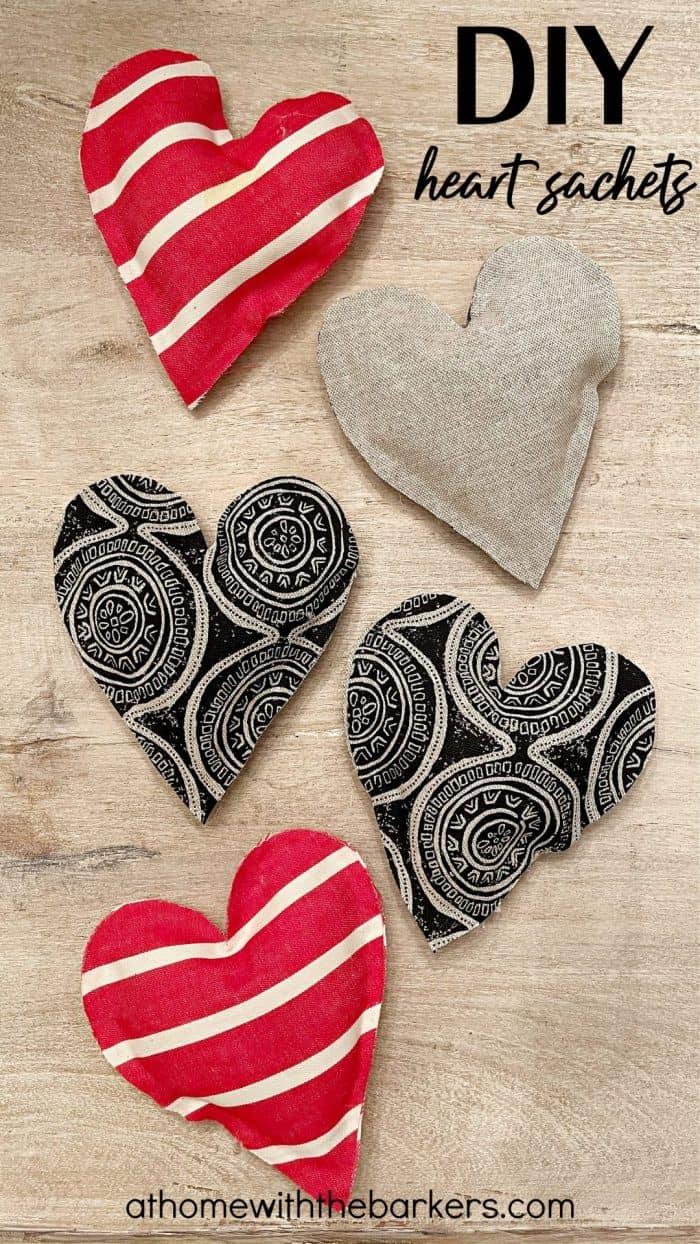
This easy and fun way creates a home decorating accessory that doesn’t look crafty. Depending on the fabric you choose for your heart sachet, it can look seasonal for Valentines Day or blend into your decor all year long.
This post may contain affiliate links. See our disclosure for full details.
What is a scented sachet?
Scented sachets are small packets filled with aromatic materials, such as dried flowers, herbs, or potpourri, often infused with essential oils or synthetic fragrances. We avoid synthetic fragrances in our home with our natural living journey.
Where to use a sachet in your home
They are used for various purposes, primarily to add wonderful scents to your home. You can hang them in a closet, tuck them away in a dresser drawer or lay around your home strategically as decor.
Adding the essential oil into the middle is a bonus touch. The one’s I created with peppermint essential oil is my favorite. I put them in a bowl in Ray’s office and it smells so nice when you walk in to the room.
Sachet Supplies to make your own
- Glue gun (the brand I use but cordless!)
- Fabric (I used extra fabric from my stash)
- Poly-fil
- Cotton ball
- Essential oil
- card stock / craft paper and chalk
Video for those who like to watch, written instructions below for those who prefer to read.
Fabric types for sachet
The best fabric for making your sachets are fabrics made of natural fibers like cotton and linen. You can always use organza, cheesecloth and muslin but they wouldn’t sew as well for this porject.
If you don’t want to sew or glue a heart but would like to make a quick sachet you can use any fabric. Cut out a bigger square and just bunch up and tie with a ribbon.
Step one
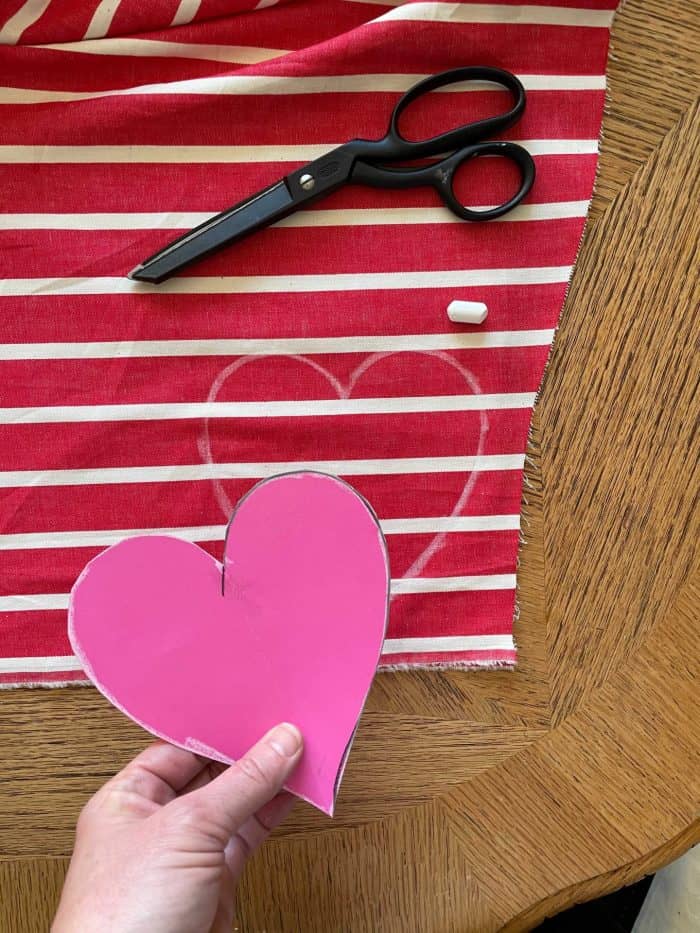
You will need a template for your heart. I made my own with craft paper. I wanted this specific shape heart so I knew I needed to hand draw it.
To keep it a mirror image on both sides think back to the way you use to do it in school. Draw one side, fold the paper in half down the center of the heart, then cut both sides at the same time. You can print one to cut out as well.
Step two
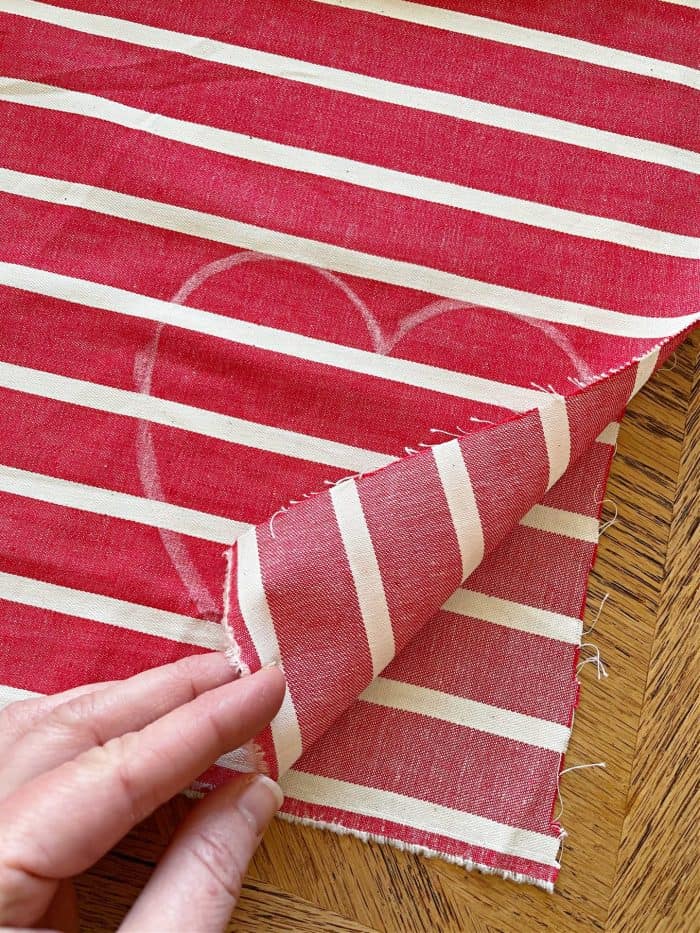
Take the fabric you will be using and fold in half. This will allow you to cut the front and back of your heart at the same time. Making sure they are the same size will get you a neat edge when you glue them together. Trace your paper heart onto your fabric with chalk.
Step three
Cut out your fabric heart. I cut inside the chalk line to keep it even. No worries though if you cut and see the chalk. It will dust right off.
Step four
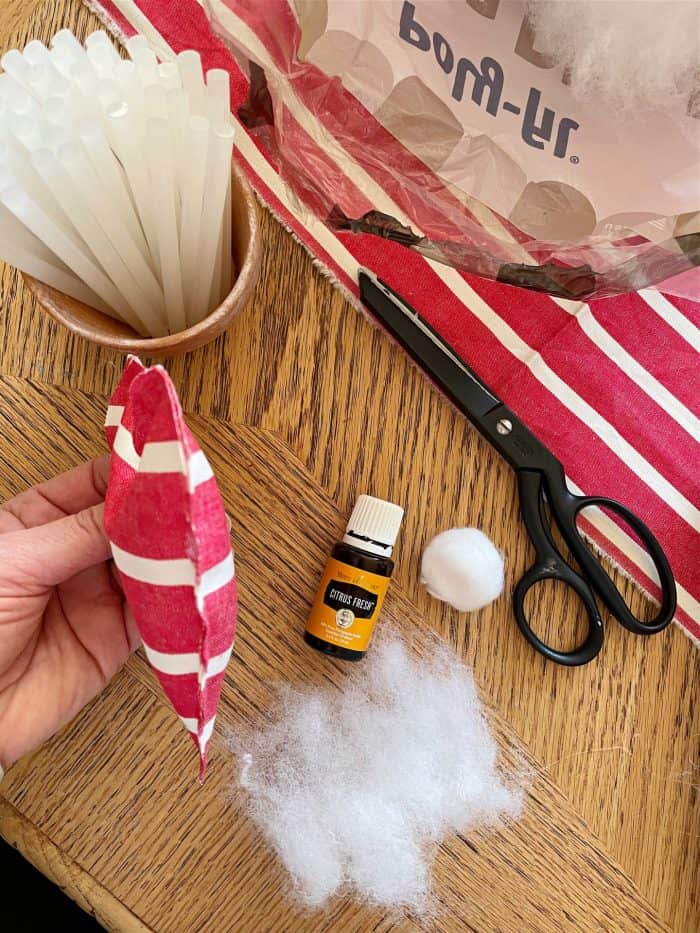
Time for hot glueing the heart sachet together. Make sure you have the back side of the fabric facing in on both pieces. Hot glue 75% of the heart together, leaving a little open for adding your stuffing.
Step five
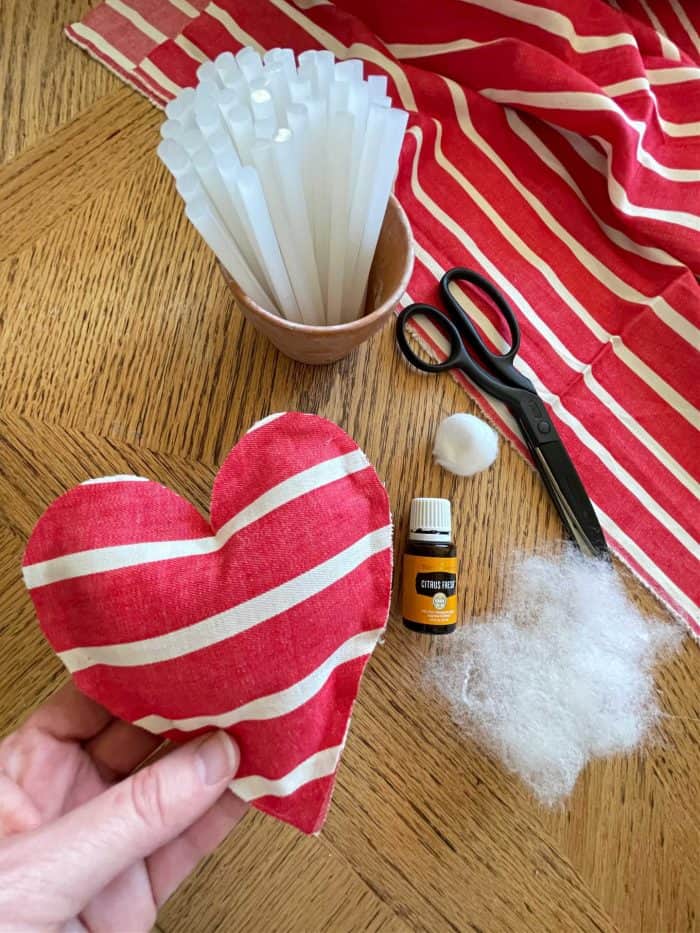
Add the stuffing to your sachet. I used poly-fil and one cotton ball. You can certainly use only cotton balls if that is what you have on hand. I used both. I added the essential oil to a cotton ball because it is much more absorbent. Be sure to wrap the poly-fil around the cotton because the oil can make it’s way through your fabric.
Rice and dried flowers also make good filler.
Step six
Once stuffed, hot glue the rest of the opening to secure all of the fabric.
Optional extra step
If you want to hang your heart sachet you can attached a ribbon, twine, or yarn to the top. Hot glue your chosen ribbon in while you are glueing the edge together. Makes for a neat finished piece.
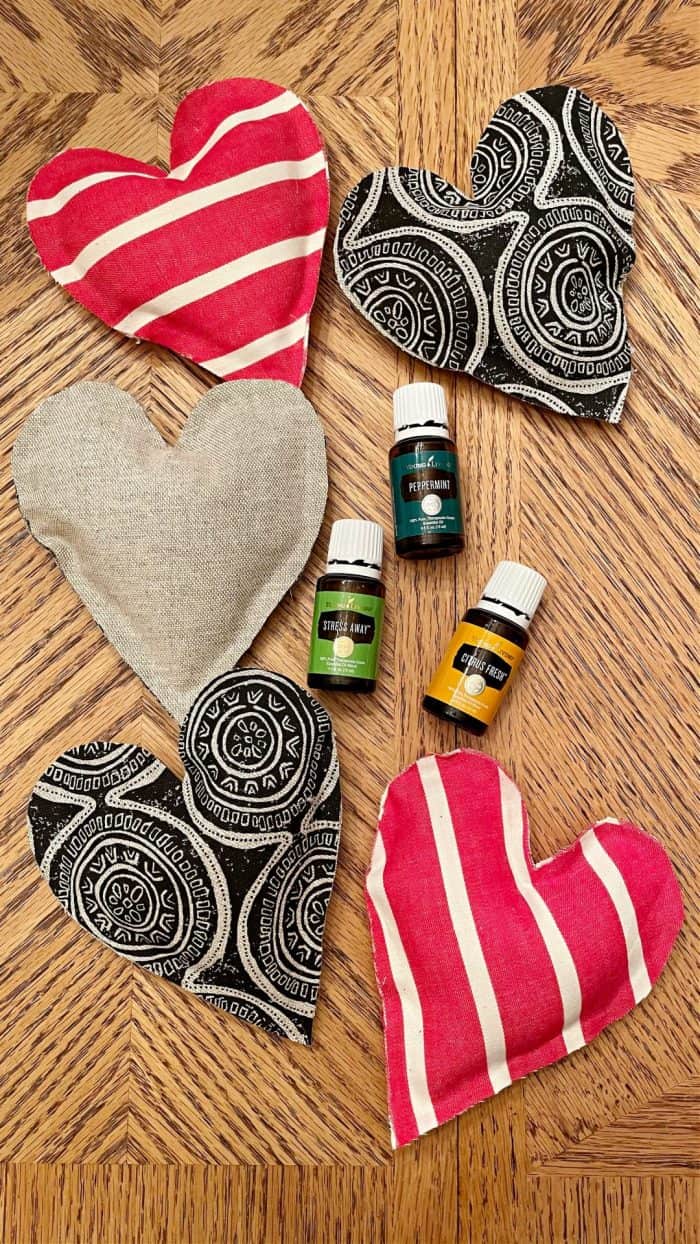
The fabric heart sachet choices allow me to use these as an added Valentine’s Day touch and then later as accessory decor. I have always had a thing for the heart shape.
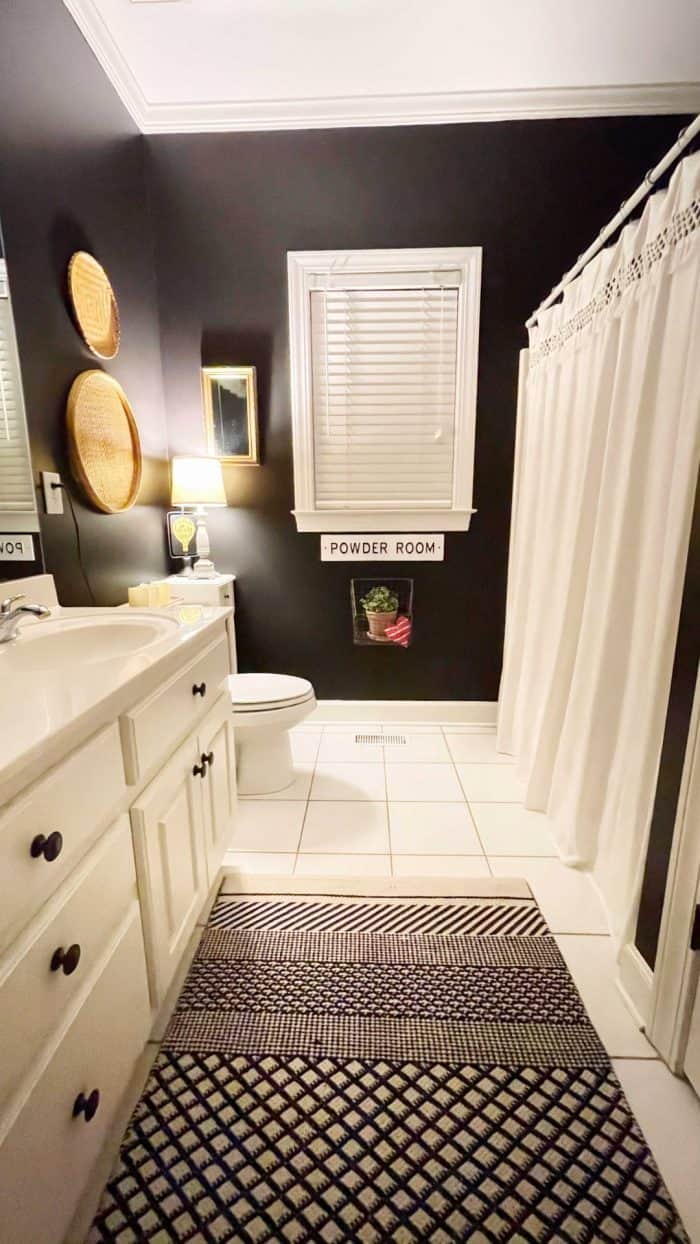
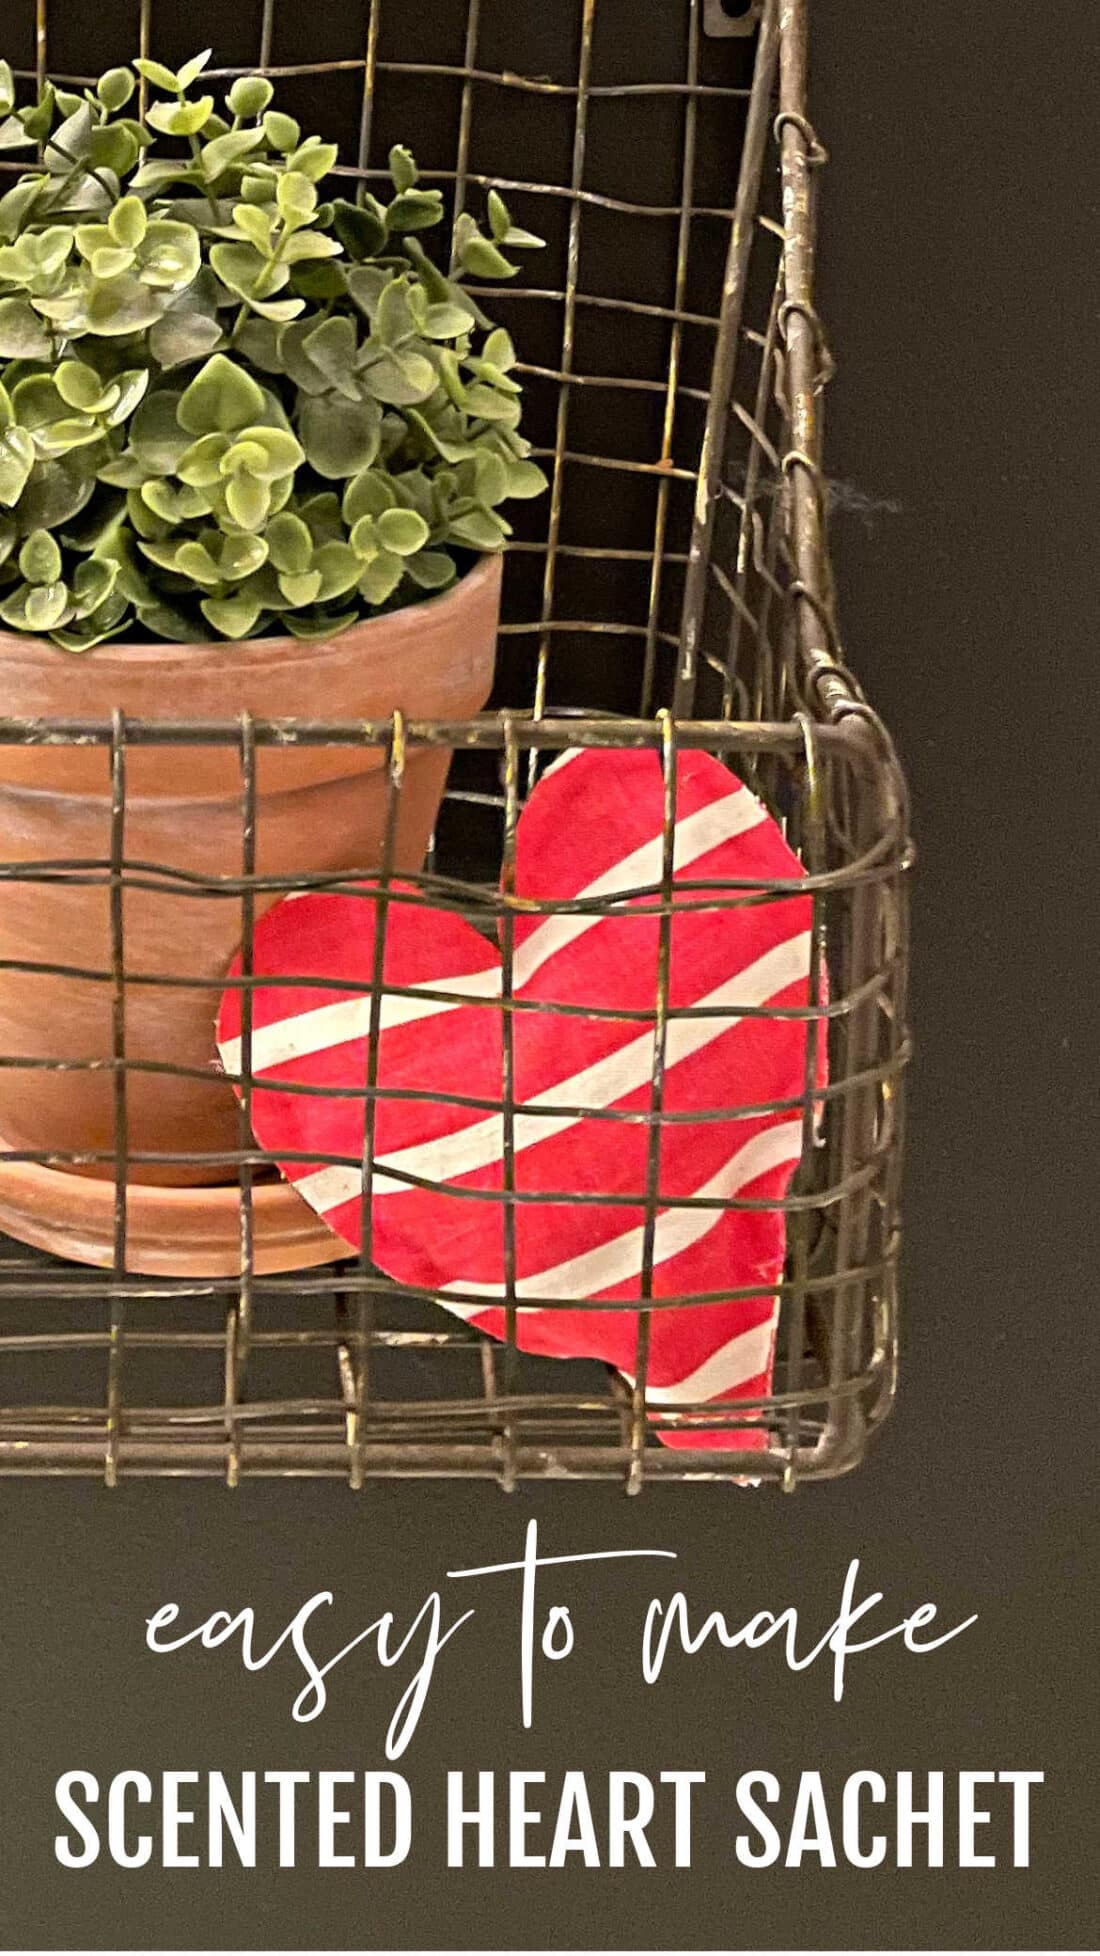
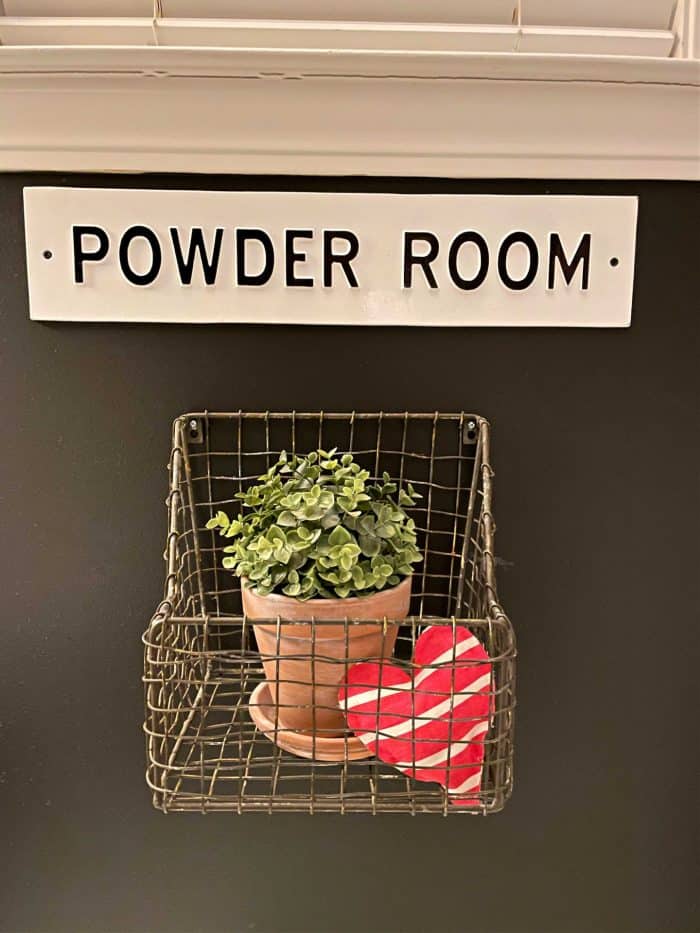
This one looks pretty in my bathroom wall basket.
More DIY home decor ideas
