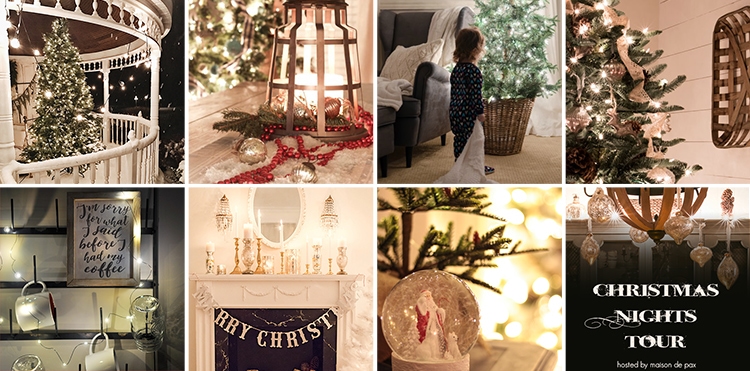
Christmas Nights Tour 2016
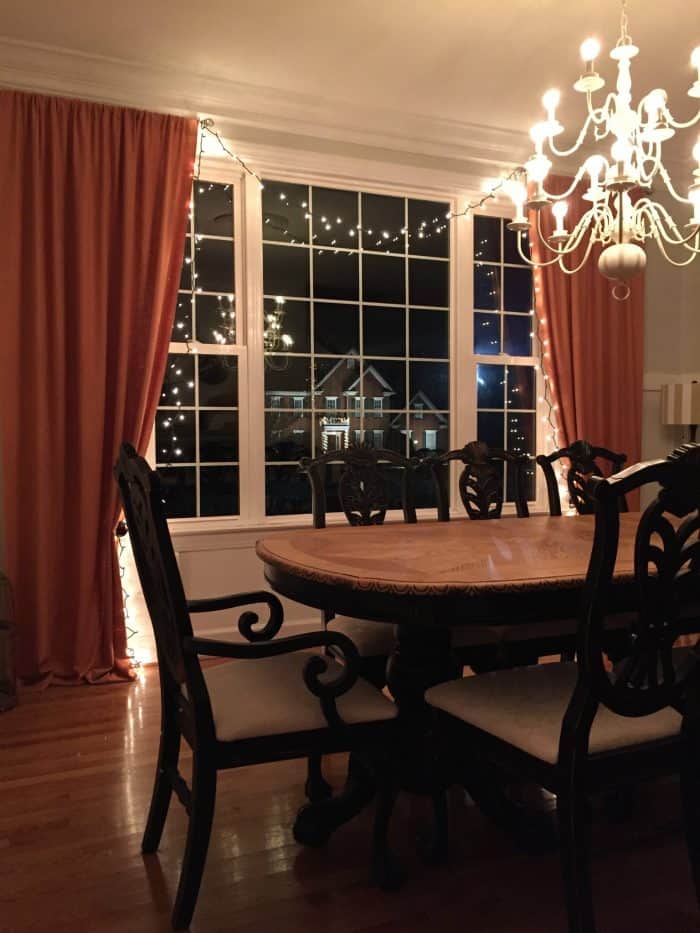
The twinkle lights at night are the best thing about having tree in your living room. For this years Christmas nights tour I’m sharing some tips for photography.
This post gets popular around the holidays every year. The camera’s on iPhones have gotten so advanced most people can capture some good photos without too much effort. Still, there are a few things you need to do to make them really shine.
This post may contain affiliate links. Please read our disclosure policy.
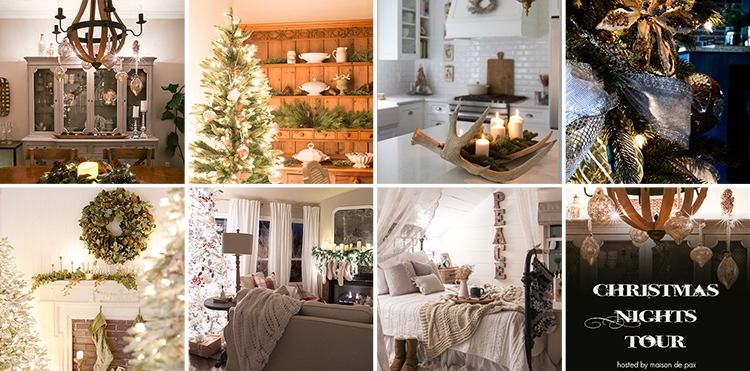
I am so excited to join the Christmas Nights Tour again this year hosted by my sweet friend Rachel from Maison de Pax. She gathered a group of talented bloggers to share their homes all twinkling at night.
If you are new here and visiting from Stylehouse Interiors, welcome to my little corner of the internet. I hope you find my laid back, real life style and decor inspiring.
When I wrote this post I was using a real camera for the blog. Now I use my cell phone 90% of the time.
Photos for the blog are almost always taken with my Nikon. I use manual settings, a tripod, and a remote control. When you see all of those beautiful photos on blogs and think wow I wish I could get photos like that to share with my friends. Then you feel deflated after you read all the effort it takes to get those night shots.
This year I had an idea to use my iPhone only to see what was possible. Since this post in 2016, I have used my iPhone to take my Christmas tour photos.
You can see over the years how my iPhone photos have gotten better as well as my decor changes.
- Christmas nights tour 2021
- Christmas nights tour 2020
- Christmas nights tour 2019
- Christmas nights tour 2017
- Very first Christmas Nights Tour
Use these tips to take photos from your Christmas tree at night. Be inspired to share them with friends and family on facebook or Instagram.
Christmas Nights Photography iPhone Tips
TIP #1: Clean your camera lens
I can’t even begin to tell you the difference this will make in your photos. On the back side of your phone is the camera lens. Wipe it off with a cotton cloth or the same cloth you use to clean your glasses. A dirty lens will make the photos look blurry.
Make this a habit every time you take photos. I can look at photos posted to any social media and always tell a blurry lens photo. Once you realize it you will never have a dirty camera lens again.
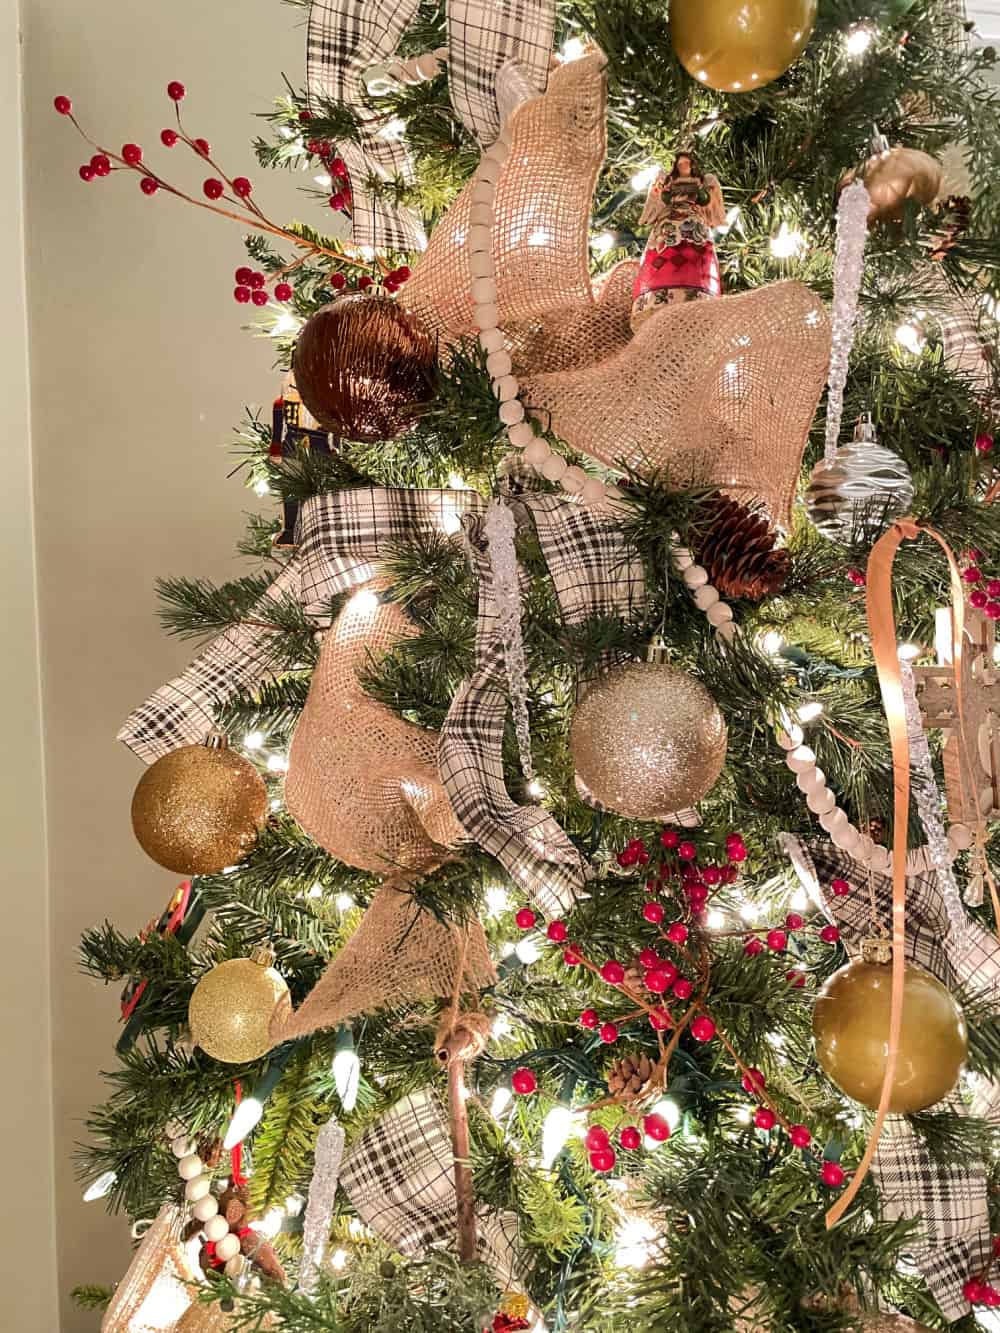
TIP #2: Steady your phone
Using a tripod is the norm for taking super clear photos with a real camera. They do make iPhone tripods with light ring or tripod without a light that work great. You may want that for future use.
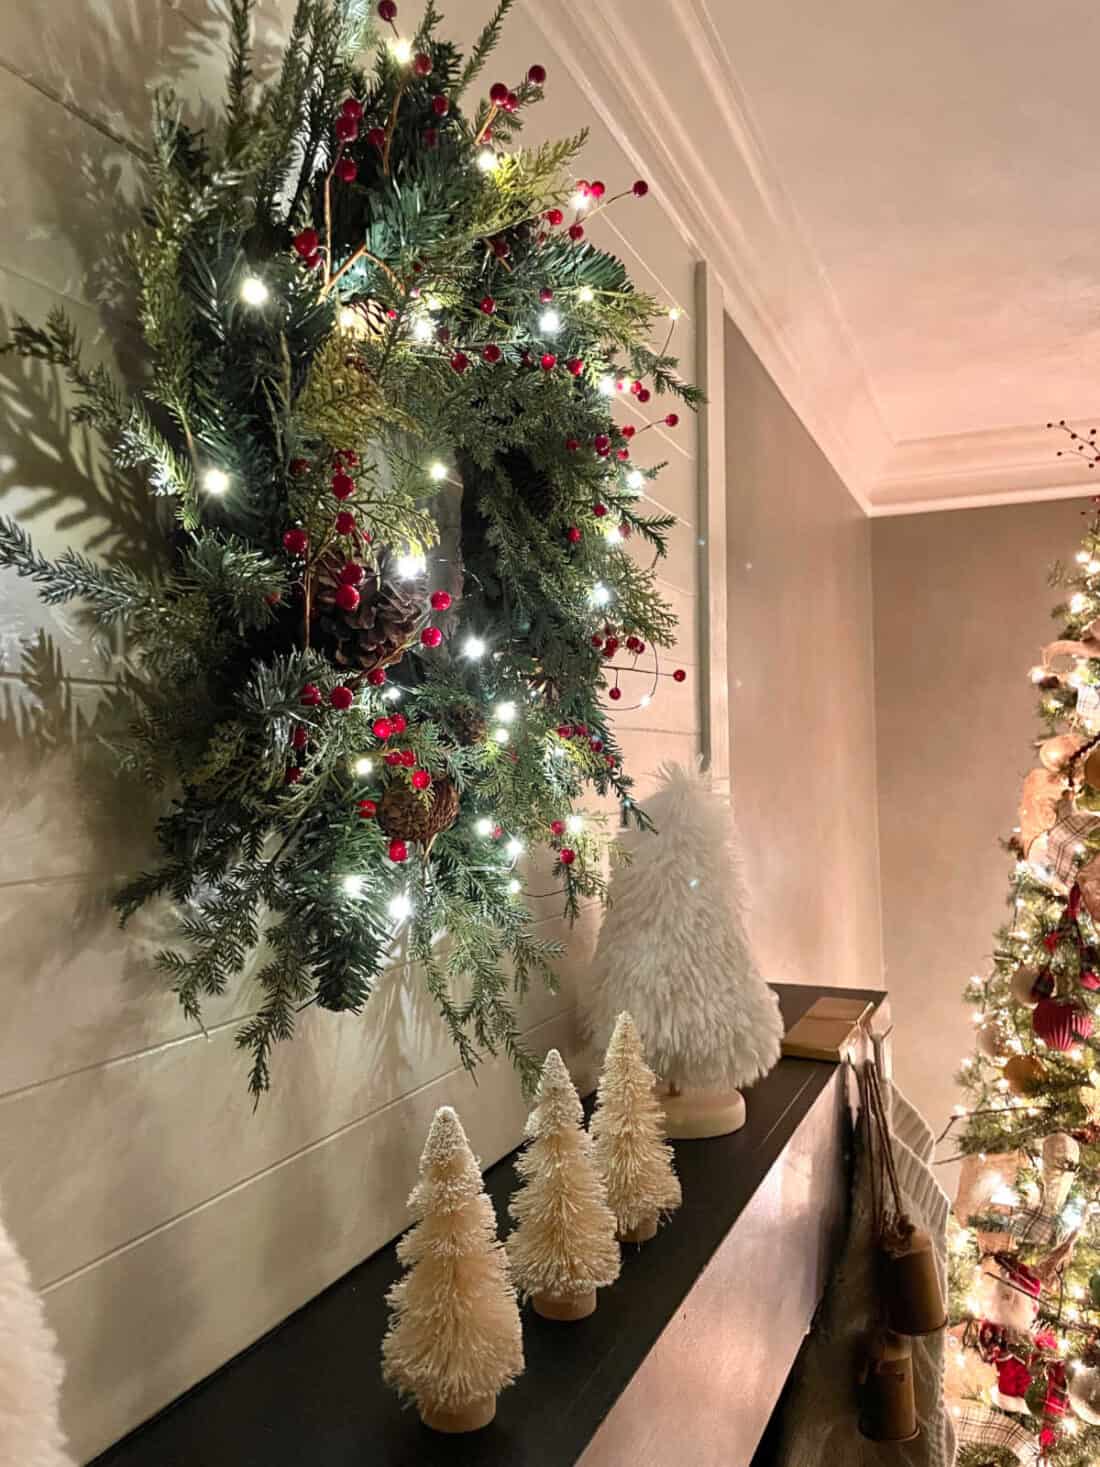
In order to take photos without a tripod you can steady your phone by tucking your elbows close to your body near your waist. Bracing your arms will steady your phone which will help you get clearer photos.
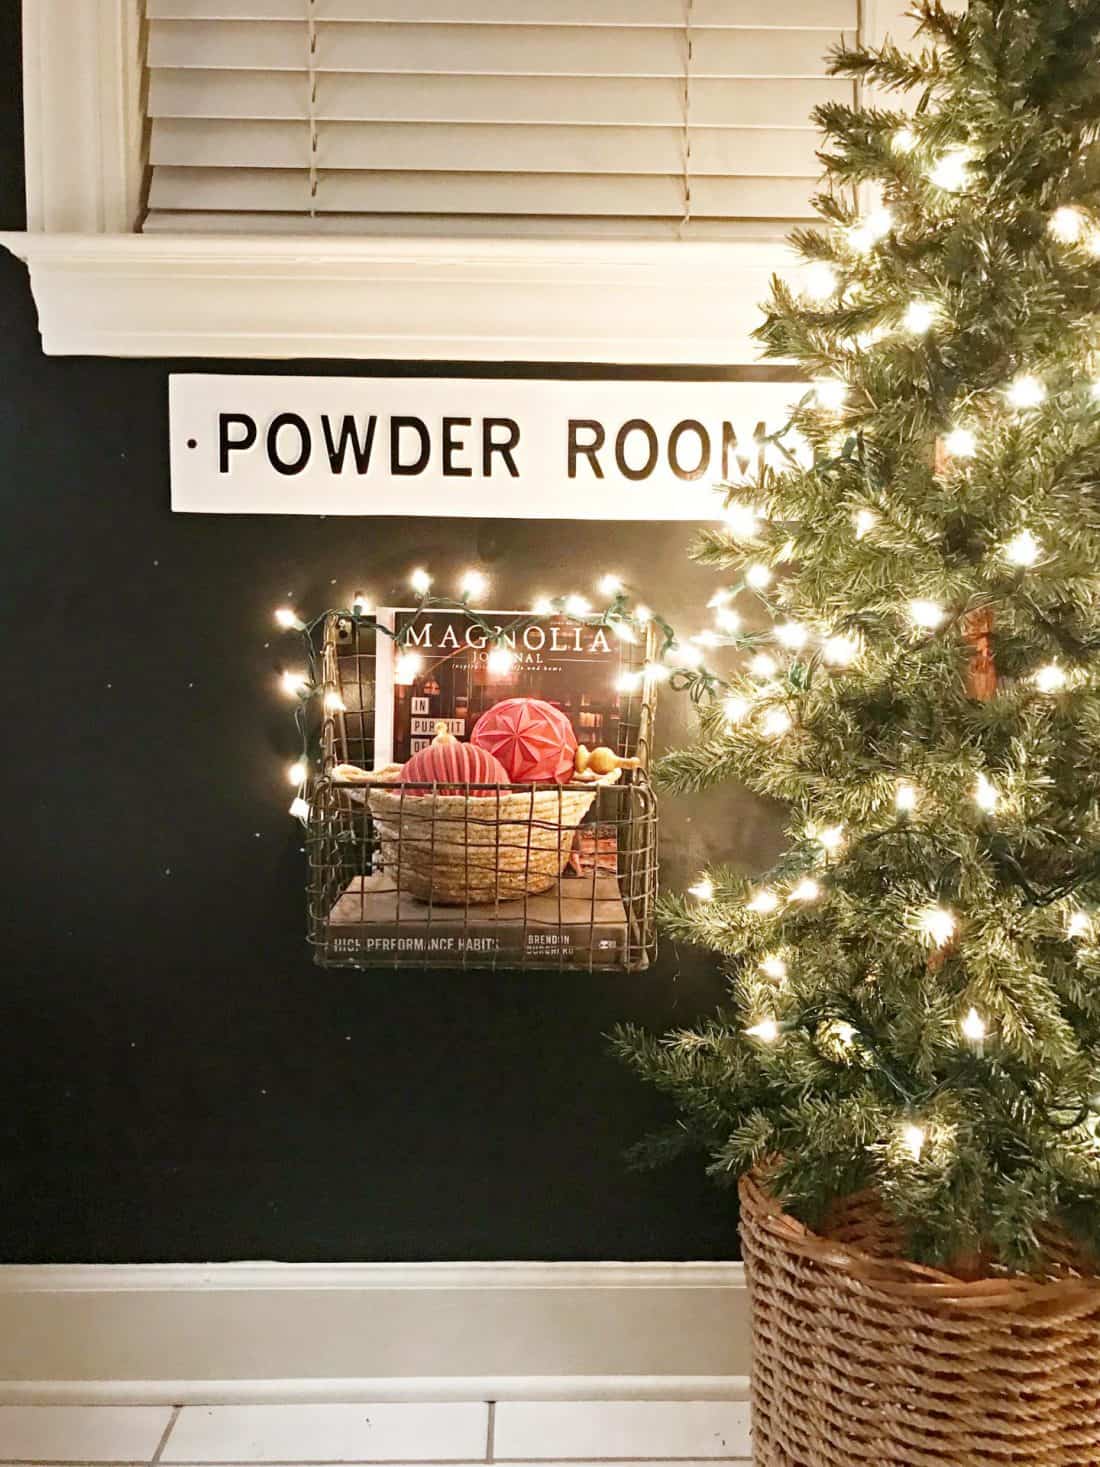
You can also brace your phone on a table, chair, or other object. Although this is not as stable as a tripod it will make a difference in steading your phone. The close up photo of my ornament is focused very well using the elbow bracing technique.

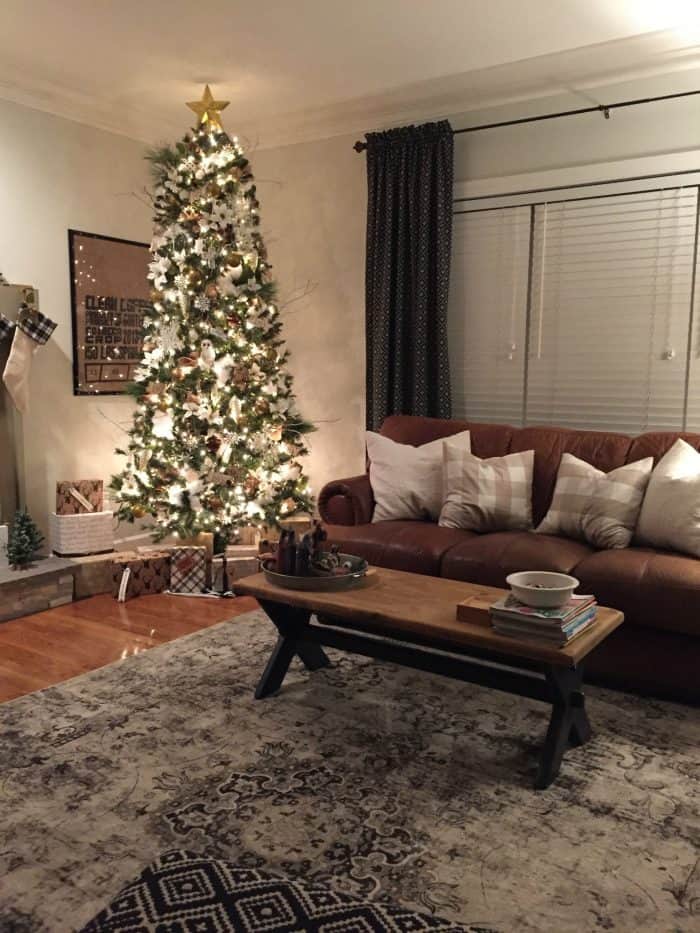
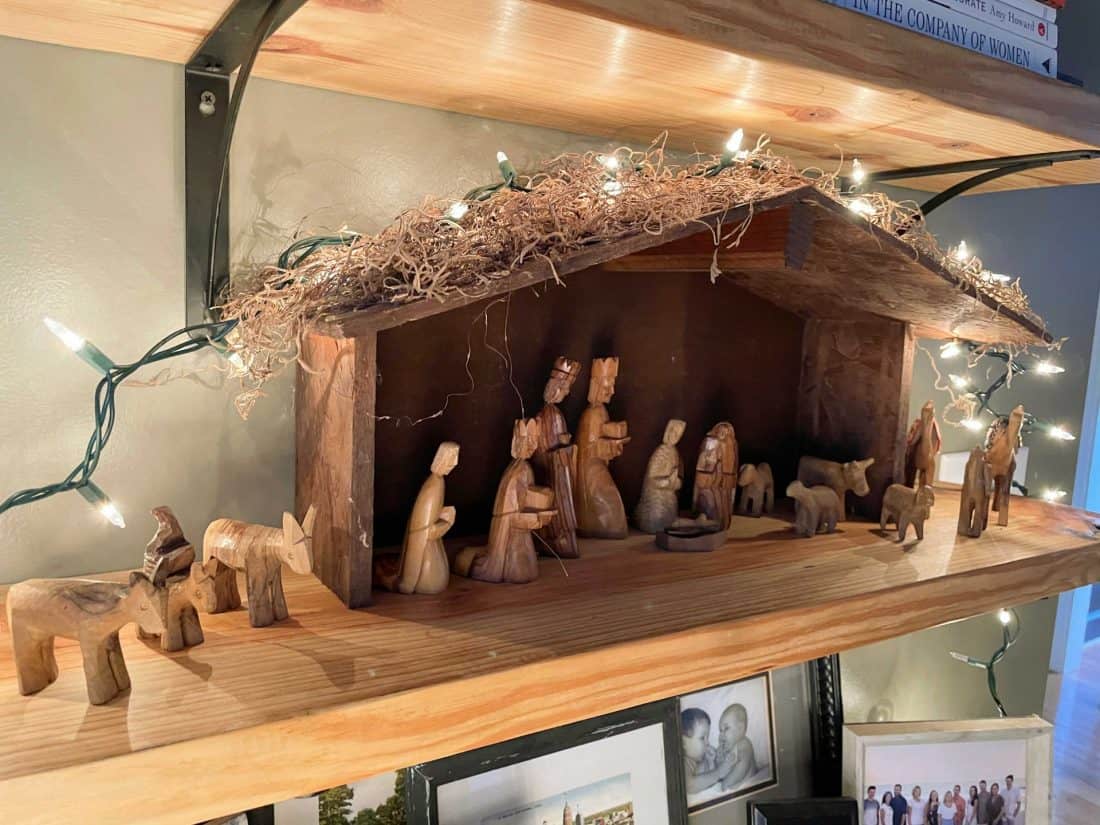
TIP #3: Change your eye level
This is where you get down on the floor or stand up on a chair. It all depends on the view you want. Taking cell phone photos standing seems the most natural. If you will change your eye level your photos will take on a different feeling. A picture is worth a thousand words after all.
If you want to squat down as I did for this photo you can use tip #2 and steady your phone on a piece of furniture for example.
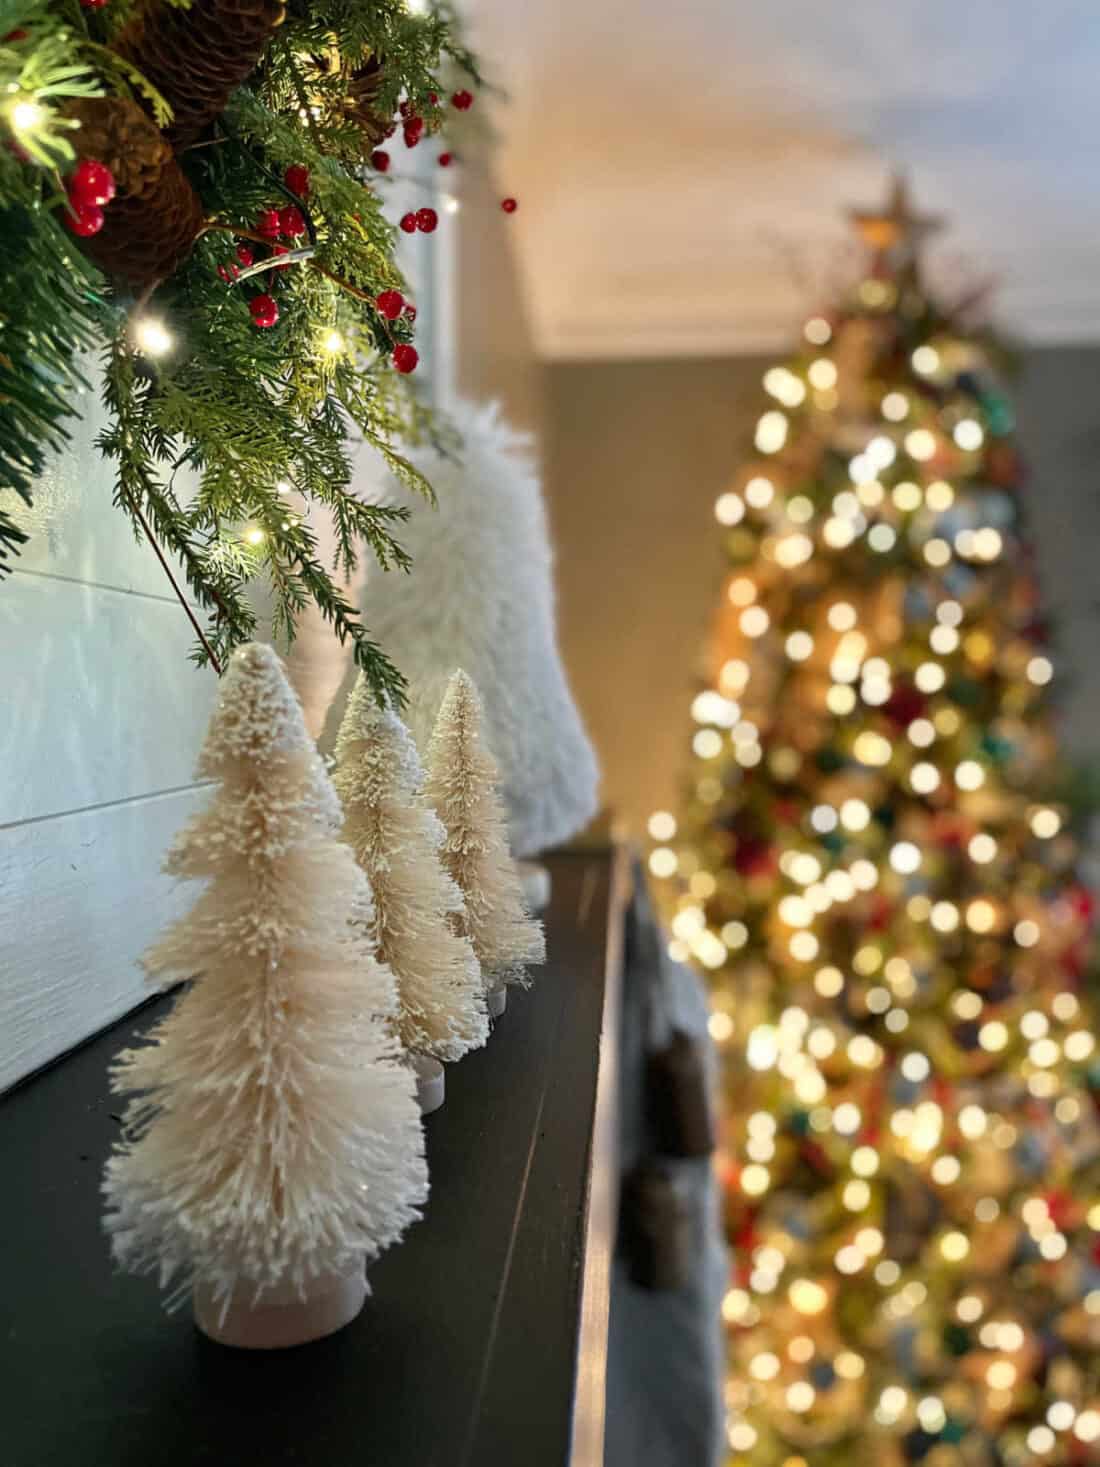
TIP #4: Adjust the light focus
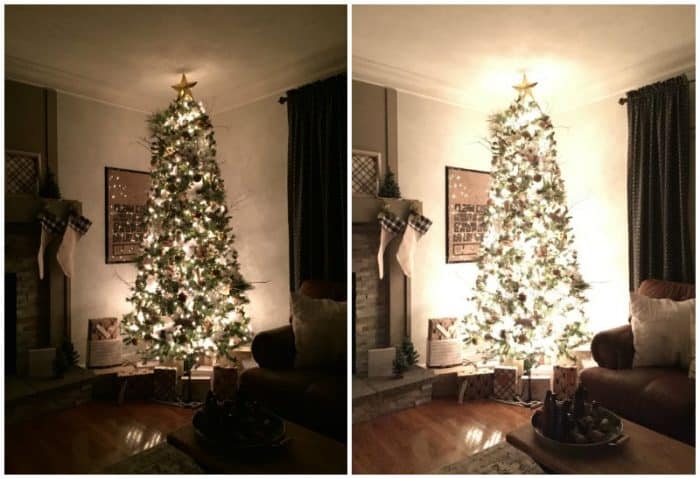
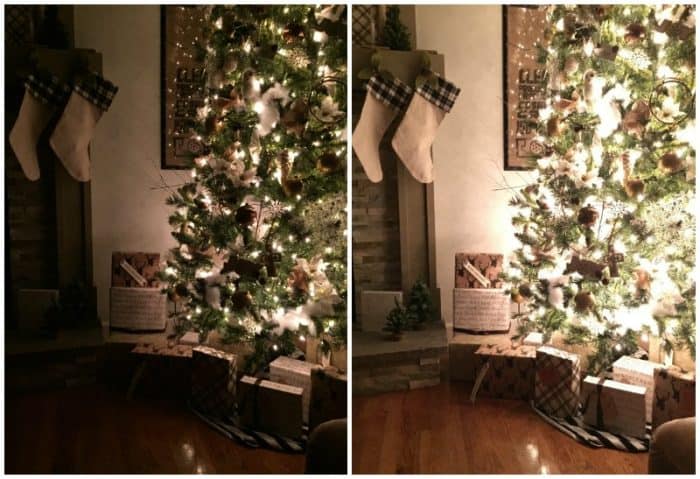
By tapping the screen in different places you will allow the camera lens to re-adjust it’s focus causing the light to dim or get brighter. The below photos show a side by side difference.
When I tap the photo to focus on the tree I get the left photo. If I tap my screen in the front left corner, basically the foreground of the photo I will get a brighter photo on the right.
The iPhone now will have a yellow box pop up where you can move the slider up and down to change the brightness. Give that a try as well. It will brighten the entire photo. Sometimes it’s better and other times it is not.
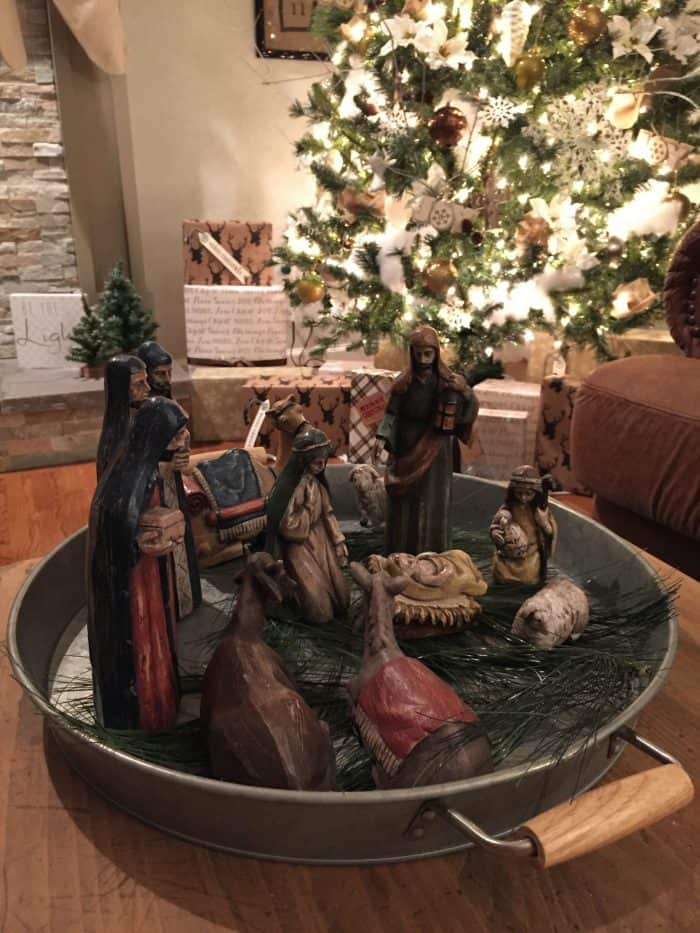
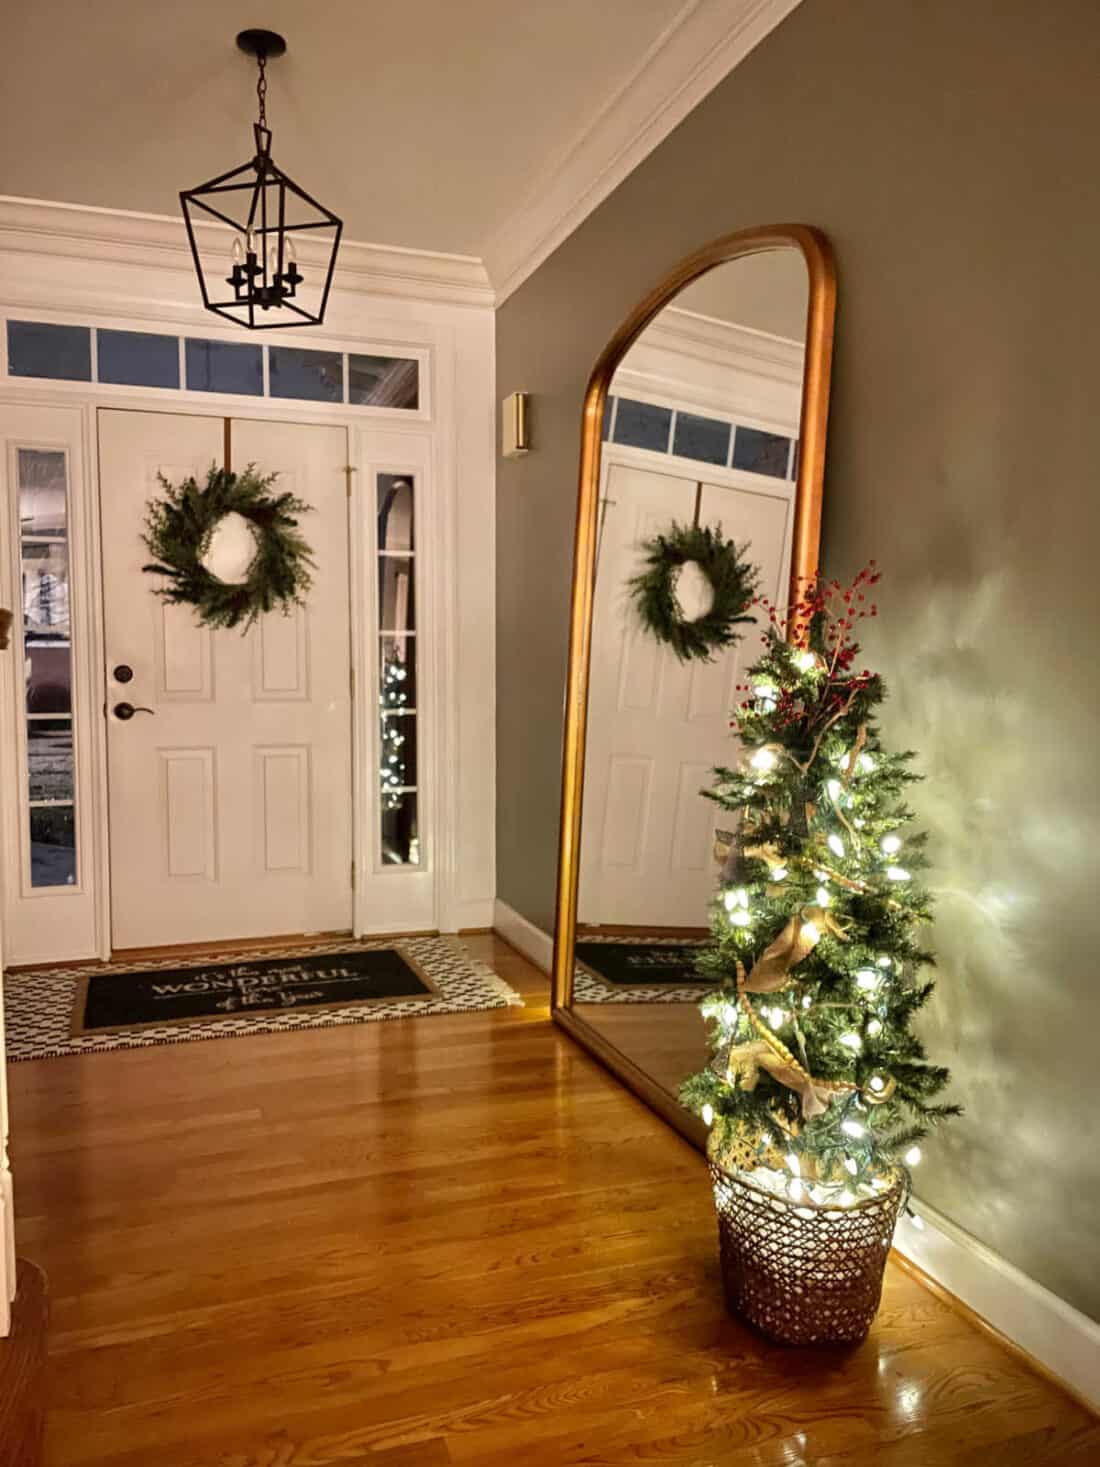
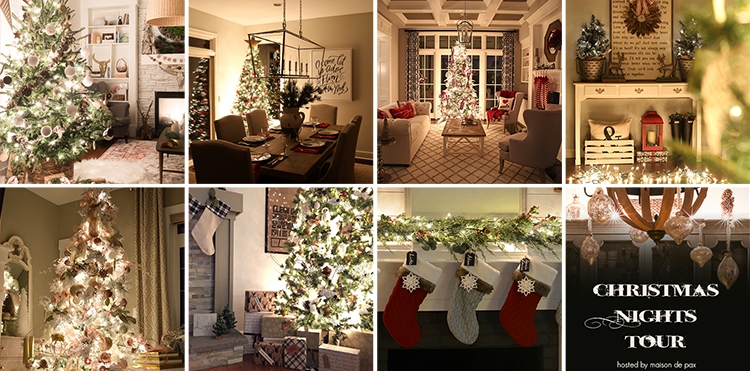
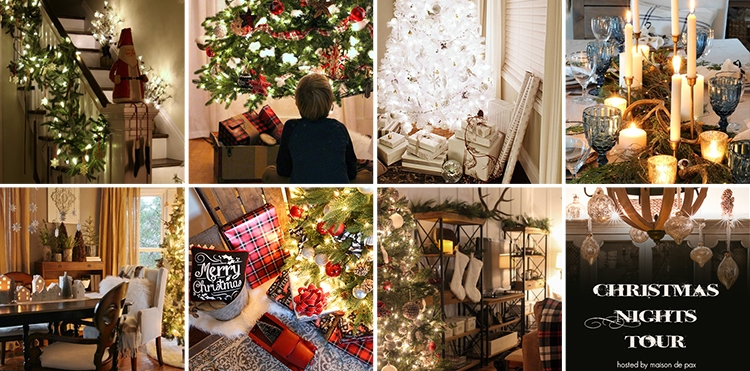
Here are a few more photos of my home at night.
Well that’s it for my Christmas Nights Tour 2016. Next stop on the tour is Traci from Beneath My Heart whose basic brick turned beautiful farmhouse is one to see!
MONDAY
Maison de Pax | Finding Silver Pennies | So Much Better With Age | Decor Gold Designs
French Country Cottage | Ella Claire Inspired | Love Grows Wild
TUESDAY
Liz Marie Blog | The Turquoise Home | A Burst of Beautiful | Nina Hendrick Design Co.
Cherished Bliss | Shabbyfufu | Shades of Blue Interiors
WEDNESDAY

Making Home Base | Lindsay Hill Interiors | Zevy Joy | Fox Hollow Cottage
Blesser House | Designthusiasm | TIDBITS
THURSDAY
Place of My Taste | Life on Virginia Street | Sunny Side Up | House by Hoff
Stylehouse Interiors | At Home With the Barkers | Beneath My Heart
FRIDAY
Kelly Elko | The Happy Housie | Setting for Four | Rooms FOR Rent
Thistlewood Farms | Just a Girl and Her Blog | The Wood Grain Cottage

Great tips! Thanks for sharing for those of us who are photography-challenged!
Such great tips! Your home is so beautiful. Happy holidays to you and your family.
Hugs, Jamie
What a bright tour! Thank you so much for sharing on our Christmas nights tour! Taking photos in the evening is so tricky, so I am sure your readers will appreciate the tips.
Thanks for sharing the great tips!! Love your cozy home, too!! Merry Christmas friend!