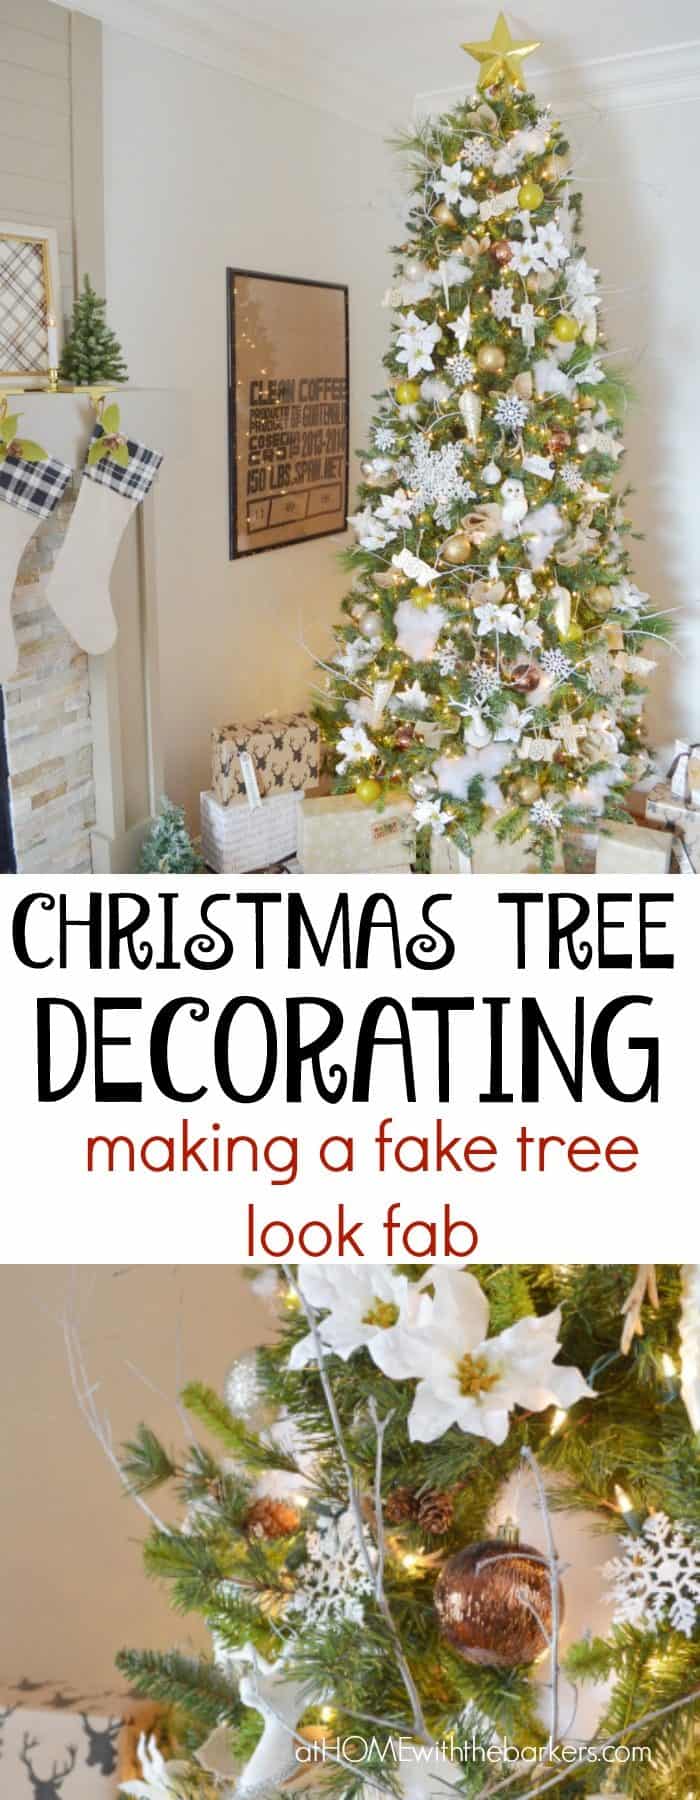
Christmas Tree Decorating
Christmas tree decorating ideas to give depth and interest to an artificial tree. Faux Christmas tree tips and tricks you need to know.
The year I shared my Neutral Christmas Home Tour you all made my day with your sweet emails and comments. The amount of you that loved the black, white, and metallic decor surprised me.
One of my favorite things to do as a decorator is change the way my tree looks from year to year. It’s very minor changes, mostly just using what I already own. Lots of my favorite shatterproof ornaments in different colors makes all the difference.
This post may contain affiliate links. Read full disclosure policy.
Today I wanted to share more about our Christmas tree specifically. Details about how to decorate the neutral Christmas tree to let you see how easy and inexpensive it really can be to change things up. It’s the start point for a cozy Christmas living room.
I wrote a blog post to help you learn how to choose a Christmas theme I suggest you check out as well.
You can use these tips and tricks no matter what colors you decide to add to your tree.
Buying holiday decor when it is on sale is my best advice. My tree is a great purchase we made a couple of years ago. Pre-lit trees can cause too many issues with the lights so I opted for one without lights.
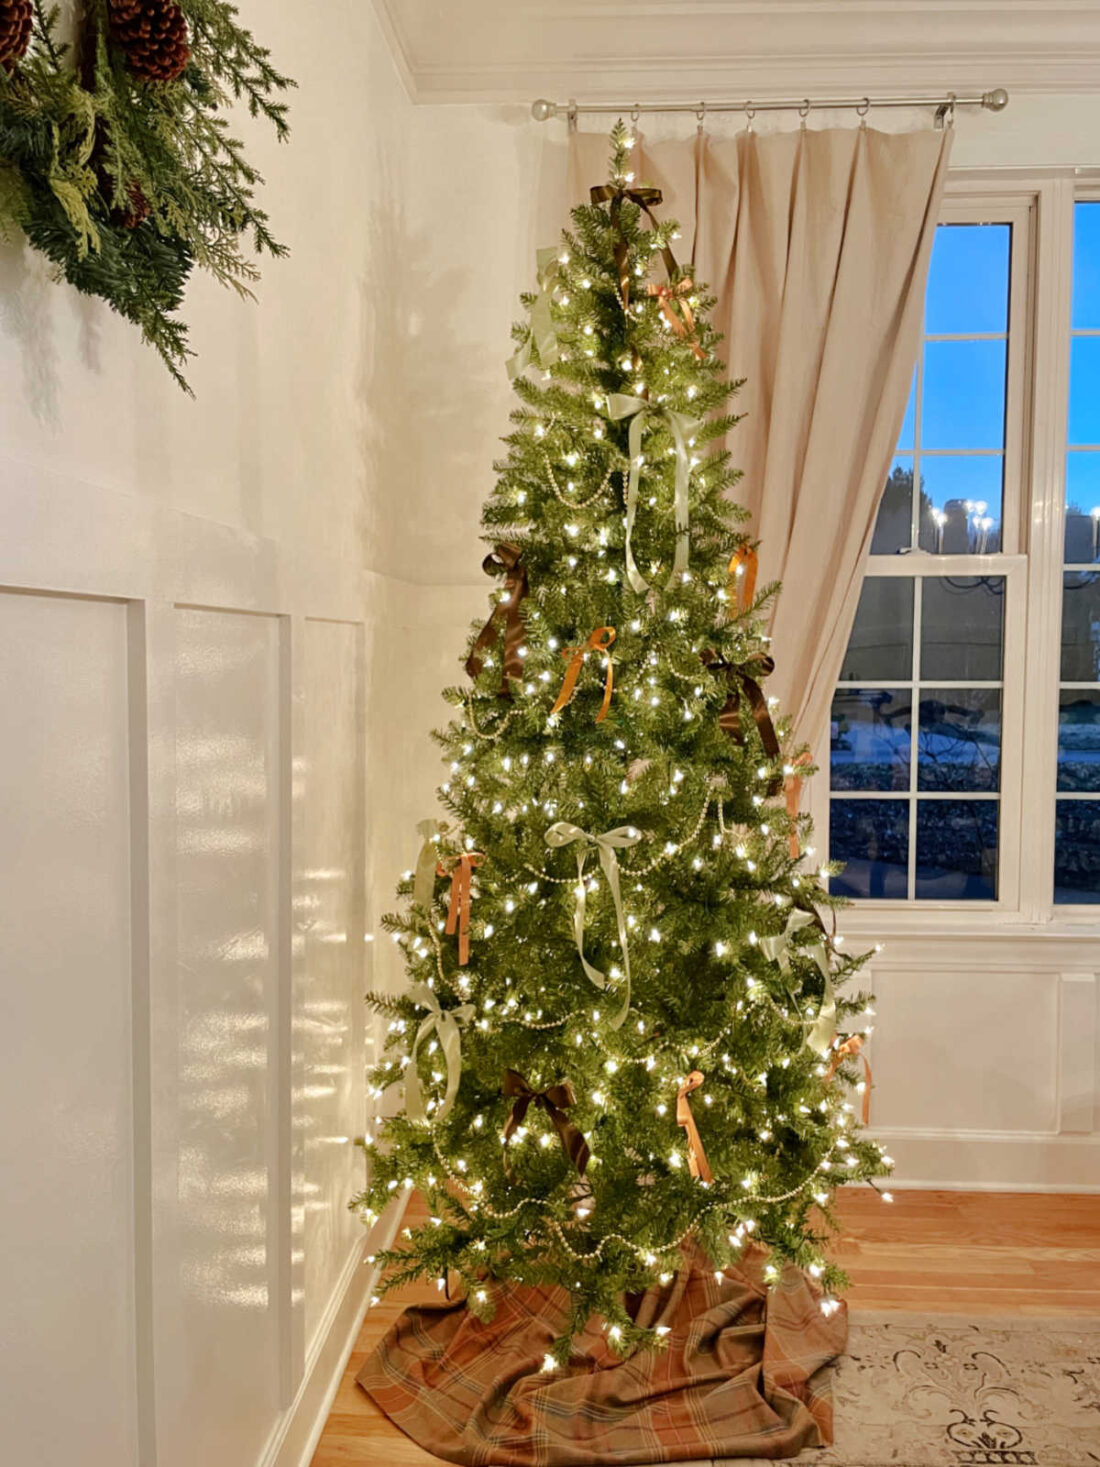
Slim artificial Christmas trees work well for many reasons. They save so much space, use less lights and ornaments, and look great with many decorating styles.
Steps for decorating your Christmas tree
This is the steps in the order I decorate our tree. For a full tree of lights you need 100 lights per each foot of tree height.
- Fluff the branches one row at a time
- Add the lights to each row of branches as it gets fluffed
- Tuck ribbon and garlands after lights
- Place any additional greenery, berry or sticks
- Add ornaments large to small
How to fluff the branches
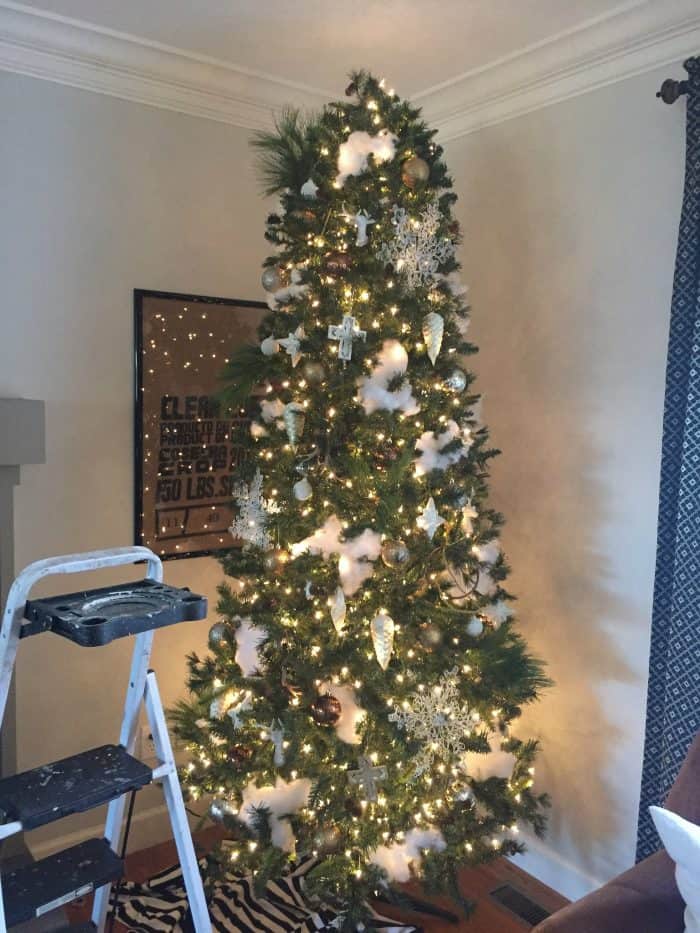
Here is how the tree looks undecorated. Mostly smashed because it just came out of the box. Fluffing the branches is a must.
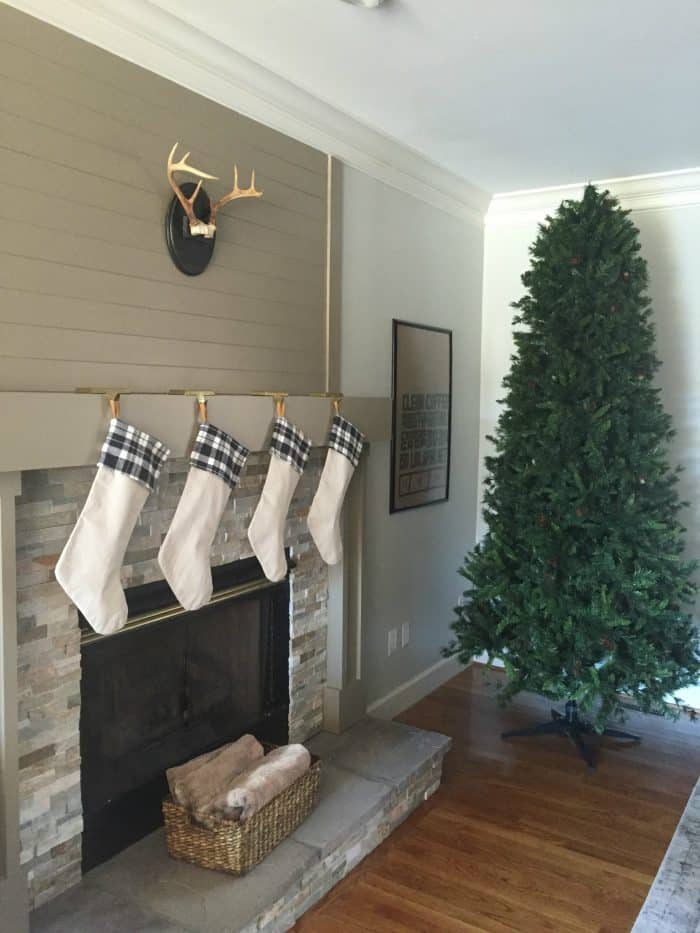
Fluffing artificial tree branches is a matter of bending and adjusting to give your tree a natural look. Bend the needles of each branch upward and outward. Work your way around the tree from bottom to top.
This is where I add the lights as I go. It is much easier to weave Christmas lights to each row of branches as after you fluff.
Sorting ornaments
Next I went through my current ornaments and pulled out all of the one’s that would go with my neutral theme. I had some pretty metal one’s passed on to me from my parents. As well as some I had collected over the years.
My ornaments are separated by color into clear shallow storage bins. Makes decorating the tree much easier.
Last year I thought about going neutral so I purchased a big container of shatterproof metallic ornaments but ended up sticking with my reds. I was very happy to have the ornaments already in my stash.
Plastic snowflake ornaments have been on my tree for many years. They are versatile for many styles and color options.
Layering
The fake snow is just Poly-fil stuffing from my sewing supplies. I’ve used thing for years because it isn’t messy like other fake snow.
Once I added everything I owned already here is how the tree looked. Don’t panic yet because it gets better. The process of decorating a Christmas tree is all about layering. It gets better with each layer of decor.
To get my tree to a point where I was happy, I decided to get a little crafty. I was able to purchase 6 silk white poinsettia stems and 6 wooden JOY ornaments in the craft section of Walmart.
The crafty wood piece ornaments vary from year to year. I found this assortment of wood craft ornaments this year.
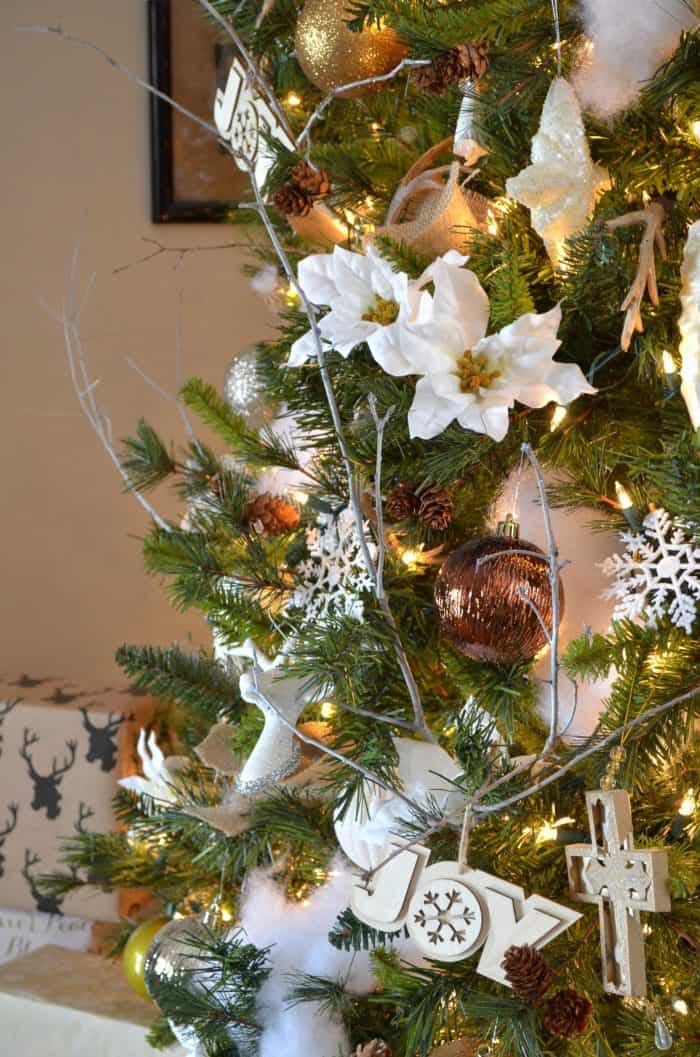
Then I headed to my back yard and gathered twigs. I spray painted those white and stuck them randomly around the tree. Most years I leave the sticks natural so don’t feel like you must paint them if you would rather skip that step.
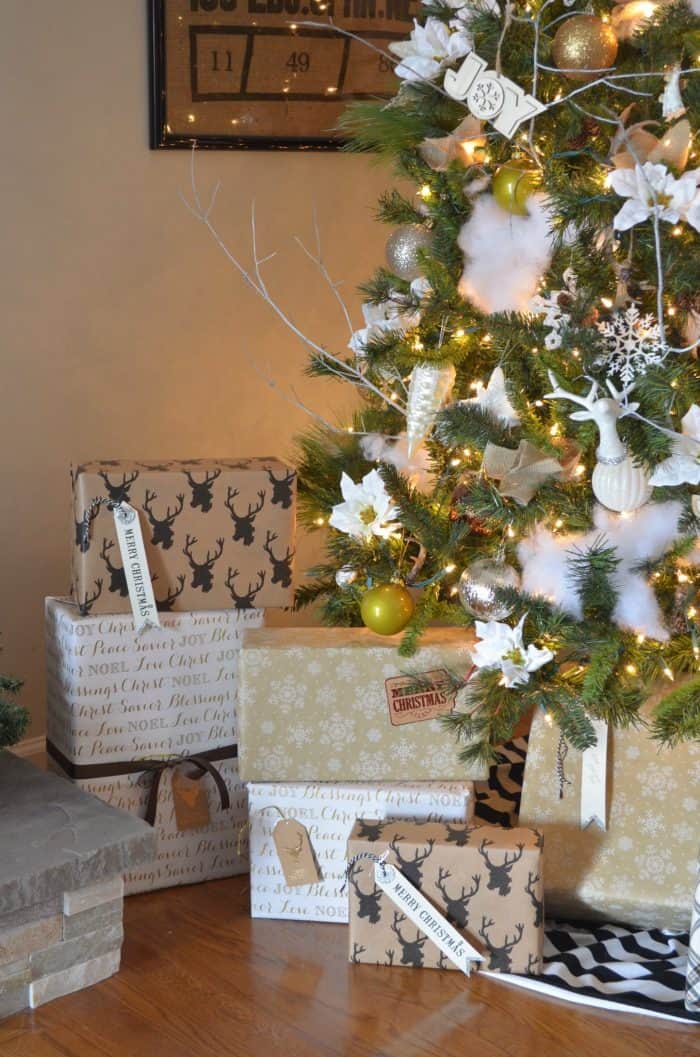
Lastly, I had extra burlap in my fabric stash. I cut pieces about 6 inches by 6 inches. Then I grab them in the center making a simple rosette. I stuffed those into any places left bare.
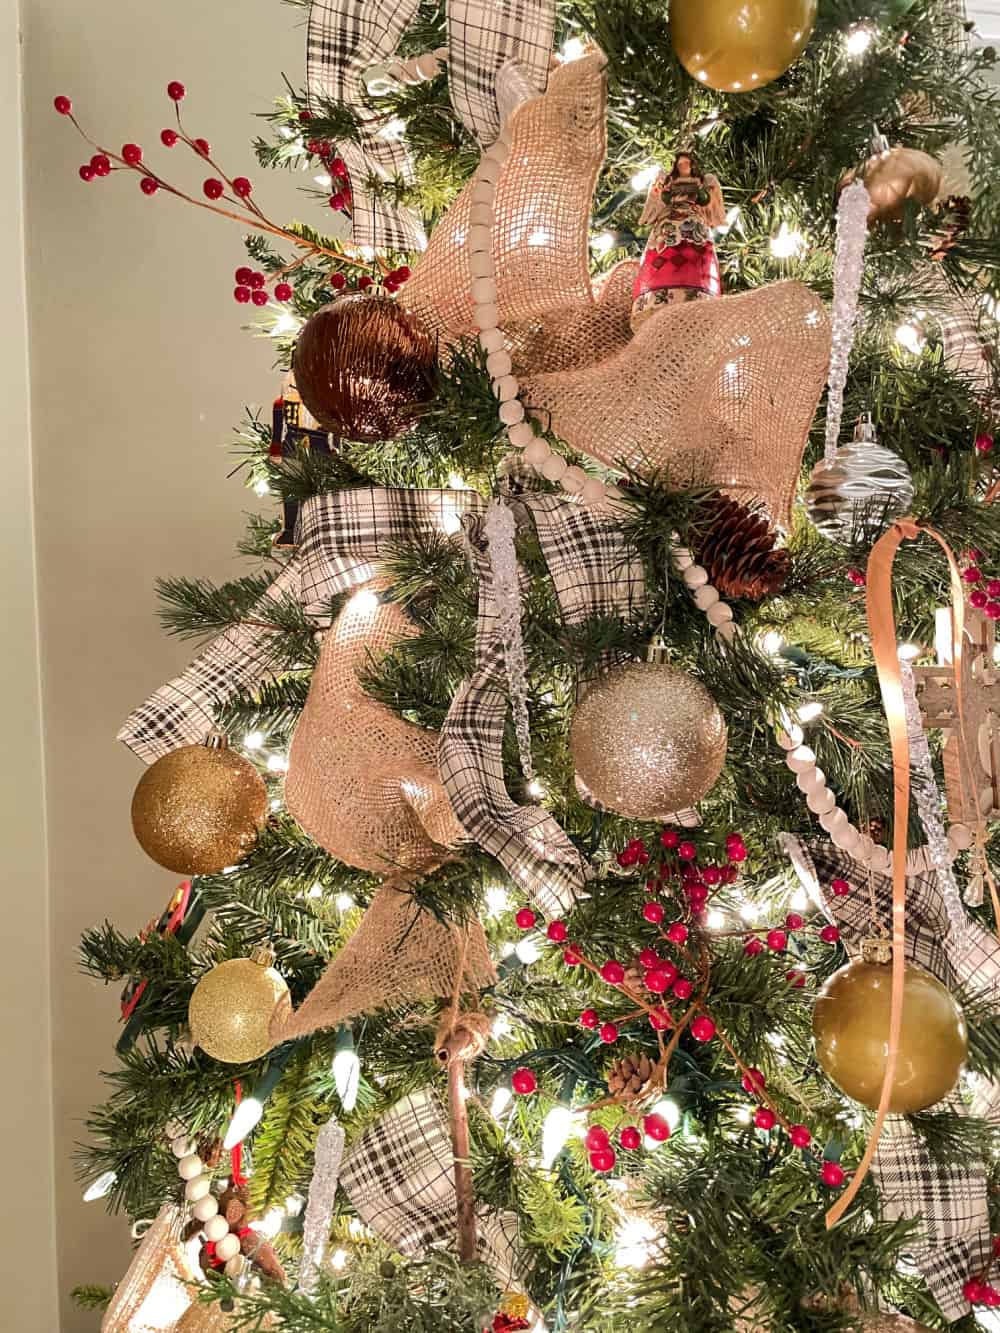
Adding ribbon and garlands is usually something I add before any ornaments because it is much easier. This added burlap was small pieces so it was easy to tuck in the tree. I wanted it for filler for texture.
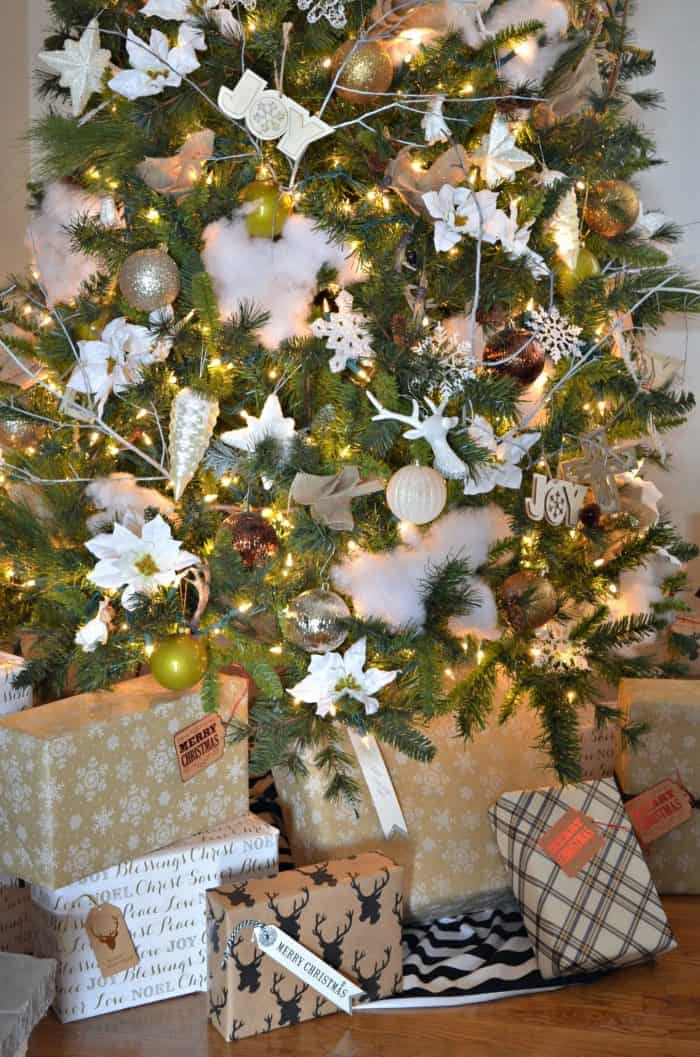
The tree turned out beautifully. I barely spent any money and ended up with a completely different tree this year.

More Christmas Projects
- Painted Flocked Christmas Tree
- Christmas Greenery decorating ideas
- Christmas Tree Garland
- Simple Christmas DIY and Decor ideas
Be sure to Pin the photo below for reference later!
Your blog is beautiful, merry christmas, thanks for the tips.
Such a most beautiful tree!!! Merry Christmas to you and your family!