DIY Brushstroke Lamp
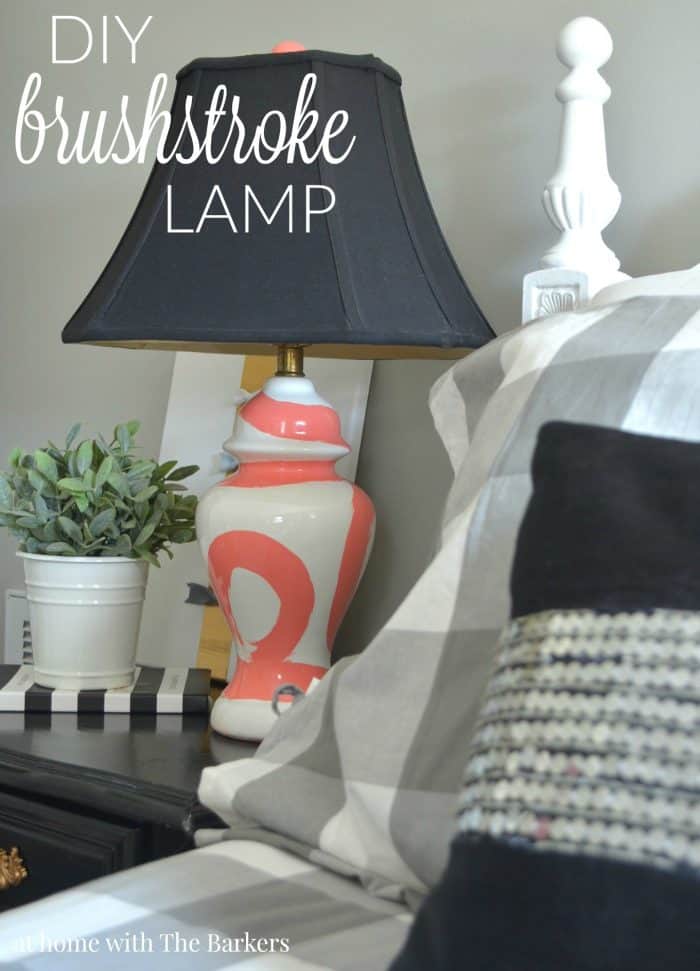
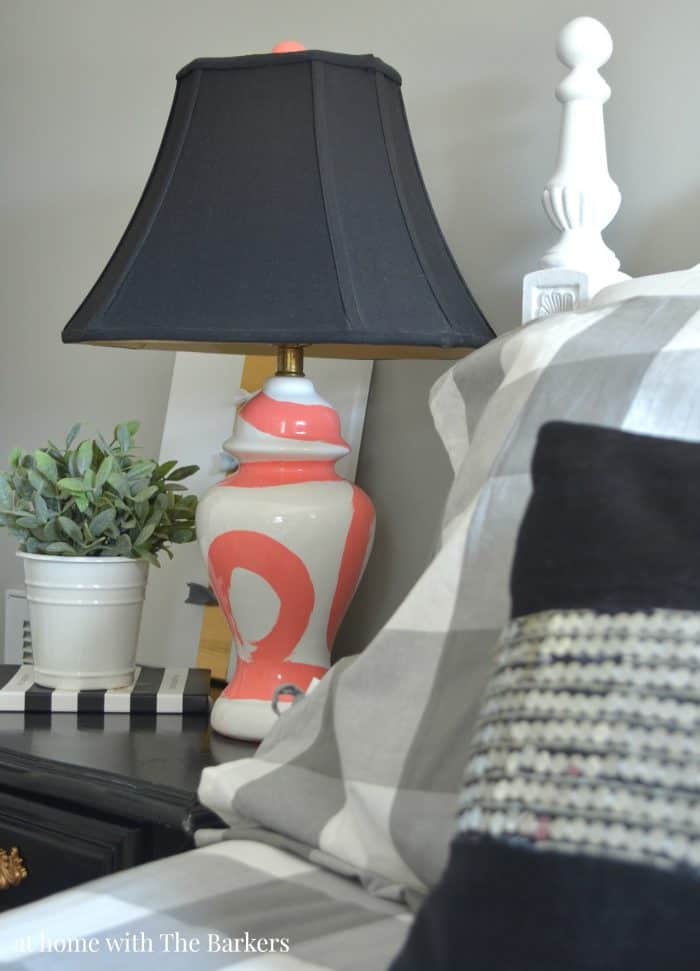
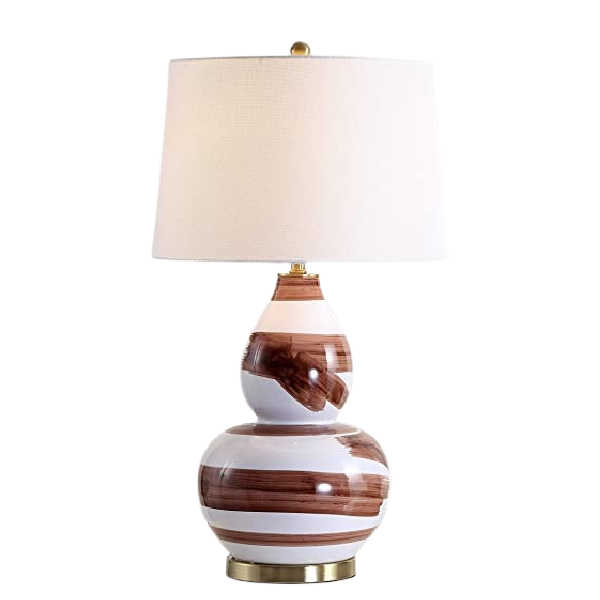
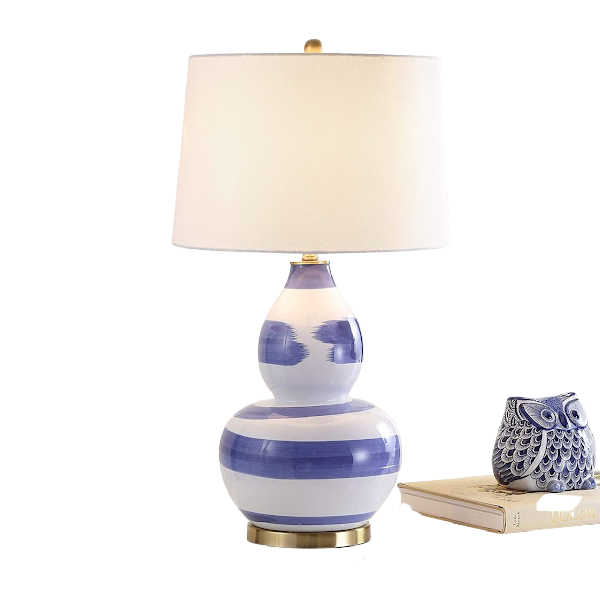
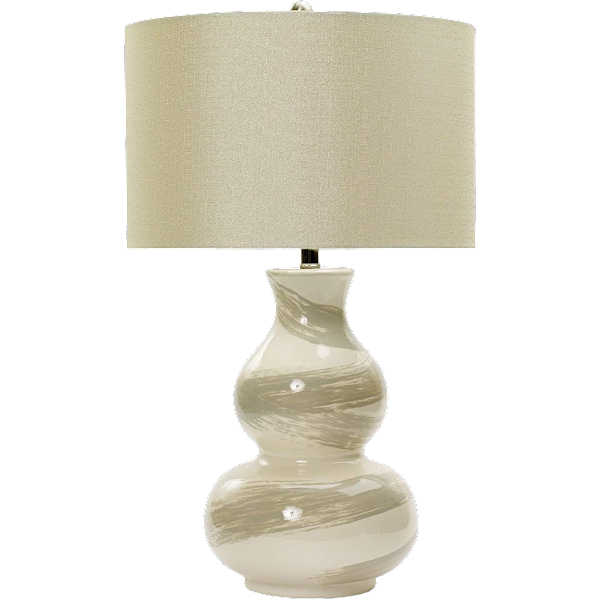
Learn how to paint this fun and whimsical DIY Brushstroke Lamp. Get a designer high end look with a thrift store lamp or shop some affordable finds below.
This post may contain affiliate links. See our disclosure for full details.
This project was originally created in 2015 and shared here on the blog. Recently I have seen this lamp design showing up again in decor. I always loved it so I wanted to update this post for you.
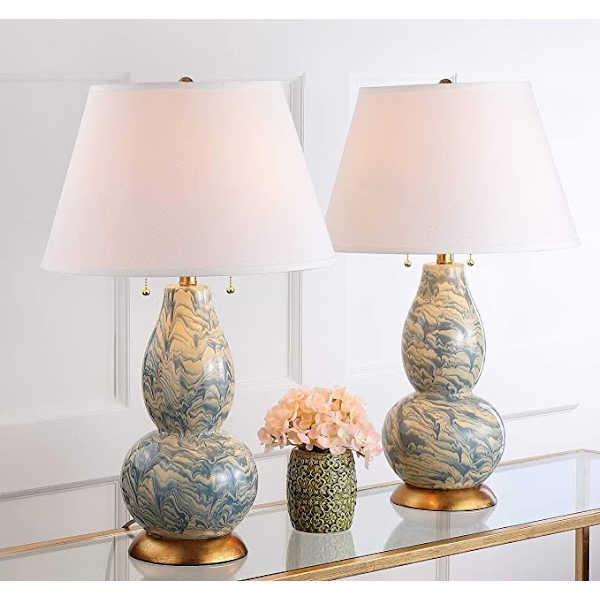
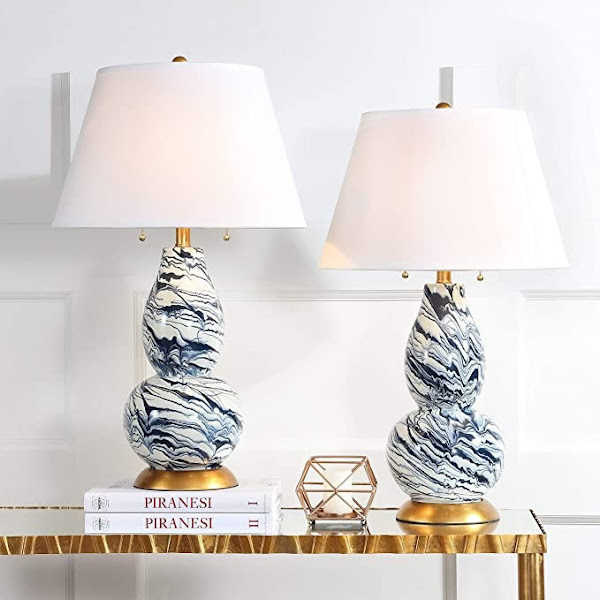
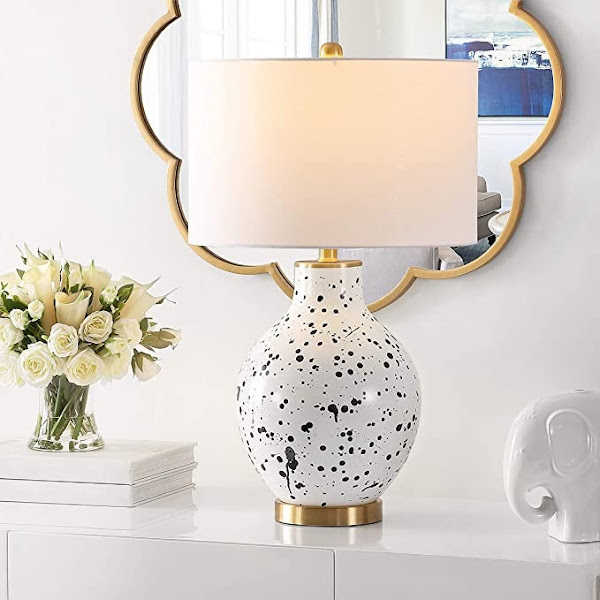
Shop the ones I found after the DIY tutorial.
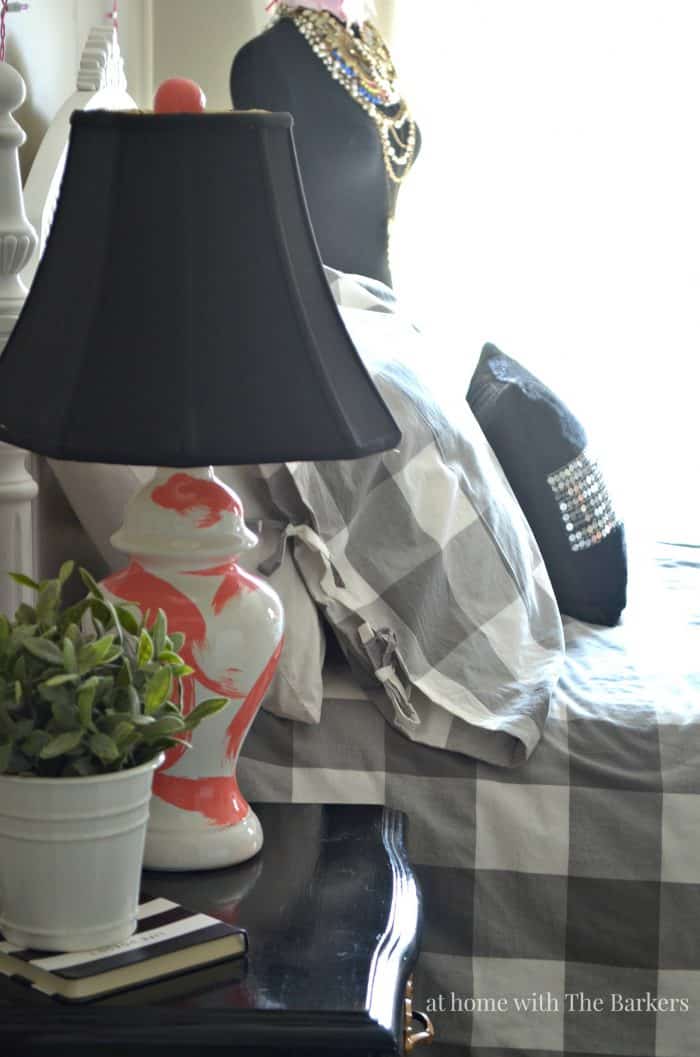
The only thing I would change about the brushstroke lamp I painted would be the lamp shade. A beautiful white shade would make it look classy.
Drawing inspiration from Jana Bek and Bunny Williams brushstroke lamps (average price is $1,175) I knew this would be a fun project to take on myself. These ladies have created such stunning lamps and if it were in my budget I would love an original but it’s really out of the question for this girl. Plus, I love finding yard sale pieces and giving them a whole new life.
Project Supplies
- Americana Decor MAXX GLOSS paint
- Light Molasses is a beautiful brown color
- Purdy 1 inch Angular Brush
- Thrift store lamp (glossy ceramic or glass is best for this look)
No matter what I paint I consider it an art form. It’s something I think everyone who desires should definitely give it a try. From faux painted concrete bust planter and aged terra cotta pots, to how to make a new vase look old.
This paint has high-gloss sheen that delivers an almost lacquer-like finish. Until now, this level of gloss finish has only been available in aerosol spray paints and epoxy paints.
Aerosols cause over-spray and must be used in a well-ventilated area for safety. MAXX GLOSS™ now offers DIYers the ability to add a high-gloss finish with a water-based, non-toxic, brush-on formula. Perfect paint for my DIY brushstroke lamp.
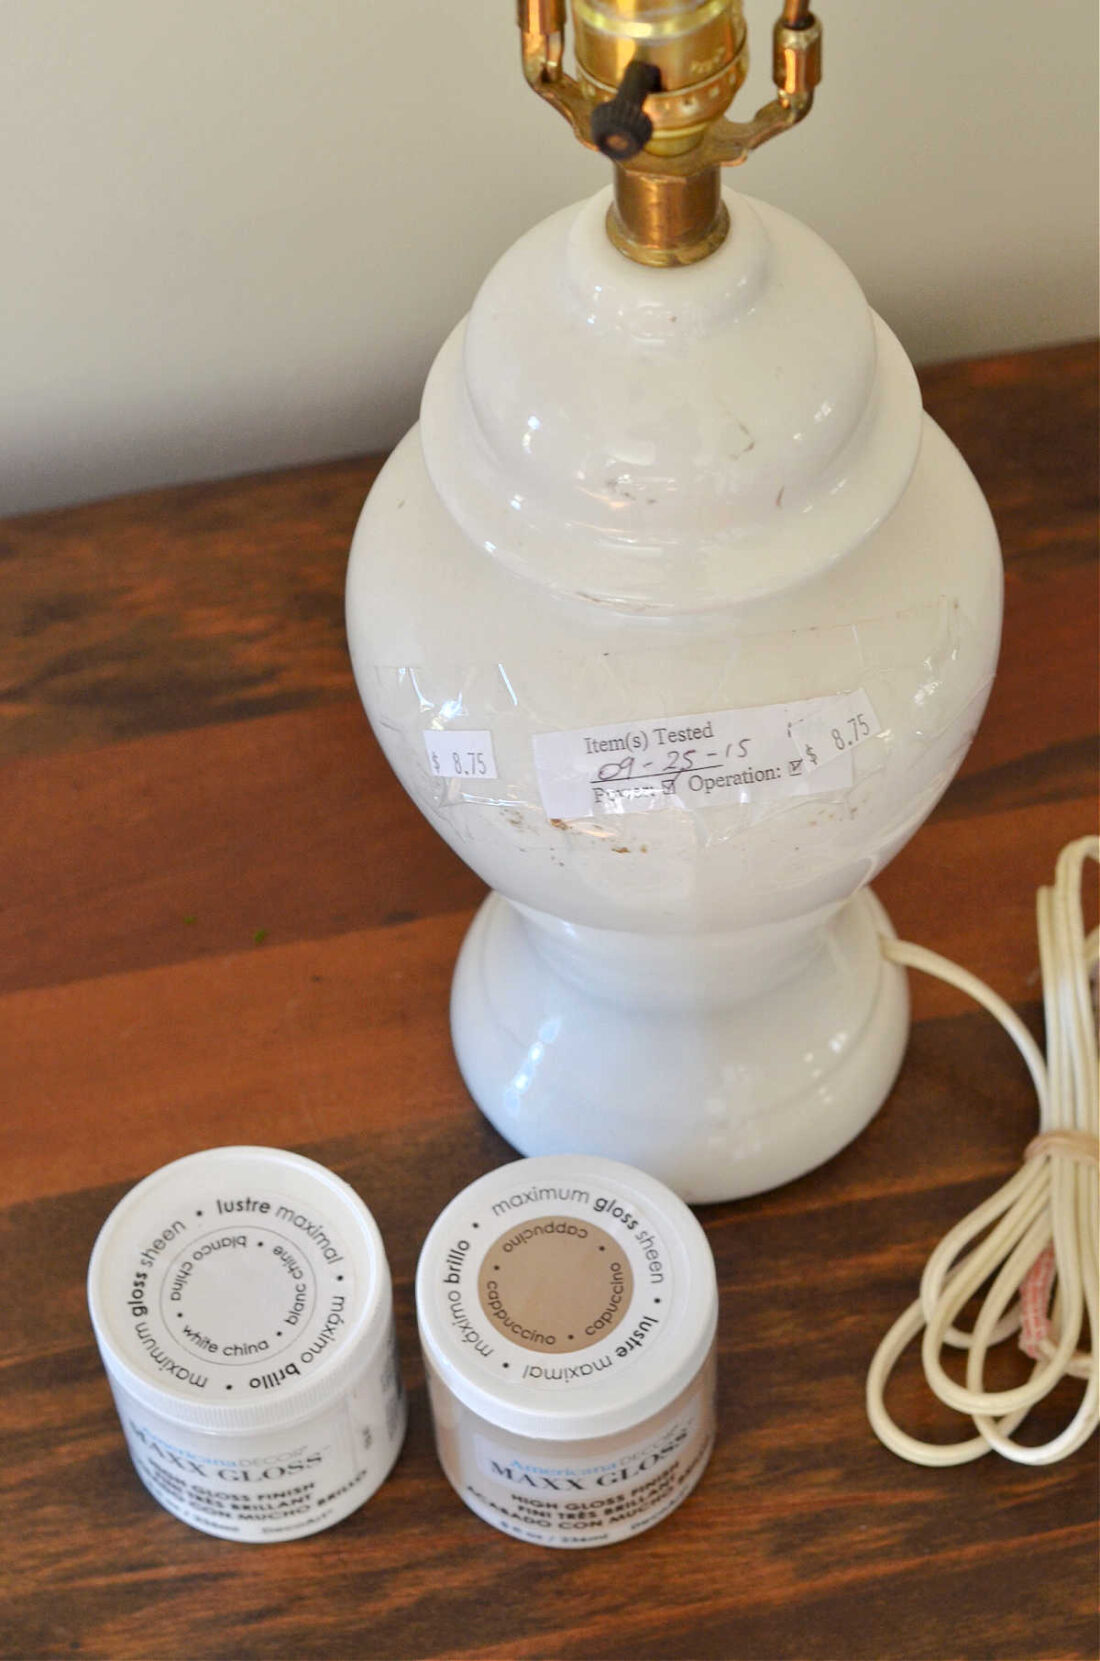
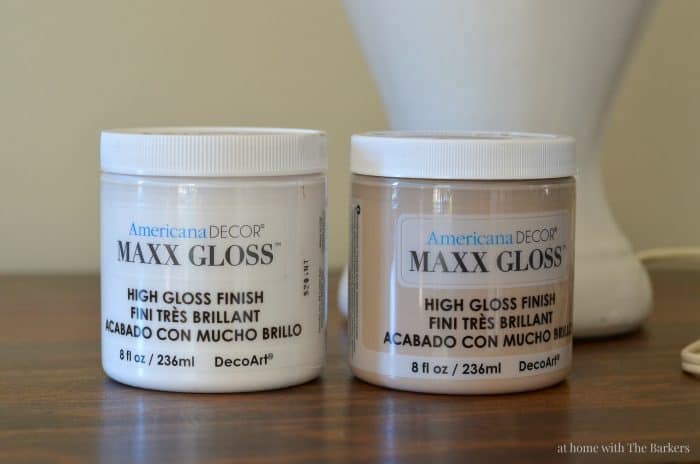
As you can see in the photo of the paints I had color options. The lamp came from a yard sale with lots of scuffs and marks. I had planned on painting the entire surface with the color white china.
After cleaning the lamp it didn’t need an entire base color, all of the marks came off. I sampled a spot of the white china and it was the exact color of the lamp. I’m telling you this because more than likely you will find a lamp that will need a base color and the white china is a great option.
If you have a lamp with a brass, gold or silver base it may need a refresh too. Check out my detailed rub n buff post to see how to apply and makeover examples.
I debated between going bold with juicy melon or low key with cappuccino. I decided the lamp was going in my daughters room so I let her choose. DUH, she said bold. The MAXX GLOSS™ comes in twenty colors.
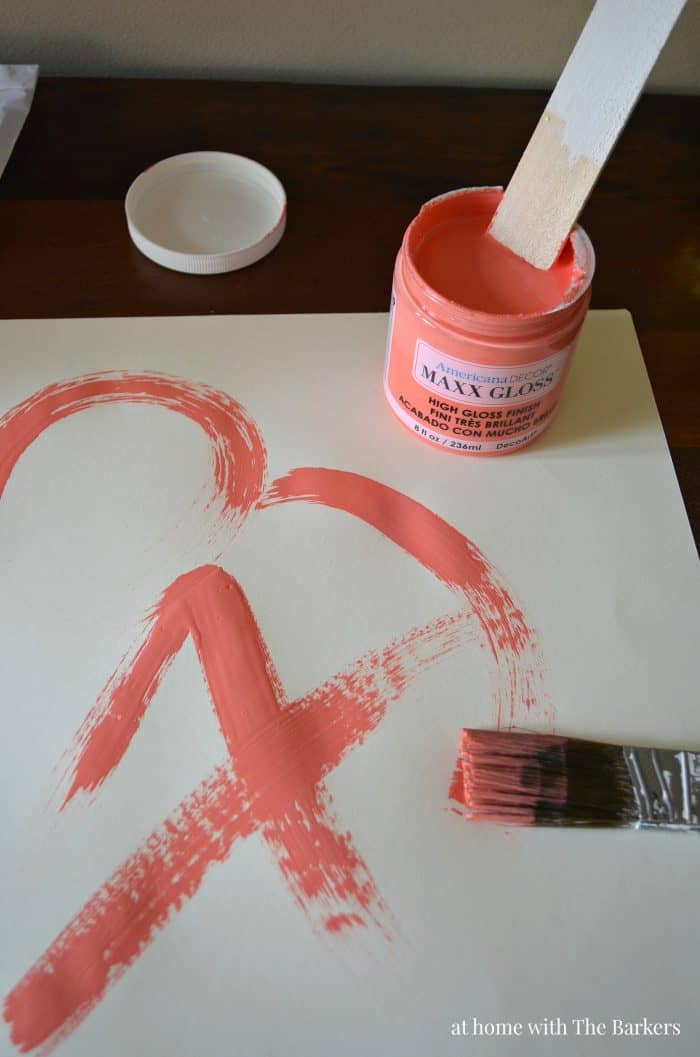
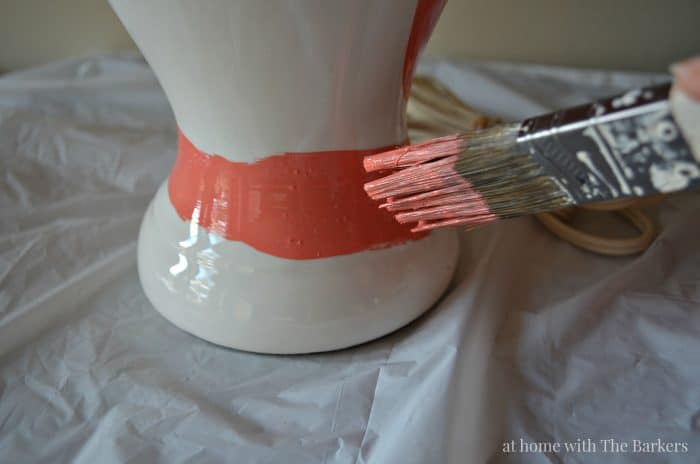
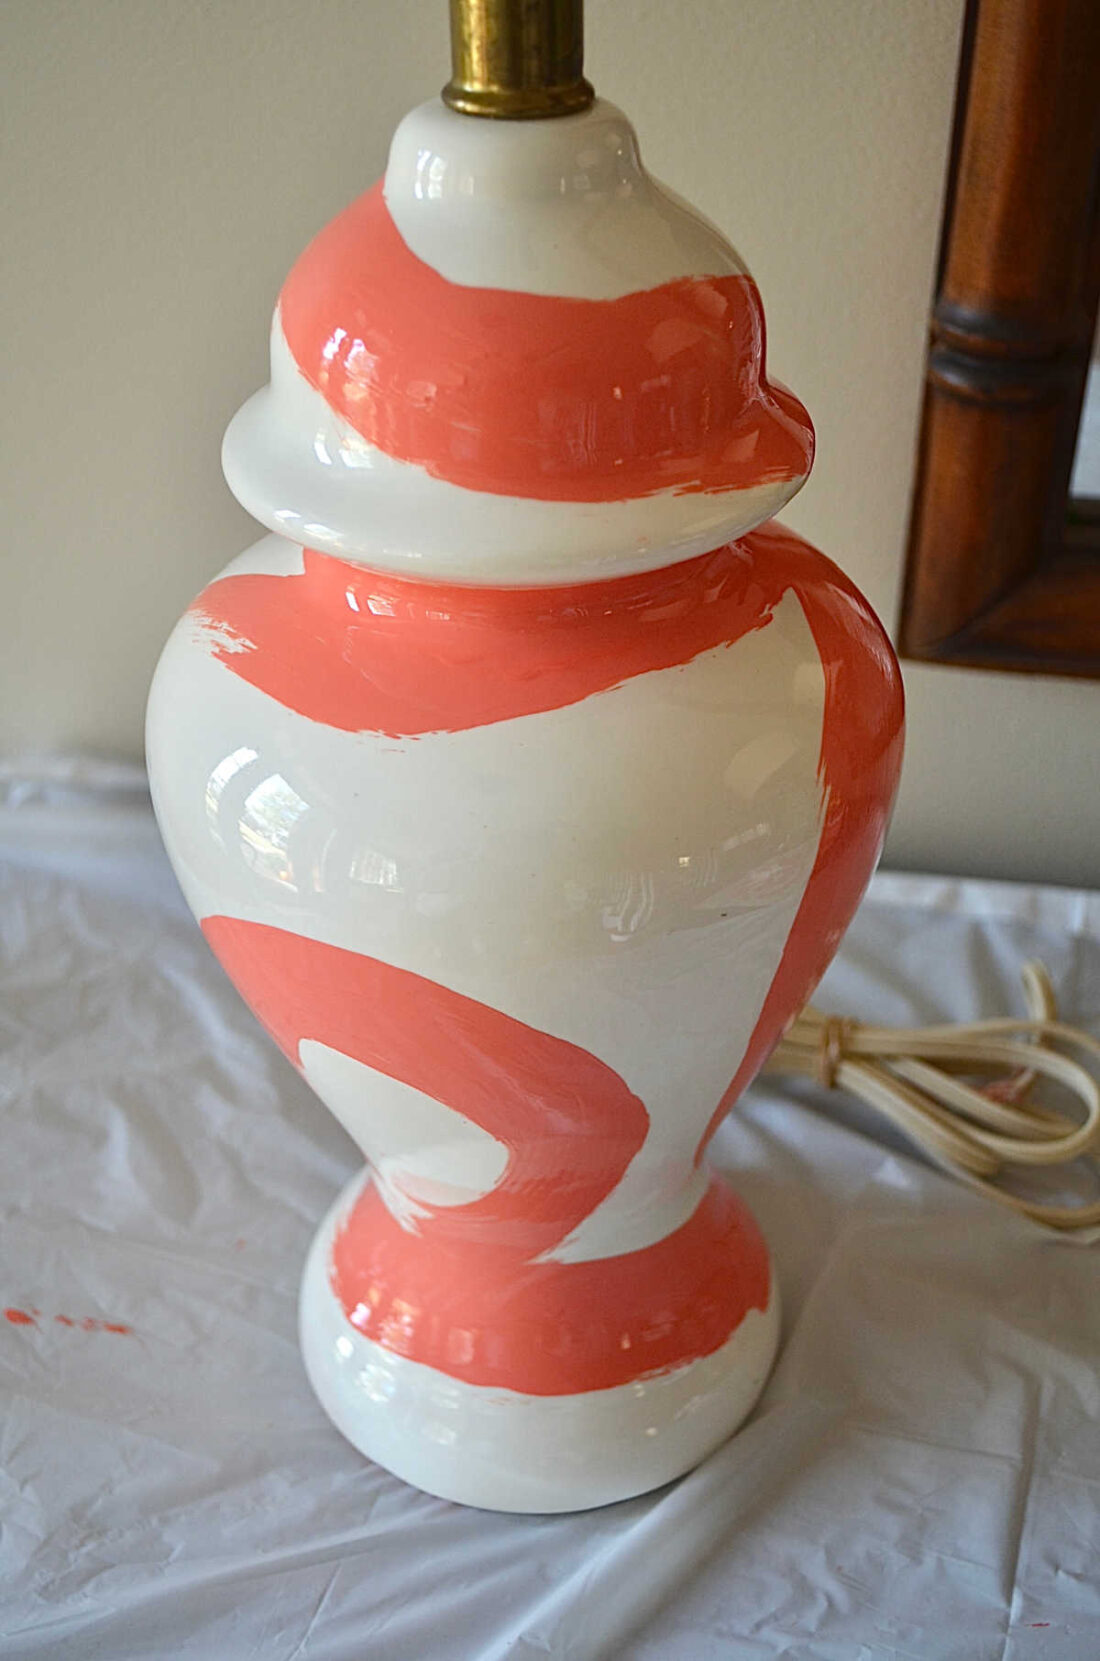
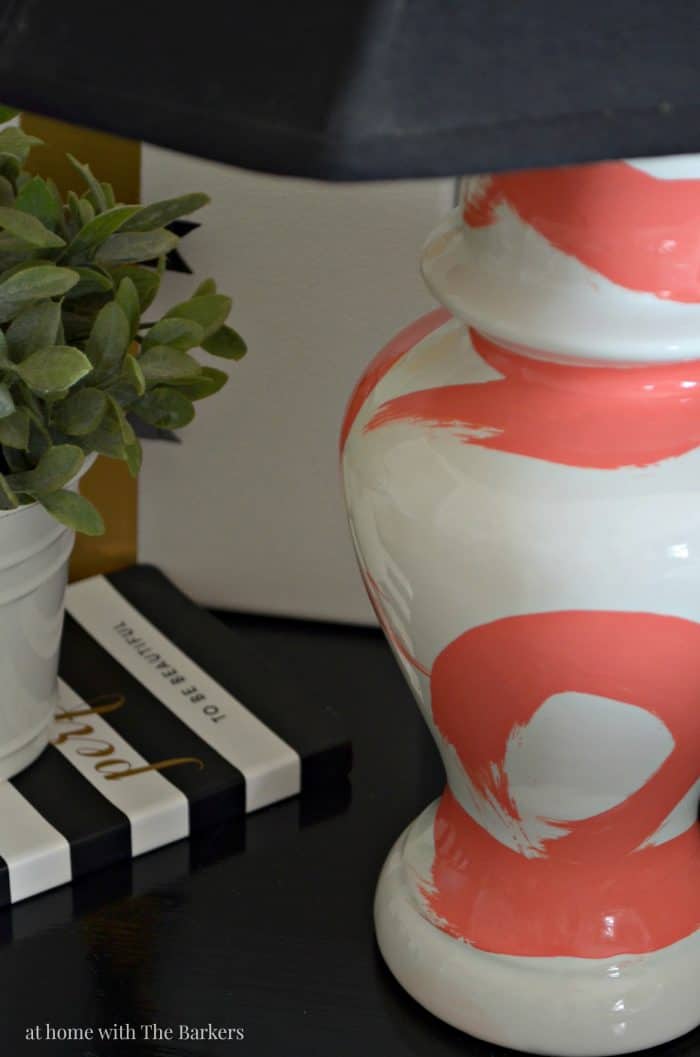
Looking at my completed lamp it’s obvious a freehand brushstroke technique was used to get the look. Here are some helpful tips that I learned while working on the lamp.
Tips for painting brushstrokes
- Make slow steady brushstrokes when making your art. I practiced on a piece of paper to get the feel of it. I tried going fast at first so I would get the brush drag but not enough paint was going on the lamp. I went slow and steady, then lifted the brush new the end of a line to get the stroke look.
- I had some small bubbles form as I was dragging. I corrected this by going back over those spots once more and they were gone.
- As the paint starts to dry it will become tacky. DO NOT drag your paint brush across the tacky paint, it will mess with your smooth level finish. If you feel you need more paint added to any stroke wait until it is completely dry.
- Make sure your brush has enough paint but isn’t dripping. You do not want drip marks on your brushstrokes.
- If you make a mark you don’t like wipe away immediately with a wet napkin and start fresh. The gloss ceramic lamp wipes easily.
If you like doing lamp projects check out my other thrift store makeovers: DIY Pottery Lamp, Painting a metal lamp, and Mod Podge Lamp.
Shop my Paint and DIY supplies on Amazon

Maintain the awesome work !! Lovin’ it!|
Good morning! I recently shared your makeover in a round-up of lamp revamps and tutorials. I never knew you could paint lamps like this! Thanks for sharing your creativity!
Looks great. I love the color. It’s really a good idea to decorate the lamp. It’s so prominent in your room.
It looks great Sonya! The color is so beautiful and it gives the lamp much needed oomph!
I found two smaller versions of your lamp at a jumble sale and NOW I know how to finish them off. I’d experimented with stencils (too curvy) wrapping with rope (cats, so not a good idea) and other stuff. That paint looks fun to use – great colors.
Very cool, Sonya!!
I was really happy with the color too.
Thanks so much Pat!
Looks great didn’t know they even had this kind of paint, you are talented and thanks.
Wow Sonya! I love it!!!
Love it Sonya! Your daughter is right, that beautiful gloss called for a bold color. 🙂