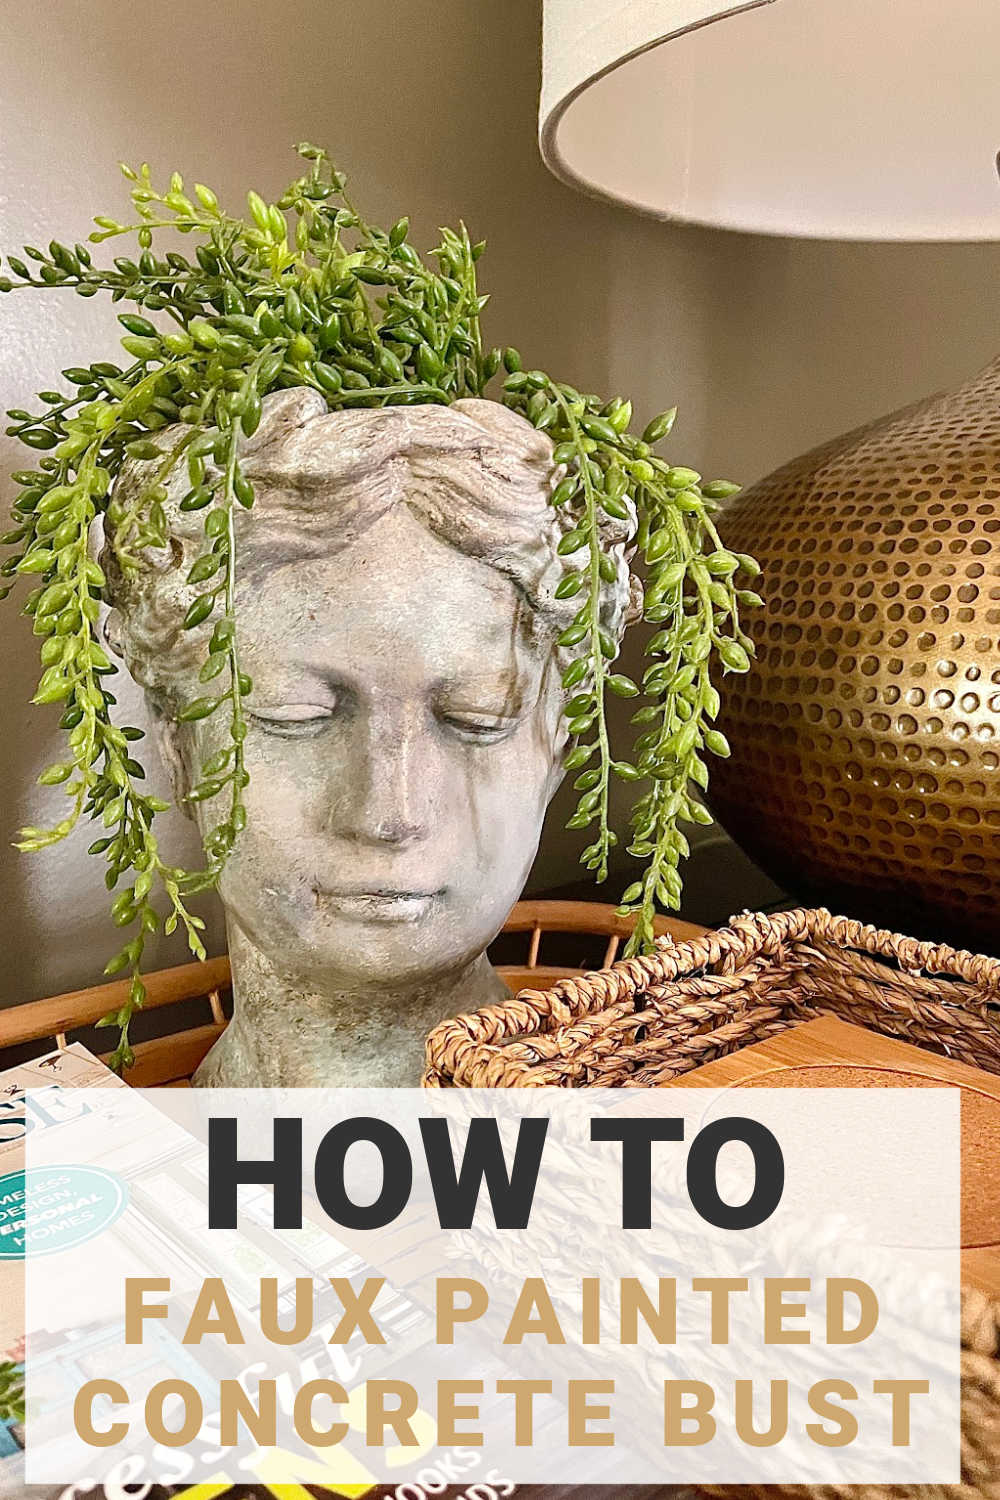
Faux paint concrete bust planters
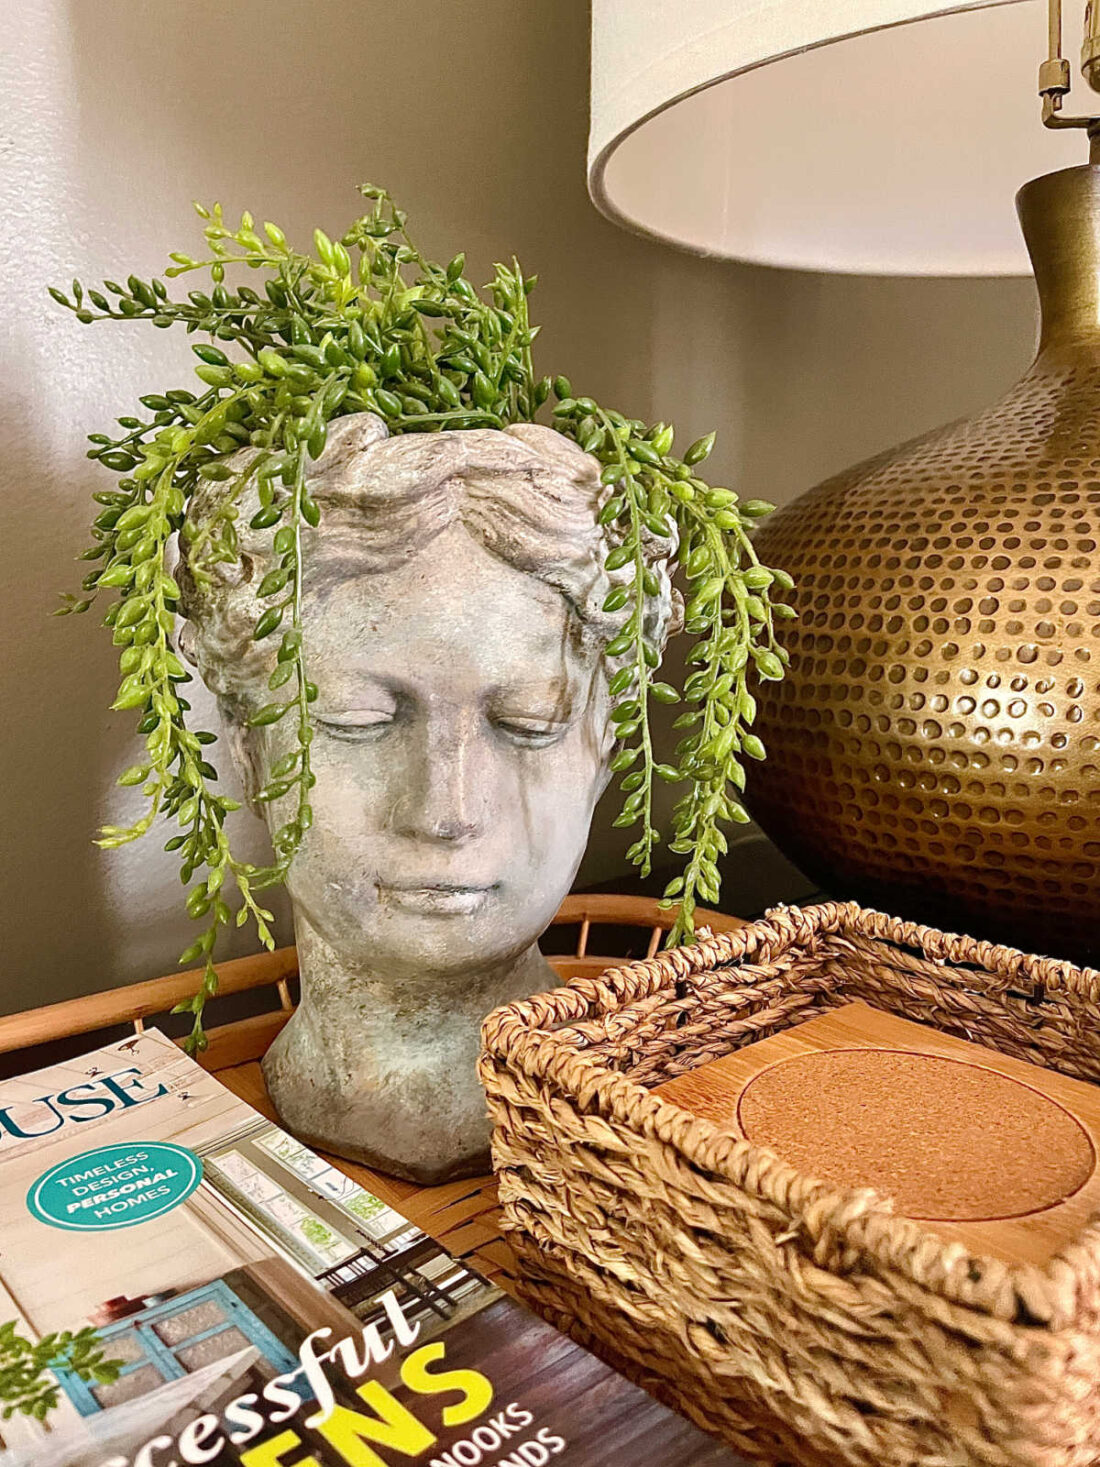
Looking to add a character rich accessory piece to a bookshelf or table? Learn how to faux paint concrete bust planters and give your home a touch of class.
Finding an antique Grecian bust pot would be super fun but when they are hard to get your hands on, you’ll have the ability to paint your own.
Concrete planters, especially these bust, are a trendy and classic way to add personality to your home. Honestly I have never been a fan of heads in home decor. Felt odd to me. In an effort to try this faux aged concrete paint technique I decided to try it on the bust.
Estimated reading time: 6 minutes
This post may contain affiliate links. Read full disclosure.
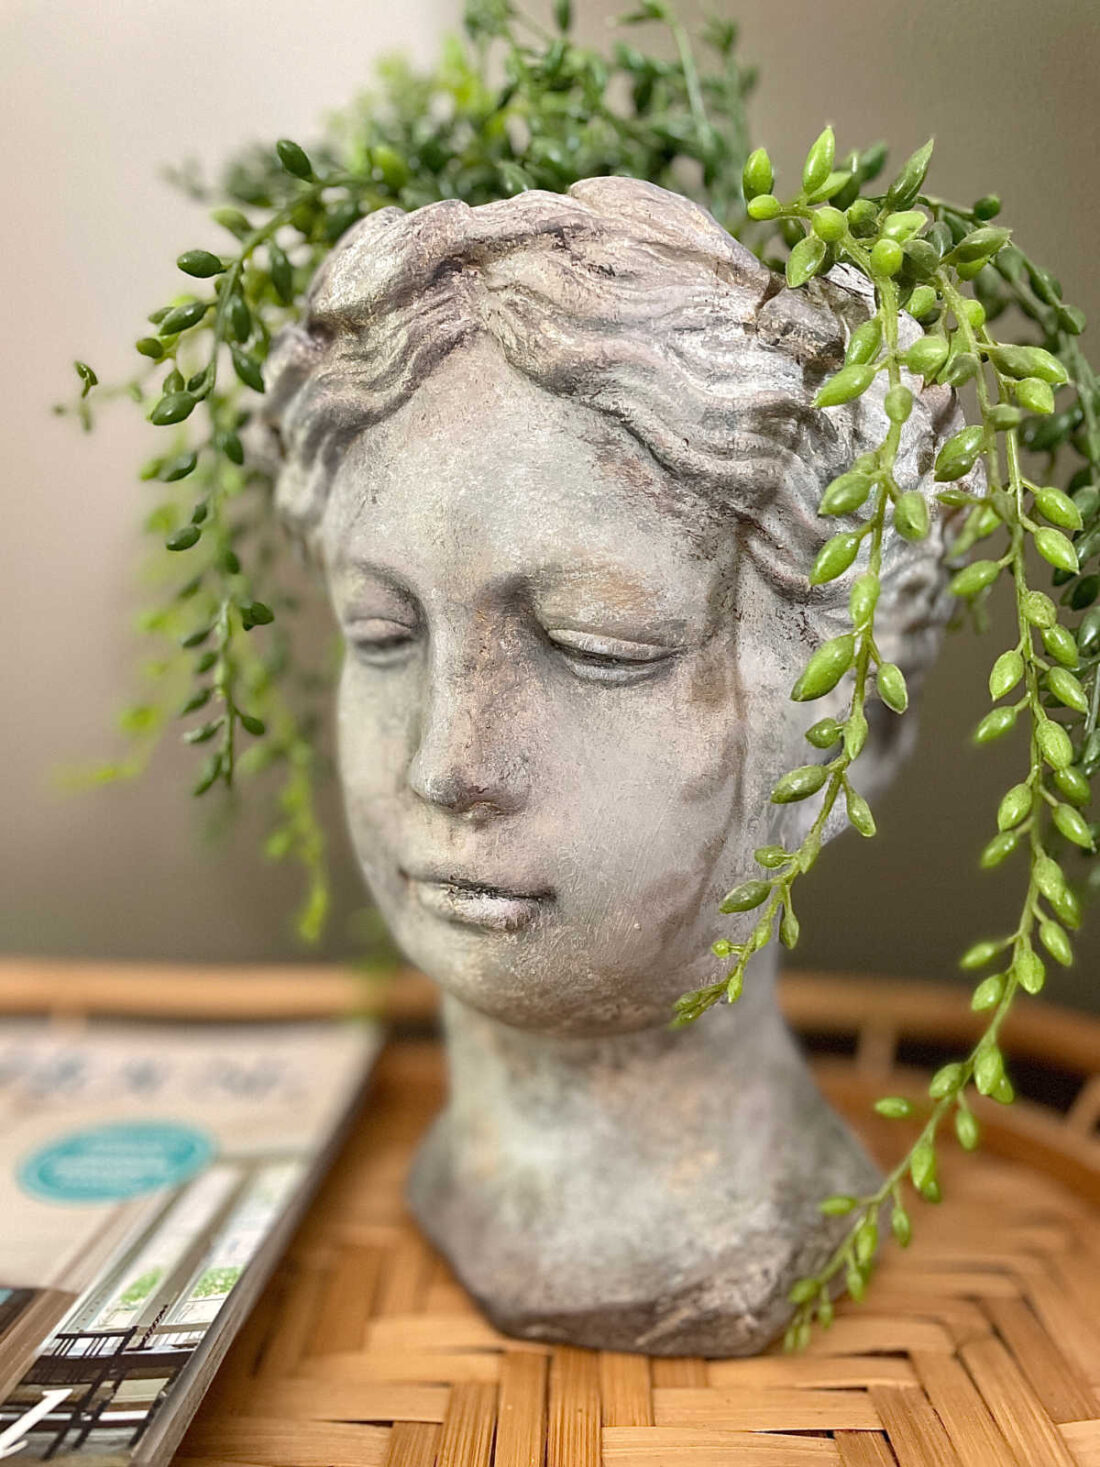
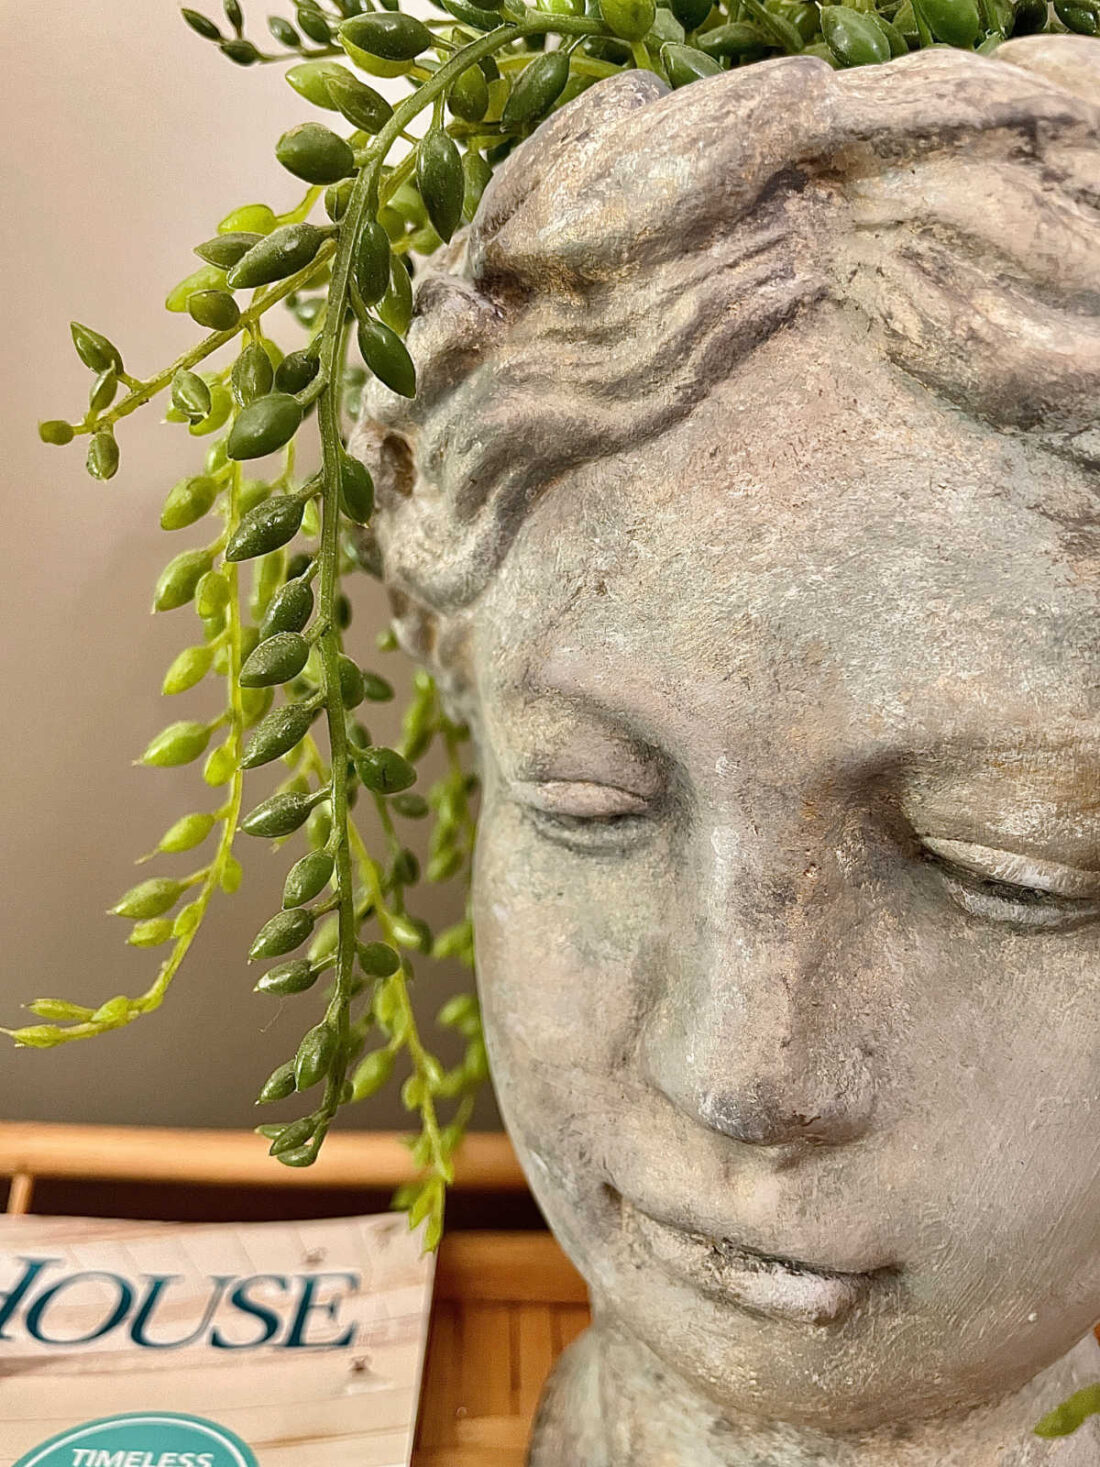
Turns out, I kind of like it. The way her face looks peaceful might work in our home.
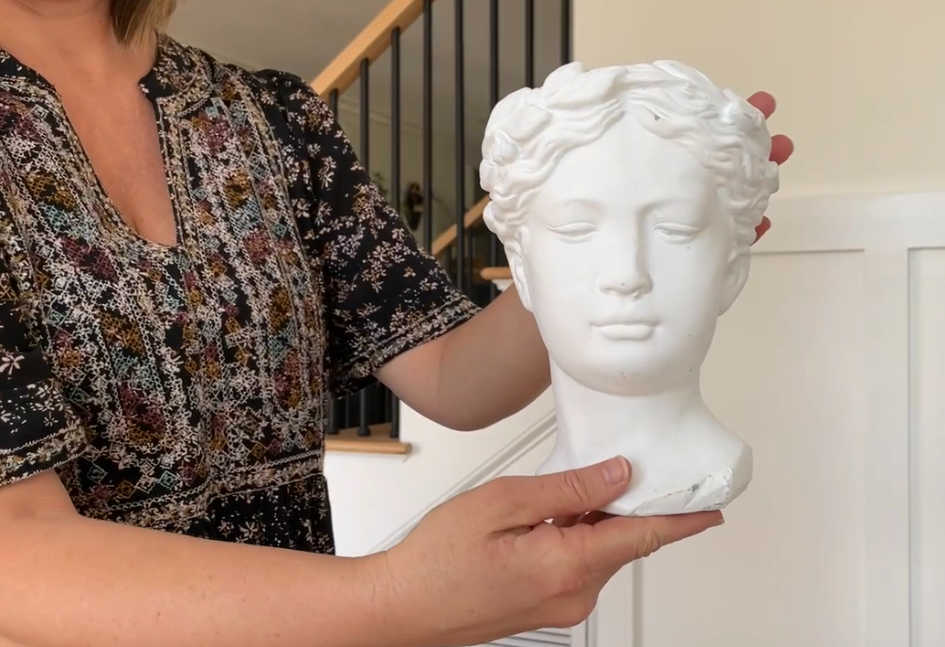
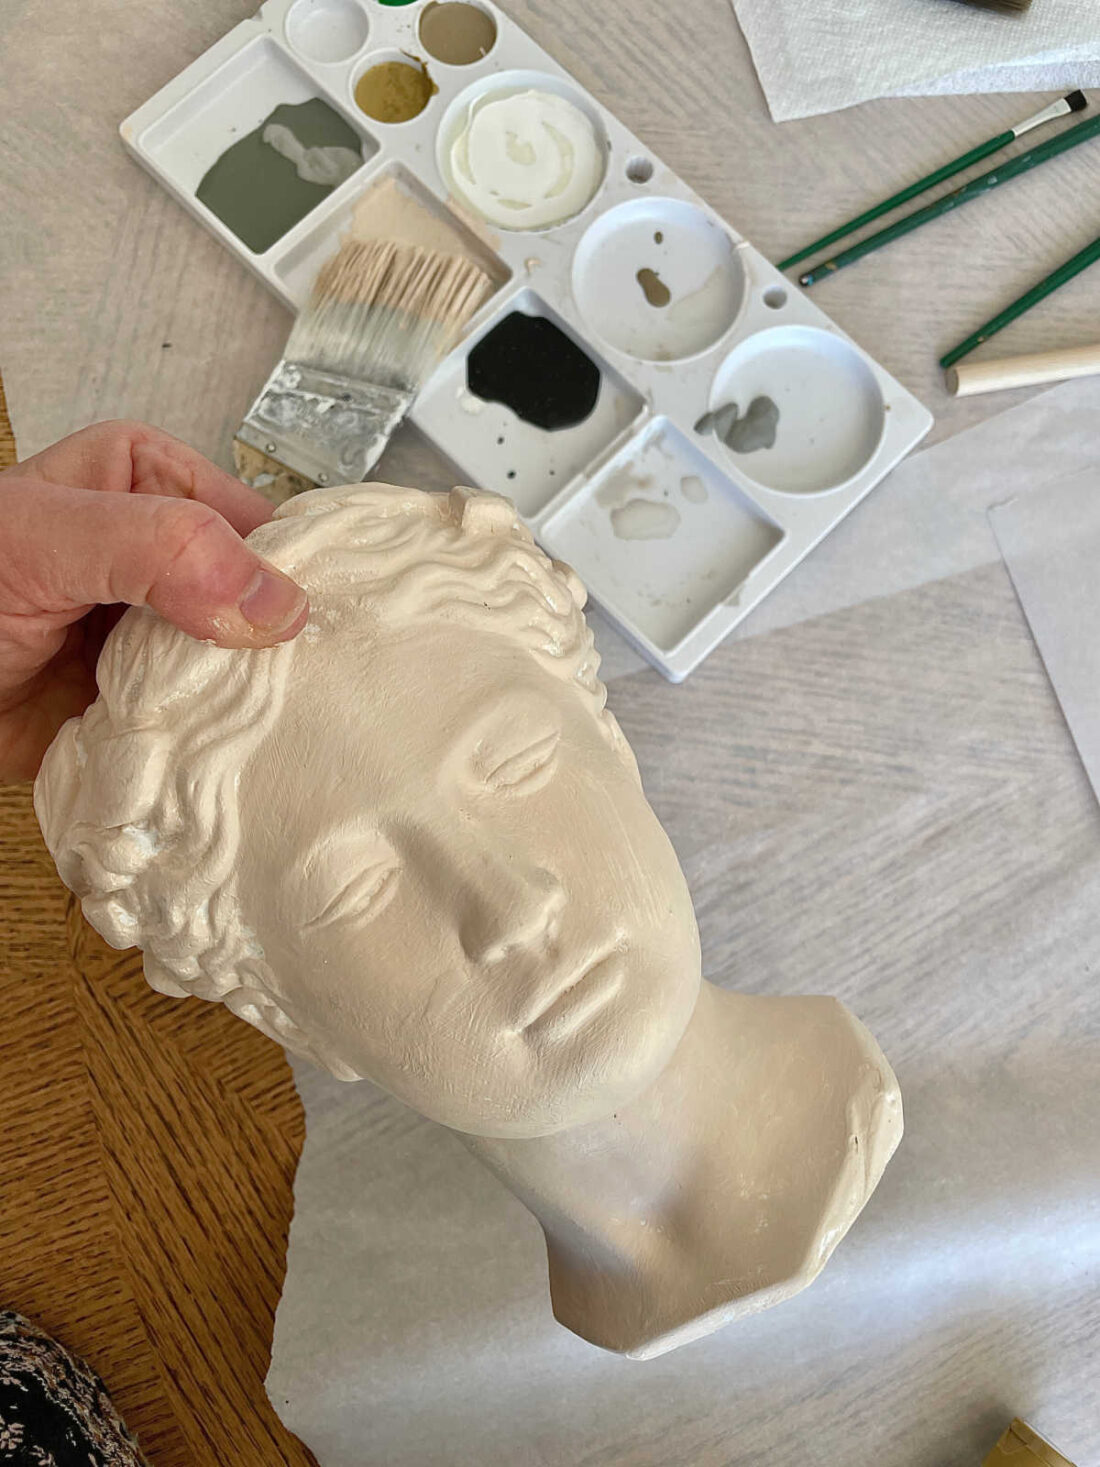
The bust from Michaels is on sale for $9.99. It is described as cement and fiber. Heavy like concrete with a smooth plaster feel top layer. It looks gray online but it is pure white in person.
Important note…I often uses water when working with faux paint projects. A damp brush or napkin can help blend and spread paint. Do not use water if you buy the same bust as I did. It blends the white from the plaster type concrete making that spread into my paint. Just a heads up.
How to decide your faux finish paint look
- google your search term (antique bust planter)
- change to images on the menu bar under results
- find the look you want
- make a list of colors you see in your inspiration piece
This faux aged concrete can be achieved on any outdoor planters, spheres, pedestals or statues. Over time they will naturally age but try this for an instant look.
Looking for more faux painted home decor items? Don’t miss how to make new vase look old or this faux painted pottery lamp.
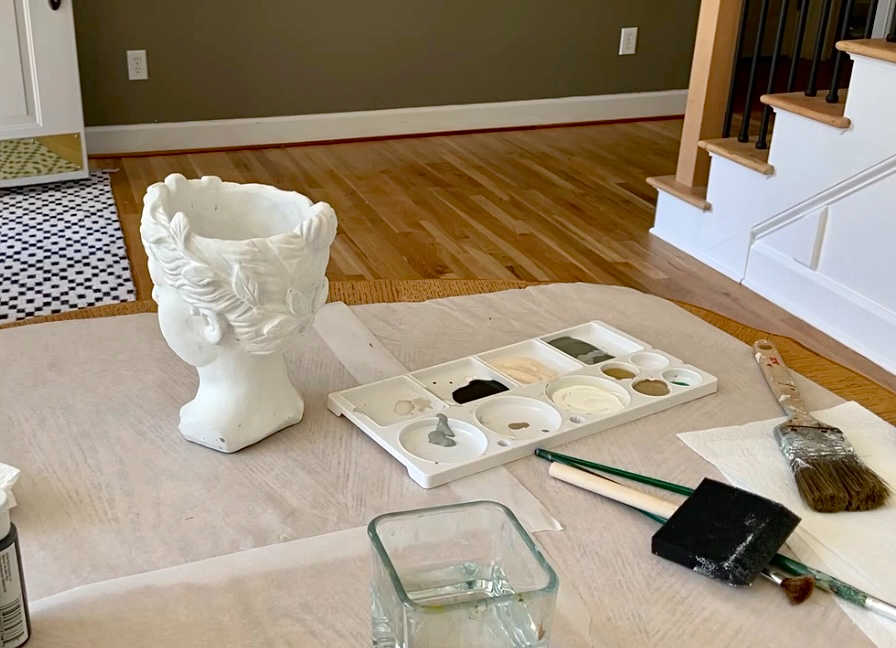
Supplies for faux painting concrete
- assorted paint brushes
- multiple paint colors
- paper towels
- parchment paper (to protect your table)
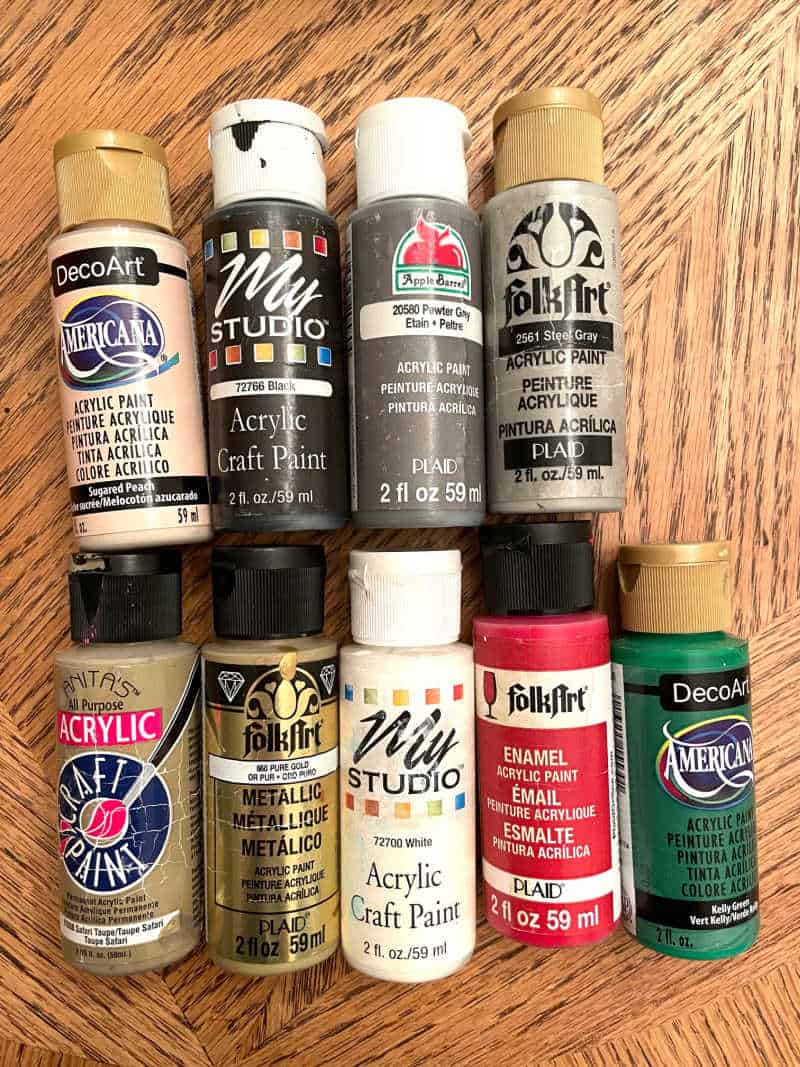
Paint colors used
- Sugared Peach
- Black
- Pewter Grey
- Steel Gray
- Safari Taupe
- Pure Gold
- White
- Red (used tiny bit to warm up some gray)
- Kelly Green (used tiny bit to blend)
How to paint faux aged concrete
- layer paint
- add multiple paint layers
- don’t forget to layer paint
- add and remove paint to highlight the areas you want
- texturize with paper towel and paint brush stippling
I joking listed layering three times but that is how important layering paint colors is for getting the aged look on concrete planters.
The biggest mistake you can make when creating faux paint finishes is stopping too soon. Not completing enough paint layers will make your piece look unfinished. An unfinished art piece will look amateur. Practice and you will get better.
- The first layer will be a solid coat of light color. I used sugared peach as the first layer.
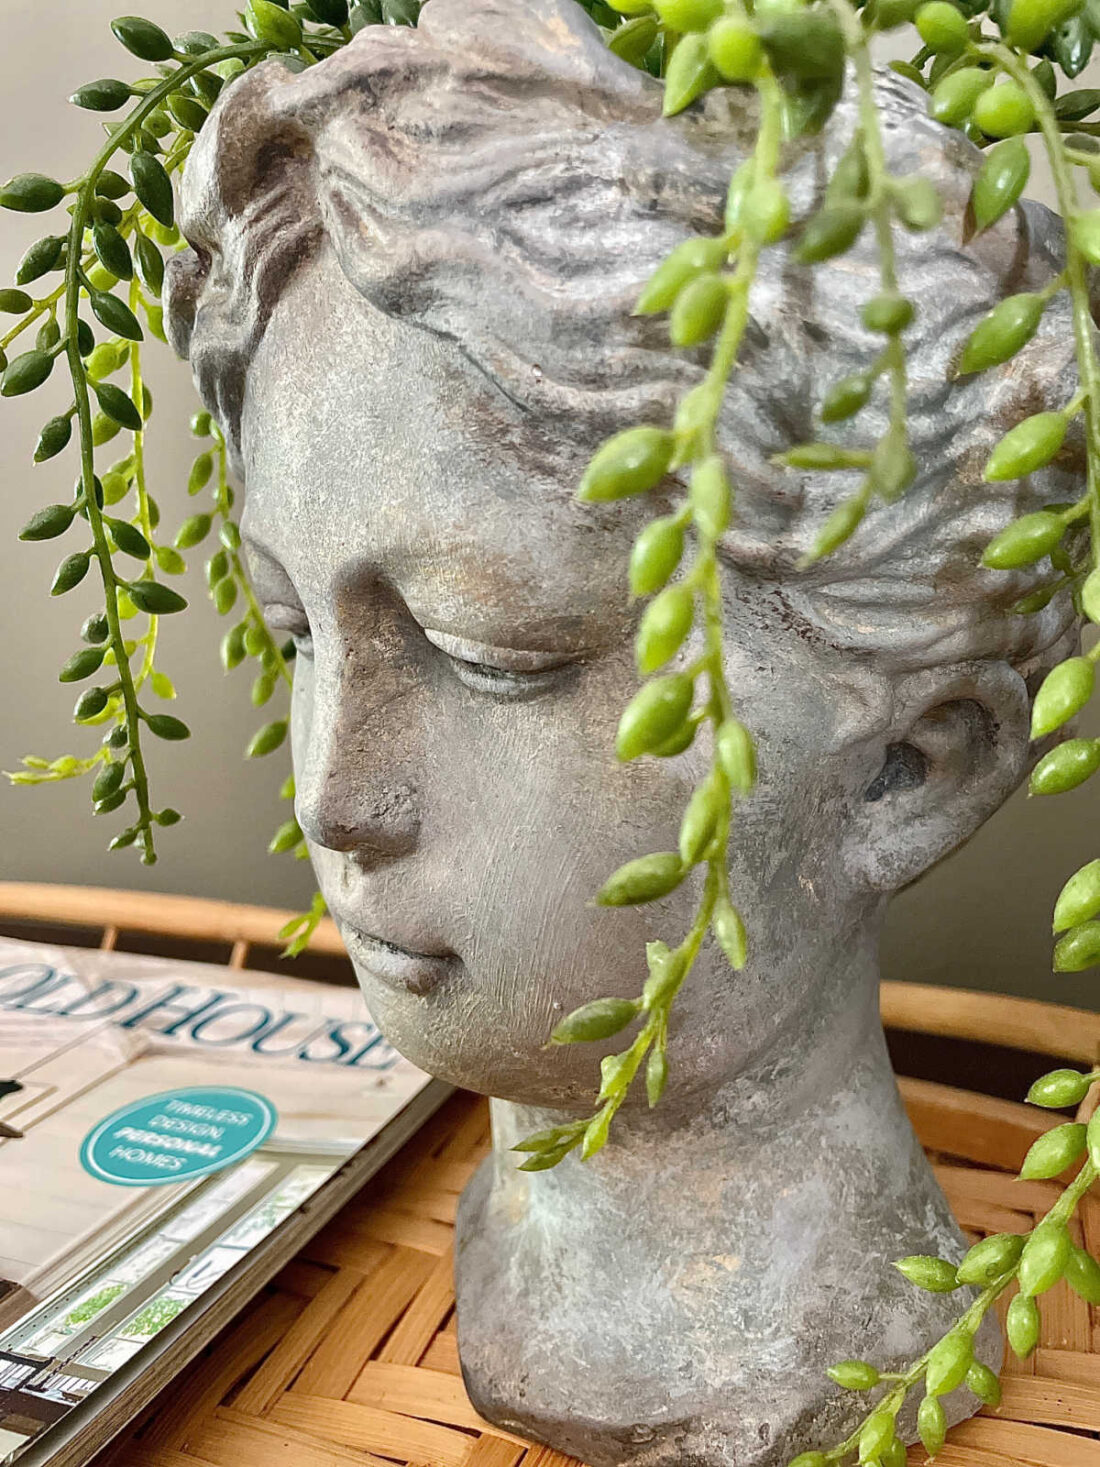
- Next take a darker color, I used safari taupe, to get into the grooves. Wipe away excess with a paper towel. This was around the ears and hair mostly.
- Now, alternate between adding paint and taking it off. Paper towels work at removing paint as well as giving texture to the paint finish.
- Stippling is a great technique to use in faux painting.
How to stipple
- You can stipple with any size brush.
- Hold your clean dry paint brush vertically and dip only the tips in the paint.
- Tap the brush onto a napkin, paper plate or parchment as I did.
- Start dabbing onto your surface.
- Continue this process, with the same brush, for different colors. Stipple over each color as much or as little as you like.
Work the paint color layering until the aged concrete starts to look the way you like. Reference your inspiration photo from google or mine. Then step away for about 5 minutes and let it start to dry. This allows you to see where more layers and stippling are needed.
More faux painting projects
Shop instead of DIY
There are other fun ways to decorate with a concrete bust. Think of adding pens and pencils at your desk, utensils for the kitchen, or jewelry in the closet.
Paint it!
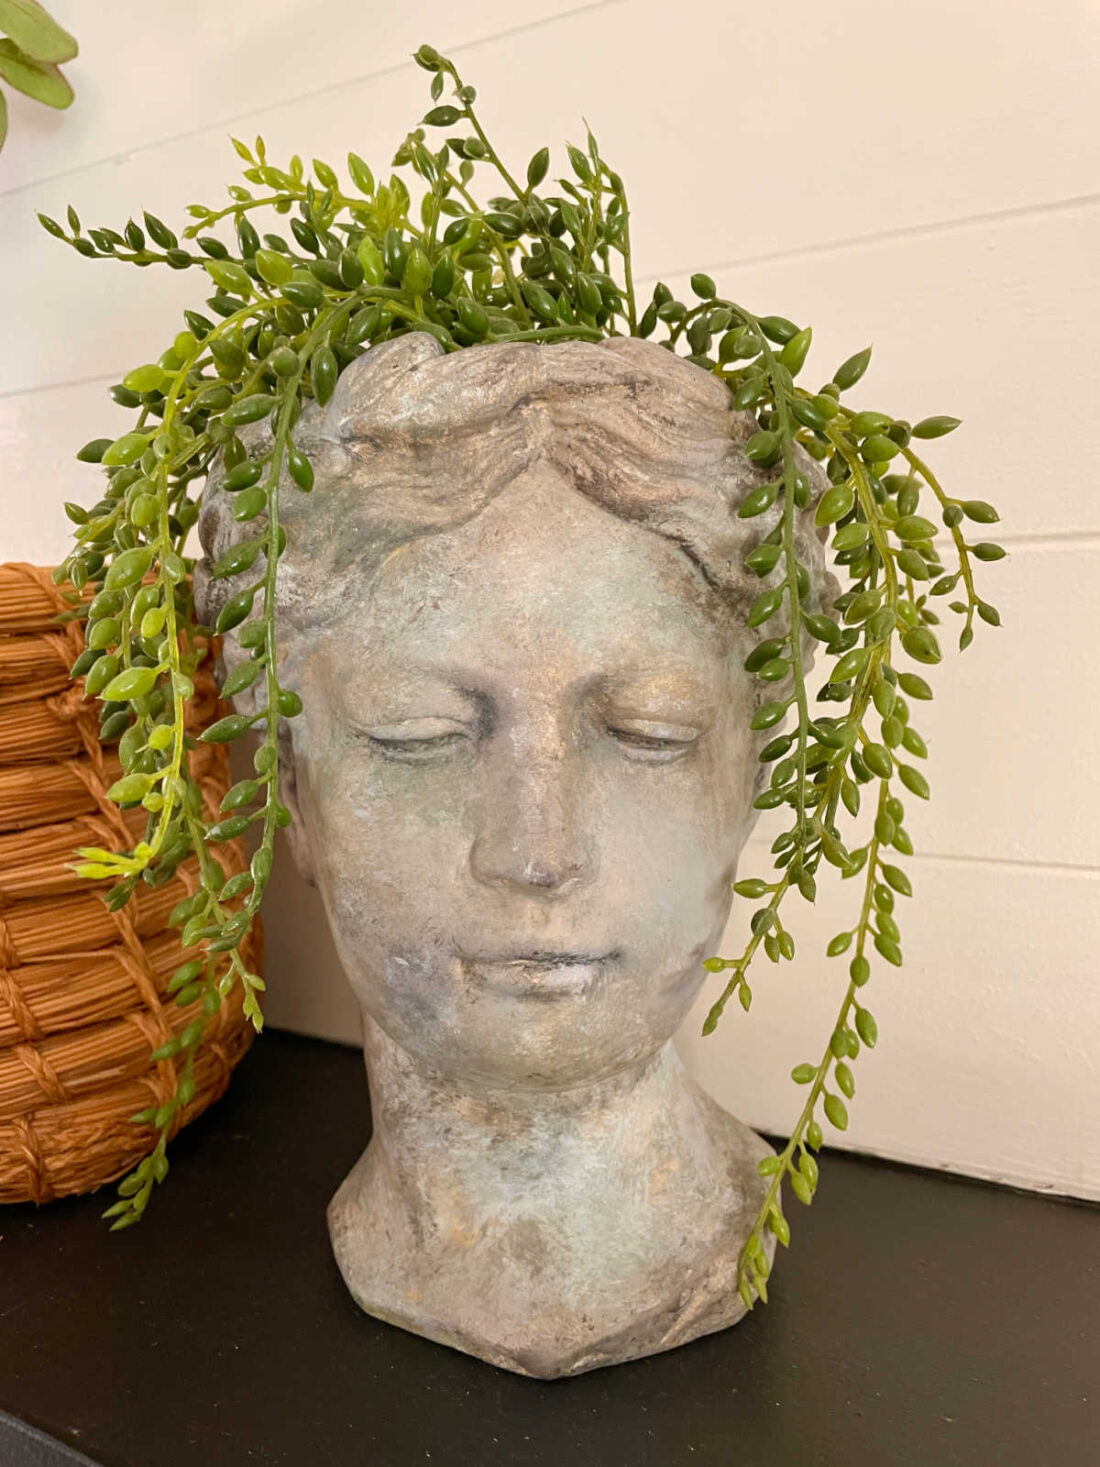
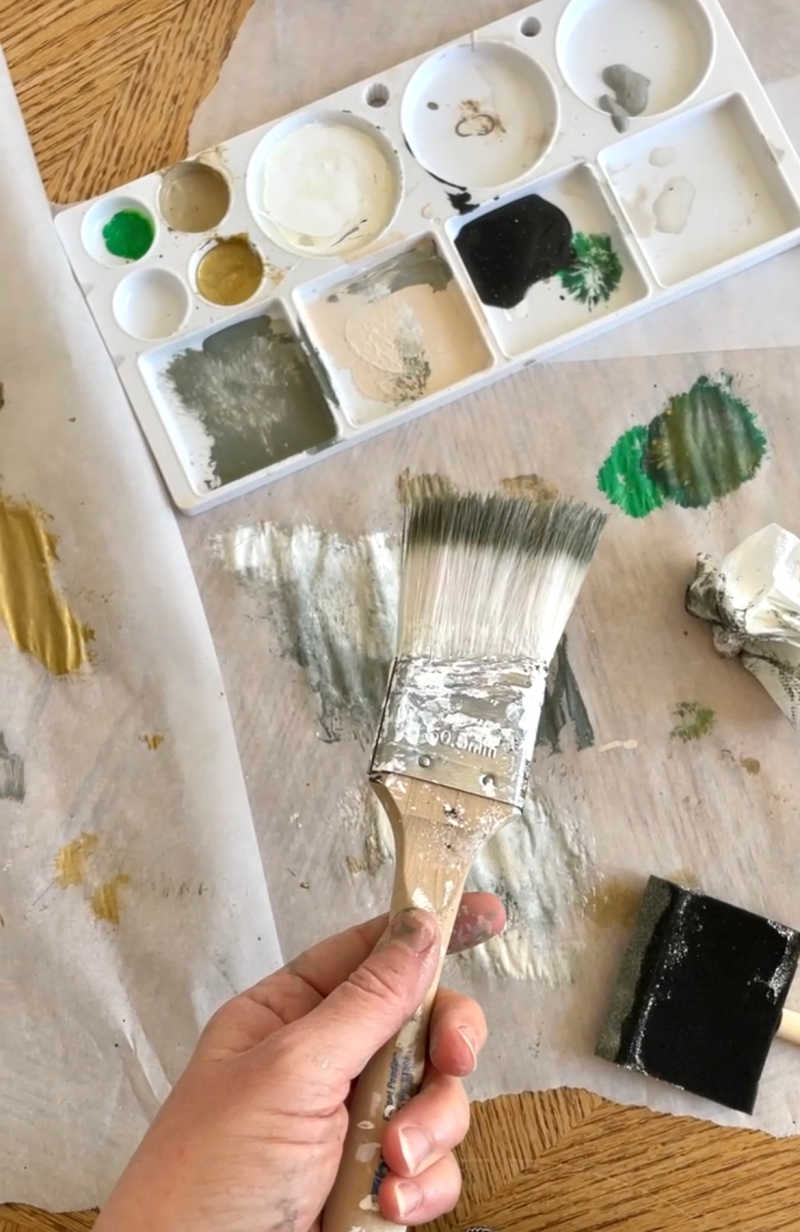
Use the tips in the post but make the over all look a dark metallic brown. Add a green into your stippling technique. The green will give it more patina and authentic look.
Layering, stippling, and dabbing the paint.
Pin the photo below to Pinterest
Yes! I just bought it a couple of weeks ago.
Great! Glad you saw the video. There is lots of layers and trust it gets better as you go. Did you buy the planter recently? I’d love to share this project out again on my Facebook if the bust is available again.
Oh my goodness! I completely missed the video the first time. 🤦🏻♀️ Thanks again!
Thank you so much for this! Like the commenter above, I also searched “how to make a white bust planter look old” after finding that exact planter at Michael’s! I know you posted this a long time ago, but I’m wondering if you happen to have any in-progress photos or videos for this non-DIY, follow-instructions-to-the-T kind of girl to reference? Haha! Like did you paint the various layers of the paint over the whole statue, or just in certain spots? I’m worried I’m going to mess mine up!
Hope it helped!
Funny- I came online searching “how to distress a white head planter” and this came up and I was referring to the exact said head that I had found at Michael’s! Love your technique. I foolishly gave away all my paints not too long ago, but they are pretty cheap so I’ll just get a few more. Thanks for the tips!
I love the way the bust turned out. I also have that bust but it came with a patina. 🙂 (I just finished a post for this weekend doing the same technique.) Great minds must think alike!