DIY Spray Painted Lamp Shade
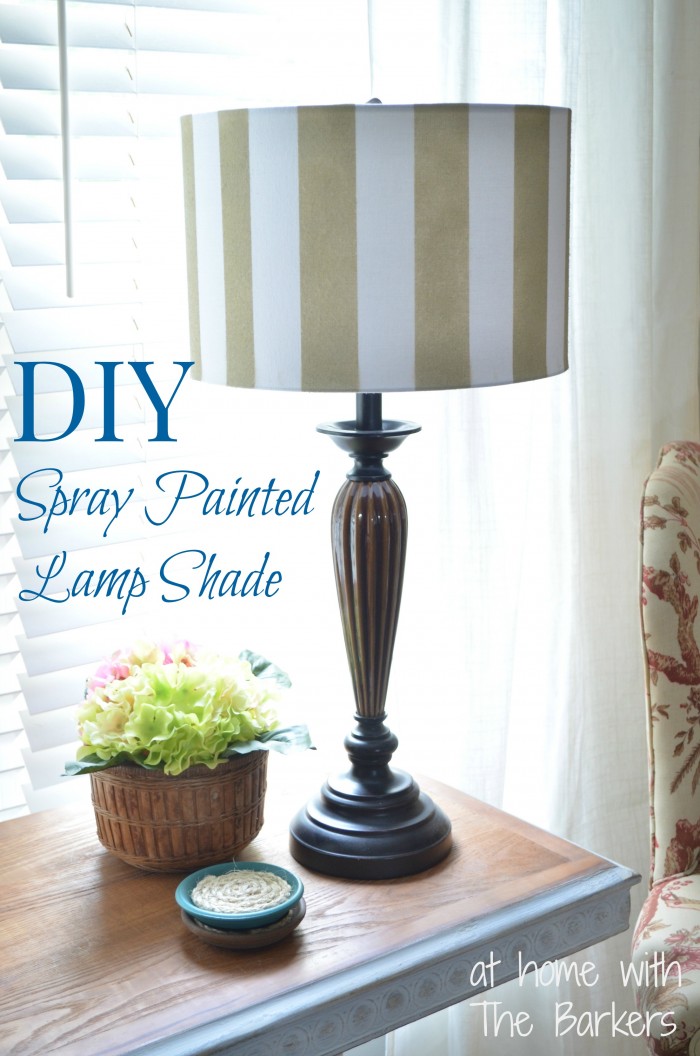
Finding ways to creatively update your home decor is so fun. Like this DIY spray painted lamp shade that you can do in an afternoon.
There are so many ways to make this do it yourself project work for the style of your home. Alternate the size of the stripes or paint with a brighter color instead of a neutral.
Keep in mind though, when choosing your paint color how it will look at night when the lamp is turned on. The paint color on the lamp shade will appear more see through at nigh, thus changing the color some.
For instance, a red could appear pink when the lamp is turned on.
This post contains affiliate links. See full disclosure policy.
Lamp shades aren’t the only part of a lamp you can makeover. You can paint metal lamps, get creative with painted brushstrokes, or decoupage with paper.
DIY Spray Painted Lamp Shade
Supplies for this project:
I purchased a basic white drum lamp shade, some painters tape and a can of spray paint. The color I used is called Almond. The drum shaped lamp shade is the best because it is easy to tape and keep your lines straight.
Start by placing your first piece of painters tape straight from top to bottom. To measure the distance easily between the first line and the second, I placed a piece of tape to mark the distance. I eyed this part…it’s not rocket science.
After I had placed the second piece of tape from top to bottom I moved my marker tape and continued the same process all the way around.
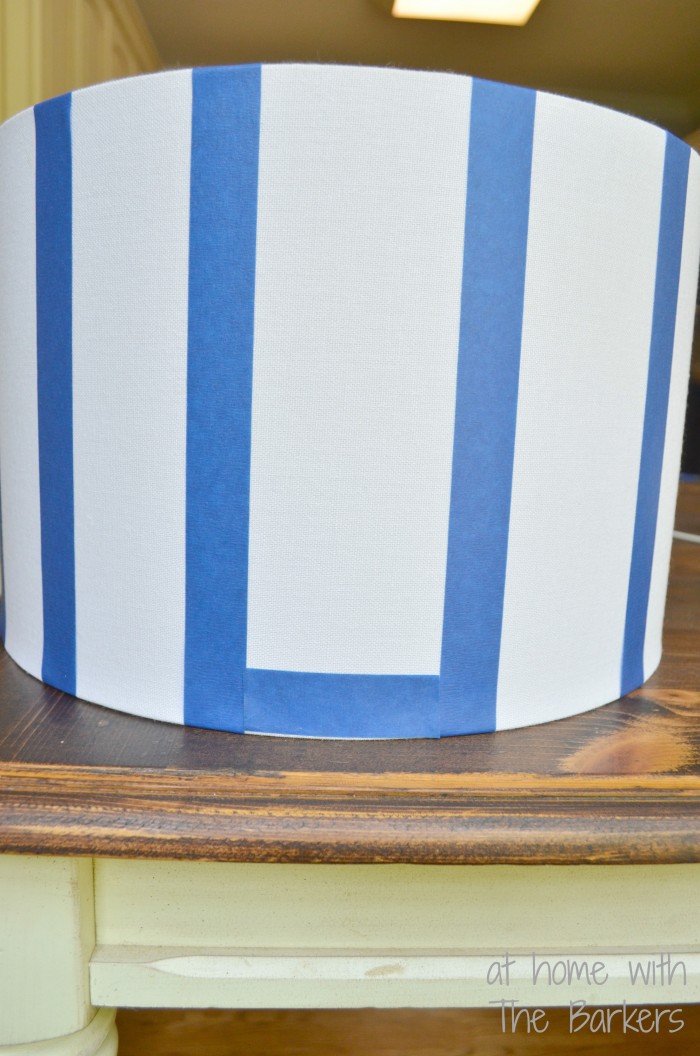
Next I taped off all the stripes, all the way around the lamp shade, I added a second piece of tape to widen my line. You can purchase the wide painters tape but I wasn’t sure exactly how wide I wanted my stripes so it was best I went with the smaller to start.
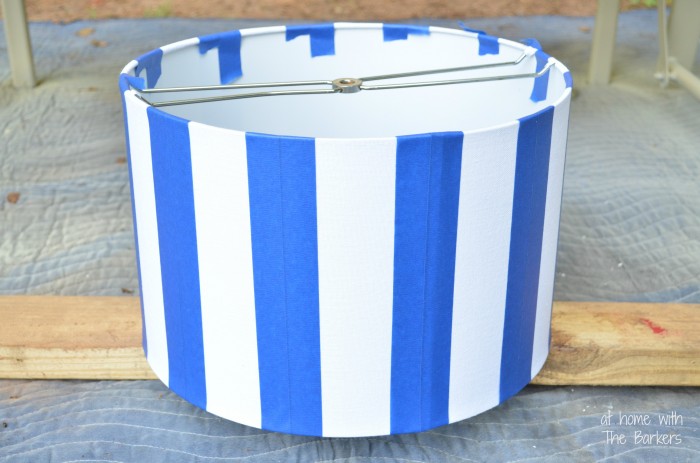
As with all spray paint projects you will need a well ventilated space. Outside is best. Be sure to raise the lamp shade off of the ground so you can get a complete coverage of spray paint from top to bottom.
Using scrap wood as a table top will allow you to get most of the lamp shade up off the ground. Then as you spray you can use the inside hardware to turn it.
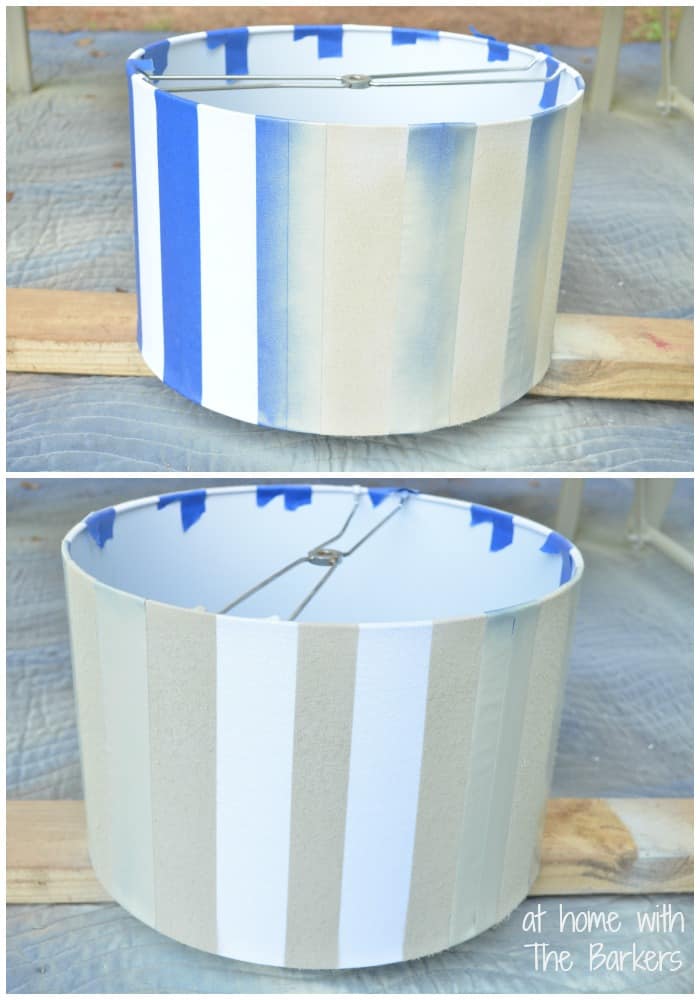
One you have it all painted go ahead and remove the tape while the paint is still wet.
Find more incredible painted home decor ideas like how to make a new vase look old, painted cement look lamp, or aged terracotta pots. Plus so many more DIY home decor projects.
Finishing details
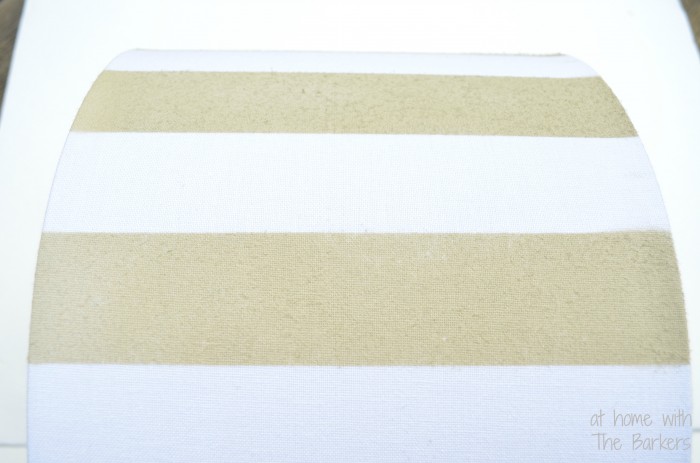
The stripes were perfect. If you look closely you can see that the fabric looks a little furry. I took a piece of sand paper with a high grit count and GENTLY wiped over the painted areas to dust the fuzzy look off. BUT it really did look fine and that step wasn’t required.
I did have a little over spray on to the metal parts on the inside of the shade. You can get the paint overspray off easily with 0000 FINE steel wool.
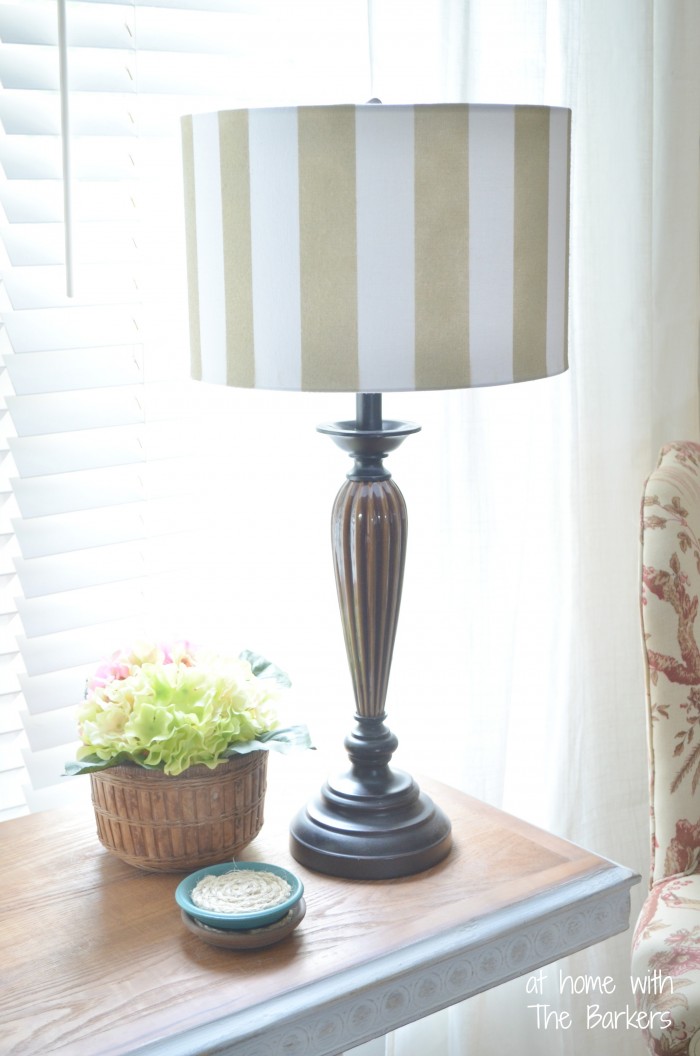
The DIY spray painted lamp shade made for a fun addition to my living room.

Thanks for stopping by! I’m sure you can work wonders for your son’s apartment. ~Sonya
Looks awesome thanks for sharing -I’m getting some old lamps together for my sons apartment and this will be a great idea!
Sonya, your lamp looks great! I really like the tan and white stripes, it looks so elegant! I’d love for you to come over and share it at Project Pin-it!
xoxo
Denyse
Thanks Michelle, so glad you stopped by! Have a great weekend ~Sonya
I did almost the exact same project but I brushed a metallic paint on the shade. I love the stripes and the color, too! Great job, Sonya!
Hey Sonya! Cute idea to update a lamshade! I saw this project on Pinterest, but also visiting from the Enchanting Inspiration Link Party! Have a great day!
Thanks Karen! I will be glad to stop in for the party, 🙂
I appreciate you stopping by, Thanks!
Thanks so much! I love how it turned out!
This is a great project! I can’t believe how easy this would be. I am looking at my lamp shades in a whole new light….Sharing of my FB page! If you have a chance, would love for you to stop by The Handmade Hangout Link Party tomorrow night at Redouxinteriors!
Great lamp. I love that you kept it neutral and the spacing of the stripes too. Looks very professional.
This is such a great idea. I love the stripes!
So simple, but such a nice upgrade! I love the stripes.
🙂
I have a lamp shade or 2 or 3 I’d like to take spray paint too! Thanks for the idea. ~Jeanette
YES! Easy and fun update. Thanks for pinning. ~Sonya
What an amazing idea. Paint can always transform a piece. I have a plain lampshade and just may have to try this. Pinning 🙂
Such a good idea and tutorial! Pinning:)
I love your lamp transformations Sonya 🙂
Even better, a stock pile to work with!
Walmart doesn’t have a ton but they done have some drum shades! They are more trendy and easier to work with.
Your daughter must be really happy she has such a crafty creative Mom. I really love how that lampshade looks, very sophisticated. Her room will be very happy to have such a handsome lamp in it . Bravo Mom
I also love the drum shades as they’re much easier to fancy up. The shape is very “now”. Didn’t know Walmart had the drum shades. Glad you mentioned it. Happy summer days
What a great idea! I have at least 3 piled that need something
There you go, you can now make your own!
I need two lampshades and these are uber cute!! Thanks for sharing 🙂 -Bev
Thanks Paula!
Looks great and it’s an easy way to update a shade to coordinate with any room!