DIY Vintage Look Wood Sign
Learn how to make your own DIY Vintage Look Wood Sign any size you want with these tips and tricks.
This post may contain affiliate links. See our disclosure for full details.
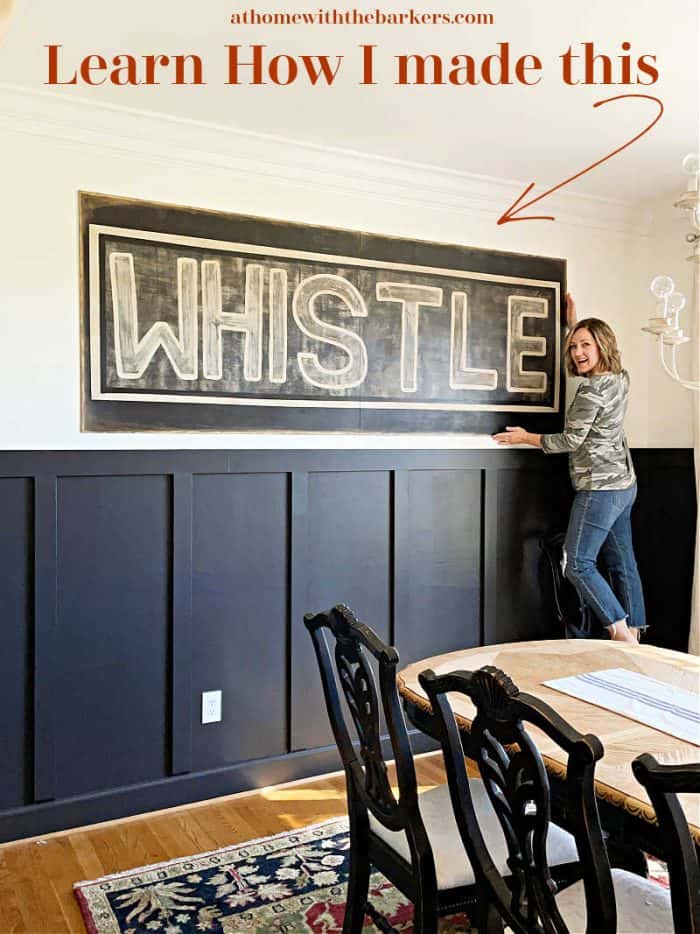
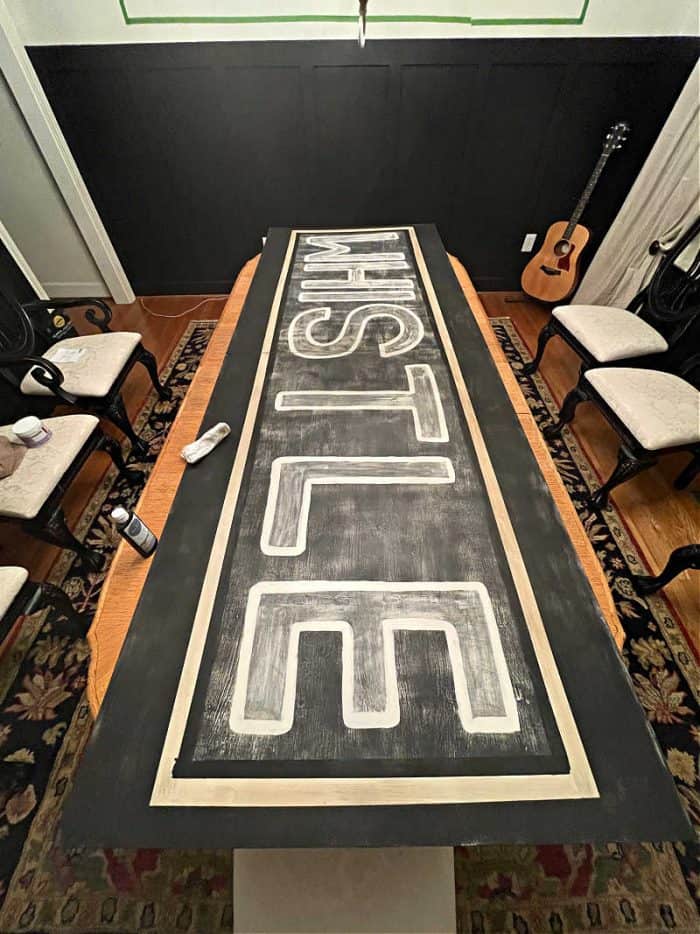
When I was doing our dining room makeover I knew I wanted to have a big wood sign. Really big because everything always looks small on this wall. We have 9 foot ceilings so bigger art was needed.
Lots of you have asked, why the word WHISTLE? I like things in our home to have a story or special meaning. Years ago, I saw a sign with whistle on it. It was much smaller but I loved it. You see, when our son was little he whistled all the time. Seriously, he learned to whistle around age three. So I knew this would have a wonderful meaning to me. Whistling also makes you happy.
Supplies Used
- Wood (cut to size, bought 4×4 and we cut it to 4×3)
- Paint: black, off-white sample I had (use chalk paint or flat finish for the waxing process)
- Antique Gold rub n buff wax (comes in many colors)
- Antiquing wax (dark)
- Sanding block and/or sheet sander
- Painters tape
- Paint brush (If you paint often these are the brushes you need)
How do you make wooden signs look old? In one word, layers. Over time, a truly old sign, antique or vintage, accumulates an aged look. In order to get a similar feel to a new piece, you need to add in those layers for depth.
These steps will give you an idea of how to do that. Not an exact formula but a reference as to how to proceed. The one thing most frustrating about any painting technique, it always looks terrible until it doesn’t. SO don’t give up. Keep layering until it looks how you like it.
Our sign is 8 feet long by 3 feet tall. You can use this painting steps on any size sign.
For this project I used two pieces of wood with a seam down the middle. I didn’t do anything to attach them together permanently other than nailing them on the wall as close together as possible. I did this for a couple of reasons. First it was more cost effective. Second, it was a good weight for working with and hanging.
Design TIP: If you aren’t painting your sign in the room it will be hung in, be sure to check in and out occasionally to see progress. This will give you the best way to know if you are on the right track.

DIY Vintage Look Wood Sign Tutorial
Step One:
Lightly sand over your wood to knock off any extra rough or loose pieces. This type of wood I used comes mostly smooth but it can have a few splinter type pieces on it. Do not over sand at this step. Use a sanding block that is fine grit.
Step Two:
Paint entire piece black. I used a black chalk paint I had on hand. I really like it so if you need to buy one it is a good deal. Use whatever color you like for your back ground, my color was called Ink.
Step Three:
Next sand and distress the base color. I used my electric sander for this part. If you don’t have one it can be done by hand. Use a 150 grit sandpaper for this. This is a good start to creating layers. What I look for when sanding for the vintage worn look is to see both the paint and the wood underneath.
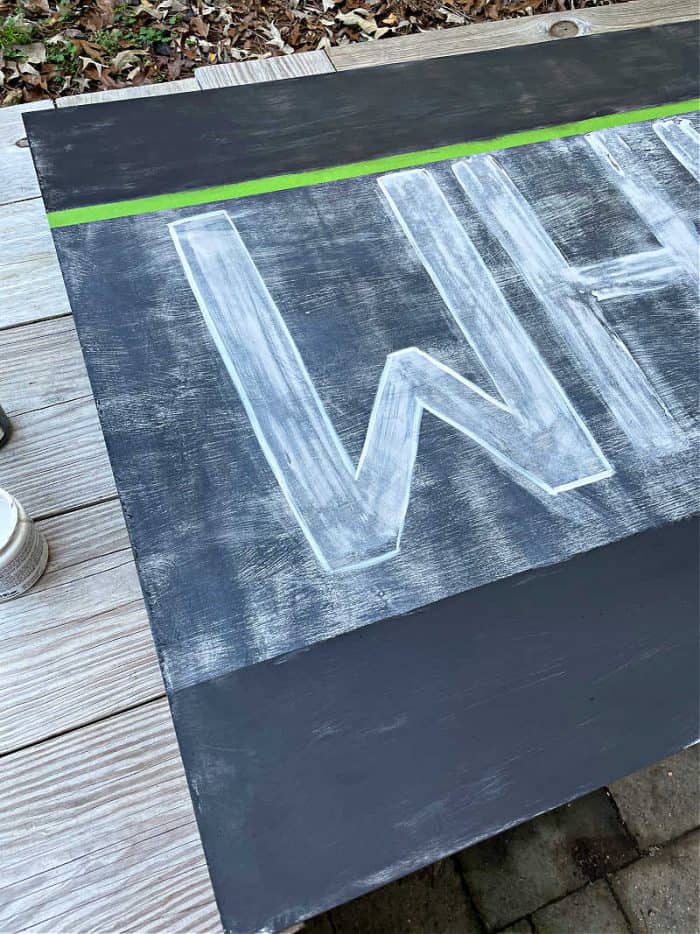
Step Four:
Next hand sketch your word or phrase. You can use a piece of classic chalk for this. It wipes off so it’s a good way to work on your even lettering. If it’s not perfect that is ok too. Try it, then use a damp cloth to wipe away mistakes. Use painters tape to mark off your writing space. The tape will also act as a straight line for you.
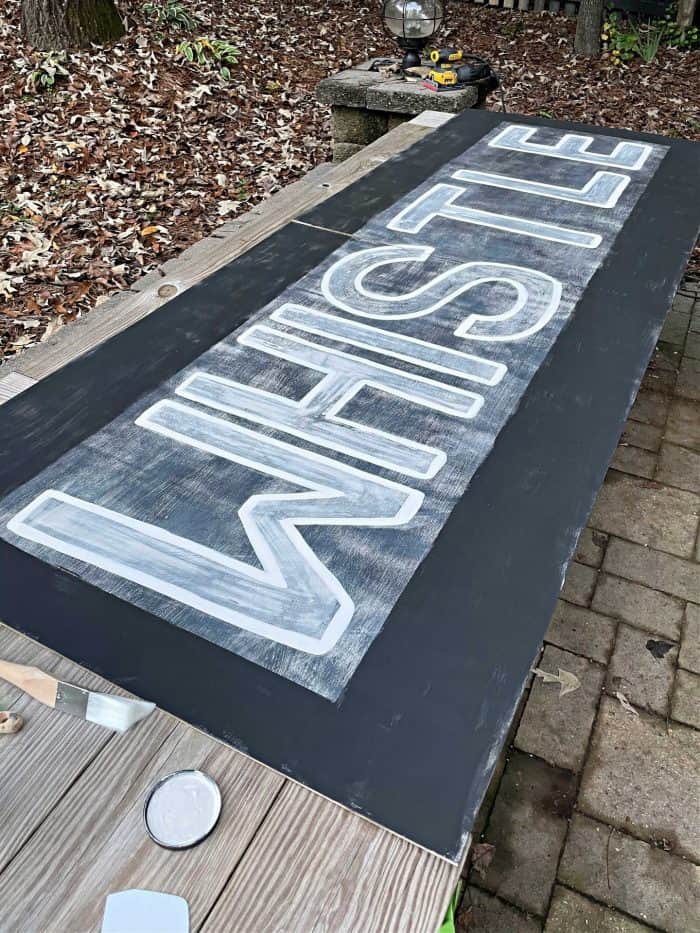
Step Five:
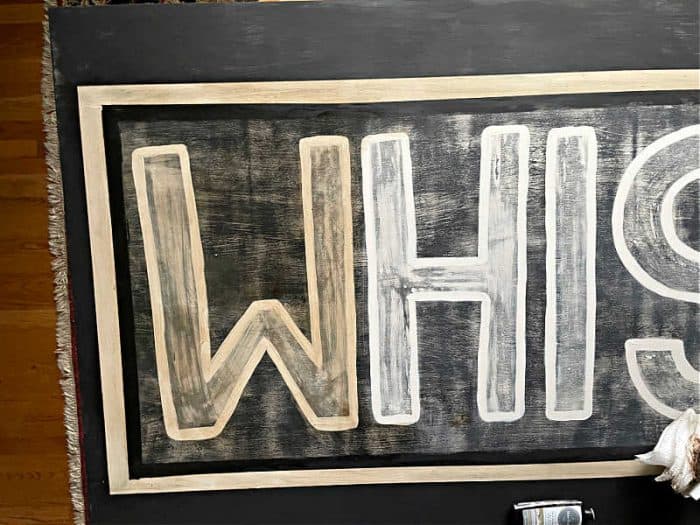
Paint your word. I went over the word WHISTLE a couple of times until it looked the thickness I wanted. After I got the word to size I sanded over it as I did the black in step three. Then I painted an outline around the word. I did not sand this part.
Step Six:
This is where I used painters tape again to create additional framing around my word. This time I did not sand/distress the black and off-white paint. I painted the bigger black frame first, let it dry. Next I taped off and painted the off-white frame, let it dry.
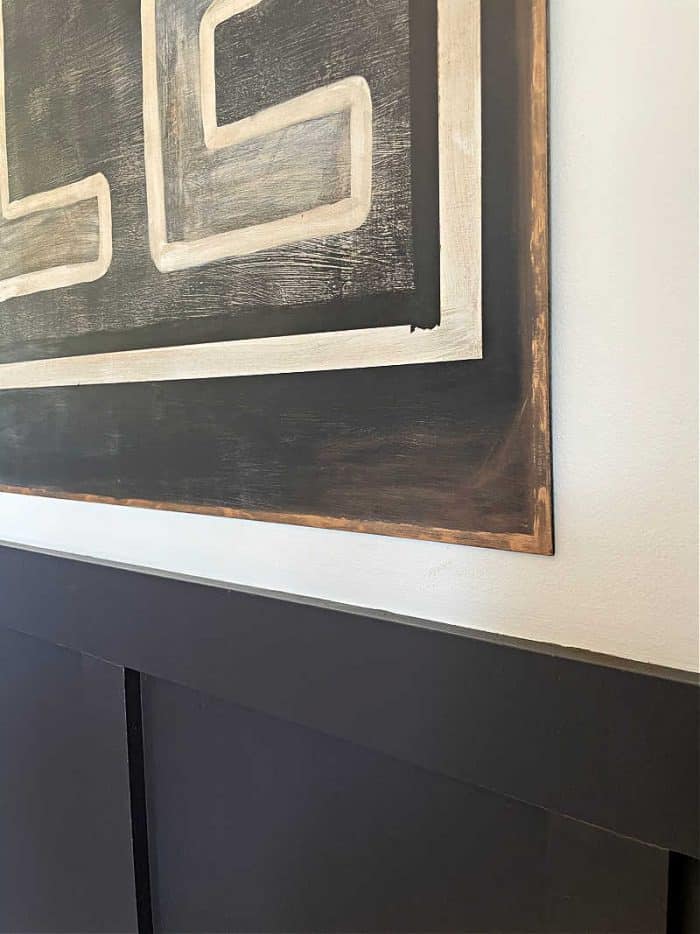
Step Seven:
Last step is to apply the waxes. First the dark antiquing wax. This is a wipe on, buff off technique. The gold edging was actually done during this step, after the dark antiquing wax, instead of during step six. Rub n Buff is also a wax and I didn’t want to change the color of it by applying the dark antiquing wax over it.
More sign projects for you to love
Step Eight:
Hanging the art. We used our brad nailer (one our most used DIY tools, highly recommend) and nailed directly into the wall, no frame. We used our stud finder and hit as many studs as possible.
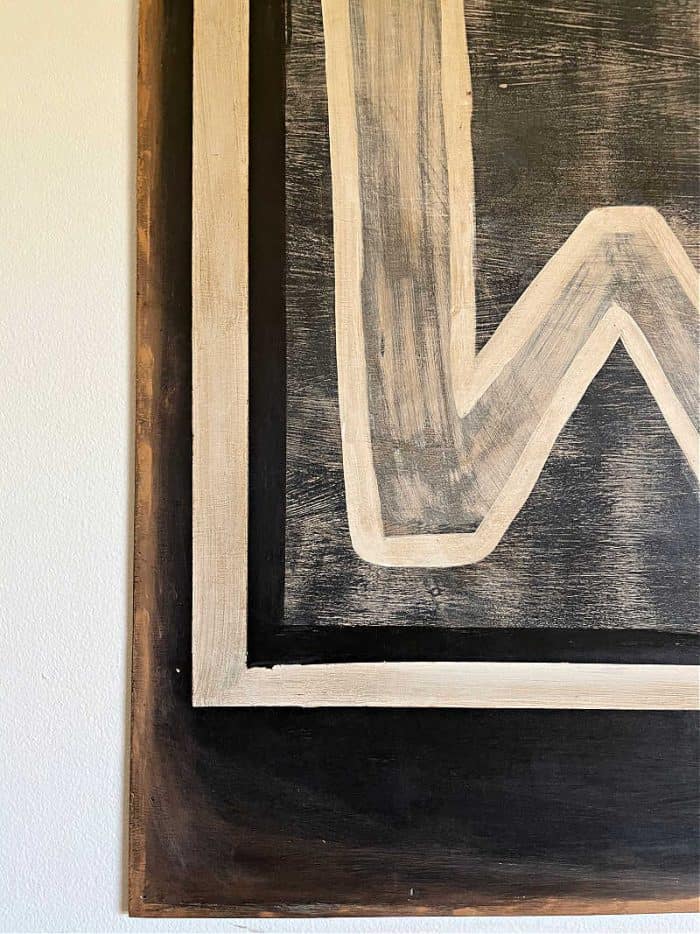
I wanted this DIY vintage sign to look as if it had been had painted years ago. Something you might find at your grandparents propped up behind the barn.
As you can see from all of these steps, artistry is involved. It is up to you to decide how you want you sign to look. However, sharing these steps will give you a good action plan and the process it takes.