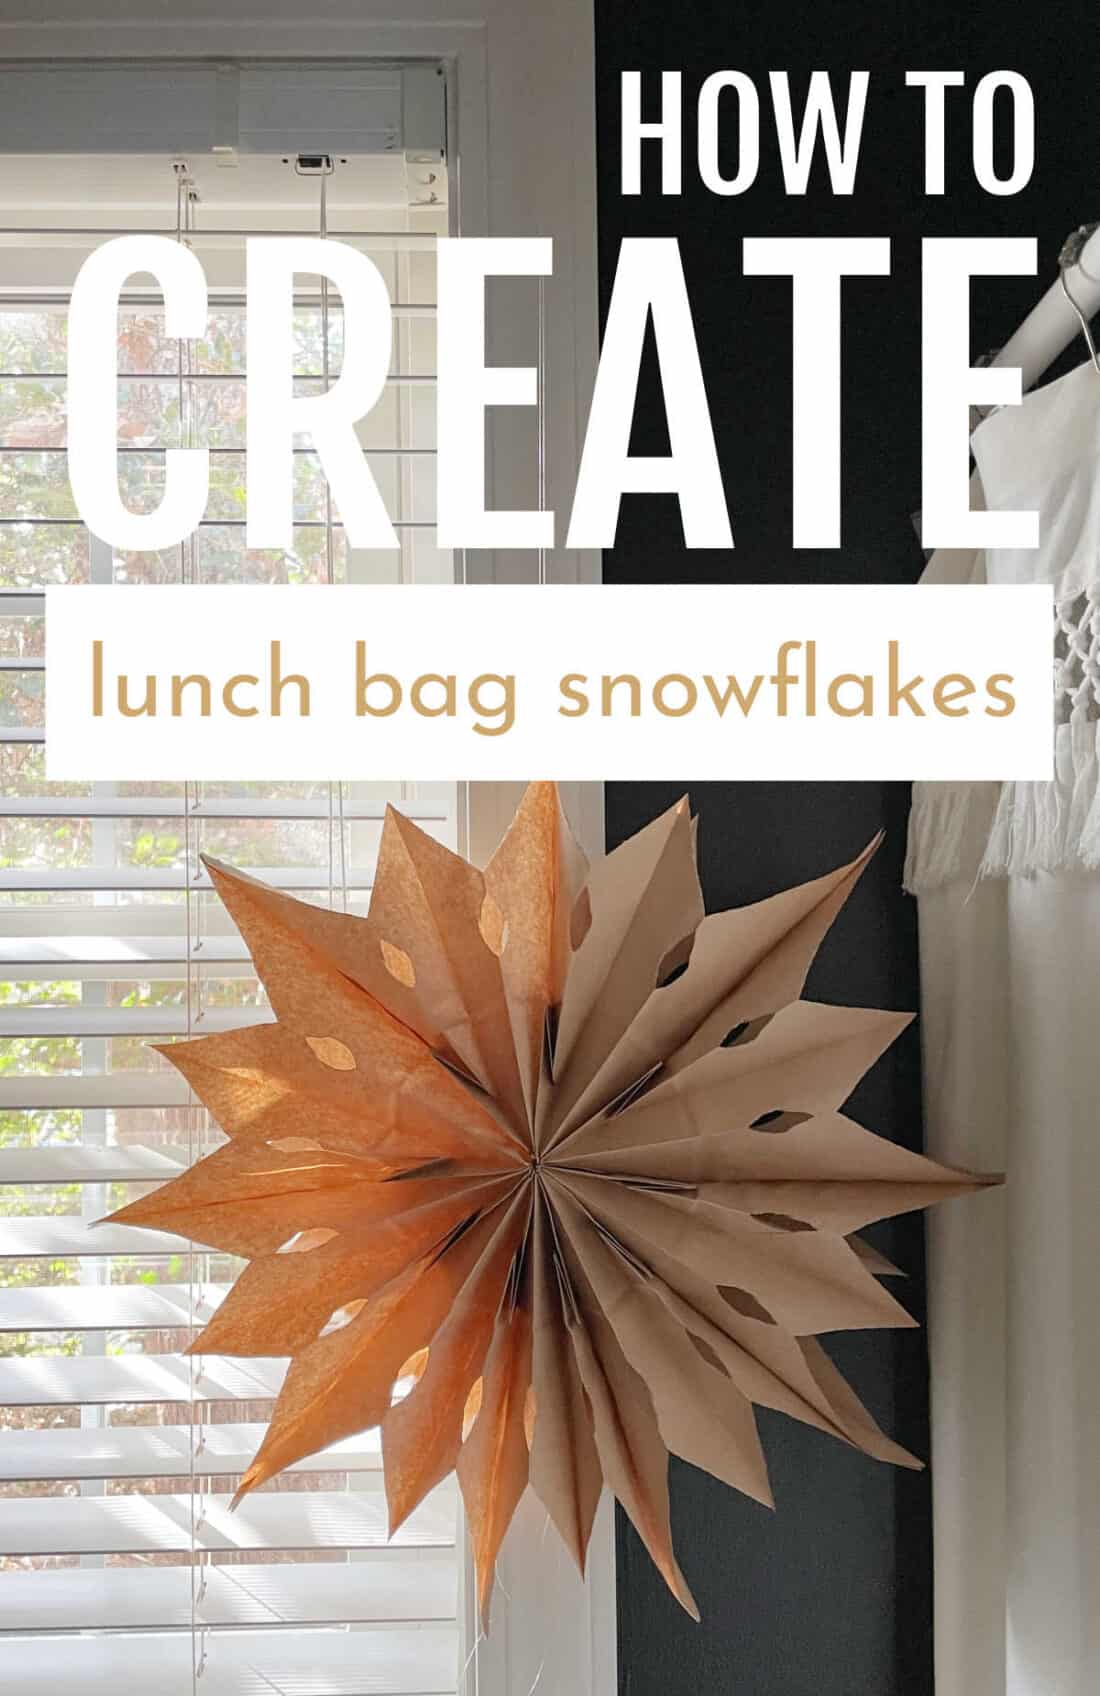
DIY Lunch Bag Snowflakes
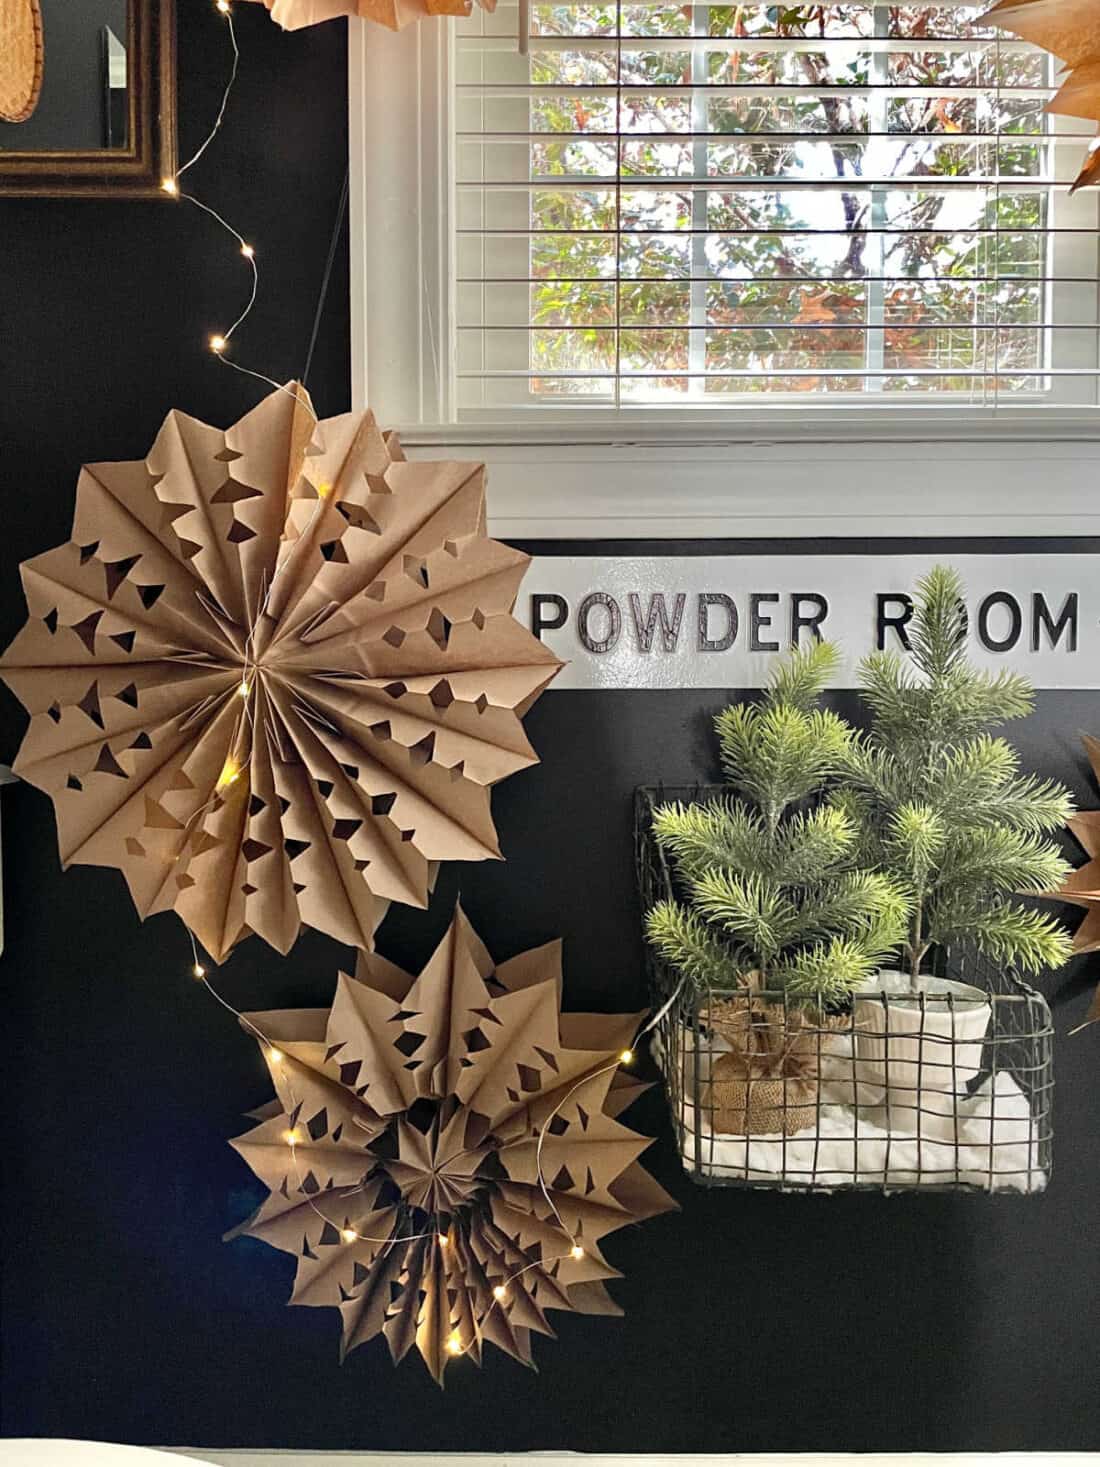
Learn how to make DIY lunch bag snowflakes for a festive holiday look. Use as your winter bathroom decor for 2021.
The past two holiday seasons I had added a Christmas tree to our hall bathroom. It added such a festive touch to the room.
This year I wanted to change it up just a little.
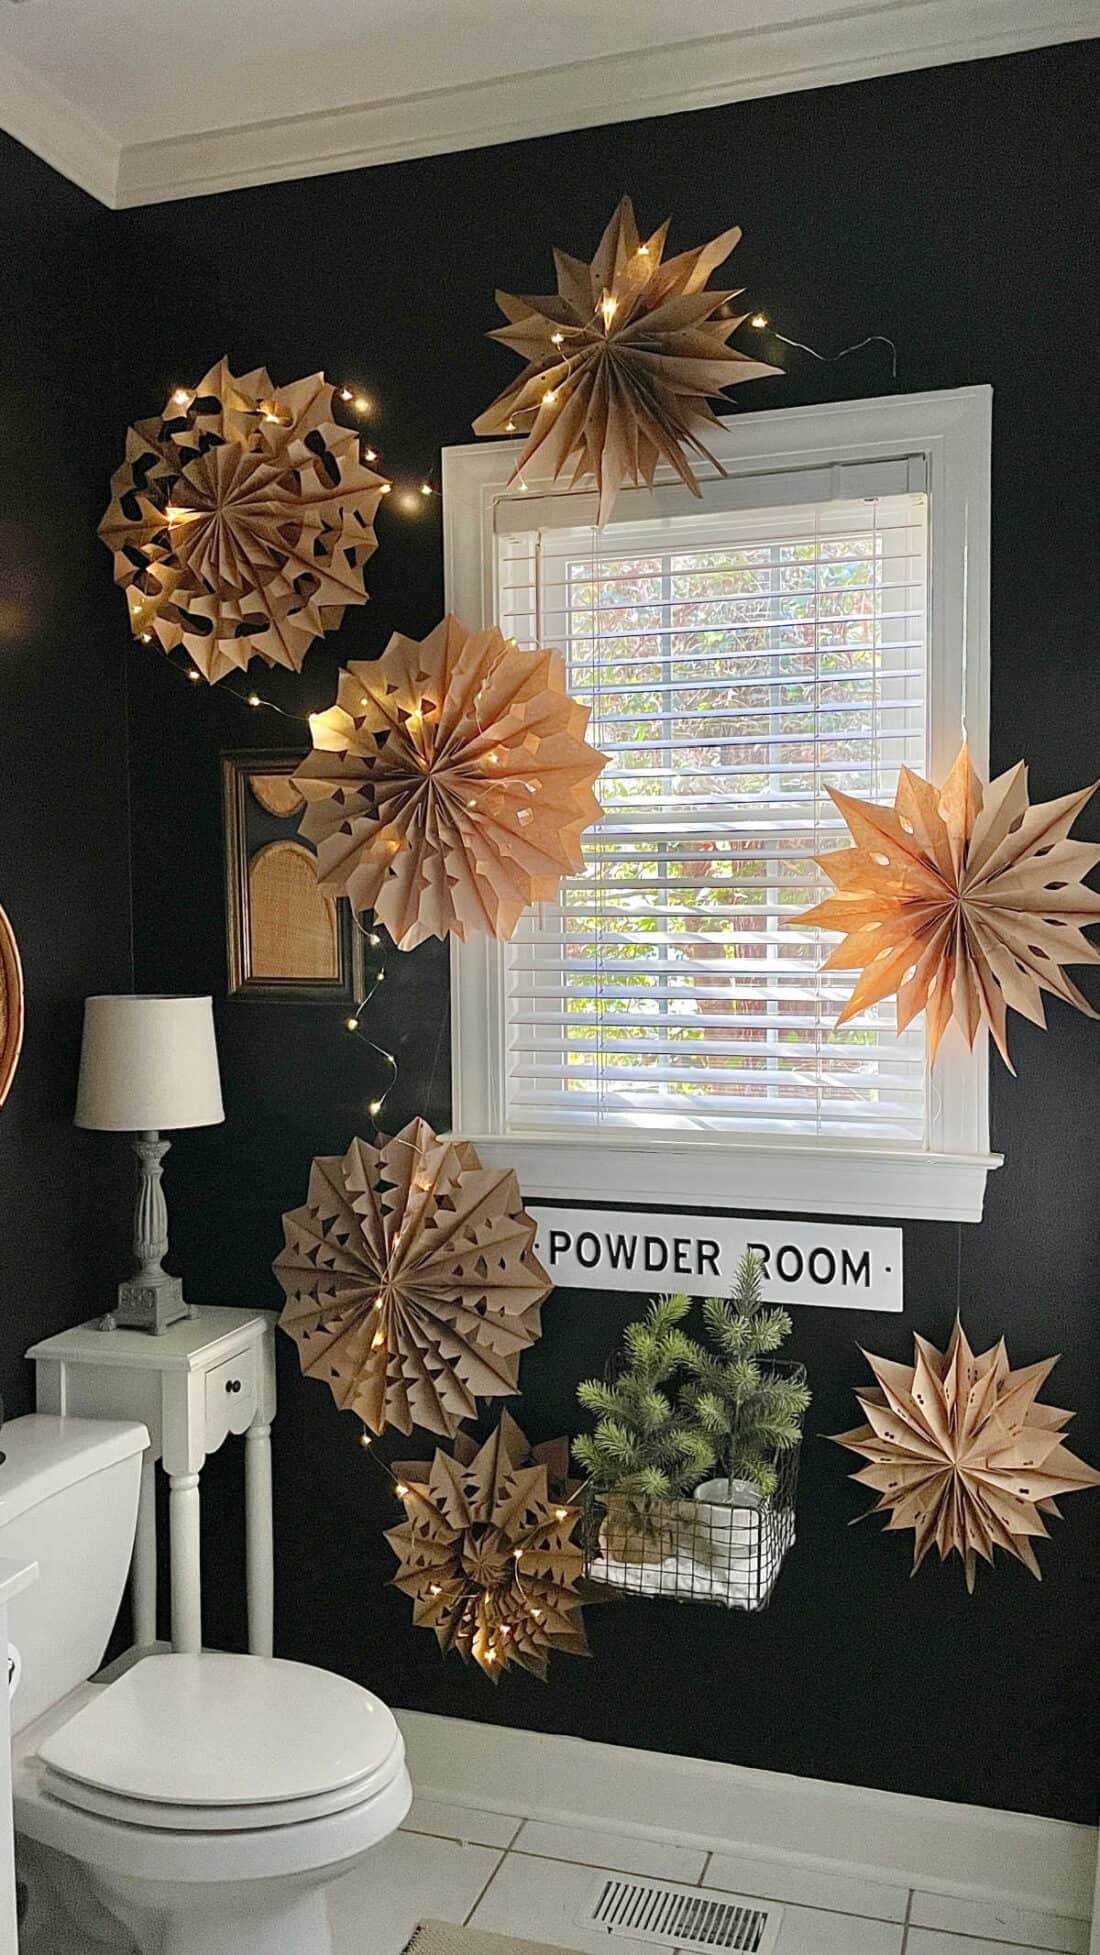
Our black bathroom can be seen from our main living areas and is the one space we use often. While it is a full bathroom with a shower, we don’t use it that way. It is the extra bathroom so we basically use it as a powder room.
These paper snowflakes, also called 3D paper bag snowflakes, are super trendy this year and I knew they would look so good on our black walls. They would look great with a neutral Christmas decor.
This post may contain affiliate links. See our disclosure for full details.
Such an easy craft you can do with a group or even your kids.
These are perfect for your winter home decor after Christmas if you like to leave around a few things. Another idea is to fill your dining room with the paper snowflakes. A cozy casual dining table setting will add the perfect touch.
Lunch bag snowflake supplies
- Lunch bags color of choice
- Scissors
- Fishing Line
- Tape
- Twinkle lights (no required but fun)
Keep in mind that cutting 9 lunch bags can be a tad difficult. Good scissors help. I just purchased these heavy duty scissors for myself. The one’s I own were cheap.
How to make lunch bag snowflakes
- Separate 9 bags.
- Glue bags together, one by one, in an upside down T pattern.
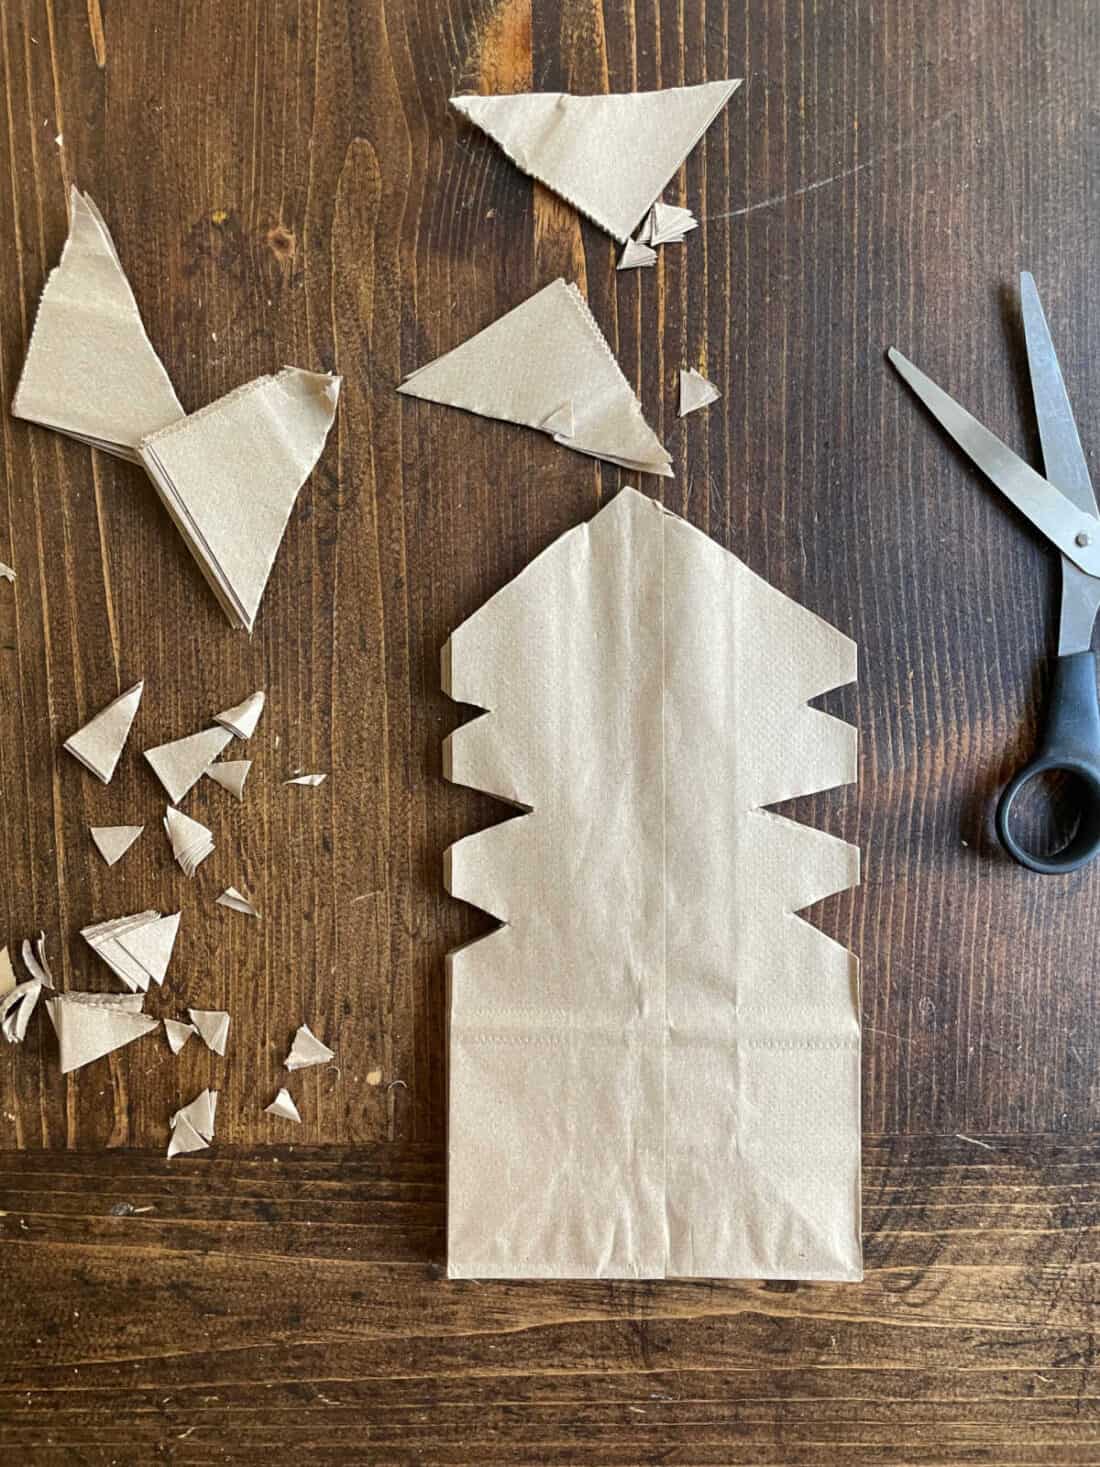
- Cut from the top opening of the lunch bag to create your snowflake design.
Full details of each step below.
Choosing the lunch bags
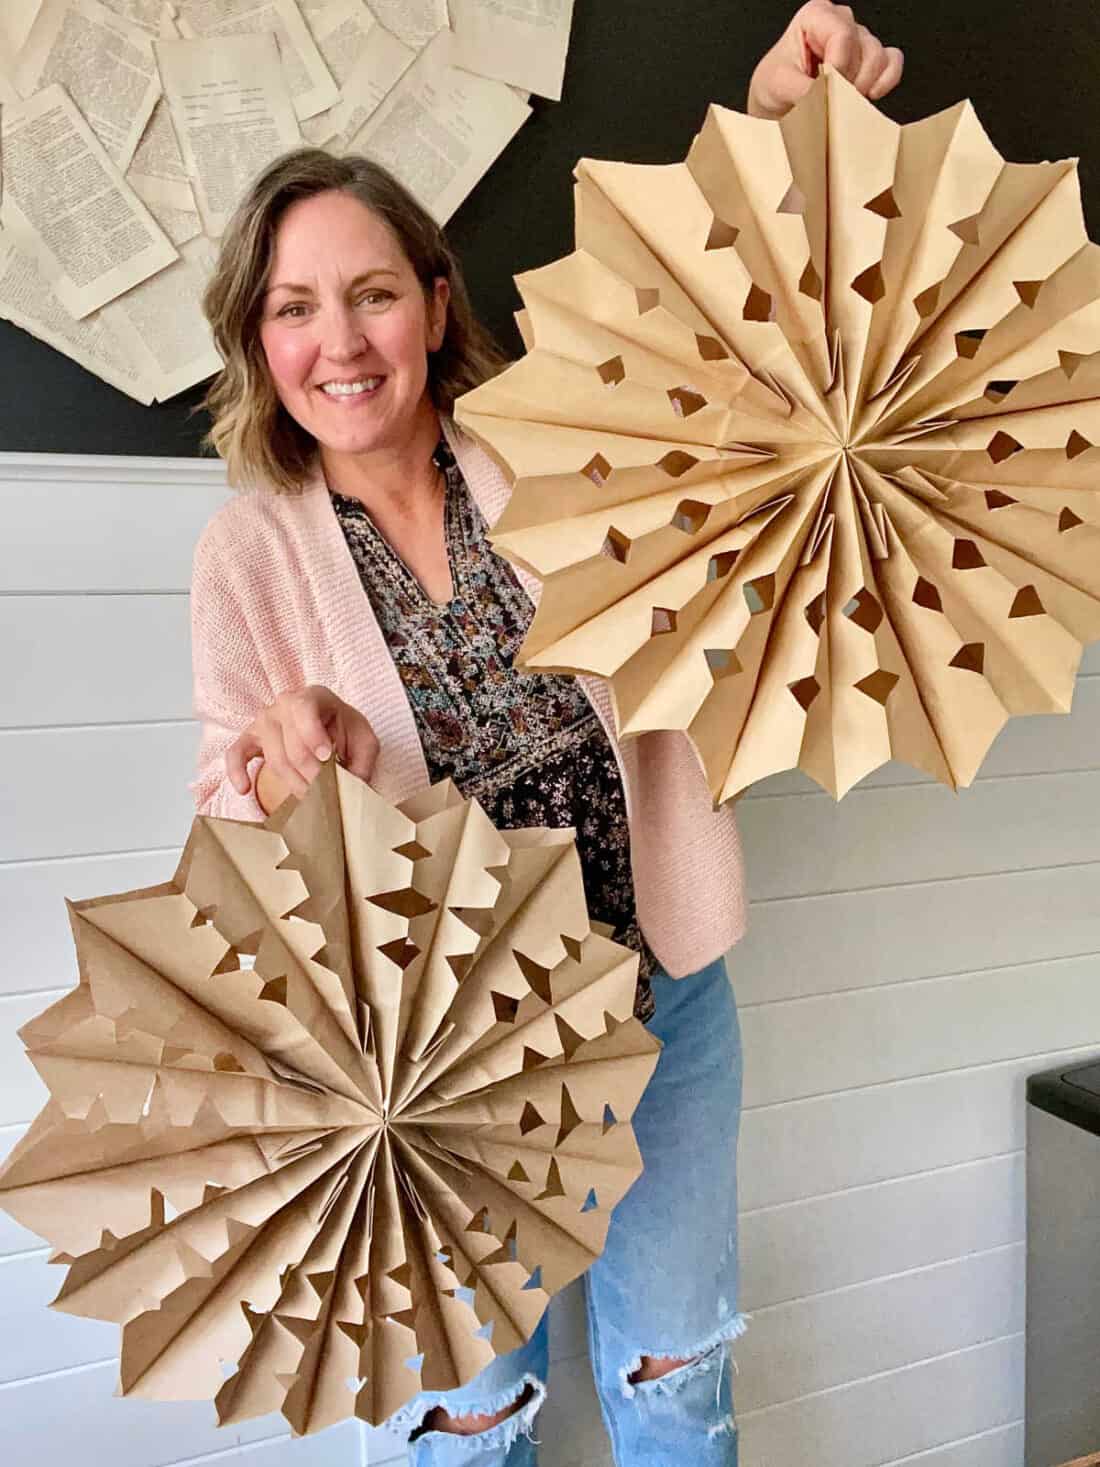
Choose the amount of lunch bags you want for your snowflake. I’ve seen it done with amounts from 6 to 10.
The number of bags you use will allow for double the points on your snowflake. I used 9 bags, creating 18 points.
There are a few variations of lunch bag colors too. The natural color was perfect for my style. I noticed when I bought my bags they had two shades of brown so I grabbed one of each.
I love the slight contrast of each color.
White would look beautiful too. All white or mixed with the brown.
Glueing the the bags
I used classic Elmers glue. A straight line across the bottom of the bag and a strip up the middle toward the top opening of the bag.
Layer bags until you have glued all 9 together. Press between each bag to secure your glue.
I’m sure you can use a hot glue gun as well. Keep in mind to not over do it with the glue. The bags will hold together easily.
You will unfold and glue the final bags together after you have cut out your snowflake pattern.


Cutting the snowflake shape
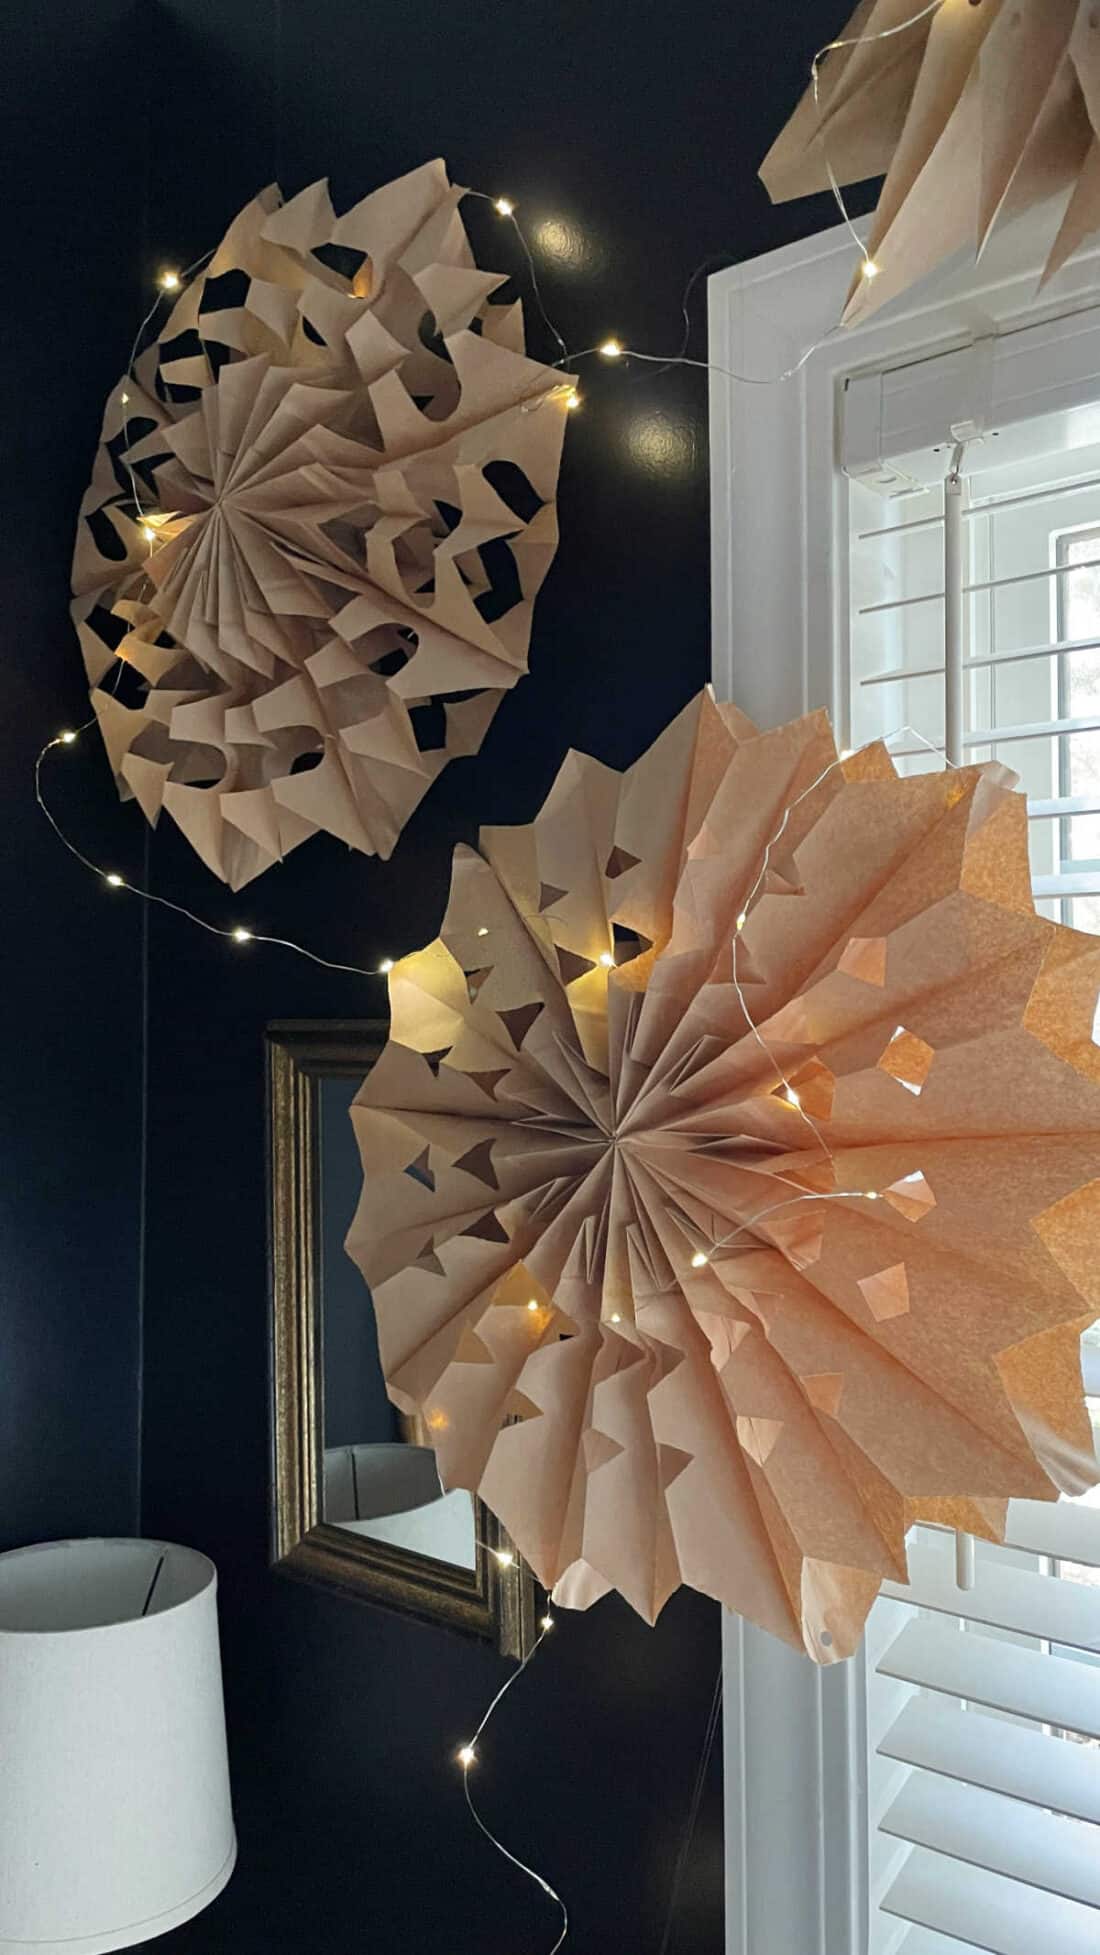
Remember, no two snowflakes are the same. A mix of designs will look really pretty.
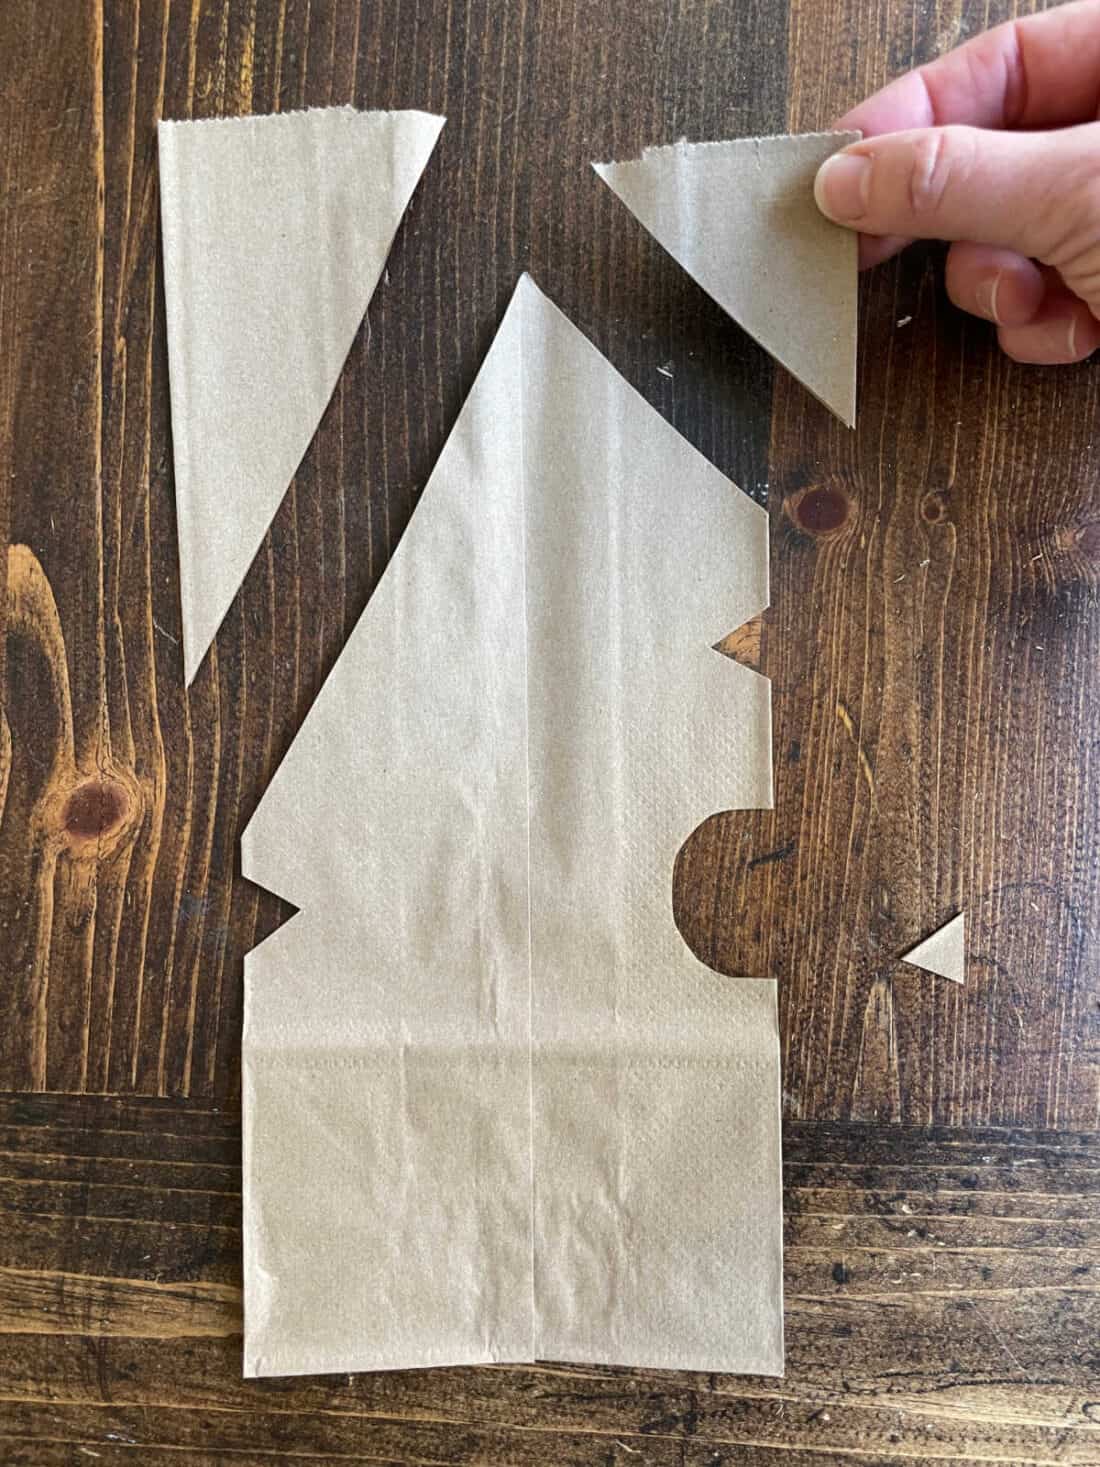
The deeper the angle of the top cuts, the pointier the outer edge of your snowflake will be.
In order to make different size paper bag snowflakes you will need to cut down the bag size.
After you have glued them together, cut across the top opening of the bag 1-3 inches depending on the size you want. I made a couple of different sizes.
You can certainly get more technical and measure and mark every cut BUT I did not do that.
The way I did it was free hand cut one side. Then use a piece of the cut-out as a template for the other side. Very simple.
Honestly for most cuts, I didn’t even use a template. I’m not a very structured person when it comes to art and decorating.
Make them unique.
Hanging the paper snowflakes
I hung my snowflakes with fishing line and clear tap.
Use a hold punch to pop a hole in one of the snowflake points. Loop the fishing line through and hang.
I found that tying a thick knot in the line and adding the tape right under it helps keep it on the wall better.
That was Rays idea after I had a couple of them fall down.
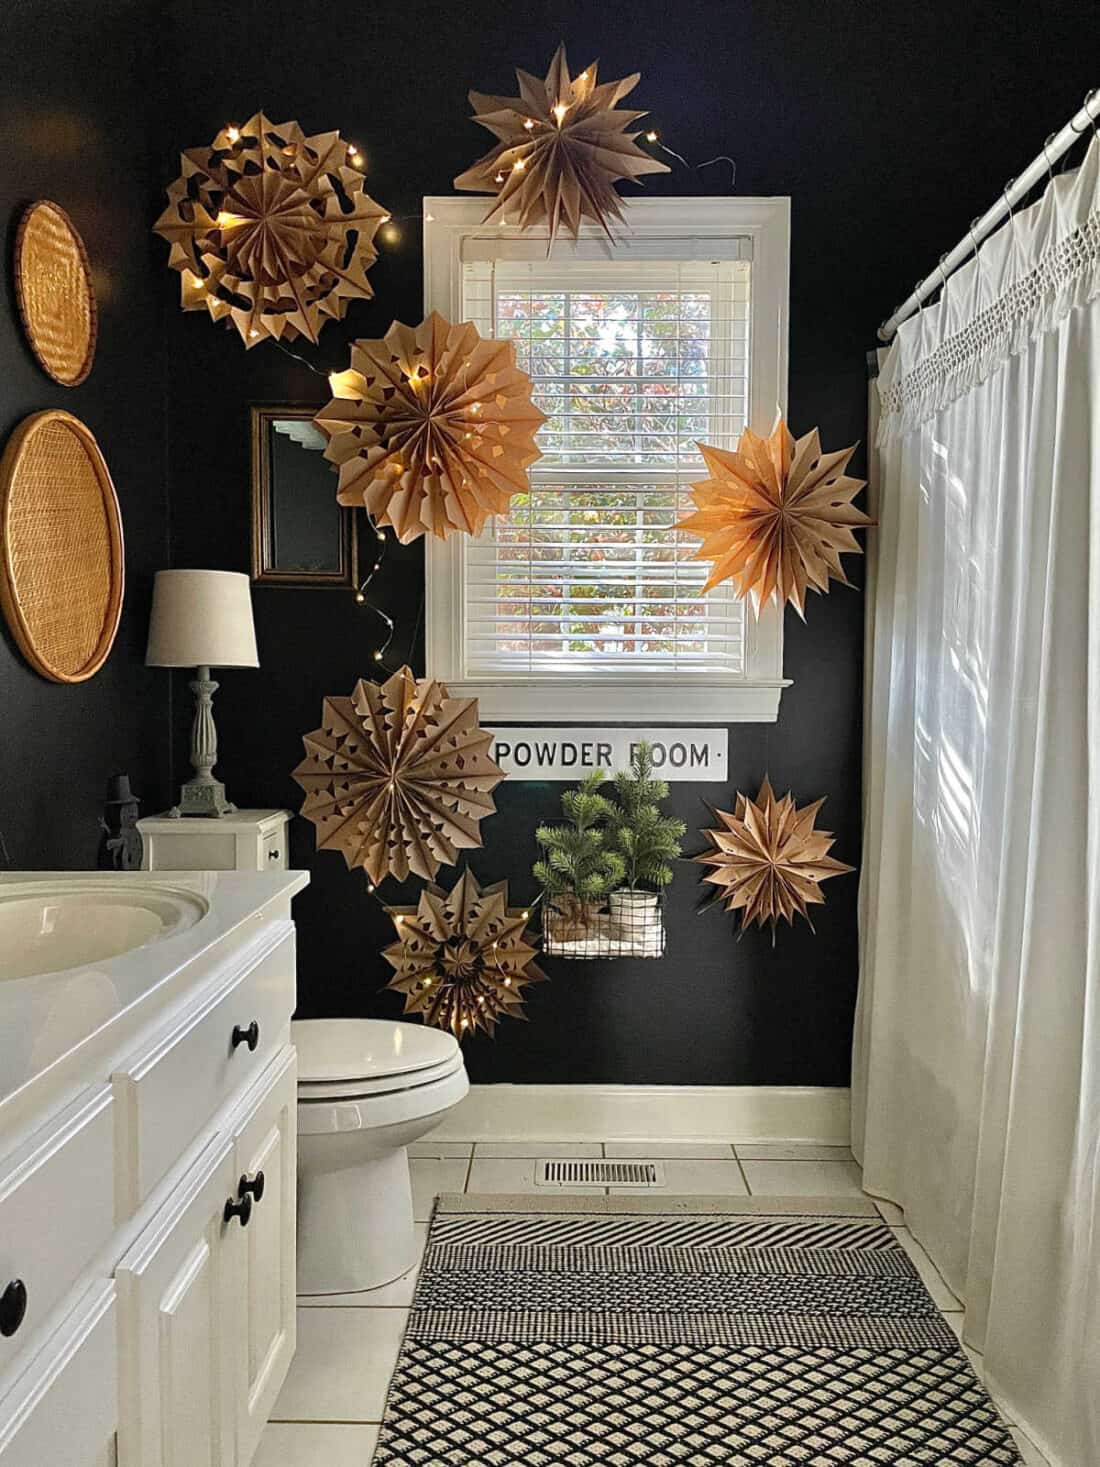
I added battery operated twinkle lights to some of the snowflakes. I need another strand to add to the right side.
Additional decorating ideas
- On the wall over the bed
- Stair railings
- Hang from curtain rod in front of a window
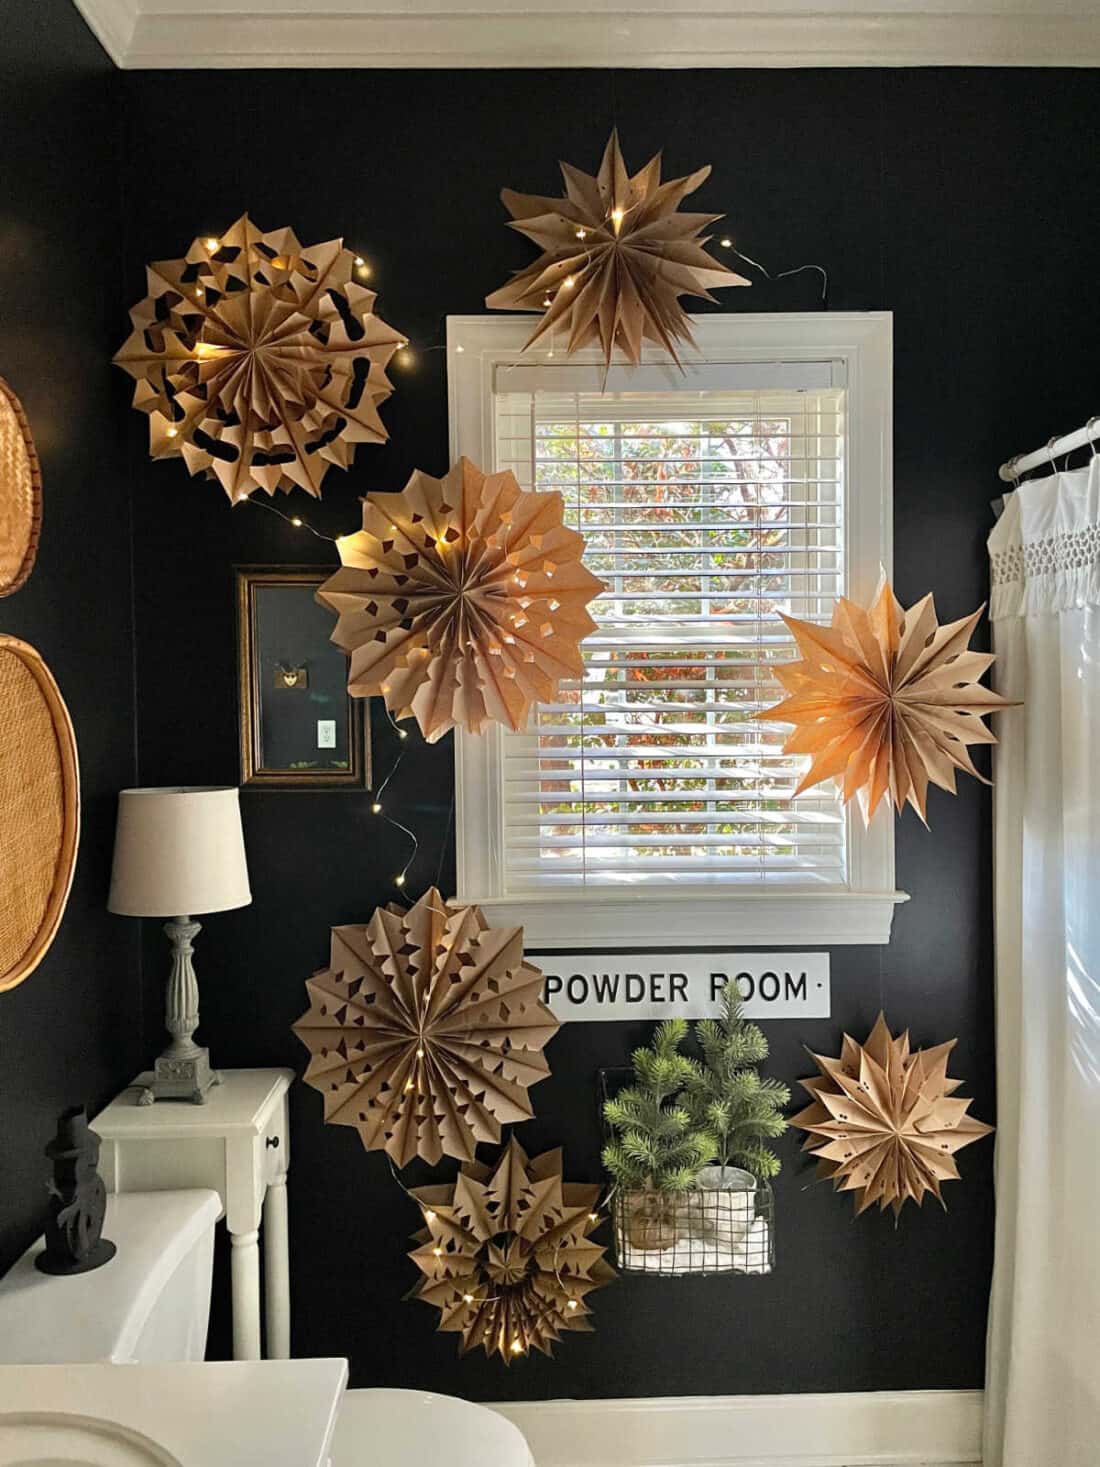
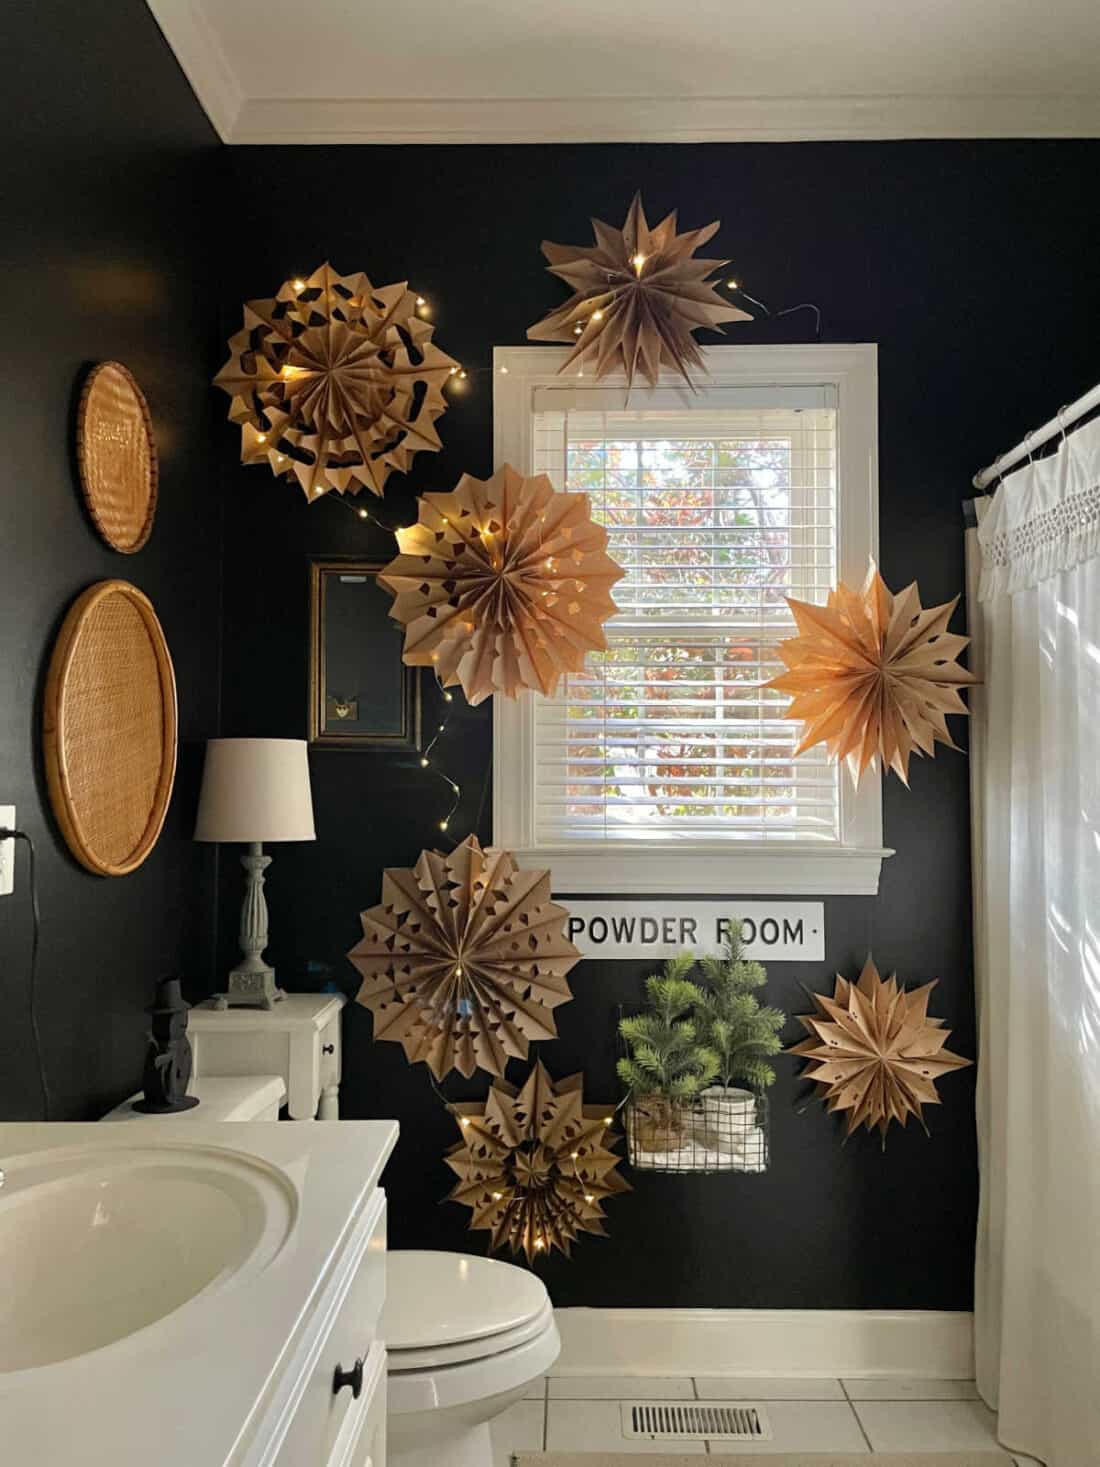
I love these snowflakes and how they added a fun festive look to our bathroom.
Please explain in more detail how to glue them together. Adding a picture would help also.
Thank you! To make the sizes you need to shorten the bag length and cut the top triangles long and skinny. So you will basically cut the top inch or two off the opening side of the bag. Then the top two triangle shapes will be cut where the top is much more pointy. I would practice it on a few bags before gluing together.
How did you make the smallest one that looks like you used it for a center for a large one ? Beautiful !!!!!!!
Love the look of these in your bathroom, what a great statement. You amaze me at the decor you come up with. Thank you for being a great inspiration and sharing all of your ideas.
Merry Christmas 🎄
Not long at all, just a couple of minutes.
How long do you let the glue dry? Those are super cute! Thanks for the tutorial!