How to Build Board and Batten Shutters
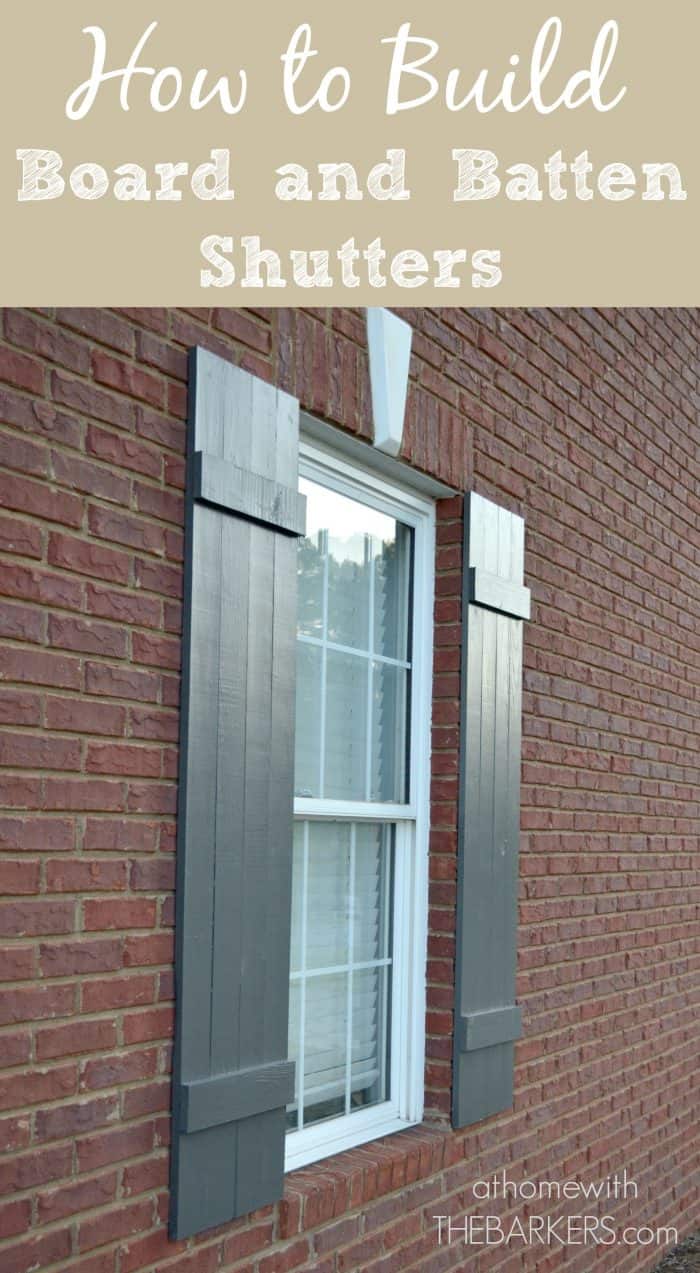
Follow these instructions and learn how to build board and batten shutters from wood.
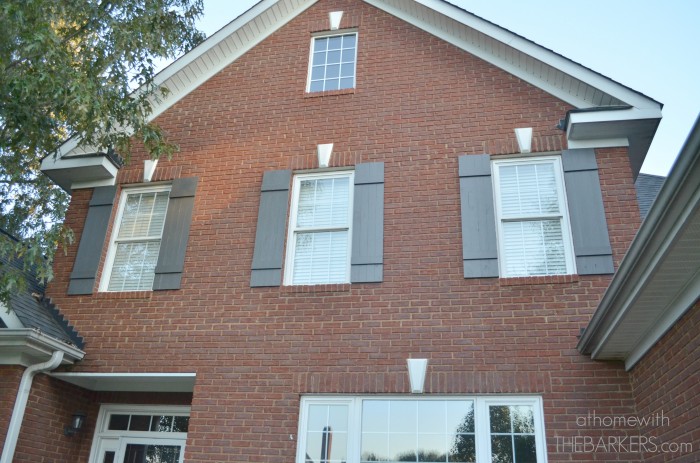
I have wanted to build new shutters for a couple of years. I finally talked Ray into “helping” me and I love them. Usually I am his helper when it comes to wood work, the usual holding and handing assistant type work but for this one I used all the power tools as much as possible.
This post may contain affiliate links. Read full disclosure policy.
Now we have added window boxes to the front garage windows I love them even more. This is one of our many before and after home decor projects.
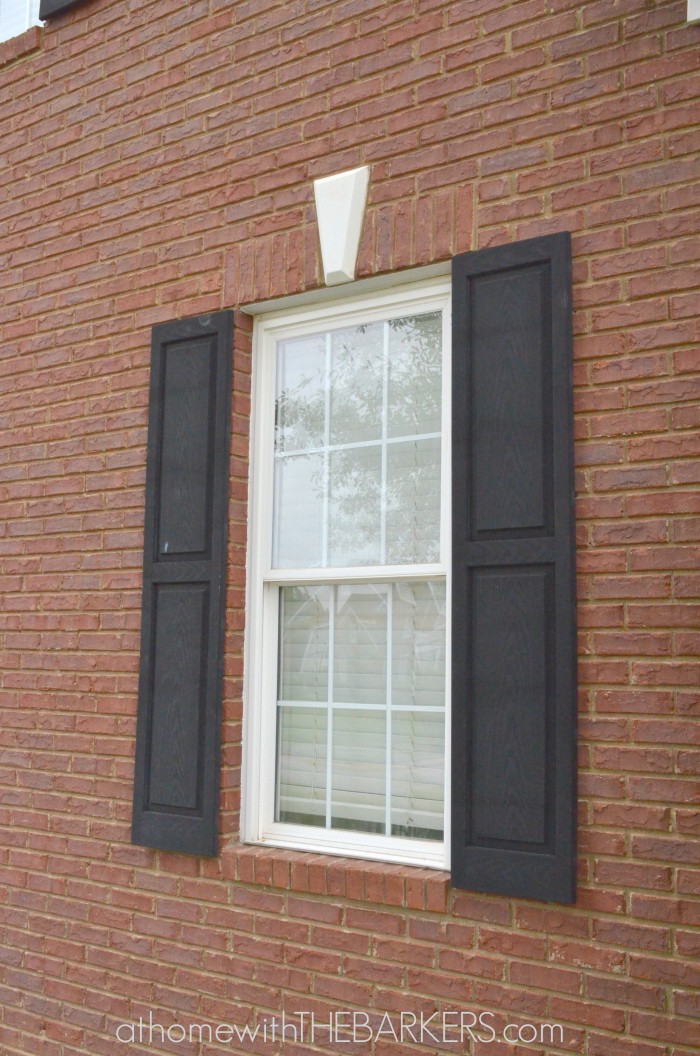
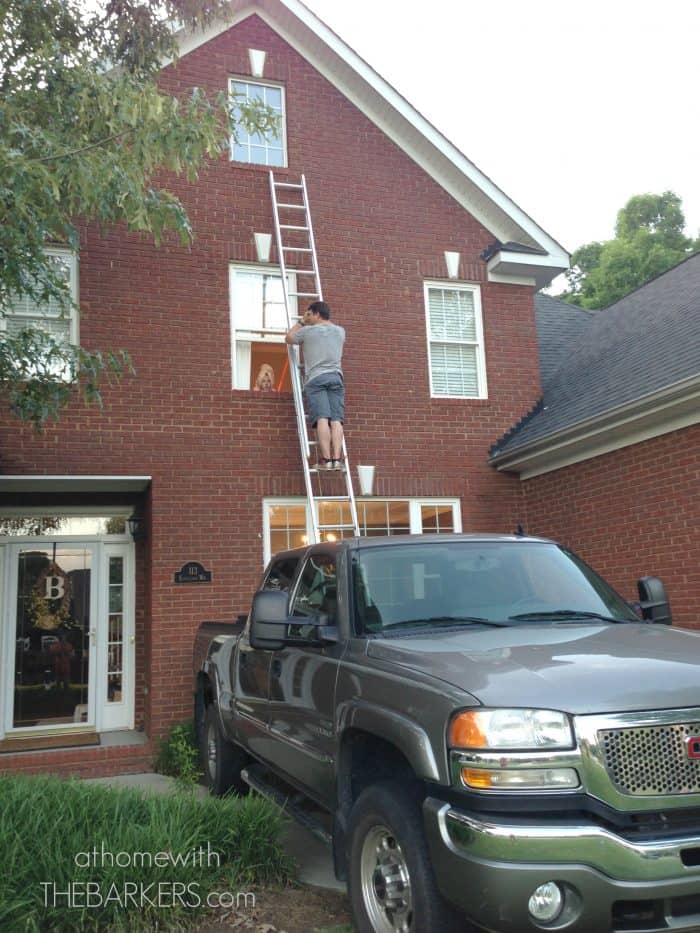
First step was to remove the old, ugly and faded shutters. My husband was not as excited for this part as I was. Removing the shutters from the attic window required a bit of thought and danger….and the truck, lots of safety straps and a few prayers. Even our daughter was making sure he was safe from her bedroom window.
More DIY Wood Projects
This post may contains affiliate links. Read full disclosure.
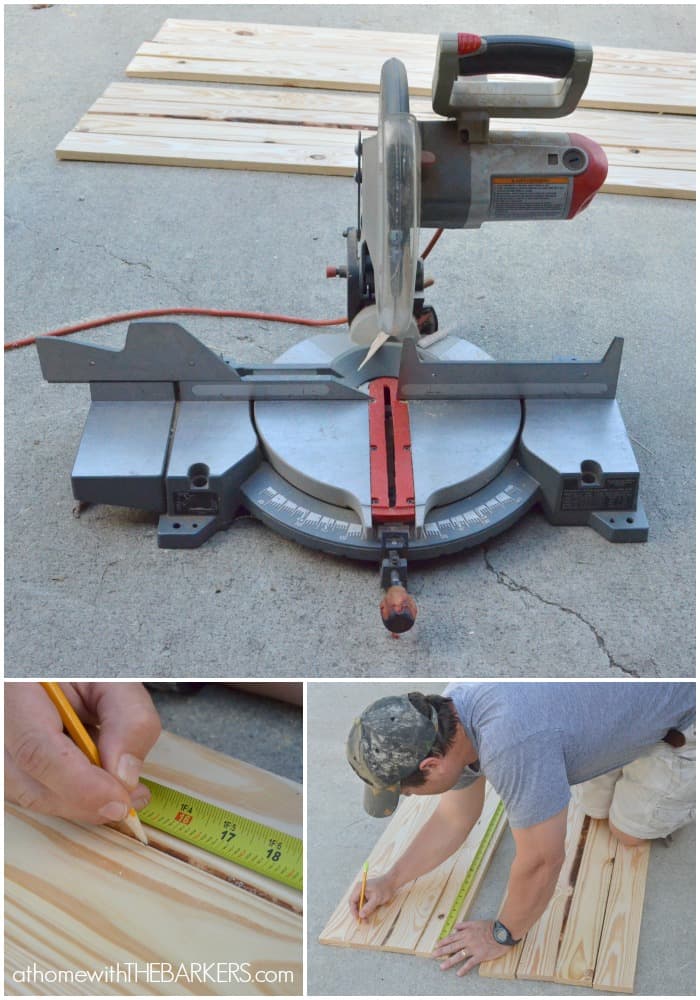
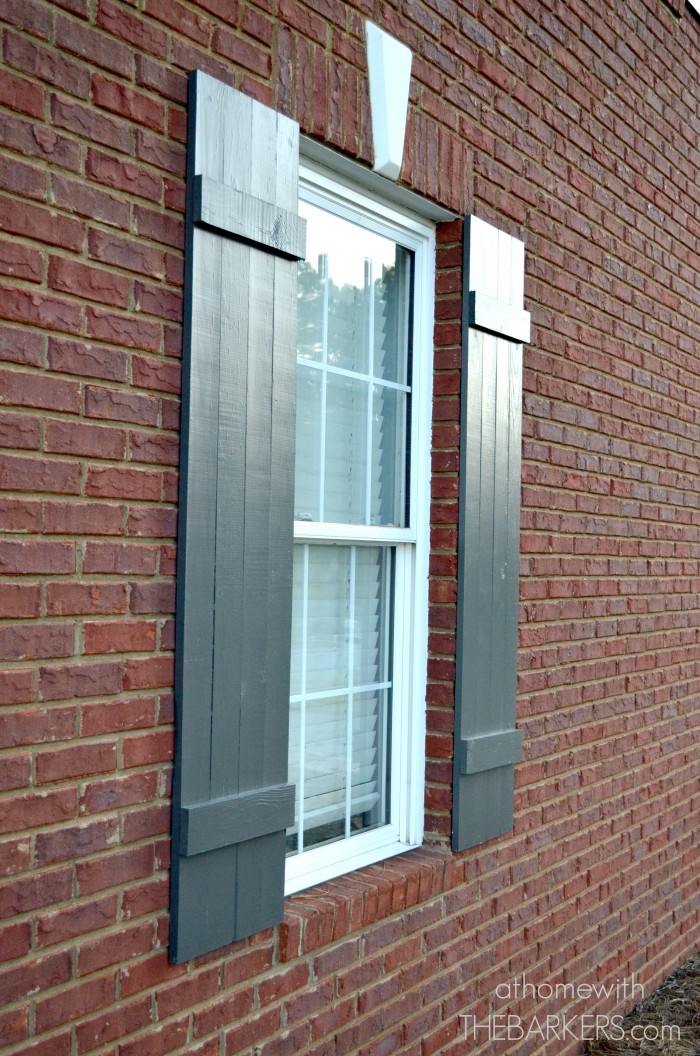
For this project I used the least expensive wood possible. I didn’t mind that the wood wasn’t perfect, actually I wanted it rough. So I purchased 1×4 pine boards. You will need to measure your window length to see what size you need. I would still recommend 4 boards wide, I just think it’s the most proportional but you could always do 3 or 5. For cutting the boards to length we used our power miter saw. Very easy tool to use.
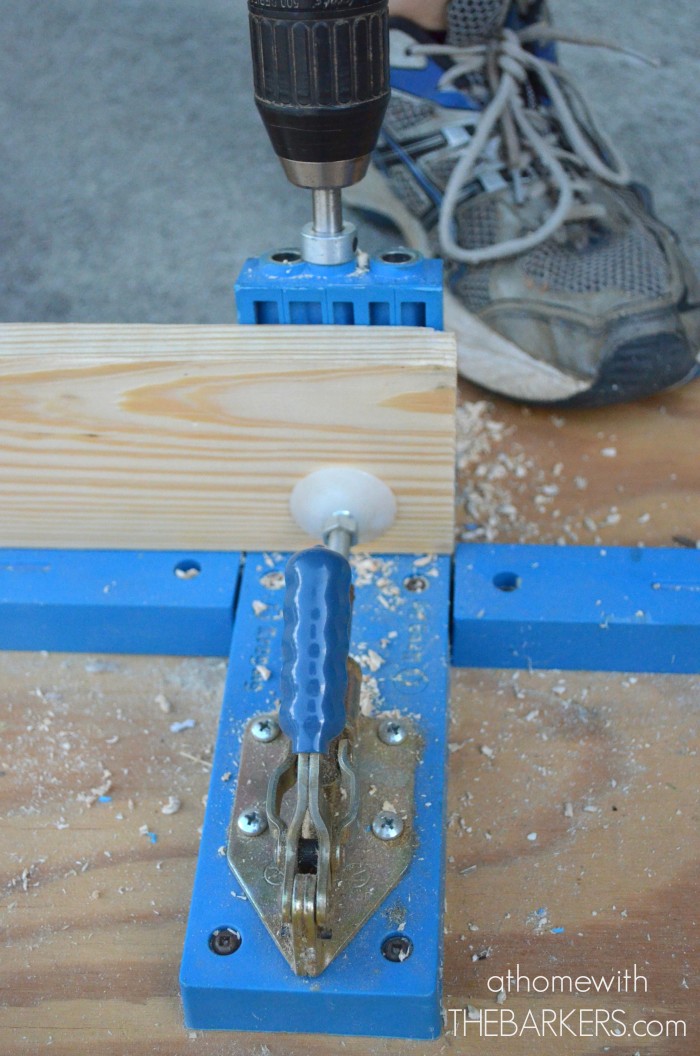
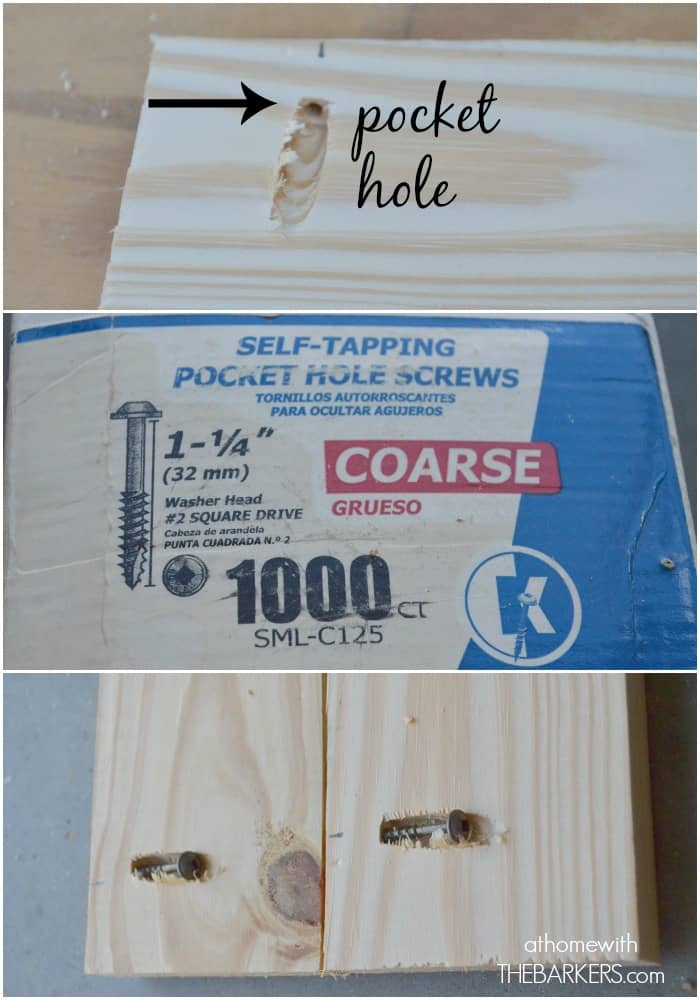
Next my husband marked each board for the pocket holes we would make using our Kreg Tool Pocket Hole Jig. This is a very handy and easy to use tool. I took part in drilling many of the holes. No exact science to where the holes need to go. We just went in about 6 inches from both ends of the boards. The pocket hole is a hidden screw hole that is made in order to hold two pieces of wood together. Makes for a very secure joint that is hidden.
Make sure to secure the wood tightly in the jig so that it doesn’t slip when you begin to drill.
I would also recommend that you always use Kreg screws when using a Kreg jig.
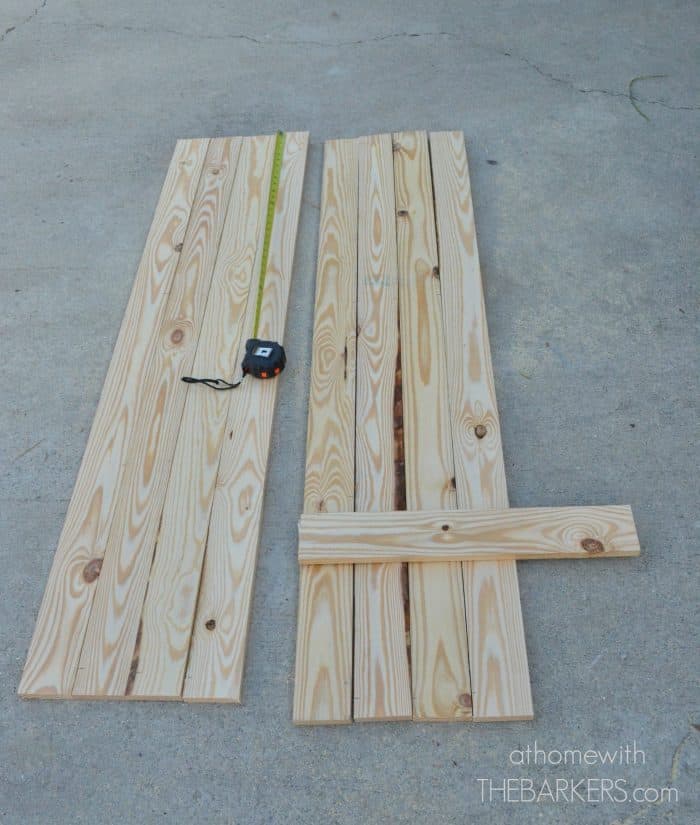
For the front of the shutters I wanted to boards for the decorative part. We placed them 16 inches from top and bottom then screwed these in from the back so as to not have extra holes to patch on the front of the shutters.
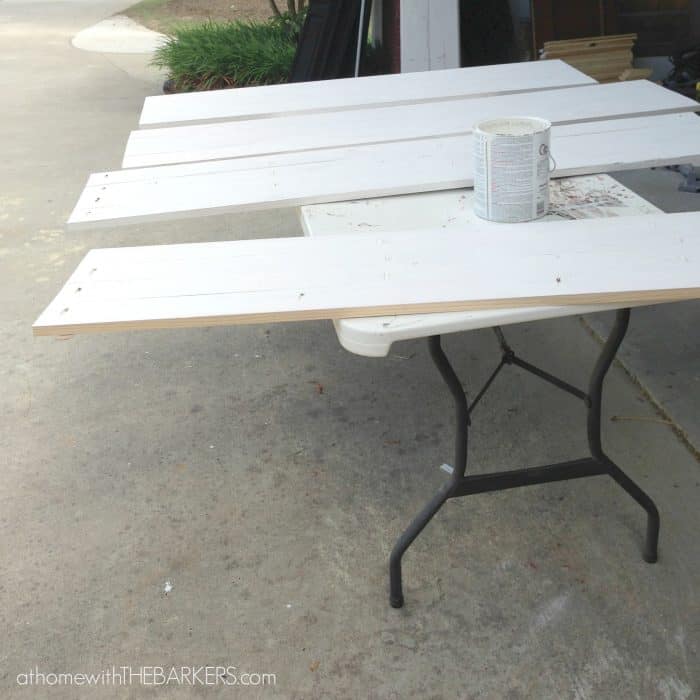
Although I wanted the rough wood I didn’t want bleed through on my final paint coat so I used the Zinsser Shellac Base to seal the wood. I used a Valspar exterior paint and had it custom mixed from a Sherwin Williams paint color called Black Fox.
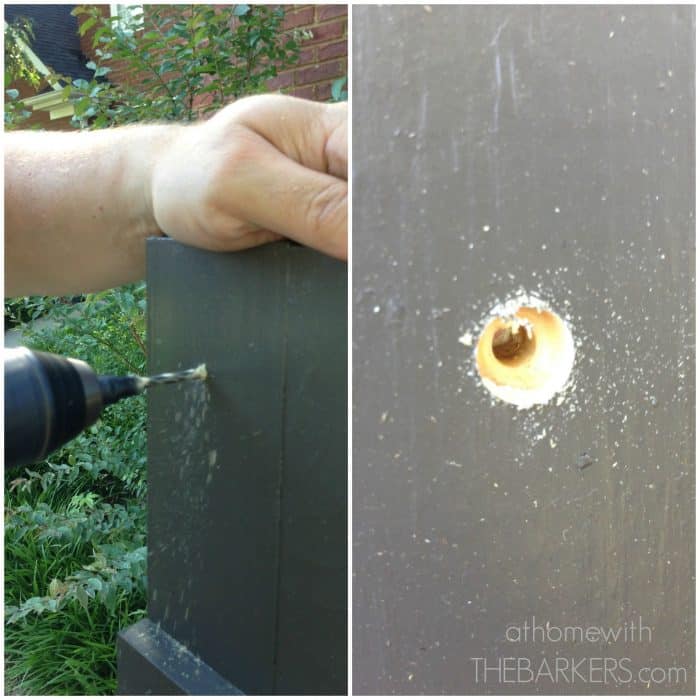
My husband pre-drilled holes before he secured the shutters to the brick. After that I patched the holes with an exterior wood filler then touched up the paint. Sorry, no pic of me hanging out the windows to do this 🙂

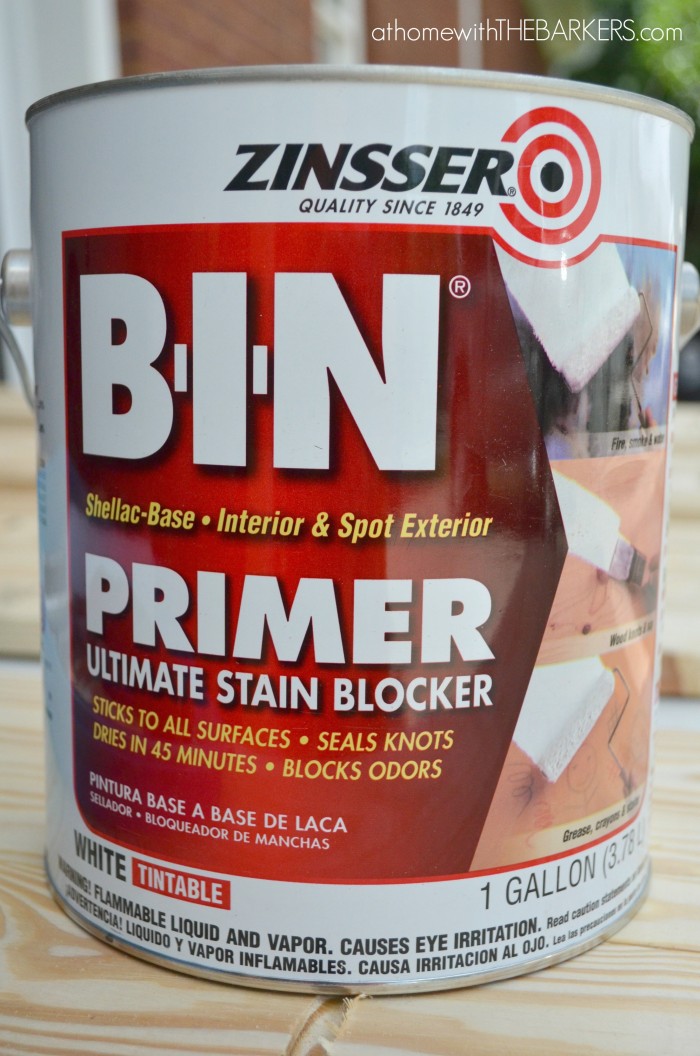
I used untreated BUT made sure to prime the entire surface, front, back and sides with Zinsser Shellac Base. They have held up without any issues.
Was the pine wood treated or untreated?
I made sure to use exterior primer and paint while also painting all side of the wood, front and back. Mine need a fresh coat of paint because it has been a few years but the wood is still good.
That is a project on my “to do” list. Somewhat concerned about the use of pine rather than treated wood or other more weather tolerant wood. Thoughts anyone?
My favorite affordable tools are Ryobi, with battery packs. They are sold at Home Depot.
Hi Sonya! My fiancé and I just bought our first home together and we currently have plastic shutters that just look like wood. I really want to make some new ones for the house but am not sure where to buy durable yet inexpensive power tools.. any recommendations?
Love the look..my husband is now in the middle of making new shutters for our home. We’re doing a Dutch boy cypress green shutter with a deep sky blue door. I know it will be fabulous. Thanks for the inspiration!
Amazing, thank you very much por sharing your ideas!
Xènia Roca
Love the look of these shutters! We have faded vinyl shutters on our house. Our house is vinyl sided, cape cod style with 2 dormers. I wonder how hard it would be ti install these on vinyl siding? Anyone tried it?
Just what i want for my house! Yours look great. Thanks for the tute.
hi
beautiful board and batten shutters project. i wish i could do thismyself,someday
God bless you all
Thanks so much Kim! Sweet talk, it works every time 🙂
These look great. I hope I can talk my husband into making some of these for our house. I have asked many times. I know he can make him if I can just get him to do it.
These are decorative only…didn’t want to spend the money for the hardware to make them functional since I need have a need to close them.
Haha, is it bad that I’m the one who taught my husband how to use wood working tools? And maybe I’m missing the obvious, but are these shutters decorational only? Or can they actually be shut?
I’m sure you will have no problem building them! Thanks for you sweet comment and stopping by my blog! Sonya
I love everything about these shutters… I want to add shutters to the front of our home… might have to just make them ourselves!
LOVE your shutters Sonya! Super tutorial and what a WOW! They’re like the icing on your beautiful brick home!
Thanks Beth!!
These are beautiful Sonya!!!
I have confidence in you Paula!
Thanks!
They look awesome! Love the color with the brick!
Great project and it really adds to your curb appeal. One of these days I’d like to get to the point that I could do a woodworking project on my own but right now I am definitely at the hand holding stage!
YES!! Maybe I should clarify that 🙂
I’m in love. But I’m needing clarification. The pocket holes and screws are used to attach the boards together correct? This is a VERY cool project. Pinning and sharing definitely! 🙂